3D Printing PLA - All You Need To Know

· 13 min read

Image Courtesy - Marco Verch via Flickr

PLA, or polylactic acid, is a popular and commonly used 3D printing polymer. It's likely to be among the first materials you try with your 3D printers. It is easy to print, cheap, and comes in many different types for many different uses.

There are still a lot of questions about PLA material on various community forums. How do you print it? What is the best printing temperature? Slicing options? These are just a handful of the many queries that consumers have about the PLA filament.

This article aims to answer these questions for good. We'll delve deep into the world of PLA filament in this post and learn everything there is to know about it. By the end, you'll have answers to all of your PLA questions and feel confident in printing it.

Continue reading to improve your PLA skills and 3D print some high-quality models. Let's get started!

Celestrius Data Collection Guide (Klipper)

· 10 min read
note

This guide is only for the Klipper users. If you are using OctoPrint, please follow this guide.

note

This guide assumes you already have a nozzle camera installed on your 3D printer and the resolution is set to at least 1280x720. If you have not installed a nozzle camera yet, follow this guide.

Required files/software​

The following files (also linked throughout the document) are required.

Celestrius Data Collection Guide (OctoPrint)

· 10 min read
note

This guide is only for the OctoPrint users. If you are using Klipper, please follow this guide.

This guide assumes you already have a nozzle camera installed on your 3D printer and connected to OctoPrint. If you have not installed a nozzle camera yet, follow the guide for Prusa Mini/Mini+ or Voron 2.4/Trident with Stealthburner :::

Required files/software​

The following files (also linked throughout the document) are required.

Celestrius - AI that solves 1st-layer issues without a LiDAR

· 4 min read

Celestrius is an AI model that uses a simple nozzle camera instead of a LiDAR to tackle a slew of notorious 1st-layer issues: under/over extrusion, bed adhesion problem, wrong z-offset, you name it.

What is Celestrius?​

One of the innovations by Bambu Lab's X1 is a LiDAR that watches the 1st-layer for potential print issues.

On one hand, the Obico team is excited to see a new, innovative solution promised to address the issues that cause endless headaches to even the most-experienced 3D printing enthusiasts.

On the other hand, we don't believe LiDAR is an optimal choice for this task. The reasons are:

  • LiDARs are proprietary, expensive, and hard to source. This is a walled-garden solution that isn't aligned with the maker ethos deeply rooted in the 3D printing community.

  • AI technologies centered around cameras are advancing at a much faster pace than those for LiDARs.

  • LiDARs are for robots only. Cameras are for both robots and humans. Who doesn't enjoy watching a jaw-dropping video like this?

That's why the Obico team started project Celestrius - an AI model that will be a lot smarter than our current one simply thanks to the nitty-gritty detail a nozzle camera can reveal.

Well, this is the hope at least. In reality, we are not there yet because this project is damn hard! After tens of failed experiments, hundreds of print hours to collect data, and thousands of cups of coffee (Ok, may not be that much coffee. But you get the point), we now need your participation to push this project over the finish line.

And this is why we have now opened a limited pilot for project Celestrius.

Voron Stealth Burner Nozzle Camera Setup Guide

· 5 min read

This guide will walk you through installing the 3DO 4K nozzle camera on your Voron 2.4 3D printer with a Stealth Burner tool head.

Required Hardware:​

  1. Voron 2.4 with Stealthburner
  2. 3DO 4K nozzle camera kit (distributed by 3DO for EU and KB3D or Fabreeko for U.S.)

Prusa Mini Nozzle Camera Setup Instructions

· 5 min read

This guide has been adapted from and inspired by Ananord’s guide on Instructables and Chilicoke’s Nozzle Camera Youtube guide in addition to other work from the community.

This guide will show you how to install an endoscope camera on your Prusa Mini 3D printer. This setup will assume you already have your Prusa mini connected to OctoPrint running on a Raspberry Pi.

Required Components:

  1. 5.5mm USB-C Endoscope Camera from Amazon or similar

  2. Reinforced or Standard 3D printed mount for Prusa Mini/Mini+ by Scorrigan87 - (remix of the original mount by Shadow703793)

  1. M4 x 20 socket head cap screw (or similar) and M4 Nut

  2. Permanent marker

Prusa Slicer 2.6 - Organic Supports, Embossing and More!

· 11 min read

Alt text

The PrusaSlicer is quickly becoming one of the most popular slicers in the community. It is now one of the top 3D printing slicers due to its simple interface, lightweight design, and boatload of sophisticated capabilities.

The last PrusaSlicer 2.5 update added new features like the Lighting Infill and Arachne Perimeter Generator, to name a few. These were wonderful additions that were positively accepted by users.

The latest version, PrusaSlicer 2.6, kicks things up a level by including a slew of long-awaited features.

Read on to find out about its new features and how you can "support" your 3D prints in a better way with this upgrade.

What’s new in PrusaSlicer 2.6?​

PrusaSlicer's 2.6 alpha 2 version was released a few days ago. The PrusaSlicer 2.6 is now available to the public for the first time (alpha 1 was only tested internally).This was the first time that people in the 3D printing community could use 2.6's new features. Let's take a closer look at them.

Klipper Rotation Distance - All You Need to Know

· 10 min read

Alt text

Photo Courtesy : 3D Printing Geek via Reddit

Klipper is an advanced 3D printing firmware that gives you a high level of control over how your 3D printer moves. One key part of this control is the measurement and management of your stepper motor's motion. Klipper does this with the help of the Rotation Distance parameter.

Rotation Distance measures how far your print head moves in a single rotation.This value has an impact on the dimensional accuracy and appearance of your prints. and, in turn, is a key factor in determining the final quality of your 3D models.

In this article, we'll talk about what the rotation distance means in Klipper and how you can use it to get the best prints possible. We'll talk about it in detail and go over the steps for setting up the rotation distance for your 3D printer.

Read on to learn how to 3D print highly accurate parts and take your printing to the next level.

3D Printer Fire - How they Happen and How to Prevent Them

· 11 min read

Aftermath of a 3D printer fire/Courtesy: Hackaday

3D printing technology has transformed how we design and manufacture products. 3D printers have made it easier and more efficient for individuals and businesses to produce a wide range of items, from prototyping to final products. However, as with any technology, there are potential risks and hazards to consider. One of the most serious risks is the risk of a 3D printer fire.

This article will go over the causes of 3D printer fires, why they happen and how to prevent them. It is critical to be aware of the potential dangers of 3D printers and to take the necessary precautions to keep them safe.

10 Must-Have Upgrades for the Creality Ender 5 3D Printer

· 13 min read

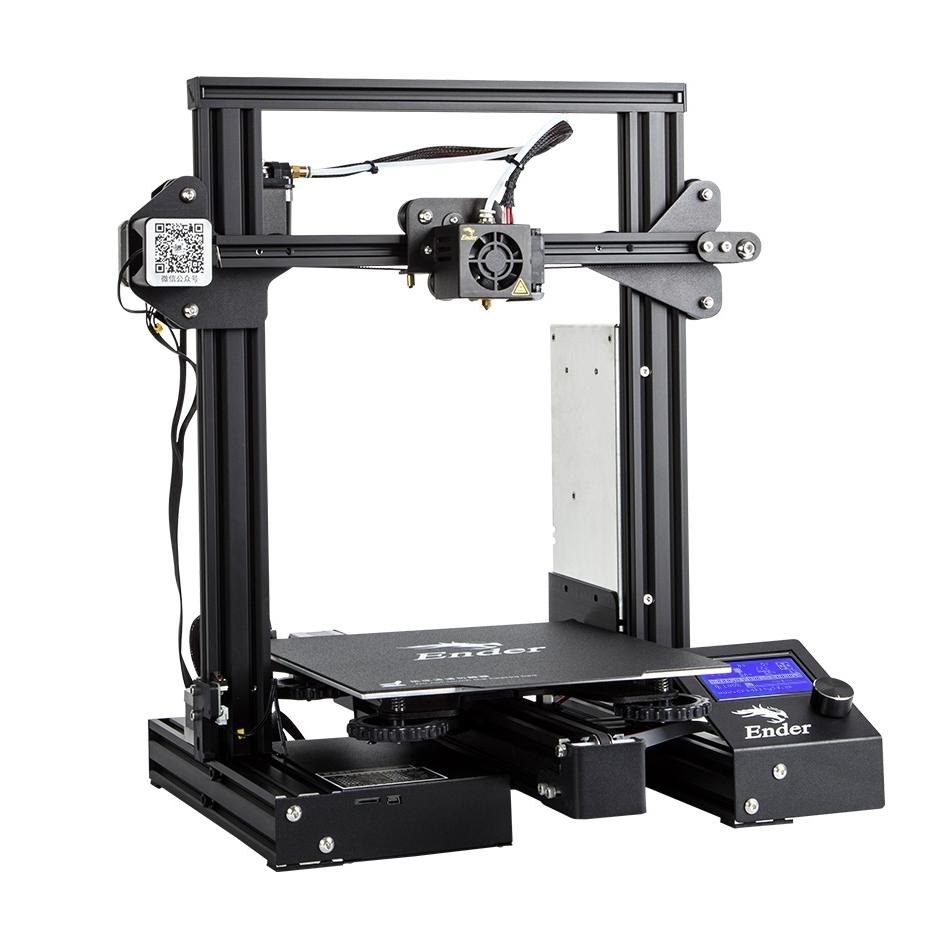
Creality Ender 5 3D printer/Courtesy: Creality

The Creality Ender 5 3D printer is well-known for its dependability and high-quality prints. However, it, like any other 3D printer, can be improved with the appropriate upgrades and modifications. This blog post will provide a list of the top ten Creality Ender 5 upgrades. These upgrades will help you take your Ender 5 to the next level and improve the quality of your prints, from upgraded extruders and print beds to improved cooling and filament management.

Creality Ender 5 3D printer​

Creality is well-known for its dependable and low-cost 3D printers like the CR and Ender series. The Ender series is especially popular, and each iteration has received positive feedback from the maker community and the Ender 5 is no exception.

The Creality Ender 5 has a good build volume of 220 x 220 x 300 mm in a box frame. The printer produces high-quality parts at a rapid pace. It also has a magnetic print bed, which makes starting new prints and removing prints from the bed easier and faster.

The printer is simple to put together and takes less than 30 minutes to get up and running.