Creality Ender 3/Courtesy: Creality
Try JusPrin, the first GenAI 3D printing tool built on OrcaSlicer.
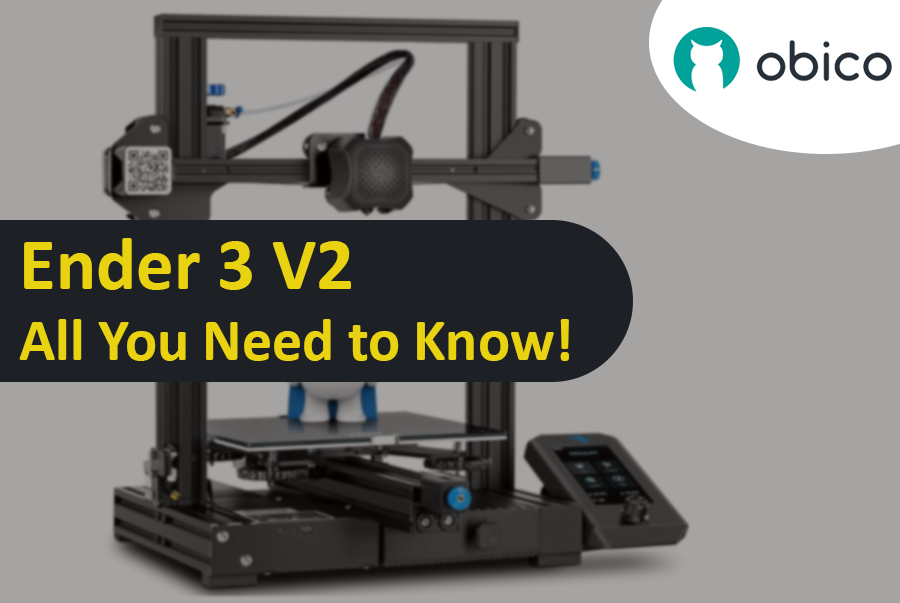
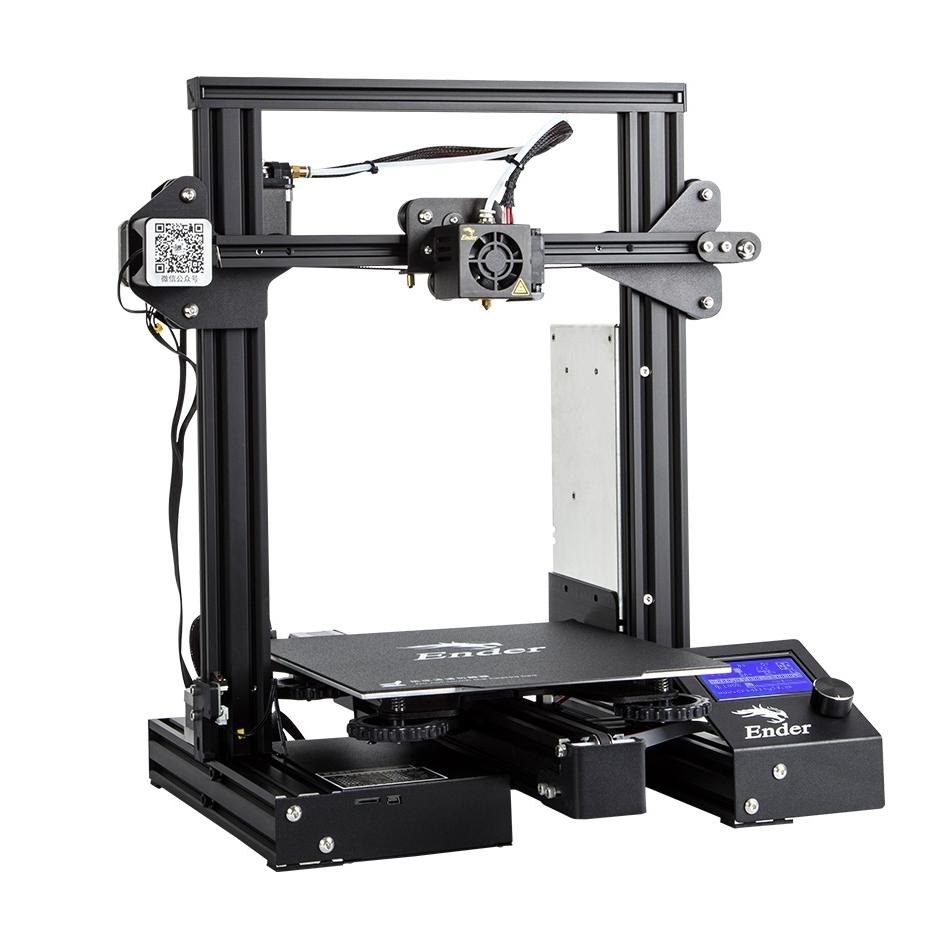
The Creality Ender 3, noted for its affordability, customizability, and print quality, has become something of an icon in the world of 3D printing. And thus, Ender 3 has gained a substantial following among hobbyists, makers, and professionals alike. It has created a family of successors, including the Ender 3 Pro, the feature-rich Ender 3 V2, the versatile Ender 3 S1 with its Pro and Plus iterations, and the latest Neo models. While possessing one of the finest 3D printers is a significant advantage, it's just the beginning. To truly unlock the Ender 3's potential, choosing the best 3D slicer for Ender 3 that effortlessly blends capability and user-friendliness, is essential.
However, one key aspect of achieving exceptional 3D prints with the Ender 3 is the choice of slicing software. A 3D slicer serves as a vital link between your digital 3D model and the physical print, translating your creative ideas into G-code providing meticulous control over printing parameters, from layer height to infill density.
In this extensive realm of options, selecting a slicer for your Ender 3 is a personalized decision. Then you may ask what particularly characterizes the ideal slicer experience when used with this 3D printer. Well each slicer uniquely influences your creative process, the start is having a dedicated printer profile and then the freedom to control a large number of critical parameters will enable any type of user to improve the print quality and success. And these are some of the factors that play a crucial role in choosing the ideal slicer.