10 Must-Have Upgrades for the Creality Ender 5 3D Printer

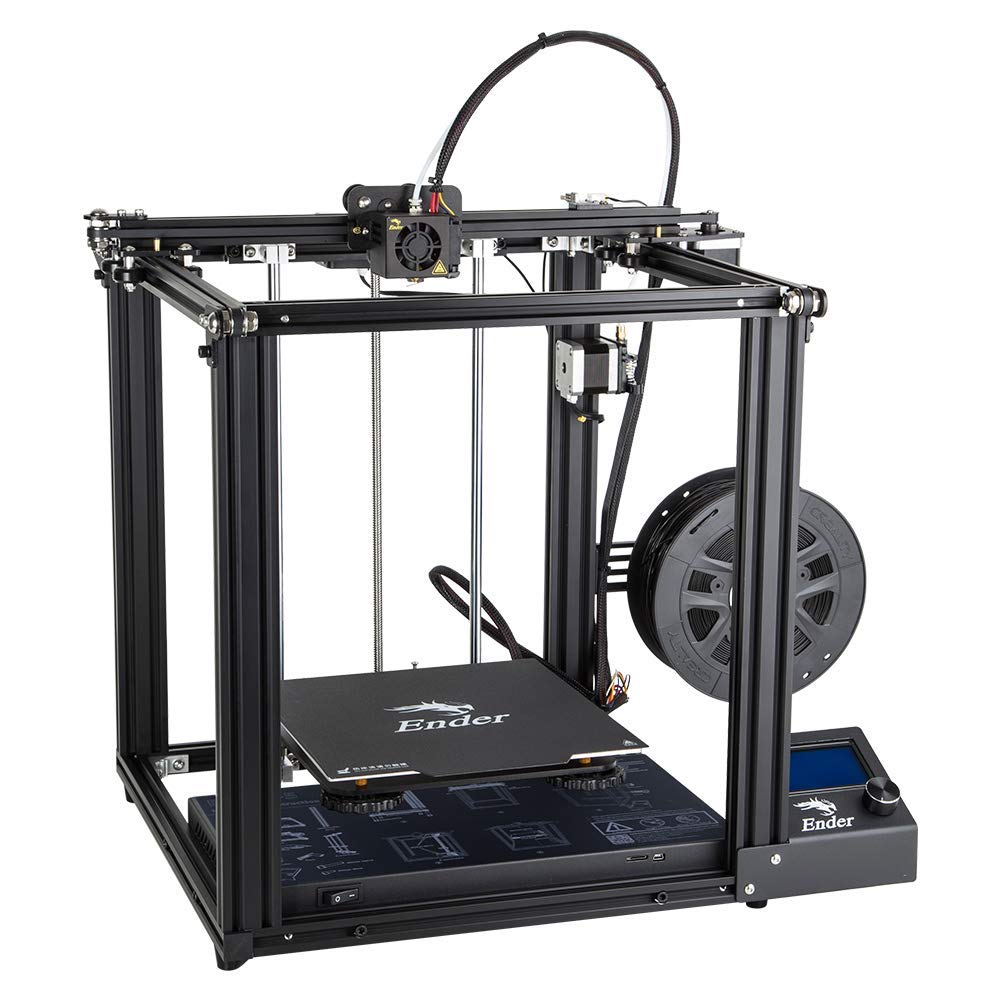
Creality Ender 5 3D printer/Courtesy: Creality
The Creality Ender 5 3D printer is well-known for its dependability and high-quality prints. However, it, like any other 3D printer, can be improved with the appropriate upgrades and modifications. This blog post will provide a list of the top ten Creality Ender 5 upgrades. These upgrades will help you take your Ender 5 to the next level and improve the quality of your prints, from upgraded extruders and print beds to improved cooling and filament management.
Creality Ender 5 3D printer
Creality is well-known for its dependable and low-cost 3D printers like the CR and Ender series. The Ender series is especially popular, and each iteration has received positive feedback from the maker community and the Ender 5 is no exception.
The Creality Ender 5 has a good build volume of 220 x 220 x 300 mm in a box frame. The printer produces high-quality parts at a rapid pace. It also has a magnetic print bed, which makes starting new prints and removing prints from the bed easier and faster.
The printer is simple to put together and takes less than 30 minutes to get up and running.
Specifications
- Print volume: 220 x 220 x 300 mm
- Nozzle: Single 0.4 mm
- Filament: 1.75 mm
- Heated bed temperature: 110 ℃
- Max. print speed: 180 mm/s
- Layer resolution: 0.1-0.4 mm
- Connectivity: SD card, USB
- LCD screen: Yes
- Print precision: +/- 0.1 mm
Key Features
Big build Volume: The build volume of the printer is 220 x 220 x 300 mm which is comparable to most of its competitors.
Magnetic Print Bed: It includes a magnetic print bed making it easier and faster to start a new print and also to remove any prints from the bed.
LCD Screen: In addition, the printer has a 45-degree tilted LCD display for easy viewing and operation.
Assembly: The Ender 5 is comparatively easy to assemble.
The top 10 Upgrades for the Creality Ender 5
The Creality Ender 5 is a fantastic 3D printer with excellent print quality, but as newer models are released, your existing printer may become obsolete. Instead of purchasing a new printer, it is preferable to upgrade your current printer so that it can continue to produce excellent results.
-
Improved print beds
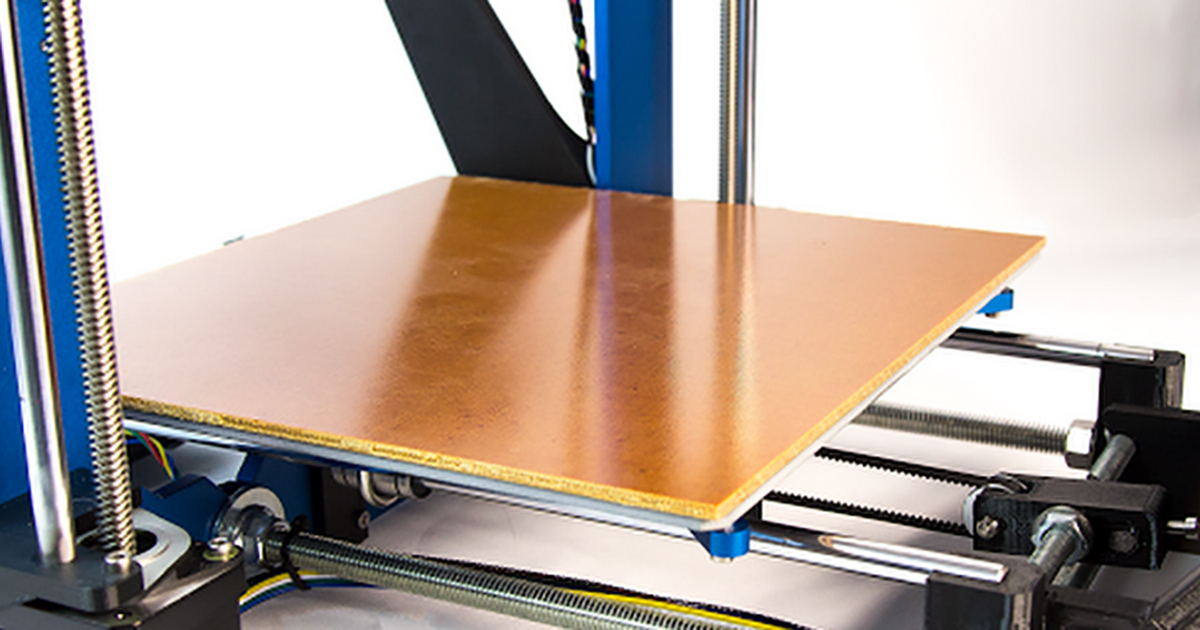
Garolite print bed/Courtesy: MatterHackers
The Ender 5 has a detachable magnetic print bed. While this is a fantastic feature, it is obvious that the magnet will lose its grip over time, resulting in failed prints. Another issue would be the natural deterioration of the bed surface as a result of continuous use. The constant heating and cooling of a bed also distorts its surface flatness. You can try the following solutions to avoid such problems:
PEI Sticker: The simplest solution is to apply a PEI sticker to the existing build plate. This improves bed adhesion and can help extend the life of the bed.
Tempered glass bed: Another option is to purchase a brand-new bed. You can learn more about Creality's tempered glass bed. It has a carbon and silicone build surface and is a significant improvement over the standard print bed, with a hardness of 8 Mohs and heat resistance up to 400 °C.
Polypropylene (PP) Plate: This print bed provides improved adhesion for materials such as ABS, PLA, and others. Creality sells these beds, which are lighter, stronger, and less prone to breakage than glass.
Garolite: This is a relatively new print bed type. It is made of glass fibers that have been pressed together with resin to form a strong and resistant sheet. It can print almost anything, from PLA and PETG to Nylon, POM, and PC.
-
Upgraded extruders
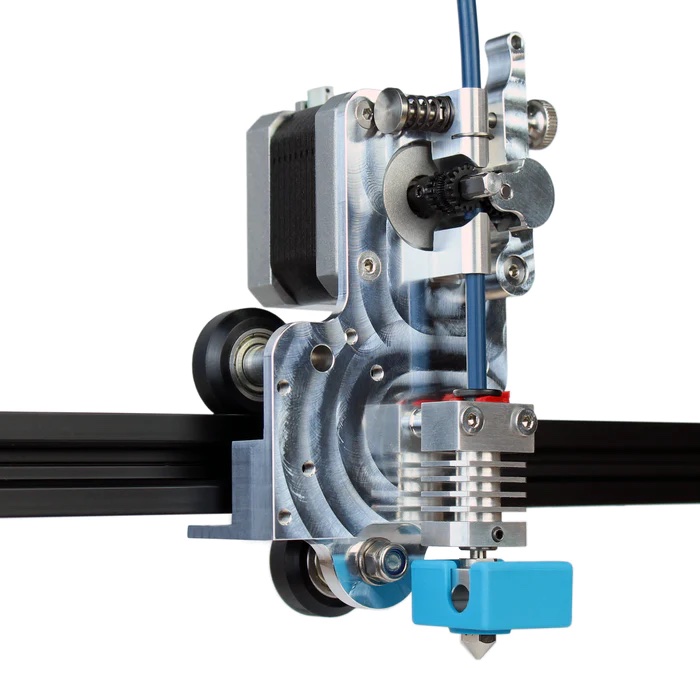
Micro-Swiss direct drive extruder/Courtesy: Micro-Swiss
Direct Drive Extruders: The Creality Ender 5 has a Bowden-style extruder, which has some fundamental flaws. The fact that flexible filaments are difficult (if not impossible) to print is the most notable. Direct drive extruders are ideal for printing flexible materials because they reduce the distance between the drive and the hot end. As a result, upgrading to a new extruder, such as the popular E3D Titan extruder, is simple. This is an excellent upgrade for the Creality Ender 5.
Micro-Swiss direct drive extruder: The Micro-Swiss direct drive extruder is an upgrade that is designed to print flexible and high-temperature filaments. The extruder screws directly into the existing bracket, allowing you to quickly swap out the system. It has a dual-drive gear setup that grips the filament firmly and a shorter filament path from the extruder to the hot end for faster printing with flexible filaments.
-
Capricorn PTFE Tubing
In case you are not too keen on upgrading to a direct drive extrusion, you can always upgrade to a premium Bowden tube. Capricorn Bowden PTFE tubing has tight tolerances and thus fits perfectly in the hot end. It is rated at 300 °C, thus allowing you to print with ABS and PETG. The pneumatic couplers on both the hot end and the extruder side have metal teeth that prevent the tube from moving freely while 3D printing.
-
Filament management solutions
While we are constantly focused on our 3D printers, it is equally important to care for your filaments. Filament quality plays a significant role in ensuring print quality, so it is critical to use or maintain filament quality. Consider upgrading your current filament management solution to include a filament dryer.
A filament dryer will keep your filaments safe and cool by preventing them from interacting with the outside environment, protecting them from moisture or excessive heat. This Creality Ender 5 upgrade will undoubtedly improve print quality.
-
Enclosure
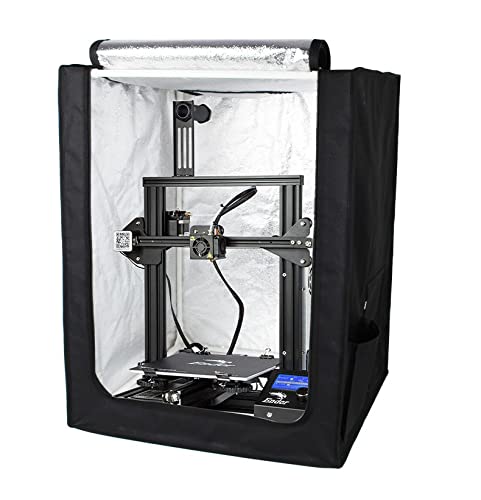
Creality Ender 5 enclosure/Courtesy: Amazon
Upgrading to an enclosure can expand the capabilities of your 3D printer. Creality sells an Ender 5 enclosure that is simple to set up and use. Having a box-frame makes it easier for the Ender 5 to incorporate and utilize the enclosure.
Some of the benefits include maintaining the temperature inside the chamber, preventing fires because the enclosure is made of flame-retardant material, and even trapping the fumes released during printing, protecting you from their harmful effects.
-
SD Card Extension Cable
To be clear, an SD card extension cable will not help you get better results or even eliminate some of your printer's core problems, but it will certainly reduce some of your personal hassle of operating your machine.
SD card extension cable is, as the name implies, an extension cable that allows you to extend the SD card input beyond the printer's control panel. This is especially useful if you intend to use an enclosure or devices such as the Raspberry Pi.
-
Stepper Motor Dampers
As you are probably aware, the Ender 5 lacks silent stepper drivers and is thus relatively noisy. The Creality Ender 5 3D Printer stepper motor damper upgrades are thus an excellent way to reduce vibrations. The dampers have a rubber sole sandwiched between two metal plates to absorb vibrations and reduce noise levels by up to 10 decibels.
-
LED Lighting
3D printers are often printing through the night and during such times, it helps to have lights built into the printer. LED lighting is ideal for this. A strip of LED lighting will be an excellent addition to your printer. A box-frame, such as the Ender 5, also aids in light fitting.
-
Multi-material and Multi-color Printing
Who wouldn’t want to print multi-material and multi-colored parts? But it is nearly impossible to find such a feature in any entry-level 3D printer. With a single extruder, the Ender 5 is no different. But what if you could still upgrade your printer to print in multiple materials and colors? It is possible, however, by using stand-alone systems such as the Mosaic Palette.
With such a set up you will be able to print multiple materials and colors even when you have only one extruder.
-
Enhanced cooling systems
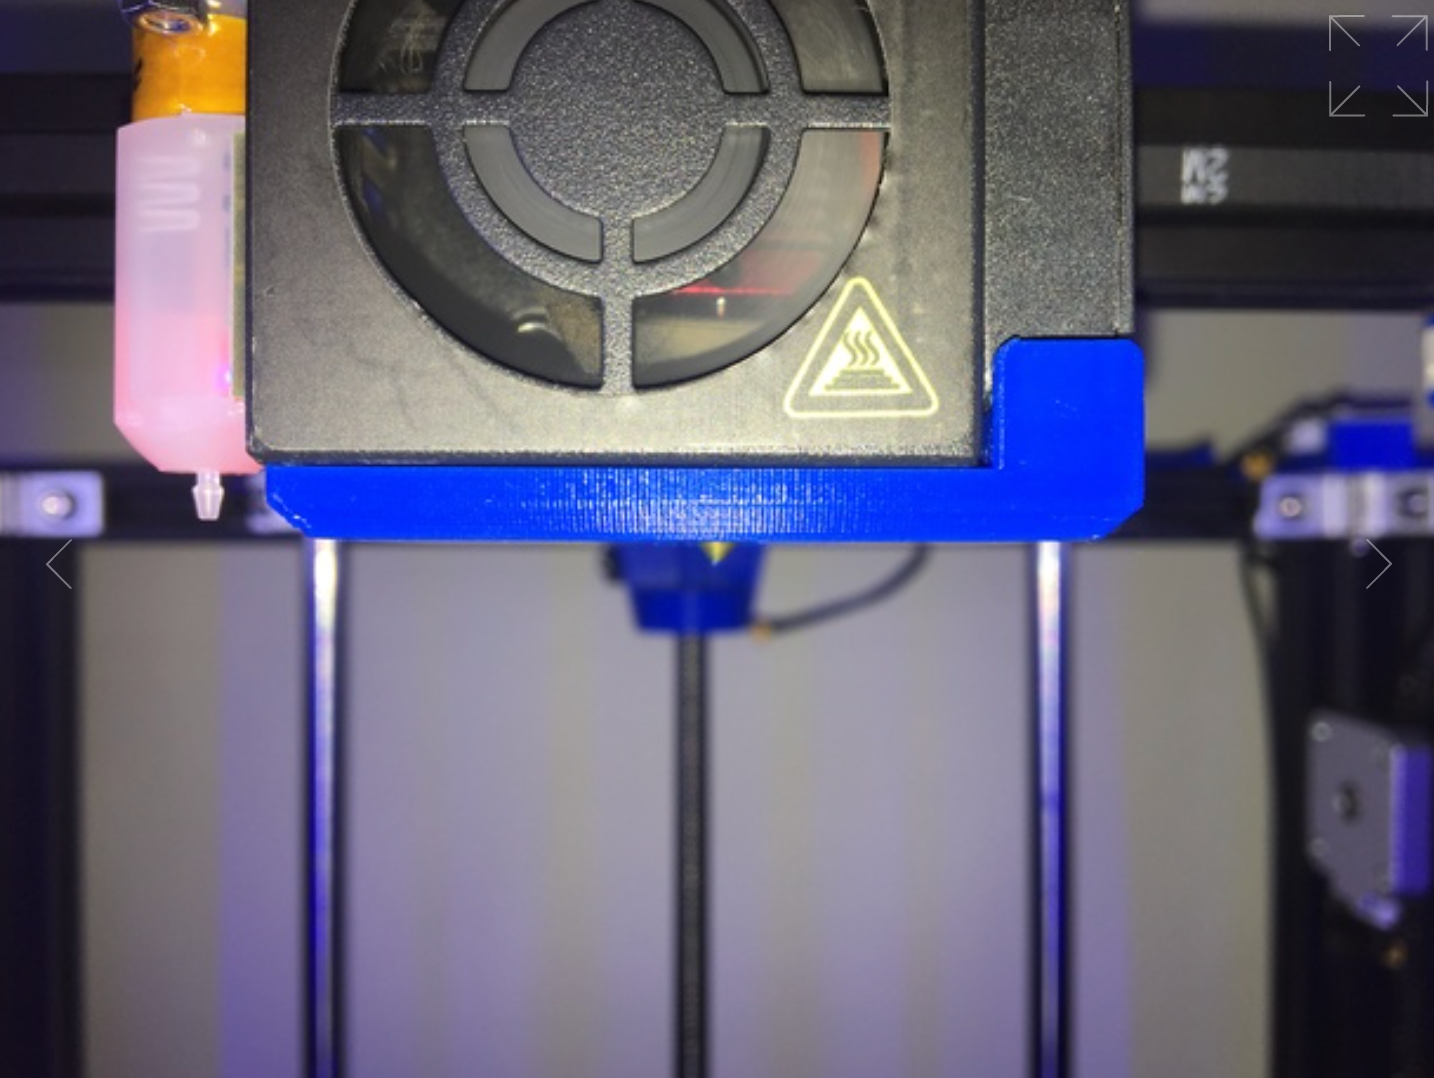
Cooling duct/Courtesy: Thingiverse
A cooling duct for the fan mounted just beneath the extruder is another enhancement for the Ender 5. This cooling duct will ensure optimal print quality. ShaunTheBaa's cooling duct CAD file is available on Thingiverse. According to the designer, PLA is not ideal because it warped after 6 months of use. In this case, use PETG, which will last much longer than PLA.
Need for Upgrades?
These upgrades and mods are specifically designed to improve your Ender 5 3D printing experience. It is unavoidable that your printer will become obsolete over time, and tasks that are manual in your printer may become automated in a newer printer. So, in order to stay current and use the most recent technology without having to buy a new printer, it is recommended that you regularly upgrade your printer with mods.
Tips and tricks for getting the most out of your Ender 5 with these upgrades
All of the upgrades and mods mentioned above were hardware-based, but the trick is to also work on the software front to improve your 3D printer.
Remote Monitoring and Control
If you are a frequent 3D printer user, you should take advantage of the remote monitoring and control features provided by some leading software programmes to remotely access your printer. This feature enables you to control your machine and print from anywhere in the world. You don't have to be in front of your printer to start, pause, and stop prints, set extruder and bed temperatures, and even watch the live stream of the print.
You can accomplish this with software such as OctoPrint and its plugins. Obico is the standout software among its diverse list of remote access plugins. It is an intelligent, open-source, all-in-one 3D printing platform that allows you to monitor and control your 3D printer from any device, including a computer, tablet, or smartphone, from anywhere in the world.
Obico is the plugin that replaces and expands on The Spaghetti Detective's success. Obico is more than just an OctoPrint remote access plugin; it also supports live webcam streaming, AI-enabled failure detection, and the ability to pause printing in the event of a fire. It can even send you notifications about the status of the print. In essence, it makes your 3D printer smart!
AI Failure Detection with Obico
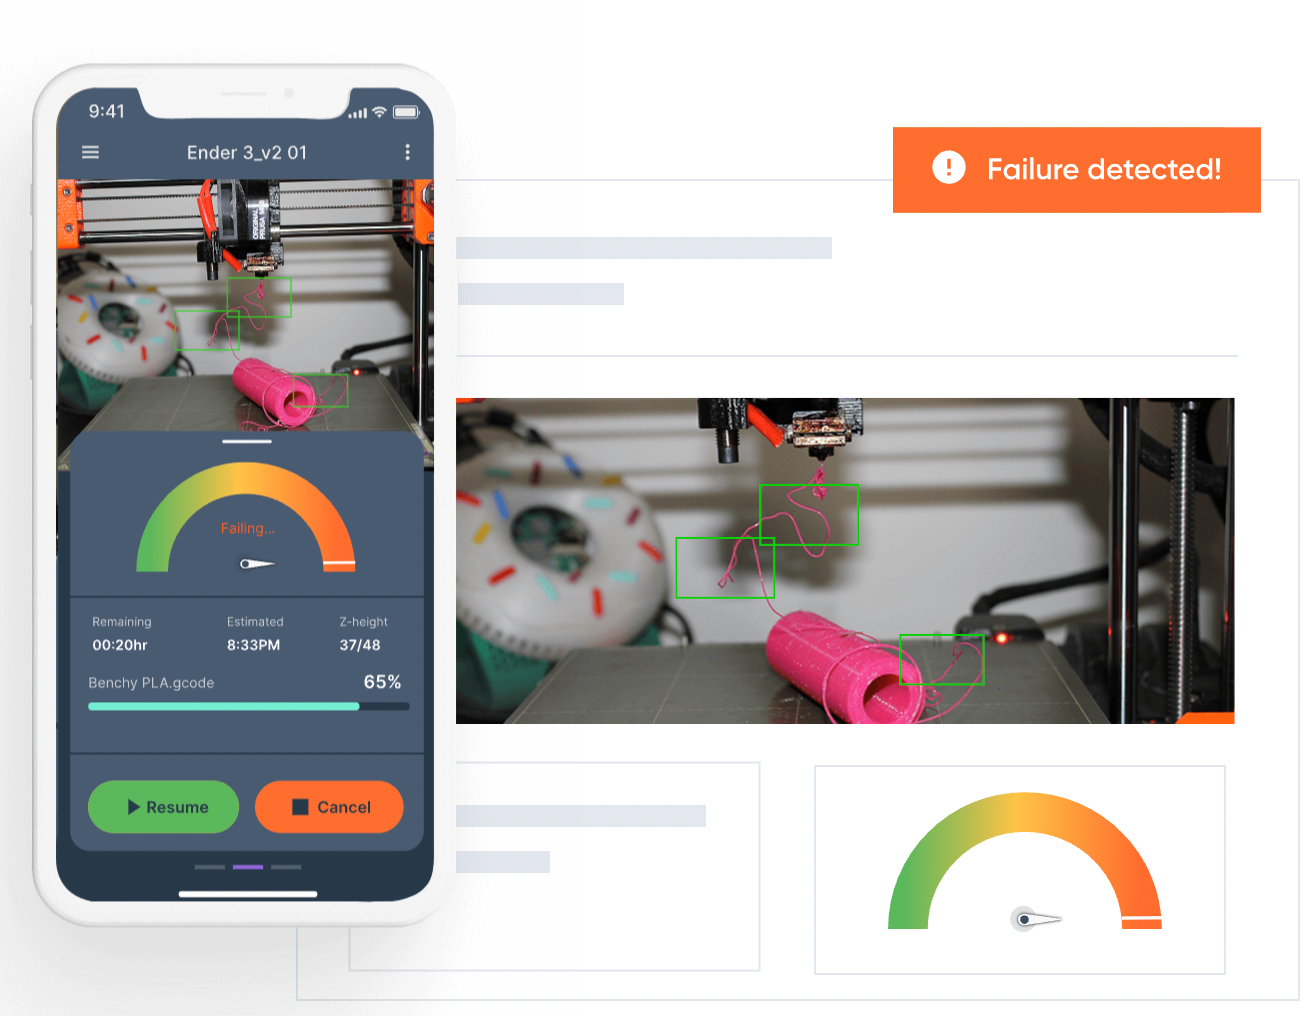
AI-enabled failure detection/Courtesy: Obico
To improve your 3D printing experience even further, you can go beyond remote access and try to incorporate AI failure detection. The Obico software will monitor your printer and detect failures using AI failure detection. Furthermore, if it detects a failure, it immediately notifies you (the user), and if you do not respond quickly, Obico pauses the print and turns off the extruder heater.
This precautionary measure is taken to avoid equipment damage and potential fire hazards. The intelligent feature only turns off the extruder heater while keeping the bed heater turned on. This is done so that, in the unlikely event of a false positive detection, the user can simply resume printing while the printed parts on the bed remain unaffected.
No competing plugin offers this level of intelligence.
To begin, install Obico for Klipper to monitor and control your printer with AI failure detection capabilities.
Firmware Improvements
Marlin is the firmware used by the majority of 3D printers. It is the most common and widely used printer option, but it is not the only or even the best option available. If you want to upgrade your printer, one such firmware to consider is Klipper.
Klipper is an open-source 3D printer firmware that allows interaction between 3D printer hardware like motors and sensors and software like slicers to understand the gcode commands used to 3D print an object.
More about Klipper Firmware
![]()
Klipper Firmware/Courtesy: Klipper
Klipper isn't your typical firmware application. It is unique in that it is installed on a computer or a micro-computer such as a Raspberry Pi - usually a Pi 3, 4 or higher - rather than the mainboard of a 3D printer. A small piece of software is installed on the 3D printer's mainboard that acts as an intermediary between the 3D printer's elements and the Raspberry Pi.
The 3D printer can fully utilize the capabilities of both boards with this dual board system. This dual processing capacity outperforms most 32-bit 3D printer controller boards.
Klipper supports web interface setup and configuration via OctoPrint or standalone web interfaces such as Fluidd or Mainsail.
If you want to try out and install Klipper, check out our post on Klipper setup.
Benefits of Klipper
Old Hardware, New Power: Klipper firmware has shown that it can run on old hardware and make it operate much faster.
Better print quality: The majority of users have reported that print quality has improved. It can be attributed to a variety of Klipper-influenced factors. Klipper, for example, can precisely control stepper motors in 25 microseconds or less due to extra computing power and built-in algorithms.
Higher print speeds: Klipper firmware makes use of the Raspberry Pi's additional computing power, allowing the 3D printer to divide work between the two boards. This means that the Raspberry Pi's computing power is used to process the gcode commands, while your 3D printer only needs to execute them. This allows the hardware to complete more tasks in less time, resulting in faster printing.
Better dimensional accuracy: You've probably figured out that having more computing power allows for better stepper motor control and faster print command execution. This has an effect on print precision as well. The smaller, vibration-free movements improve your parts' dimensional accuracy.
What is Fluidd and Mainsail?
Klipper is a piece of firmware that must be controlled and operated via a graphical user interface. Fluidd and Mainsail are two of the most popular graphical user interfaces for handling Klipper for remote monitoring and controlling. These programs make it simple to interact with your printers and provide access to a wide range of features that enhance the remote user experience of 3D printing.
Fluidd and Mainsail OS have been developed specifically for use with Klipper firmware on 3D printers. These programs serve as a communication link between you and your 3D printer, allowing you to wirelessly monitor, control, and interact with it. Both are different and each has its own set of advantages and limitations but you can read more on these OS and make a decision to use the one that you prefer.
Conclusion
We discussed the 10+ must-have upgrades for the Creality Ender 5 3D printer in the article. These upgrades cover both hardware and software options, both of which are critical if you want to get the most out of your 3D printer.
The switch to Klipper firmware is one of the most important software upgrades. If you truly want to switch, proceed with caution; we don't want you to miss a step or encounter difficulties. As a result, you can refer to our detailed Klipper setup guide or installing Klipper with Fluidd on Creality Ender 3, which will walk you through each and every step of the firmware installation process.