Remotely Accessing the Creality K1 and K1 MAX 3D Printer - A Comprehensive Guide
Introduction
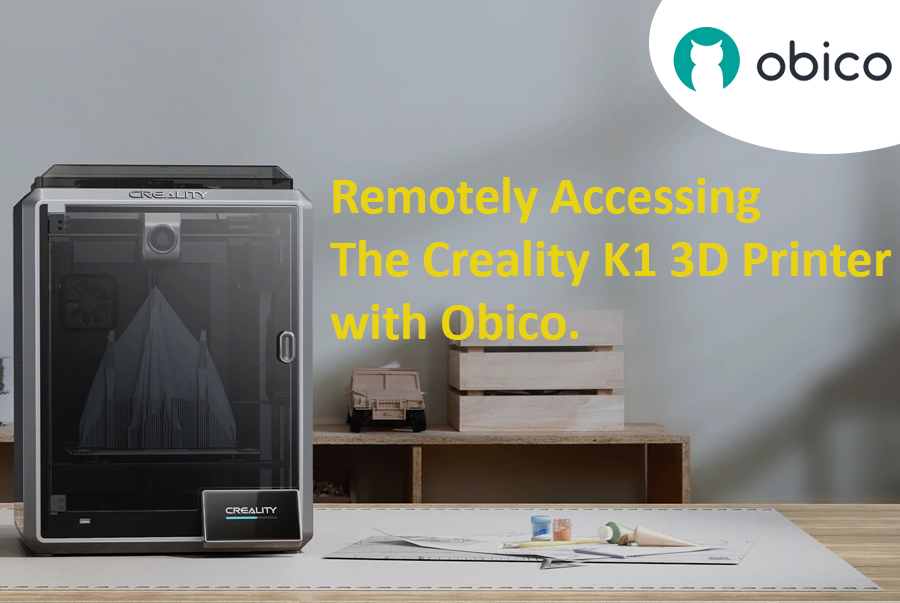
In the evolving world of 3D printing, the ability to remotely monitor and manage printers has become an indispensable feature for enthusiasts and professionals alike. As we delve into this guide, our primary intention is to empower users of the Creality K1 3D printer with the capability to access their devices remotely. Beyond mere convenience, this remote access can also harness the power of AI to detect potential print failures, ensuring smoother and more successful print jobs.
Central to our exploration is a tool named Obico. But what exactly is Obico?
Obico is an advanced software platform designed specifically to enhance the 3D printing experience. It's not just about remote access, though that's a significant feature. Obico integrates artificial intelligence mechanisms to monitor ongoing print jobs, detecting anomalies that could result in print failures. By notifying users of such potential disruptions in real-time, it drastically reduces wasted materials and time. Obico also has a fully featured mobile app available for both iOS and Android. Both the web app and mobile app also give you full remote access to the full Mainsail or Fluidd interface from anywhere through Obico’s tunneling feature. This blend of remote access and AI-driven insights underlines Obico's relevance and growing importance in the 3D printing community.
As we proceed through this guide, we will start with the initial steps of setting up Obico on the Creality K1, and then we will walk through some of the nuances of optimizing its features, ensuring you harness the full power of Obico.
Thank you to Obico user mikecbc on Reddit for creating the initial guide for installing Obico on the Creality K1 and K1 Max 3D printers and to Guilouz for his comprehensive K1 Wiki.
What is the Creality K1 3D Printer?
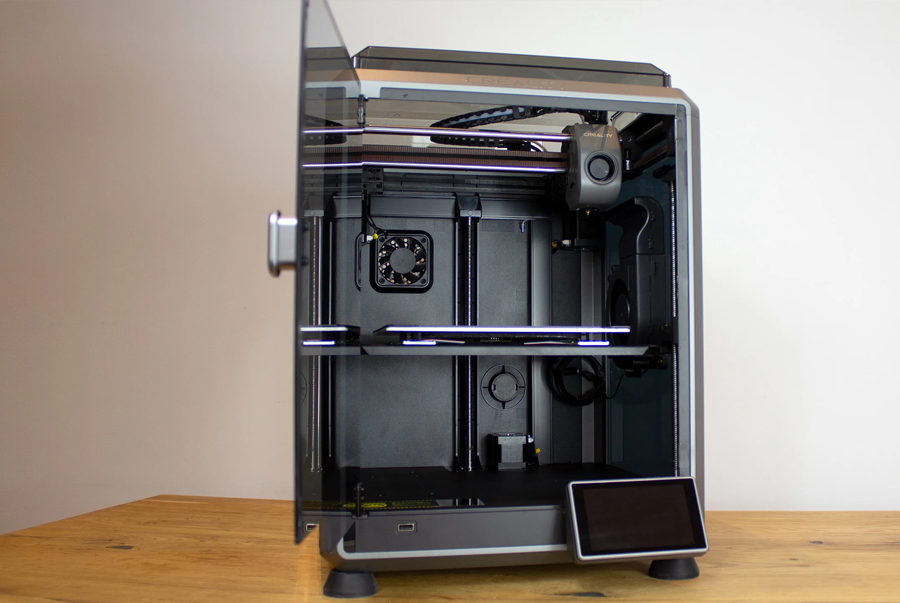
The Creality K1 3D Printer, manufactured by Creality, is a user-friendly 3D printing device designed with simplicity in mind. With a modest build volume of 220 x 220 x 250 mm, it caters to a wide range of 3D printing tasks, making it accessible to both newcomers and experienced enthusiasts. The Creality K1 MAX offers many of the same features with a larger 300 x 300 x 300 mm build volume. Notably, its enclosed print chamber allows for the safe and efficient printing of materials like ABS, ASA, PA, and PC. While facing initial software and open-source concerns, continuous updates and hardware improvements seek to enhance the printer's overall user experience and performance.
Introduction to Remote Printer Access and AI Failure Detection
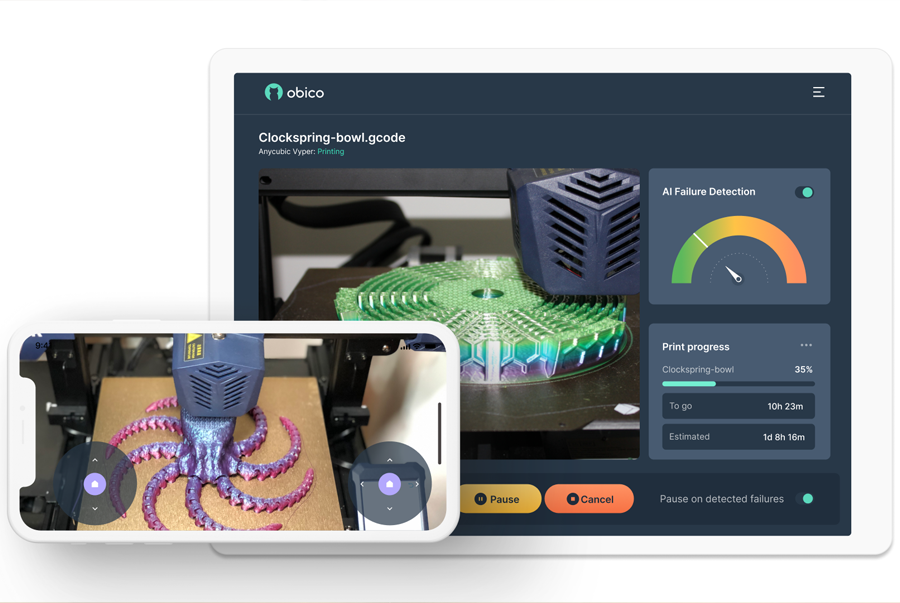
In the age of smart devices and internet connectivity, the idea of remotely accessing devices isn't novel, but it's incredibly valuable. Remote printer access for 3D printers like the Creality K1 allows users to manage and monitor print jobs from anywhere, without being tethered to the printer's physical location. This not only offers unparalleled convenience but also enhances productivity, especially for those managing multiple print jobs or printers.
But there's more to modern 3D printing than just remote access. The integration of AI (Artificial Intelligence) has revolutionized the process. AI failure detection is a game-changing feature where the software continually monitors a print job and uses advanced algorithms to detect potential failures or discrepancies. Whether it's an issue with filament feeding, layer misalignment, or any other common 3D printing problems, the AI can detect them in real-time, often before they become visibly apparent. Once detected, the system can alert the user, allowing for timely intervention and potentially saving hours of printing and valuable materials.
Together, remote access and AI-driven failure detection provide a combination of convenience and assurance, ensuring that 3D printing endeavors are both efficient and successful.
Configuring Remote Access on Creality K1 or K1 MAX
Welcome to the step-by-step guide to setting up Obico on your Creality K1 3D printer. Please follow these instructions carefully.
Important Warning: Before we begin, it's crucial to understand that rooting your printer is required for this process, and it comes with some risks. It may also void your printer's warranty, so proceed at your own risk.
Preliminary Requirements:
-
Root Access:
- What does this mean? Root access to your printer gives you advanced access and control over its software.
- To get root access to your Creality K1 or K1 Max 3D printerprinter, follow the instructions in this comprehensive guide.
- Please note that rooting your printer carries some risks and may void the warranty, so proceed with caution.
-
SSH Access:
- What's SSH? It's a way to remotely access and control your printer's command line.
- Use a Windows shell or a similar tool to SSH into the printer using the following command:
ssh root@printerip - Replace
printeripwith the actual IP address of your Creality K1 printer. If you are unfamiliar with SSH, you can find various SSH clients for Windows, such as PuTTY.
-
Install the Helper Script:
For the latest instructions on installing the Helper Script, please visit this link to their official document.
The Helper Script allows you to install the latest official builds and many useful features. It is completely automated, making necessary changes during installation and restoring settings after uninstallation. When the script is updated, installed files are automatically updated as well.
SSH: SSH to your Creality K1 3D printer using the username and password obtained above. Username: root Password: creality
ssh root@<your-ip>
Install the Helper Script:
Follow the instructions and steps provided [here on their official document] (https://guilouz.github.io/Creality-Helper-Script-Wiki/helper-script/helper-script-installation)
- Open the Installation Menu: Type 1 and click enter on your keyboard to open the Installation Menu
- Install Moonraker and nginx: Type 1 and then enter on your keyboard to install moonraker and nginx on your K1.
- Install Entware: Entware is a package manager for embedded devices. From the Installation Menu of the Installation Helper Script, type 5 followed by enter on your keyboard to install Entware. Once Entware has finished installing, exit the ssh session you are currently using and start another so that Entware will work correclty.
- Install fluidd, Mainsail or both: Once moonraker and nginx finishes, type 2 and then enter on your keyboard to install fluidd, or type 3 to install Mainsail. Fluidd and Mainsail are interfaces that give you a slew of additional features that Creality Print does not provide such as controls for macros, a g-code terminal and an update and configuration manager. Web interfaces like Mainsail and Fluidd are also great for configuring various aspects of your 3D printing experience. If you install fluidd, once it is installed, you can access the fluidd web interface at http://youripaddress:4408. Mainsail can be accessed at http://youripaddress:4409.
Getting and Setting Up Obico for Creality K1 Remote Access and AI Failure Detection
How to Download Obico from GitHub
Obico helps manage your 3D printing tasks remotely using Sonic Pad. To get Obico, we'll download it from a website called GitHub. Here’s a step-by-step guide:
-
Go to the Right Folder: First, we need to go to the folder where we want to download Obico. We'll use the cd command to navigate there:
cd /usr/data
Type this command and press Enter.
-
Download Obico: Next, we'll download Obico using a command called git clone. This command will get Obico from GitHub and save it in our printer:
git clone https://github.com/TheSpaghettiDetective/moonraker-obico.git
Type this command and press Enter.
Now, Obico will be downloaded into a new folder named moonraker-obico in the /usr/data directory.
Install the Crealty K1-specific scripts for Obico
- Go to the moonraker-obico folder
cd /usr/data/moonraker-obico
- Install the script
Now enter the following command and press enter:
./scripts/install_creality.sh
- Select Creality K1/K1 MAX Type 2 and press enter to confirm you would like to install the script for the Creality K1 or K1 MAX.
The Creality K1 installation scripts will automatically create all of the necessary Obico configuration files, modify the moonraker logging path for Obico, and set up everything else needed to get the Creality K1 working seamlessly with Obico.
Link your printer to Obico
Link your printer with auto-discovery
Now, we’ll establish a connection between your printer and Obico:
- Visit Obico Website: Go to the Obico website (or your own Obico server if you have one), sign in, and click “Link New Printer” from the printers page.
-
For those using a self-hosted server, you'll need to modify the server URL in the config file to match your server's IP address. If you are not using a self hosted server, you are using the Obico cloud, and you can continue to step 2.
To configure your self hosted server, you can use the nano text editor for easier editing. If nano is not installed, you can add it using the following command:
opkg install nano
- Select “Klipper”. Click “next.” At this time, your Creality K1 printer should automatically be recognized by the Obico app. If it is, simply click link in the Obico app to link Obico to your printer
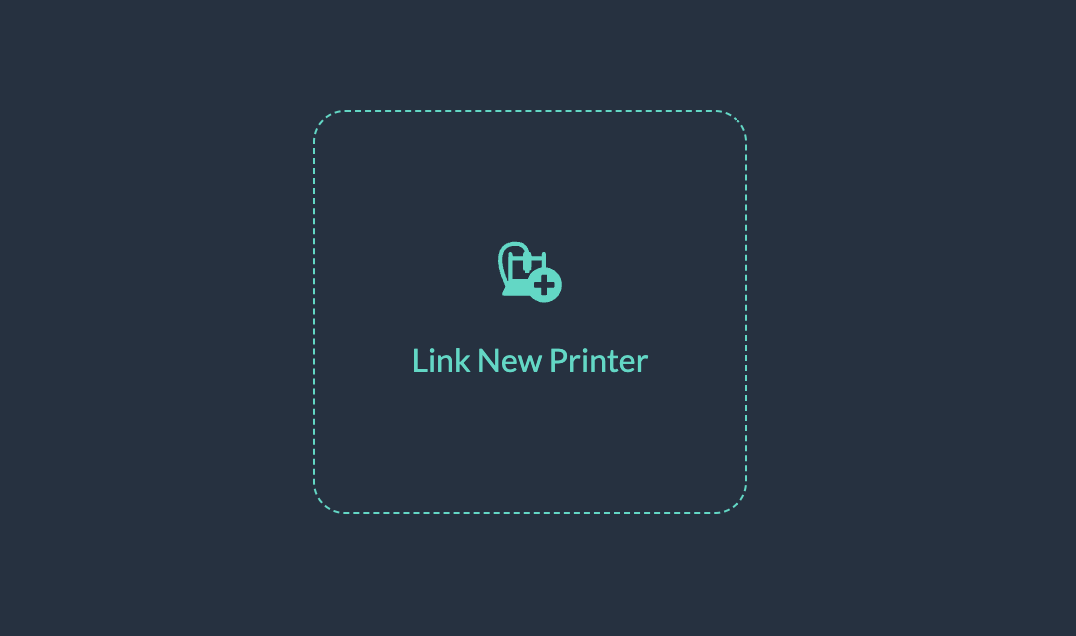
Once Obico has connected to your printer, turn your printer off and on again. After turning your printer back on, you can now access and control your 3D printer from anywhere directly from the obico mobile (available for iOS or Android or web app.
Link your K1 manually
If your printer isn’t automatically recognized, go back to the terminal and enter y to enter manual linking mode.
Go back to the obico app. Select “switch to manual setup instead” and get the six-digit code.
Paste the code into the terminal to link your printer.
Go back to the Obico app, name your printer, and start exploring full remote access plus AI failure detection for the Creality Sonic Pad.
Configure your webcam with Obico
Usually, Obico will automatically pull the webcam configured in fluidd or mainsail into the Obico app, but due to custom configurations, we'll have to add your K1 camera to obico manually.
Ensure your camera is working correctly in Mainsail or Fluidd
- Open Mainsail or fluidd, whichever one you installed earlier. If the webcam is already working in Fluidd or Mainsail, you can move to the next step.
Configure camera in Mainsail:
- In mainsail, go to "Settings". Select "Webcams" at the bottom of the left menu.
- Click "Add Webcam"
- Give your webcam a name
- Enter the URl for snapshot and stream:
- Stream: http://youripaddress:4409/webcam/?action=stream
- Snapshot: http://youripaddress:4409/webcam/?action=snapshot
- Select "Adaptive MJPEG-Streamer" under stream type.
Your camera should now work in Mainsail.
Configure camera in Fluidd:
You may find that your webcam already appears in the webcam tab in fluidd. If it doesn't, follow these steps to configure it.
- Go to the "Settings" menu in fluidd. Under cameras, make sure the camera is enabled with the "Enable" toggle. If the camera is still not working, delete the existing camera and create a new one.
- Name the camera
- Under "Stream Type", select MJPEG Adaptive.
- Under "Camera URL", enter /webcam/?action=stream
- Save the configuration.
Your camera should now work in fluidd.
Configure camera in Obico
- Open the Configuration menu in Mainsail or Fluidd.
- Locate the moonraker-obico.cfg file and open it using fluidd/mainsail's built in editor.
- Under the [webcam] section, add the following lines:
# CAUTION: Don't set this section unless you know what you are doing
#   In most cases webcam configuration will be automatically retrieved from moonraker
#
# snapshot_url = http://127.0.0.1:8080/webcam/?action=snapshot
# stream_url = http://127.0.0.1:8080/webcam/?action=stream
# target_fps = 25
# flip_h = False
# flip_v = False
# rotate_90 = False
# aspect_ratio_169 = False
Uncomment the snapshot url and stream url lines, and enter the url for your camera.
- For fluidd, it's http://127.0.0.1:4408/webcam/
- For Mainsail, it's http://127.0.0.1:4409/webcam/
For example, I am using fluidd, so my webcam section looks like this:
[webcam]
disable_video_streaming = False

# CAUTION: Don't set this section unless you know what you are doing
#   In most cases webcam configuration will be automatically retrieved from moonraker
#
snapshot_url = http://127.0.0.1:4408/webcam/?action=snapshot
stream_url = http://127.0.0.1:4408/webcam/?action=stream
# target_fps = 25
# flip_h = False
# flip_v = False
# rotate_90 = False
# aspect_ratio_169 = False
You can find a moonraker-obico.cfg sample configuration file here.
Obico currently only supports 0.1 FPS webcam streaming for the Creality K1 and K1 Max printers at this time. This is a snapshot every ten seconds. The AI failure detection will still work without any problem. The Obico team is currently working on a project to bring a higher frame rate webcam streaming to these printers, so stay tuned!
Configure Obico's Remote Tunneling to open fluidd or Mainsail
One great feature Obico offers is the ability to access the full fluidd or Mainsail interface remotely from anywhere without using a vpn or port forwarding.
Since Creality has developed their own web interface for that the K1 series uses, if you open the tunneling feature in the Obico web app or mobile app, it'll go to Creality Print by default.
You can configure tunneling to open fluidd or Mainsail by editing the moonraker-obico.cfg file. You can edit the file directly in Mainsail or fluidd.
- Open fluidd or Mainsail and go to the "Machine".
- Find the
moonraker-obico.cfgfile and click to open it. - Under the [tunnel] section, paste the following:
# CAUTION: Don't modify the settings below unless you know what you are doing
# dest_host = 127.0.0.1
# dest_port = 80
# dest_is_ssl = False
- Uncomment the dest_host line by deleting the "#" sign. Replace the destination host with the ip address for your K1
- Uncomment the dest_port line by deleting the "#" sign. Replace the port with the port for fluidd or mainsail. Fluidd's port is
4408, and Mainsail's port is4409.
For example, I am using fluidd, so my [tunneling] section is as follows:
[tunnel]
# CAUTION: Don't modify the settings below unless you know what you are doing
dest_host = 192.168.1.151
dest_port = 4408
# dest_is_ssl = False
Now you can open the Mainsail or fluidd interface from anywhere giving you complete control over your 3D printer no matter where you are!
Once your printer is linked to Obico and your webcam is working, you are ready for full Klipper remote access, AI failure detection and more on your Creality K1 or K1 MAX 3D printer! If you run into any issues, get help on Discord.
Next Steps:
Try Out Remote Access on the Creality K1
Try out Obico’s mobile app
The Obico mobile app gives you an easy way to monitor and control your Sonic Pad connected printer from anywhere even if you are away from your 3D printer. The Obico app is highly rated with 4.8+ stars.
Test Klipper remote access
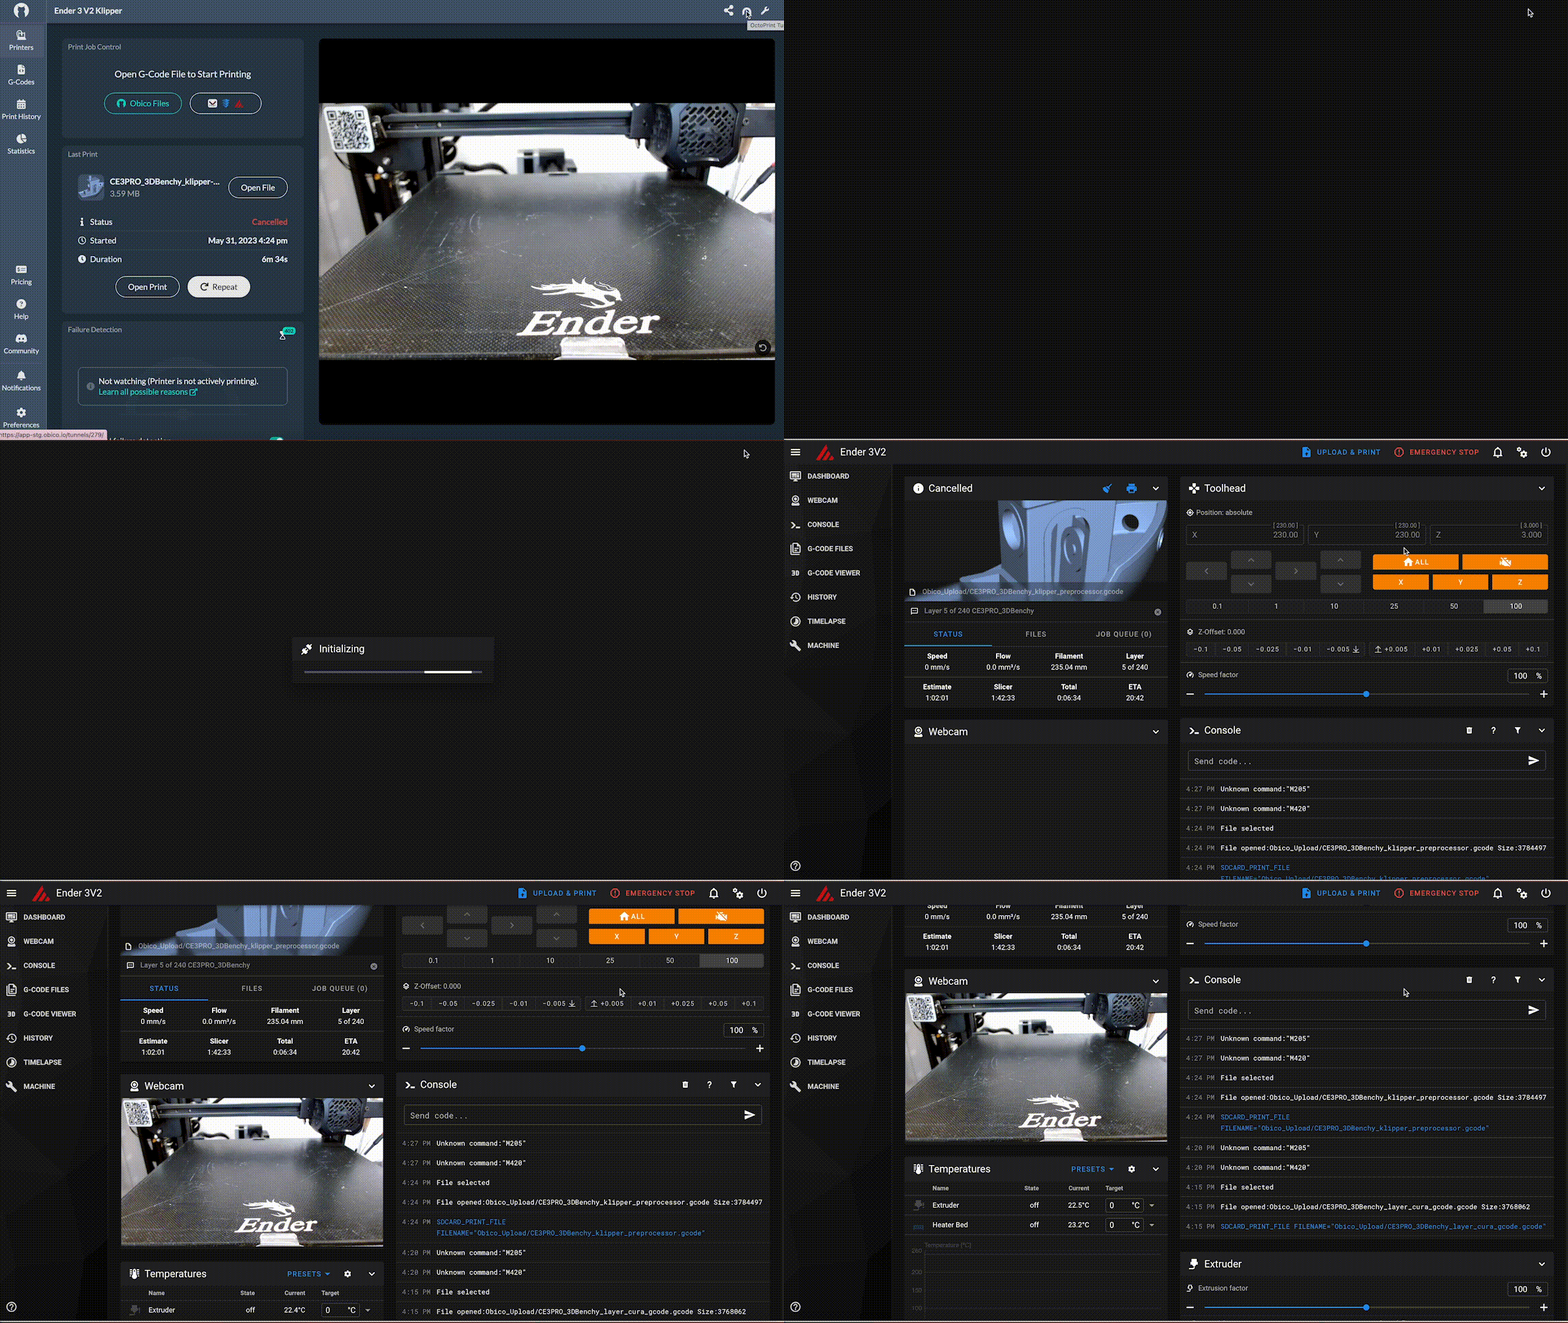
Now that you've linked Obico to your Sonic Pad, you can now access the Fluidd interface remotely with Obico’s tunneling feature even if you are nowhere near your 3D printer.
In the web app:
If you only have one printer connected to Obico, you can access the Fluidd remotely by opening the printer page, and clicking the tunnel icon in the upper right corner.
If you have more than one printer connected, you can open the fluidd tunnel remotely by clicking the three-dot menu for the printer you want to access from the printer page. You can also open the detailed view and click the tunnel icon in the upper right as mentioned above.
Of course, you can also use the tunneling feature in the Obico mobile app or simply use the mobile app interface to monitor and control most aspects of your 3D printer.
Configure Klipper Notifications
Obico's customizable notification system helps you stay up to date throughout the whole process of your print. Get notifications on any type of device including your phone, computer or Apple Watch!
Try Obico's AI failure detection
Obico uses the latest cutting edge AI technology optimized for 3D printing to monitor your 3D prints so you don't have to! Use a webcam connected to your sonic pad to watch for failures and get notified or pause the print when a failure is detected.
In conclusion, Obico's integration of remote access and AI-driven failure detection has greatly improved the 3D printing experience, especially for Creality K1 users. This software platform offers the convenience of managing print jobs from anywhere, while its AI system helps detect and prevent potential printing issues in real-time. Although the setup process involves certain complexities, the benefits of enhanced efficiency and reduced print failures make it a valuable tool for 3D printing enthusiasts and professionals seeking to optimize their Creality K1 experience.
Having issues getting Obico installed on your Creality K1?
We're here to help! Send us a messsage on Discord to get help if you run into any issues!
