Pushover Notifications Setup Guide
note
This is a community-contributed guide. This guide is based on certain Obico community members' own setup and hence may not work for you.
This tutorial walks you through the steps to configure Pushover notifications on your self-hosted Obico Server.
1. Create a Pushover app and obtain its API Token and your User Key
Creating a Pushover app is a surprisingly simple process. Follow the Pushover instructions.
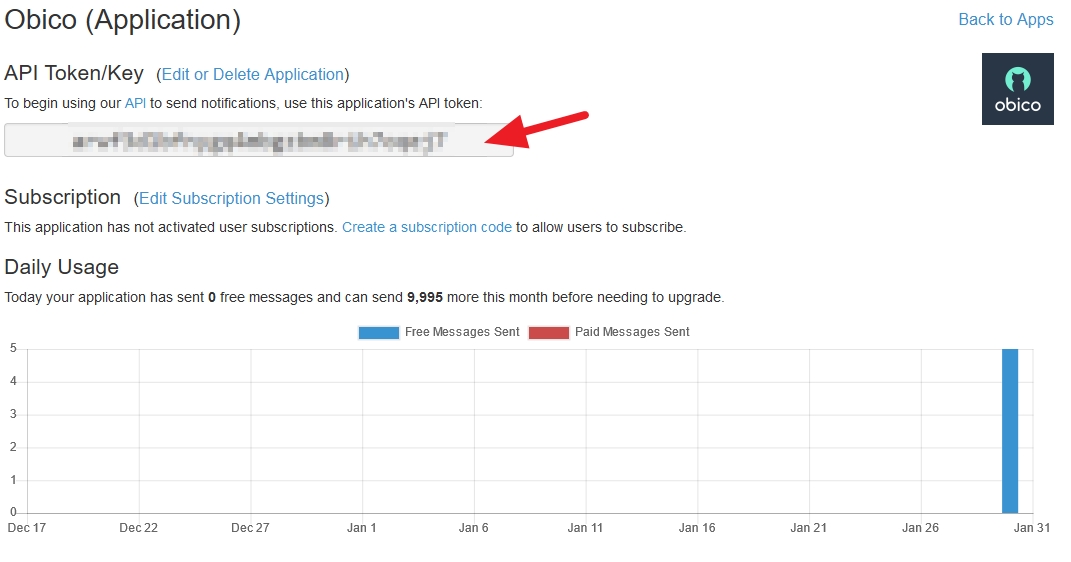
If everything goes smoothly, you should see a page similar to this when you are done with your new API key:
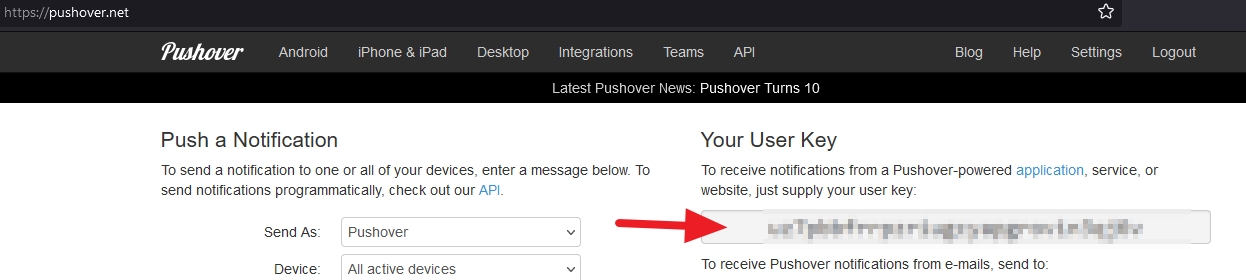
While you are on Pushover's site, make note of your User Key as well. It should be displayed on the Pushover homepage if you are logged into your account.
2 Configure environment variables
- Make a copy of
dotenv.exampleand rename the copy as.envin the project root directory if you haven't previously done so. - Open the
.envfile. - Uncomment the line with
PUSHOVER_APP_TOKENand paste in your API key obtained in step 1 like this:
...
PUSHOVER_APP_TOKEN=the-pushover-app-token-you-obtained-in-step-1
...
3. Rebuild the app containers
Run this command to rebuild your app containers:
docker-compose up --build -d
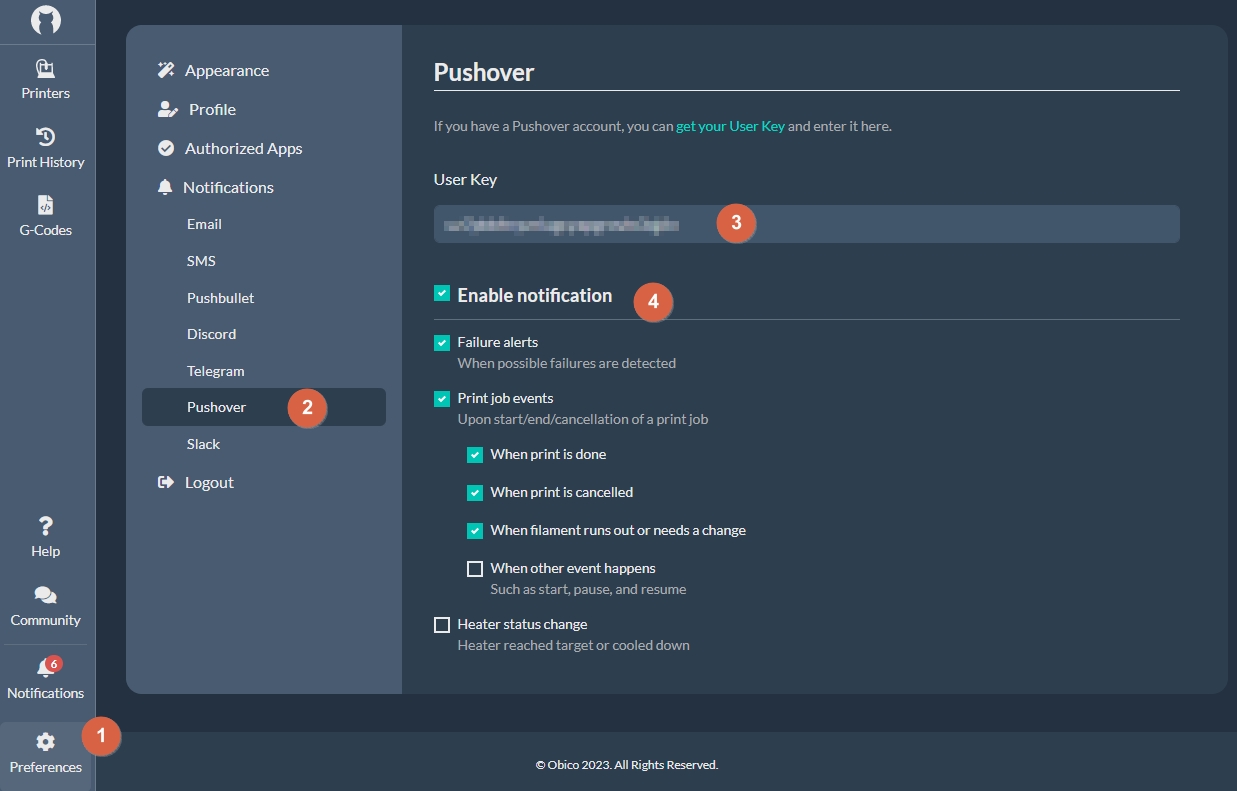
4. Configure your User key and notification preferences
- Navigate to the Preferences panel in the web UI.
- Click the Pushover option under Notifications
- Paste in your Pushover User Key obtained in step 1
- Ensure the Enable notification box is checked. Also check/uncheck your preferred notification events