Inferior Surface Quality Underneath Supports

ยท 3 min read

Inferior Surface Quality underneath Supportsโ€‹

What Is It?โ€‹

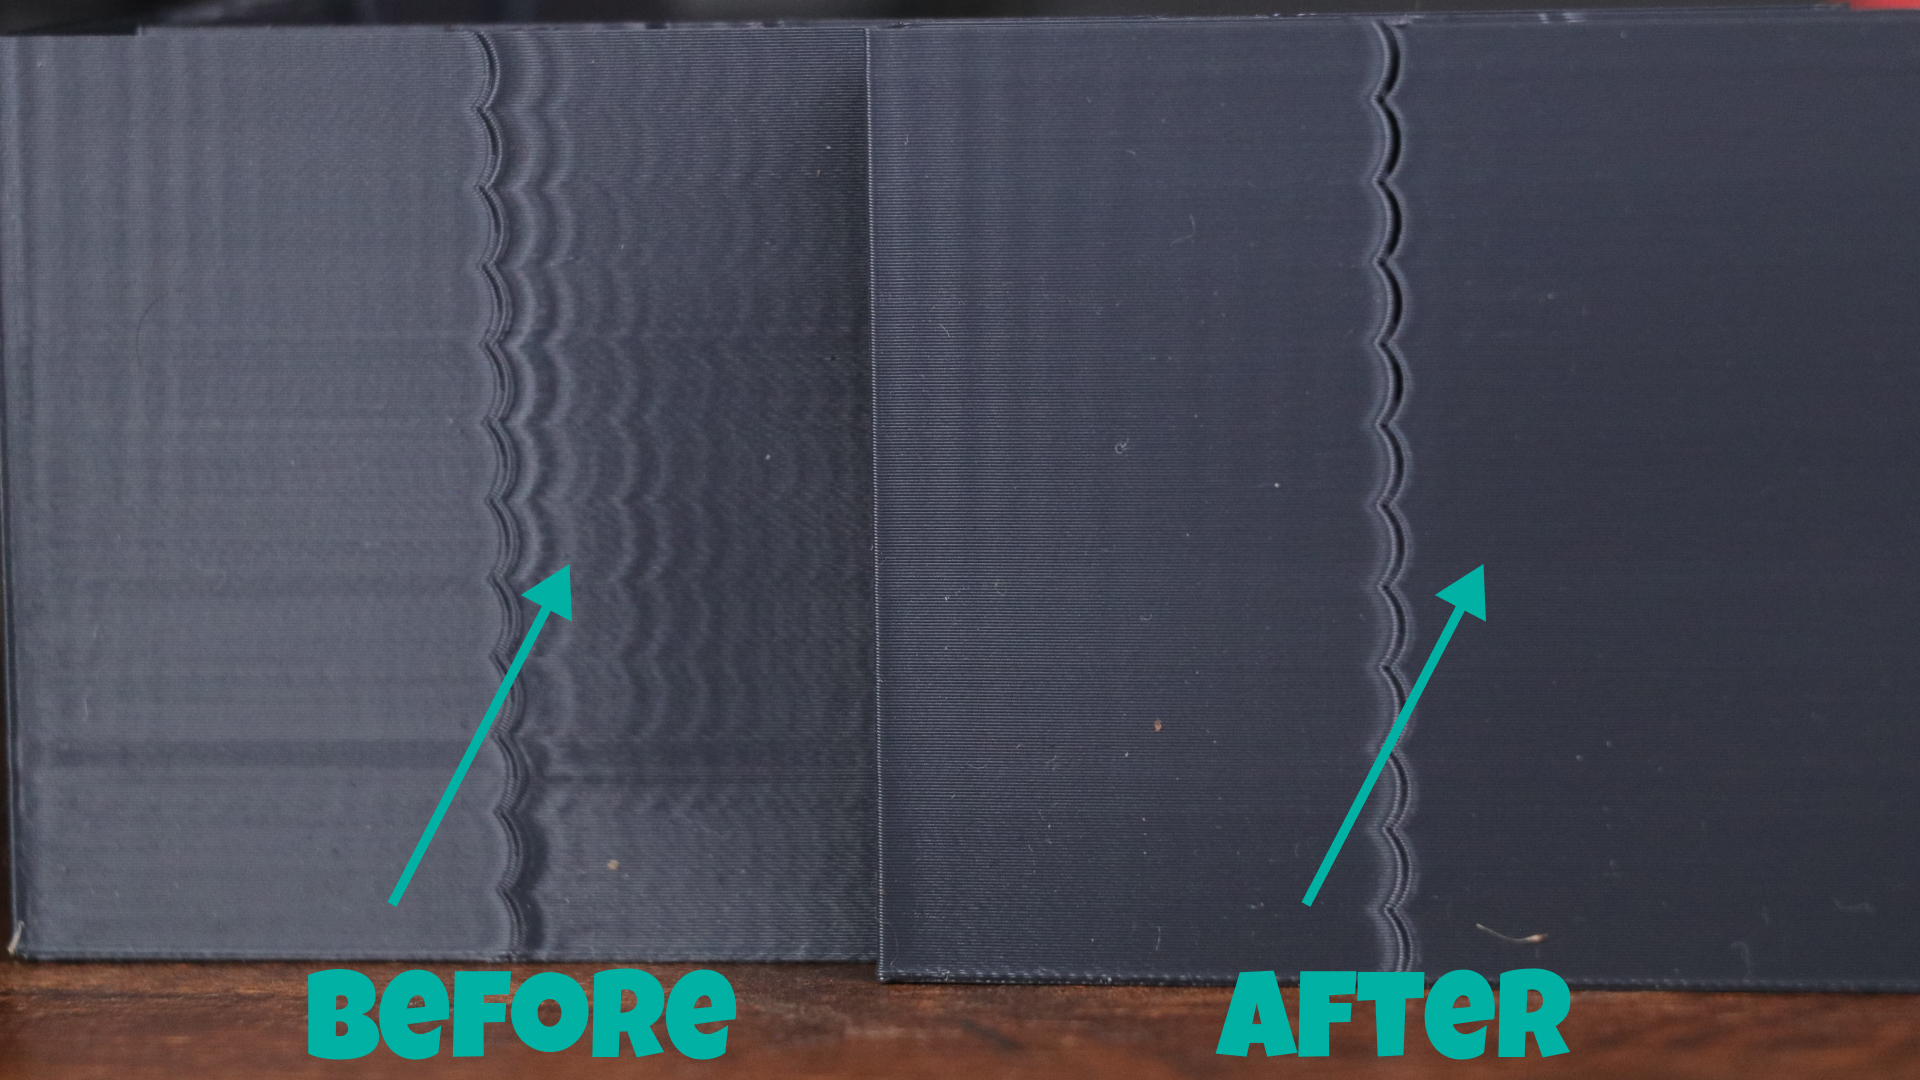
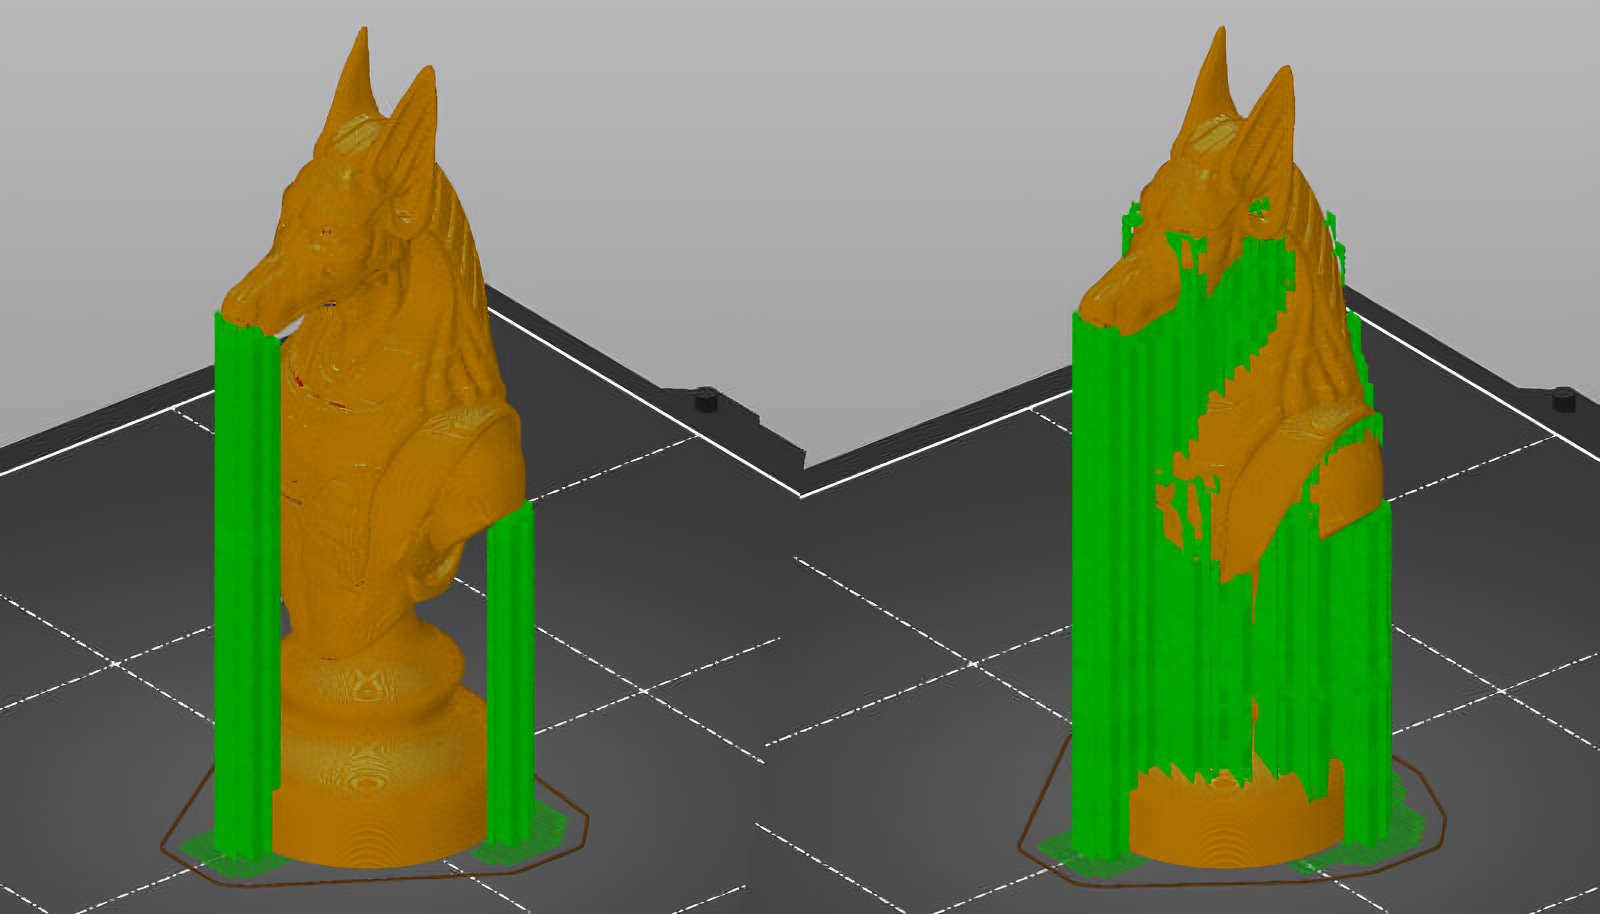
With extreme overhangs, you need to use support structures that use the print's surface as their base. In such cases, the support pillars can adhere firmly to your print, affecting your part's surface quality. Less distance between the support base and the print can make removing the supports a challenge.

Popular slicers such as Cura and PrusaSlicer circumvent this issue using Tree Supportstructures. Tree supports have minimal contact with your 3D prints and help you achieve better-looking parts even with large overhangs.

Innacurate Dimensions

ยท 2 min read

Inaccurate Dimensionsโ€‹

What Is It?โ€‹

Incorrect printer calibration can lead to dimensional inaccuracies in your final 3D printed parts. An inaccurate part will not fit well with other elements and lead to issues during the final assembly of your printed design. It's not an issue with 3D-printed showpieces or aesthetic parts but will cause significant problems with complex assemblies or functional designs.

For simplicity, we'll broadly classify these inaccuracies as positive and negative dimensional errors. If your print has a positive error, it indicates the observed measurement is more than the designed value. If your print's observed measurement is less than the design value, it indicates a negative print error.

Layer Shifting

ยท 7 min read

Layer Shiftingโ€‹

What Is It?โ€‹

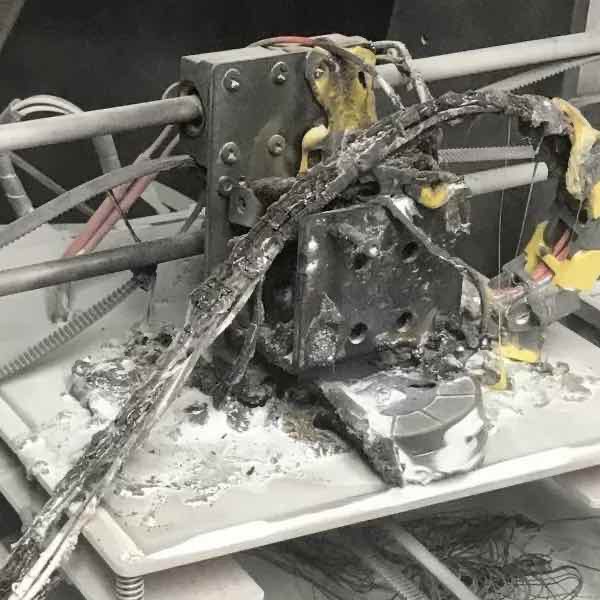
Layer shifting is one of the most undesirable problems in 3D printing, and there's no way to recover your prints from this issue. A layer shift is unpredictable, not easy to diagnose, and leads to a print failure. Layer shifts are more likely to occur during long printing jobs due to the continuous strain on the printer's mechanical and electrical components.

The best way to prevent layer shifting is to perform periodic maintenance of your printer and ensure that each component performs optimally.

Alternatively, if your prints fail due to the layer shifts, you can use Obico to quickly catch the failed prints and stop it. The Obico software offers you complete remote control of your 3D printer, and helps you save on filament and printing time.

Poor Quality Bridges

ยท 5 min read

Poor Quality Bridgesโ€‹

What Is It?โ€‹

Long bridge segments in your 3D prints can sag a little due to the lack of supports or high printing temperature. In these cases, the filament lines drool down and spoil the appearance of your 3D prints. Excessive sagging ruins the bridge's structural integrity and might even cause interference issues with mating components.

Prints Difficult to Remove From Bed

ยท 3 min read

Prints Difficult to Remove From Bedโ€‹

What Is It?โ€‹

A low layer height, improper bed level, or extra bed adhesion can cause the prints to stick firmly to the print bed. Certain materials like PETG stick too well with glass beds and hairspray. In many cases, the prints either broke halfway or had a piece of bed surface stuck to their bottom layers.

To avoid this issue, you must calibrate your first layer height and use the appropriate printing surface per your material. The key is to strike a perfect balance such that your prints stick well enough not to get knocked off quickly but not too firm that it becomes difficult to remove.

Stringing Issues

ยท 8 min read

Stringing Issuesโ€‹

What Is It?โ€‹

Stringing is denoted as the oozing of filament from the nozzle when the print head travels between two points on your 3D model. It's caused due to excess filament oozing out of the nozzle due to improper retraction settings or high filament temperature.

Stringing issues result in extra efforts during the post-processing to clean your prints and might still leave small blobs or dots on the print's surface. Although it might not affect the print's structural integrity in severe cases, it impacts the print quality and is an undesirable attribute for printing aesthetic or showpiece items.

Under-Extrusion

ยท 9 min read

Under extrusionโ€‹

What Is It?โ€‹

Under extrusion is caused when there's an interruption in your filament flow. Gaps in your layers, irregular layer lines, or webbed layers in your 3D model indicate an inadequate filament flow to the nozzle. It's one of the most common printing issues and is prevalent with Bowden drive extruders due to the long path of the filament.

Warping and Splitting Layers

ยท 5 min read

Warping and Split Layersโ€‹

What Is It?โ€‹

Warping or curling occurs mainly on the initial few layers of your part, leading to a failed print, poor print quality, or a dimensionally inaccurate part. Whereas layer splitting usually takes place in the middle of the top portion of your printed pieces. Split layers directly affect your part's structural integrity, resulting in an unappealing-looking 3D print.

The primary reasons behind both these problems are the printing temperature and ambient temperature of your 3D print. If there's a significant difference between your hot and bed temperature and the surrounding environment, you will experience warping and layer splitting in your 3D-printed parts.

3D Printer Wifi - All You Need to Know

ยท 9 min read

3D printing is an evolving technology and engineers are constantly upgrading it to eliminate any primal issues in it. Till recently it was common to tether your 3D printer to your computer to run print jobs. But now, you can easily add WiFi to your 3D printer.

Adding WiFi to your 3D printer gives you an unprecedented advantage and we will be discussing the same in this article and how to set it up with ease.

The Basics of 3D Printing?โ€‹

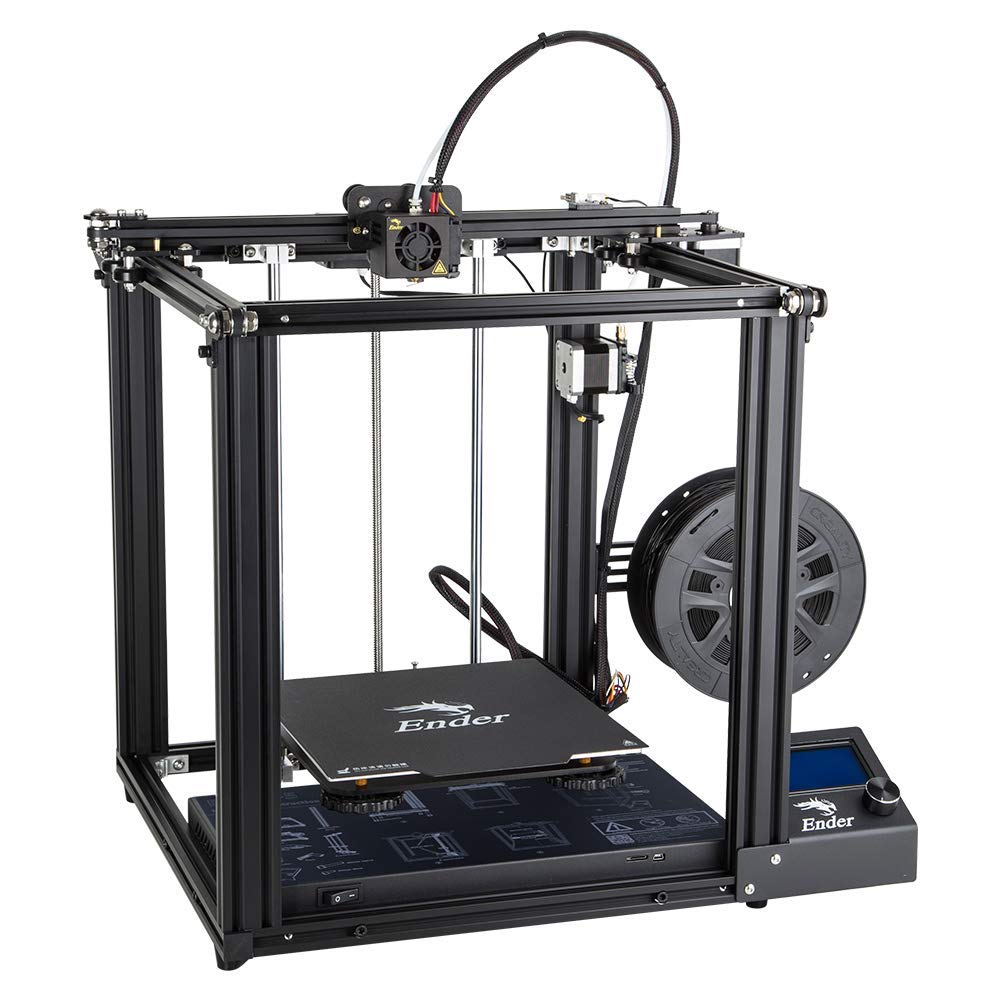
Creality Ender 3 FDM 3D printer/Courtesy: Creality

3D printing is a manufacturing technology that creates three-dimensional objects by adding layers of material one on top of the other until the entire object is formed. Because it produces objects in an additive manner, the process is also known as additive manufacturing.

In comparison to traditional manufacturing methods, this process eliminates the need for tooling and reduces material waste.

The entire ecosystem of the 3D printing process can be used to explain how it works. Here's a quick rundown:

  • Software: 3D printing begins with design software, which is used to create a 3D model. After that, the 3D model is sliced in a slicing software to generate a G-code file.
  • Hardware: As the 3D printer can only read G-code files, the file is uploaded to the printer, which prints the designed object.
  • Materials: Materials for 3D printing include filaments, resins, polymer or metal powders, and metal wires.
  • Post-processing: After the 3D printer prints the object, the part usually needs to go through some sort of post-processing stage, such as support structure removal, sanding, acetone vaporing, UV curing, washing, coloring, dyeing, Hot Isostatic Pressing annealing, and so on.

Klipper 3D Printer Firmware - Tips and Tricks

ยท 12 min read

Introductionโ€‹

Klipper is an upcoming and popular 3D printing firmware that's quickly becoming the standard in high-speed 3D printing. Its extensive feature set, vibrant community, and continuous development make it the go-to option for several new users and professionals.

Yet, Klipper is still in its nascent stages, and there's little information available on how to get the most out of the firmware. It causes new users to limit themselves to the basic functionalities and miss out on some valuable features of the Klipper firmware.

In this article, we'll go over some of the useful tips and tricks you can use with your Klipper 3D printer to get the most out of it. It'll help you use Klipper in the best way possible and improve your 3D printing experience.

Let's get started with some tips and tricks to optimize your klipping experience.