Prusa Slicer - Getting Started with Prusa Slicer (for Any 3D Printer)

PrusaSlicer UI Courtesy of Prusa
PrusaSlicer is a powerful open-source slicing software with advanced 3D printing features and customization options. This blog post will walk you through the process of getting started with PrusaSlicer, from downloading and installing the software to setting up your first print.
Whether you are new to 3D printing or an experienced user, this guide will help you get the most out of PrusaSlicer.
What is PrusaSlicer?
PrusaSlicer is a free, open-source slicing software developed by Prusa Research, a Czech Republic-based 3D printing company. Based on the widely used Slic3r software, it later evolved into Slic3r PE (Prusa Edition) and marketed it as its own in-house slicer.
Prusa added more features over time and modified it enough to distinguish it from the Slic3r framework, and it was eventually released as a completely new software called PrusaSlicer. Though it may appear that it is only compatible with the Prusa printer, it actually works with all 3D printers.
Since its release in 2019, the PrusaSlicer has grown in popularity and is now one of the fastest growing slicer software. Because the software is supported by Prusa, a large and global company, users can be confident that if they switch to PrusaSlicer, the software will be regularly updated, debugged, and improved with new and useful features.
Why PrusaSlicer for all 3D printers?

Voron 2.4/Courtesy: MatterHackers
There are numerous reasons to use PrusaSlicer, and we will attempt to cover the most important ones in the sections that follow. PrusaSlicer is now a popular choice for all types of users, but particularly for enthusiasts, hobbyists, and makers. The ease of use, wide range of features, large and active user community, and backing by a strong and growing company all contribute to its popularity.
It also benefits from the fact that Prusa has emerged as a leader in the open-source maker community, and thus this community has a special attachment to Prusa rather than brands that follow a closed system model.
How to download and install PrusaSlicer?

PrusaSlicer stable release download/Courtesy: Prusa
To download and install PrusaSlicer, follow the following steps:
- Click the "Download" button on the PrusaSlicer website. You can download either a stable release or even the Alpha/Beta releases.
- Choose the PrusaSlicer version you want to download. Versions are available for Windows, Mac, and Linux.
- When the download is finished, open the installer file and follow the on-screen instructions to install PrusaSlicer on your computer.
- Once installed, you should be able to launch PrusaSlicer from the start menu or by double-clicking the PrusaSlicer icon on your desktop.
That's all! PrusaSlicer should now be installed and ready to use.
Setting up your first Print in Prusa Slicer
Every new piece of software has a learning curve, and PrusaSlicer will take some time to get used to. The first print is always important, and when you open the software for the first time, it will launch the Configuration Assistant and guide you through the process of selecting your printers and materials. When the configuration is complete, the printers and materials you selected will be visible on the main screen.
First Print Walkthrough
We'll walk you through the process of creating your first print on PrusaSlicer and explain some of the features along the way.
Model Import: The obvious first step is to load a model into the slicer. You can drag and drop the file, use the Add button, or go the traditional route by selecting File > Import from the header menu. Prusa is compatible with STL, STEP, 3MF, OBJ, and AMF files.
Model Orientation: After importing the file, check the model's orientation. It may not be in the orientation you want to print it in, in which case you should manually adjust the model using the Rotate tool. For a perfect orientation, make sure your biggest flat surface is on the bed. Additionally, fix such an orientation that the print will need minimal support structures.
Select Printer: You don't need to do anything here if you already chose your 3D printer and nozzle diameter in the configuration wizard. If you have multiple printers configured, select the printer and nozzle you want to use here.
Select Material: You should be aware that different materials require different settings. PrusaSlicer includes presets for a variety of materials; simply select one from the drop-down menu in the right panel.
Selecting a Print Profile: PrusaSlicer includes a number of print profiles to assist you in determining the best print quality for your part. You can select from a variety of profiles for printing with speed, quality, details, and so on. You don't have to worry about setting the parameters every time you have to print.
Supports: More often than not, you may have to print parts that require support structures. PrusaSlicer can automatically detect and generate supports for parts. You can toggle supports on and off, and even specify whether you want them to appear everywhere or only on the build plate.
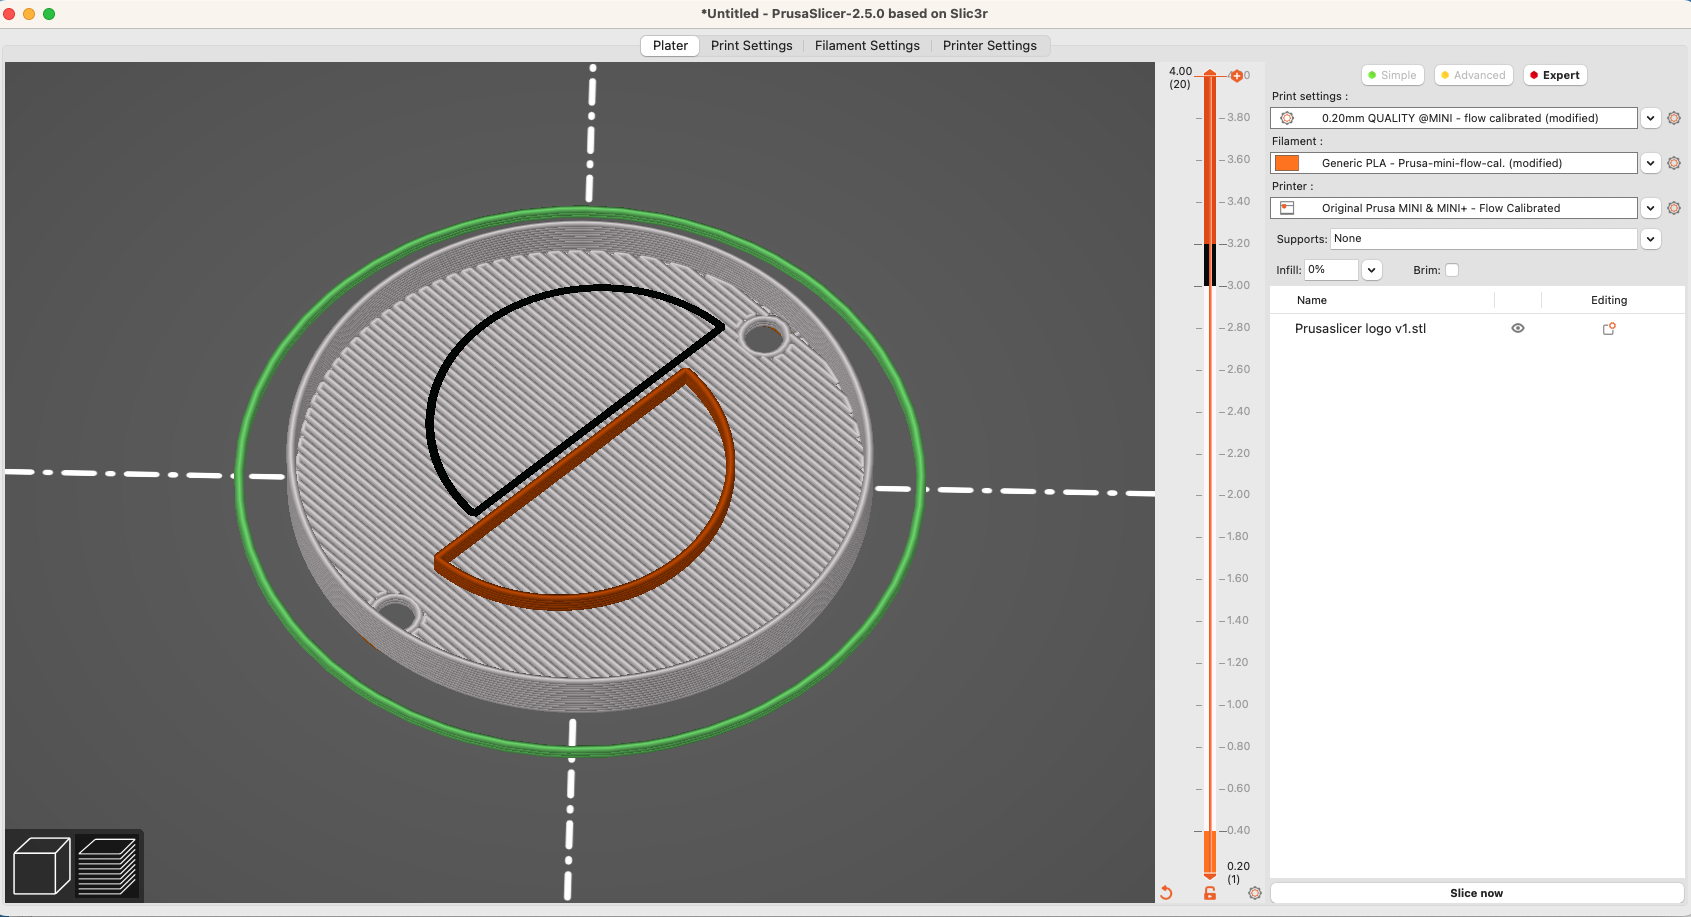
Preview G-code: The final step in preparing a print is to preview the G-code before you slice it. After you've entered all of the necessary parameters, click the Slice Now button. The preview mode will be activated automatically. Here you can use a slider to see how each layer of the model will print, inspect the layers, and then export the G-code if you are satisfied.
Tips and tricks for getting the best results with PrusaSlicer

PrusaSlicer Preview G-code/Courtesy: Prusa
You should have got a good understanding of the PrusaSlicer by now, but to get the most out of it, we've included a few tips and tricks below:
Expert View: PrusaSlicer has three setting options: Simple, Advanced, and Expert. One trick is to use the Expert settings so you are able to see all available parameters. If you are a beginner, make sure to only change the settings that you are familiar with and leave the rest alone. This way, you can keep track of all parameters and, over time, start using them to improve your results.
Firmware Type: When configuring a custom printer for the first time, make sure to select Marlin as the firmware type. In case you have a printer with proprietary firmware, you may need to select RepRap/Sprinter.
Print and Infill Speed: Once you complete the configuration at the start, the slicer creates new profiles for print settings, filaments and the printer. You can use these, but you may need to modify them slightly. Check the layer height, as well as the print and infill speeds, in particular. These are typically high, and you may need to reduce them by 40% to maintain a safe speed. After a few prints, you can revisit these settings and change them to suit your needs.
Custom G-Code: You may need to make some changes to the custom G-code to ensure everything is in order and according to the usual norms followed by experts. If you have a heated bed, you must include a code to turn off the bed heater at the end of this section (M140 S0; turn off bed). Additionally, you can make a variety of other customizations as well.
Leveraging Advanced Features and Customization Options in PrusaSlicer

PrusaSlicer Multi Material painting/Courtesy: Prusa
PrusaSlicer has a plethora of advanced 3D printing features and customization options. Some of the advanced features and customization options available in PrusaSlicer are as follows:
Multiple extruders: PrusaSlicer supports multiple extruders, allowing you to print multi-color or multi-material models.
Automatic support generation: PrusaSlicer can automatically generate support structures for models with overhangs or other complex geometries.
Adaptive slicing: The adaptive slicing feature in PrusaSlicer allows you to optimize the print for specific regions of the model, resulting in better print quality and faster print times.
Color Painting: Coloring an object for multi-material printing only takes a few clicks of the smart fill and brushstroke tools! The painted regions are cleverly extended inwards during slicing for the best material adhesion.
Send G-Code over Network: With a single click of a button, you can send G-code directly to your printer. PrusaSlicer supports Octoprint, Repetier Host, FlashAir SD cards, and many other products! With this feature you can also use Obico to send files via OctoPrint.
MSLA & MMU Support: Prusa has added the MSLA mode to PrusaSlicer post the release of its Original Prusa SL1 resin 3D printer. This makes Prusa one of the first high-quality open-source MSLA slicers available. Also, with the Original Prusa MMU2S, PrusaSlicer also supports multi-material FFF printing.
Custom supports: You can also create custom supports and it is quick and easy to paint custom supports directly on the model. Custom meshes can also be used as support blockers and enforcers. Check out our article on Prusa Slicer supports if you are interested in exploring all of the support features available.
Material settings: PrusaSlicer lets you change the filament settings for each extruder, such as the extrusion temperature, flow rate, and other parameters. Prusa Research's testers and developers constantly work on presets for the most popular manufacturers' 250+ filaments and resins. With the auto-update function, PrusaSlicer will always provide you with new profiles on a regular basis.
Built-in printer profiles: PrusaSlicer lets you save and load customized printing profiles, making it simple to switch between different print settings. Though the database is small right now, Prusa is continually expanding its collection of fine-tuned 3rd party printer profiles, including Creality, Voron, and Anycubic printers.
Get More Out of Your 3D Printing Workflow with Obico
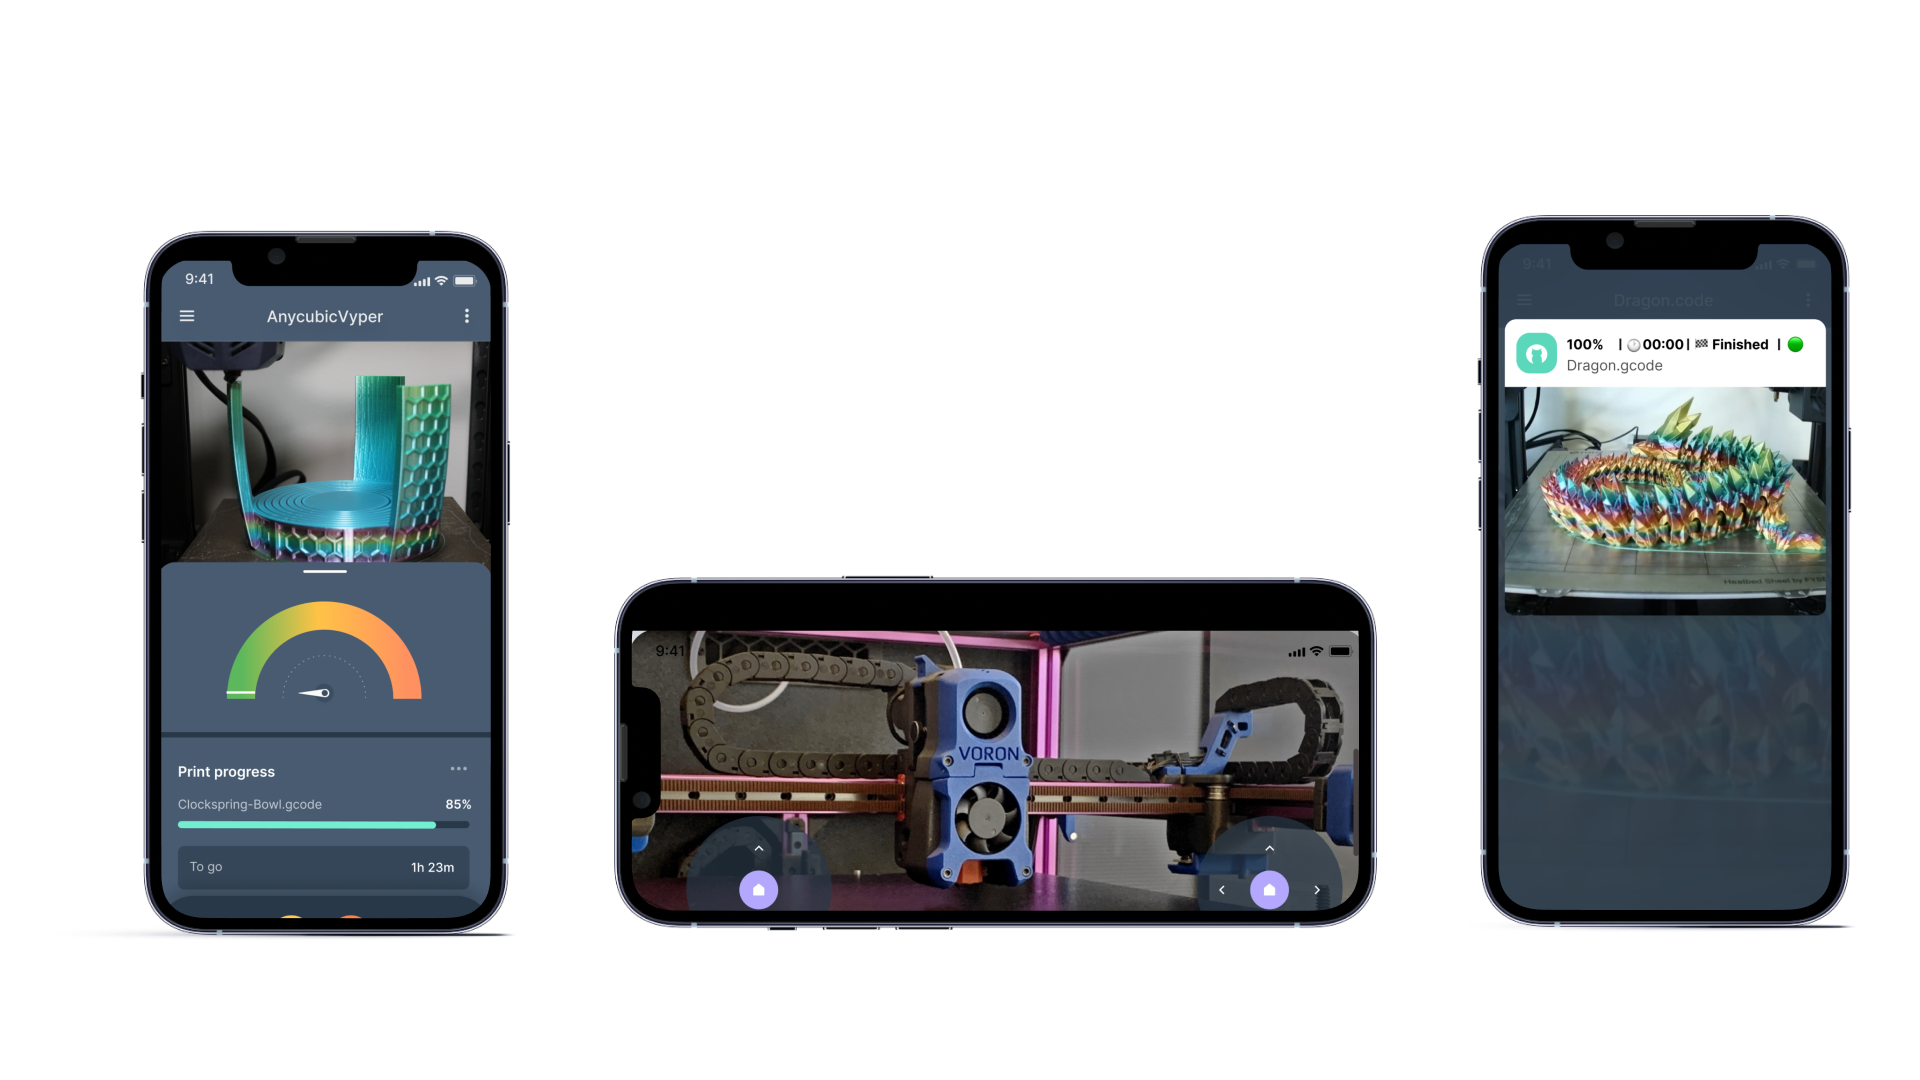
PrusaSlicer is a piece of software that allows you to have more control over your prints by utilizing various features and settings to achieve the best print results. If you want even more overall control over your prints, you should think about and investigate Obico.
Obico is also an open-source software that allows you to monitor and control your 3D printer from anywhere. You can control your printer remotely, start, pause, and stop prints, upload G-code files, live stream the print process, and much more. The Obico platform is essentially an all-in-one smart 3D printing solution. It is to be used in conjunction with OctoPrint and you can install the Obico for OctoPrint plugin to get started. We have a detailed guide on how to set up Obico for OctoPrint so you don’t have to worry much about the installation process.
Obico can be accessed via a smartphone, tablet, or desktop computer running Windows or Apple Mac OS.