3D Modeling Software for 3D Printing - Getting Started

Β· 14 min read

The core of 3D printing is a 3D model. 3D modeling for 3D printing is important as all 3D prints start with a digital CAD model that is "sliced" in a slicing software which the 3D printer prints. Being an integral part of 3D printing, having a working knowledge of 3D modeling and the various tools becomes crucial.

In this article, we'll go over the fundamentals of 3D modeling for 3D printing, as well as the distinction between inorganic and organic 3D models, and the popular software for each type.

We've included 3D modeling software for beginners for those on a low budget, as well as a few high-end options for professionals.

But first, to make sure we're all on the same page, let's go through the fundamentals of 3D printing.

How does 3D Printing work?​

A CAD design (left screen), slicing software (right), and the finished print / Courtesy: Ultimaker

3D printing, also known as additive manufacturing, is a method of creating three-dimensional objects layer by layer using a computer-aided design, or CAD. 3D printing builds objects by layering materials such as polymers, composites, or biomaterials that vary in shape and size, as well as rigidity and color.

Even though 3D printing isn't new, there are some who will benefit from our guide to the most common 3D printing terms for beginners.

Regardless of the 3D printing technology being used, it all starts with a 3D CAD model. In this article, we will go through the fundamentals of 3D modeling and its different types, with a focus on 3D printing.

To further help you in selecting the best CAD software for your 3D models, we will also list out a number of 3D modeling software suitable for both beginner and advanced users.

So let's jump in!

Klipper Camera - Installing and Configuring a Camera with Klipper

Β· 9 min read

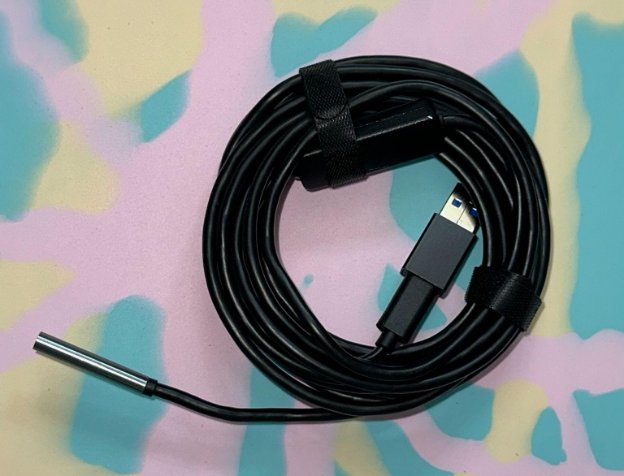
Klipper is one of the few 3D printing firmware that natively supports an external camera for monitoring your 3D printer. Klipper’s web interface makes it easy to attach a camera to the Raspberry Pi and monitor your printing progress.

But Klipper is a relatively new firmware with limited resources and guides detailing its various features. As a new user or beginner, it’s easy to get confused about the installation and configuration of a camera on your Klipper 3D printer.

This article aims to make this process easy for you and help you set up a camera on your Klipper-connected 3D printer. Read on to learn in-depth about Klipper’s camera setup procedure and how a camera can benefit your 3D printing workflow.

Klipper Timelapse With Fluidd or Mainsail - All You Need to Know

Β· 9 min read

Introduction​

Using the timelapse feature in Klipper, you can record your entire 3D printing process and share bits of it on your social media platforms. These videos are also a great tool to analyze print failures and pinpoint the causes behind a failed print.

Yet, despite their usefulness, setting time-lapse videos in Klipper can be challenging for several users. And while it's a relatively easy setup, the initial configuration can confuse beginner Klipper users easily.

In this article, we'll simplify this process for you. We'll go over the entire procedure step-by-step and configure the timelapse functionality for your Klipper instance. By the end of this guide, you'll be able to record picture-perfect timelapse videos of your 3D prints and share them within your social circle.

Let's start shooting.

Nozzle Scraping Bed Surface

Β· 4 min read

Nozzle Scraping Bed Surface​

What Is It?​

Inaccurate bed leveling, low initial layer height, or incorrect Z-offset settings can cause your printer's nozzle to scrape against the printing bed. It might damage the nozzle and the print bed and restrict the filament from flowing out of the nozzle.

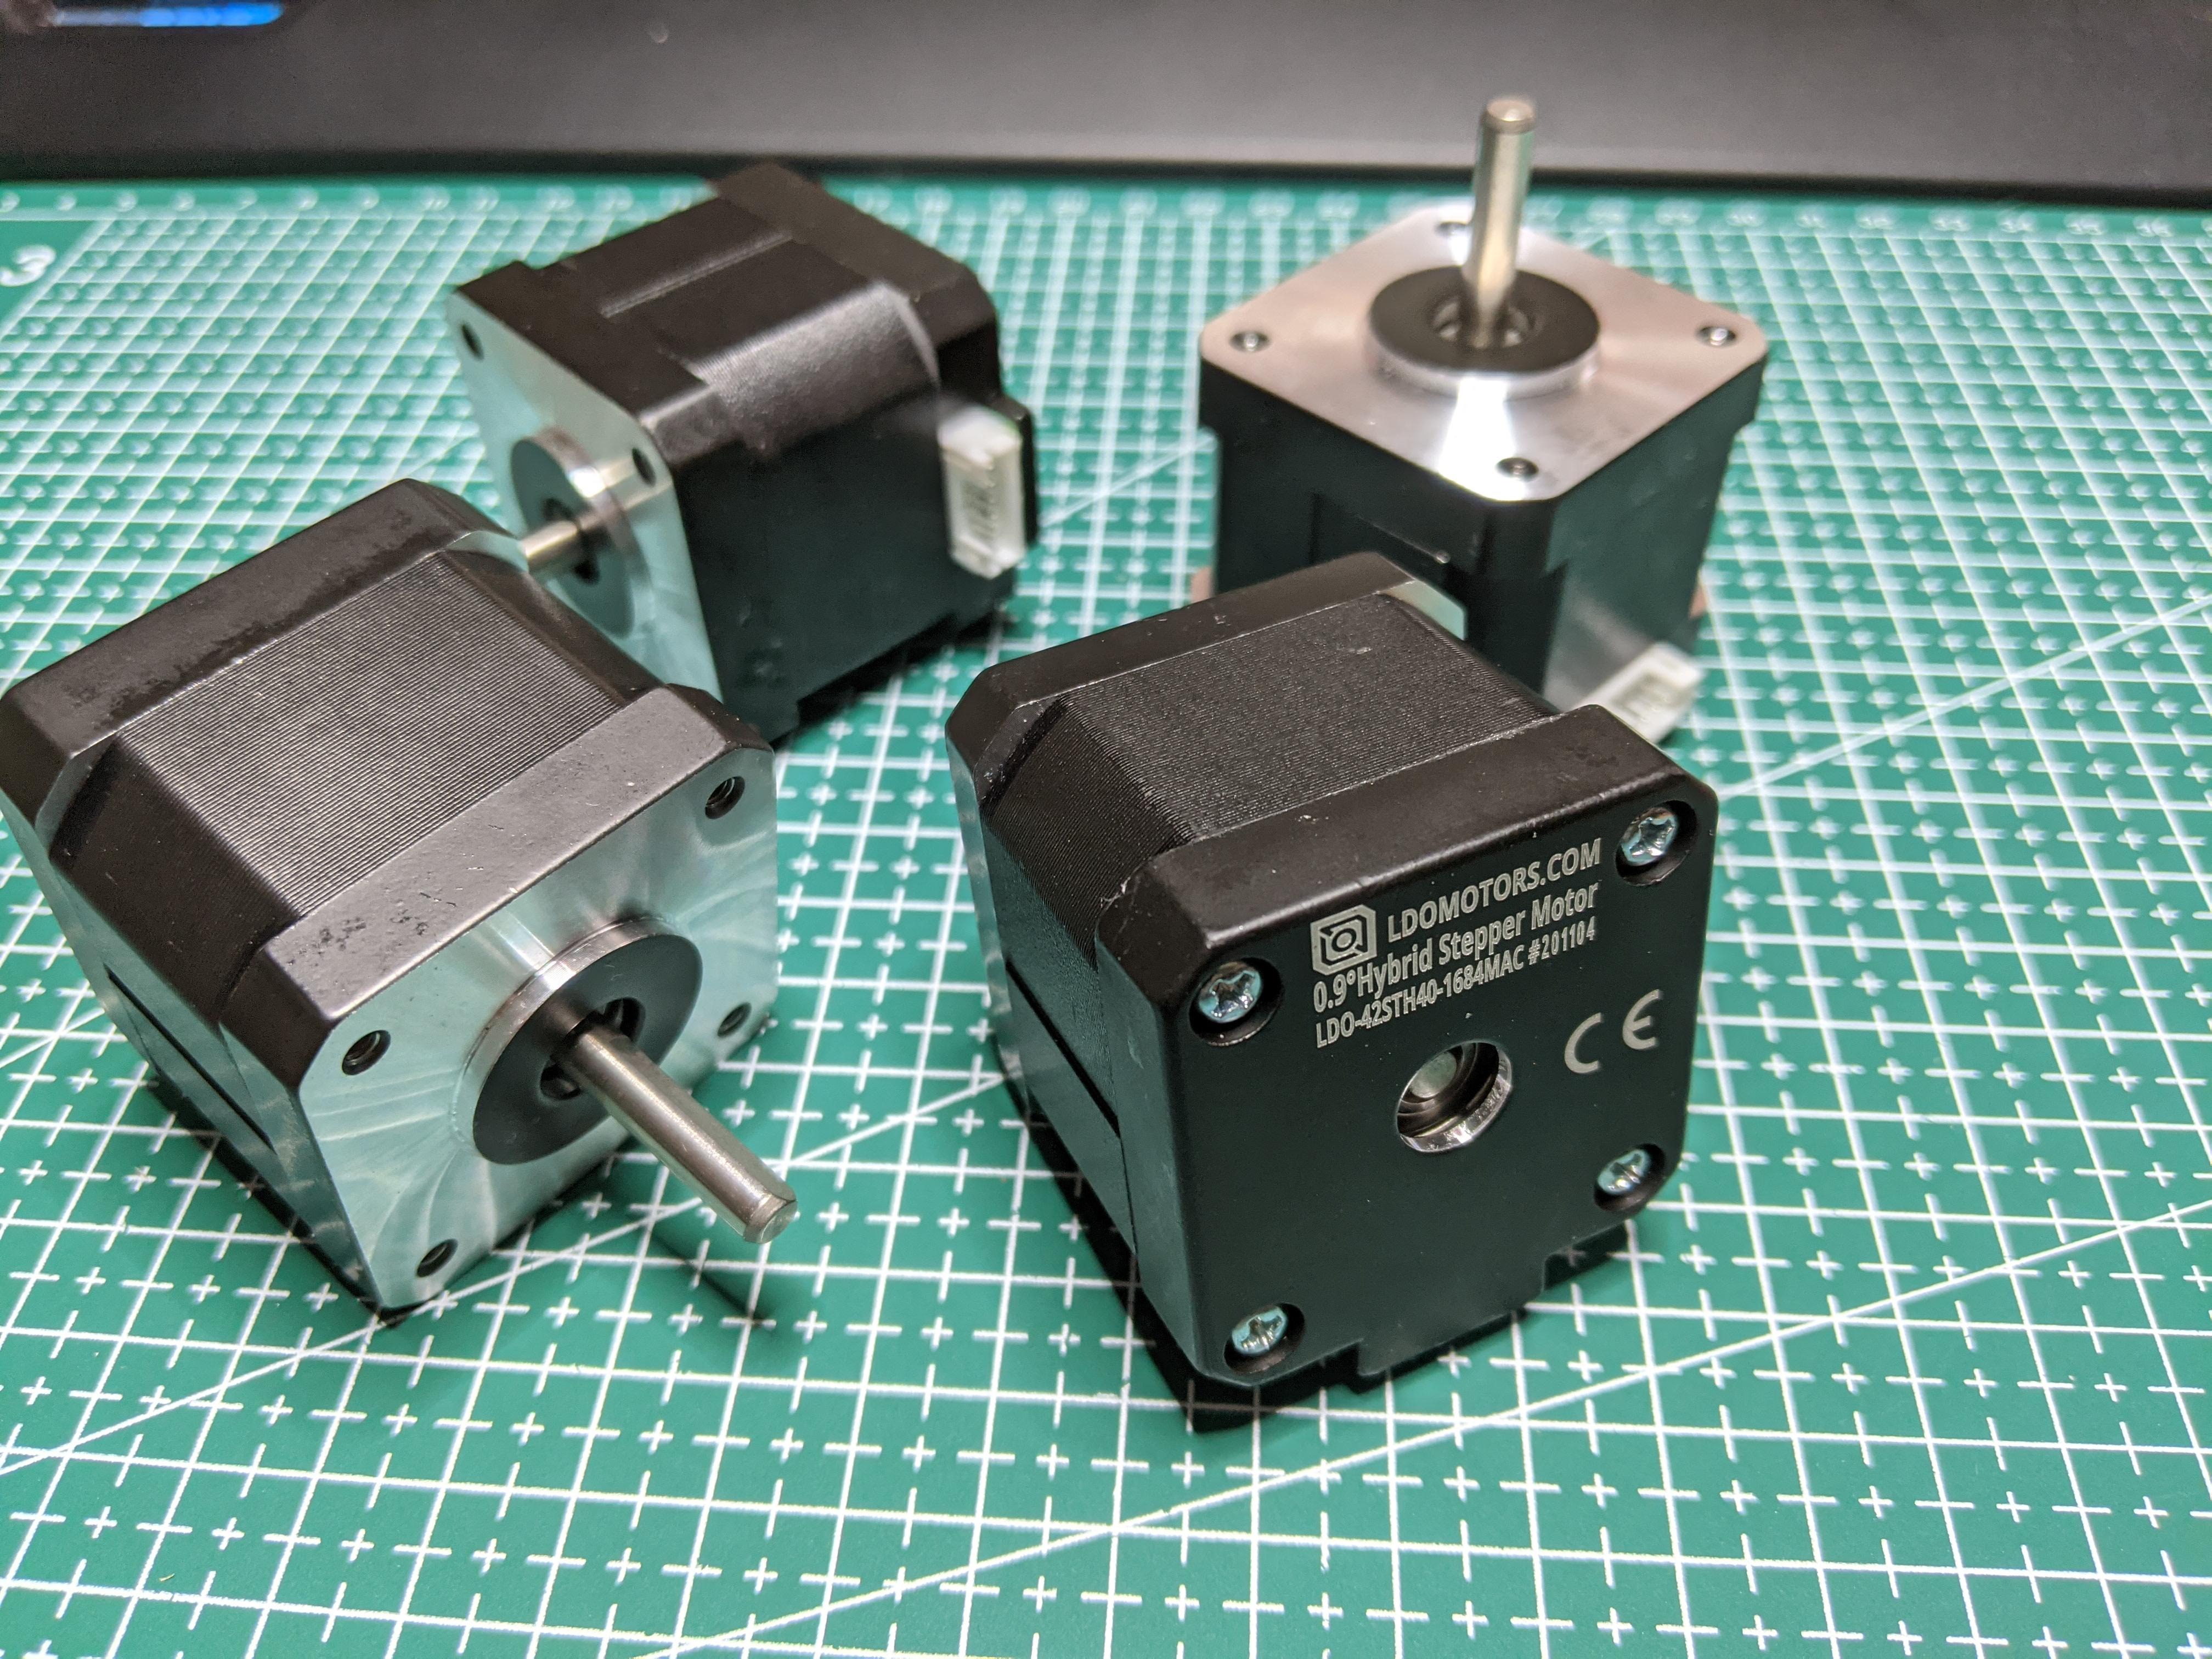
If left unchecked for a while, it can build up pressure in the hot end and cause the extruder motor to skip steps. Nozzle scraping is relatively minor but one of the most common issues faced by beginners and new 3D printer users.

Blobs and Zits

Β· 3 min read

Blobs or Zits​

What Is It?​

Blobs or Zits are the tiny dots on your print's surface and directly affect its overall quality and appearance. These are often the result of incorrect retraction settings or high printing temperature and negatively affect the surface finish of your 3D printed part.

Sometimes, you can easily remove them with sanding, but big blobs can be challenging to remove and may leave an impression on your parts. For this reason, it's best to tune your printer to not create them in the first place rather than try to remove them through post-processing.

Broken Filament

Β· 4 min read

Broken Filament​

What Is It?​

The filament is a relatively fine plastic thread, which can break easily under certain conditions. If your filament breaks mid-way during a print, it will cause a print failure leading to a loss of print time and effort.

Filament usually breaks due to poor quality control, high humidity, or extreme tension in the filament path. These conditions are essential to consider if you're planning to print large-sized objects or want to use your printer for batch 3D printing.

Filament Stops Extruding Mid-Print

Β· 4 min read

Filament Stops Extruding Mid-Print​

What Is It?​

Your 3D printer can stop extruding filament mid-way during printing, leading to a failed print and losing printing time. The most likely and apparent reason might be your printer running out of filament material.

But, in some cases, nozzle clogs and defective extruders too can be a potential issue.

First Layer Issues

Β· 5 min read

First Layer Issues​

What Is It?​

First layer issues reduce the chances of a successful print and are often the cause behind several failed 3D prints. Some of the significant and most common first layer problems are - prints not sticking to the bed surface, the first layer too rough, the nozzle not extruding filament or holes and lines in the bottom of your prints.

These problems can either affect the quality of your prints or cause them to fail, leading to loss of filament and printing times. Therefore, it's crucial to eliminate these issues and ensure a smooth and even initial layer.

Gaps in Print Surfaces

Β· 4 min read

Gaps in Print surfaces​

What Is It?​

Often 3D prints can have small visible gaps on their top surfaces, outer walls, and between the infill structure and the inner walls. These cavities ruin the appearance of your 3D-printed model and might also affect its structural integrity. Often, the cause behind gaps in your 3D prints is related to slicer settings, and you can quickly resolve these gaps by fine-tuning specific settings.

Inferior Surface Quality Above Supports

Β· 3 min read

Inferior Surface Quality above Supports​

What Is It?​

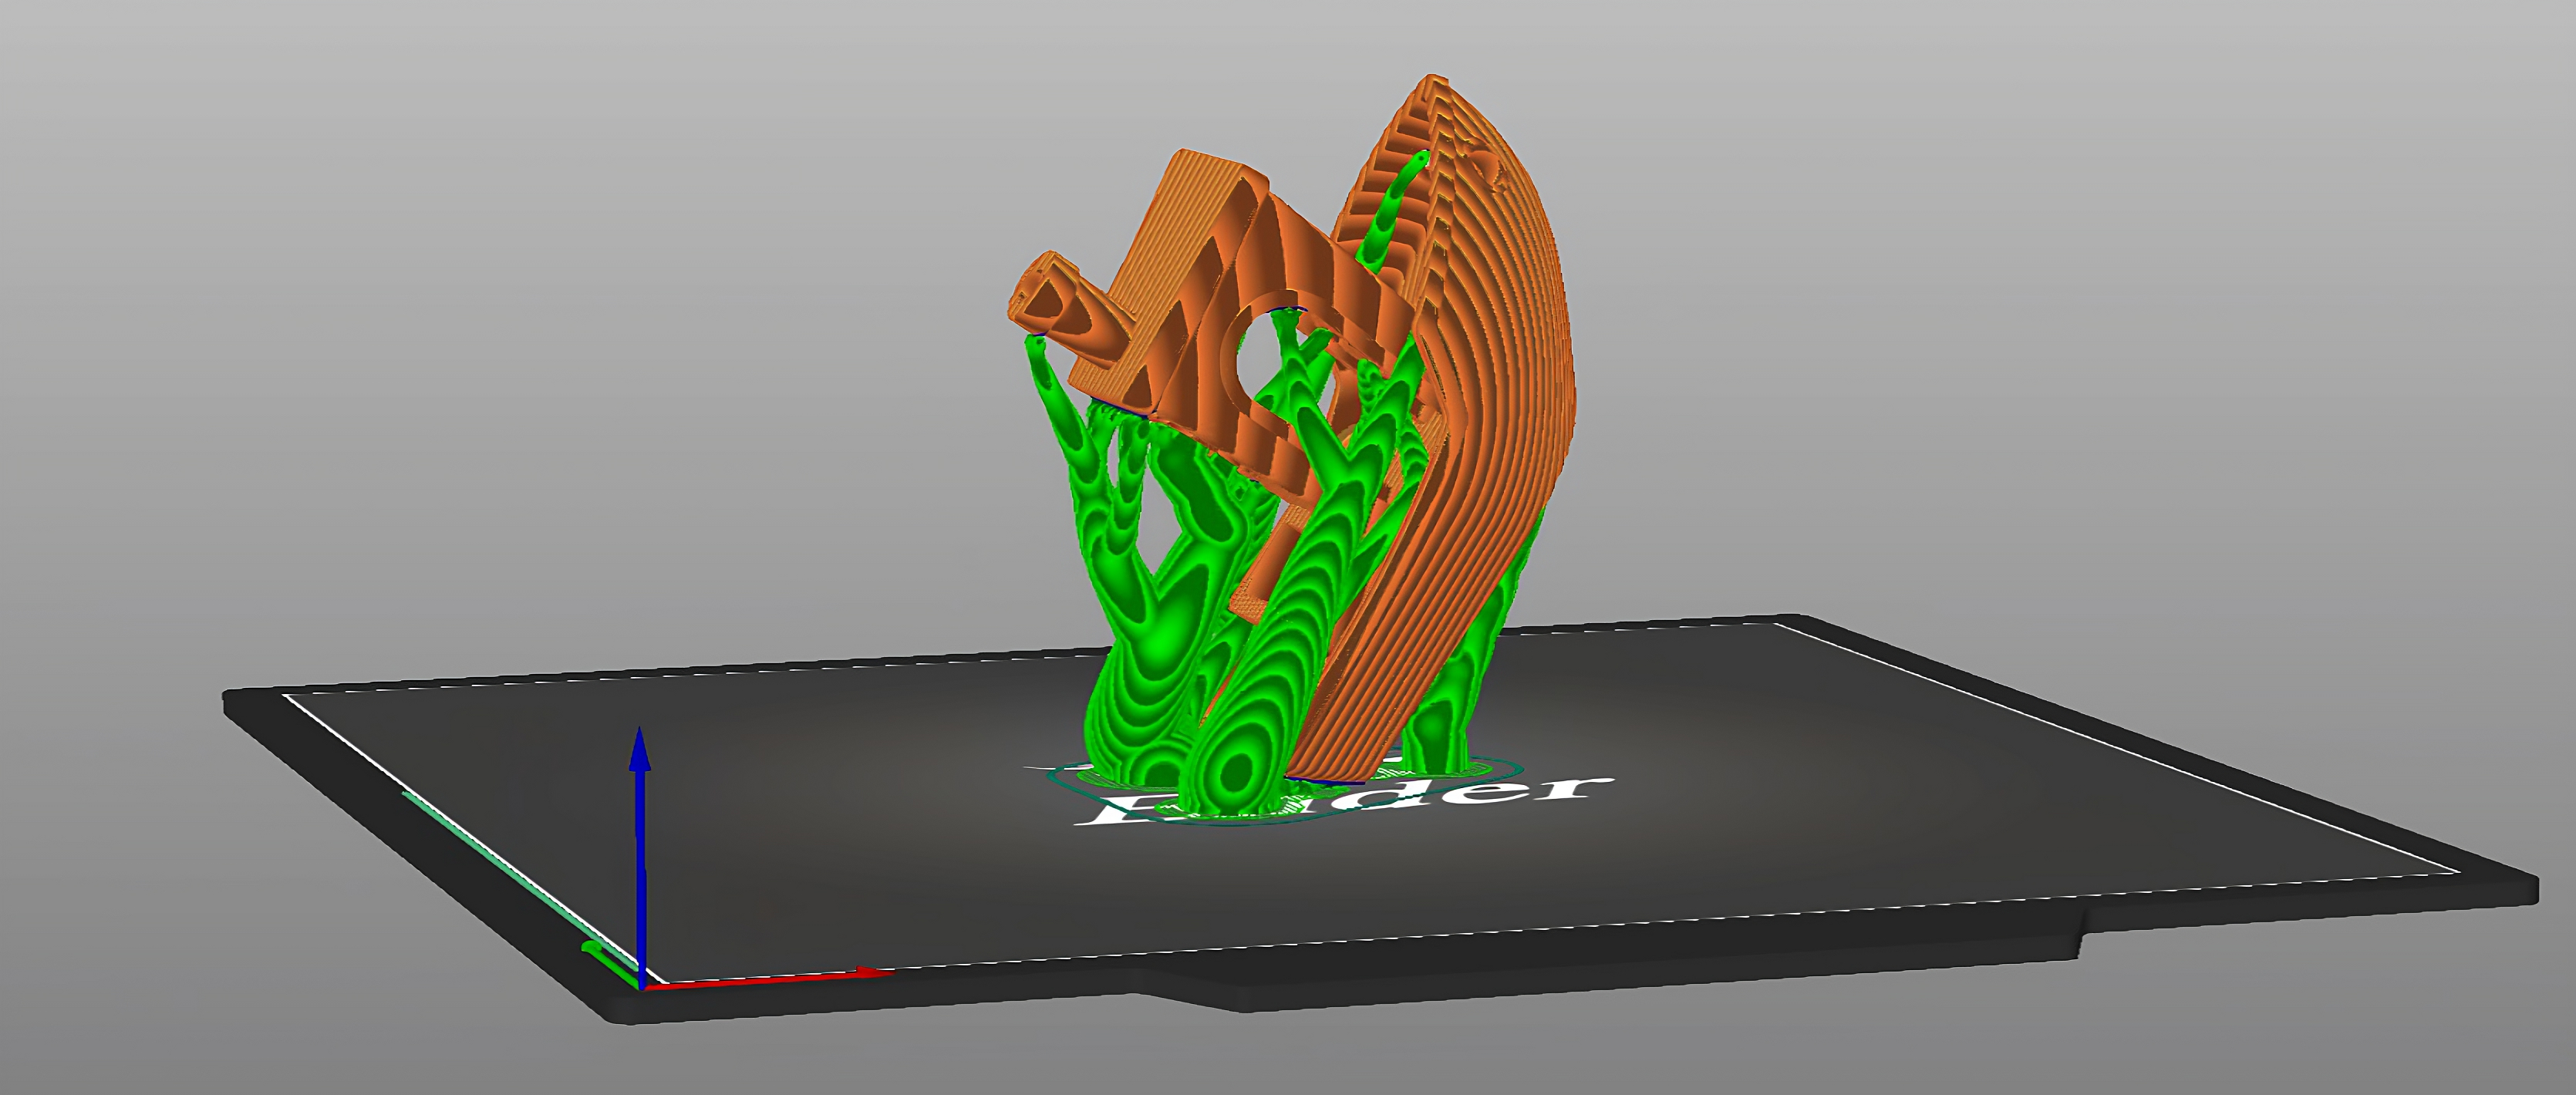
Supports are essential to provide a base for the overhangs in your 3D prints. But incorrect support settings can affect your print's quality and appearance. If the top of your support is too close to the print's surface, it might leave marks and blobs. Whereas, if there's too much gap between the support and the print, you will encounter filament drooling and poor overhangs.

In an ideal scenario, the support should easily detach from the print's surface without leaving any marks. Moreover, the supported area of the print shouldn't indicate any filament drooling or signs of a support structure underneath it.