How to Use Cura Slicer with Klipper 3D Printer Firmware
· 8 minuten leestijd

Introduction
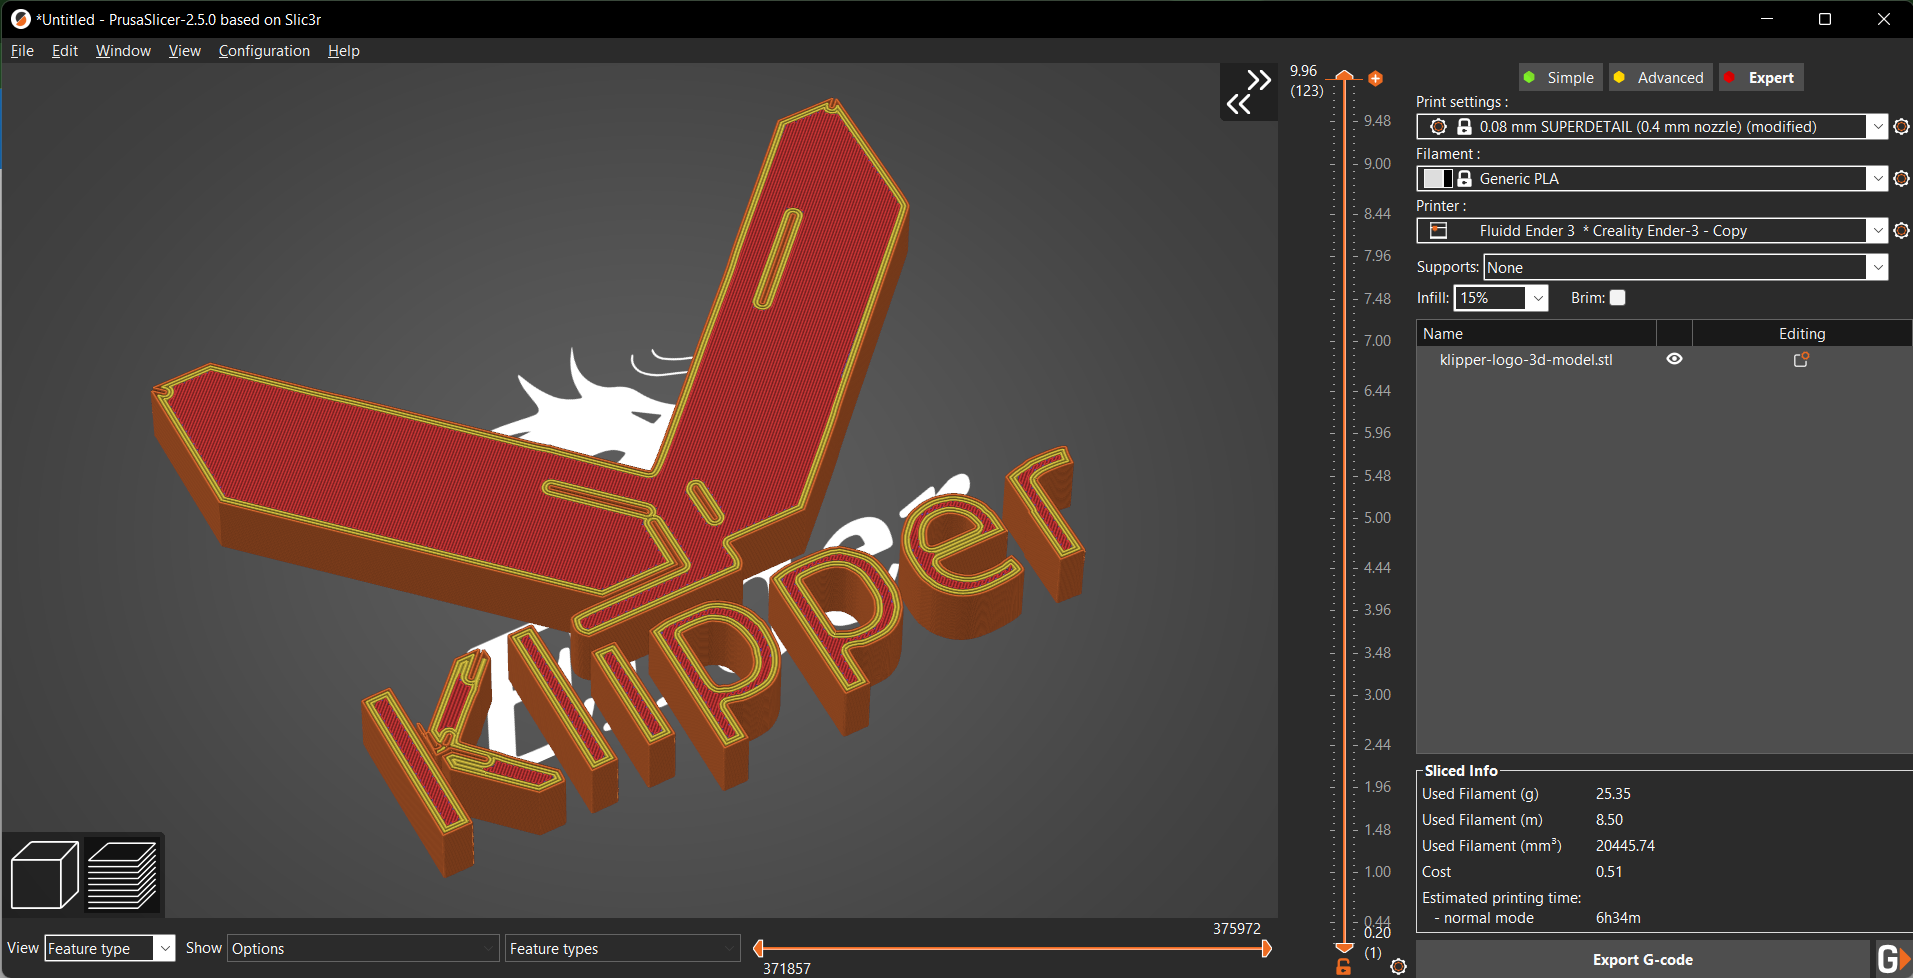
Klipper is quickly ranking its position as one of the best 3D printing firmware in the community. Using a combination of Raspberry Pi and web interface, Klipper significantly improves your 3D printer’s speed, print quality, and user experience.
Pair it up with Cura, and you open up a world of new possibilities for your 3D printing workflow. Cura is one of the most widely used and popular 3D printer slicers with top-notch features that help you achieve high-quality 3D prints.
Yet, as good as they are, there are some pointers you need to be mindful of when using Cura and Klipper together. In this article, we’ll understand how you can use these two software side-by-side to get the best quality results from your 3D printer.
Let’s Klip and Slice.