First Layer AI Configuration for Klipper Printers
Required Hardware:
A nozzle camera that provides an up-close view of your 3D printers’ nozzle.
A nozzle camera is a specialized web camera. Nozzle cameras are much smaller than traditional webcams allowing them to get an up-close view of the 3D printer nozzle and the print. With a nozzle camera configured with your 3D printer, you can enable Nozzle Ninja, Obico's first layer AI, to watch your first layer for various types of print issues including over-extrusion, under-extrusion, poor bed adhesion and more.
Recommended Cameras
-
- 3DO Nozzle Camera Suppliers:
- Kb3d
- Fabreeko
Compatible Printers
Obico’s first layer AI is compatible with any 3D printer running OctoPrint or Klipper, but there may not be a nozzle camera mount readily available for your 3D printer. Check with our nozzle camera partners, Mintion and 3DO to see if there is a mount for your printer. Of course, you can also check out various 3D model repositories such as Printables or Thingiverse, or you can design your own mount.
Prefer watching a video instead? The video below walks through the process of configuring a standard USB webcam with a nozzle camera. It also goes through the process of adding multiple webcams to Mainsail/Fluidd in case you haven't done that already (cameras must be configured in Mainsail/fluidd before adding them to Obico).
Configure Your Camera for First Layer AI
Obico now supports multiple webcam streams in the Obico app. You can configure your nozzle camera as a second camera in Obico, or you can just use the nozzle camera as your only camera.
This guide assumes you have already configured either one or multiple webcams in fluidd or Mainsail. If you have not already configured one or multiple cameras in fluidd or Mainsail, you can follow our guide for Mainsail or the official crowsnest guide.
- Configure Only One Nozzle Camera
- Configure Multiple Cameras
If you are setting up your nozzle camera as a secondary camera, select the "Multiple Cameras" tab instead.
Before proceeding, ensure your nozzle camera is plugged into your Raspberry Pi or 3D printer, and your nozzle camera is visible in fluidd/Mainsail and in Obico.
- Mainsail
- fluidd
Mainsail
-
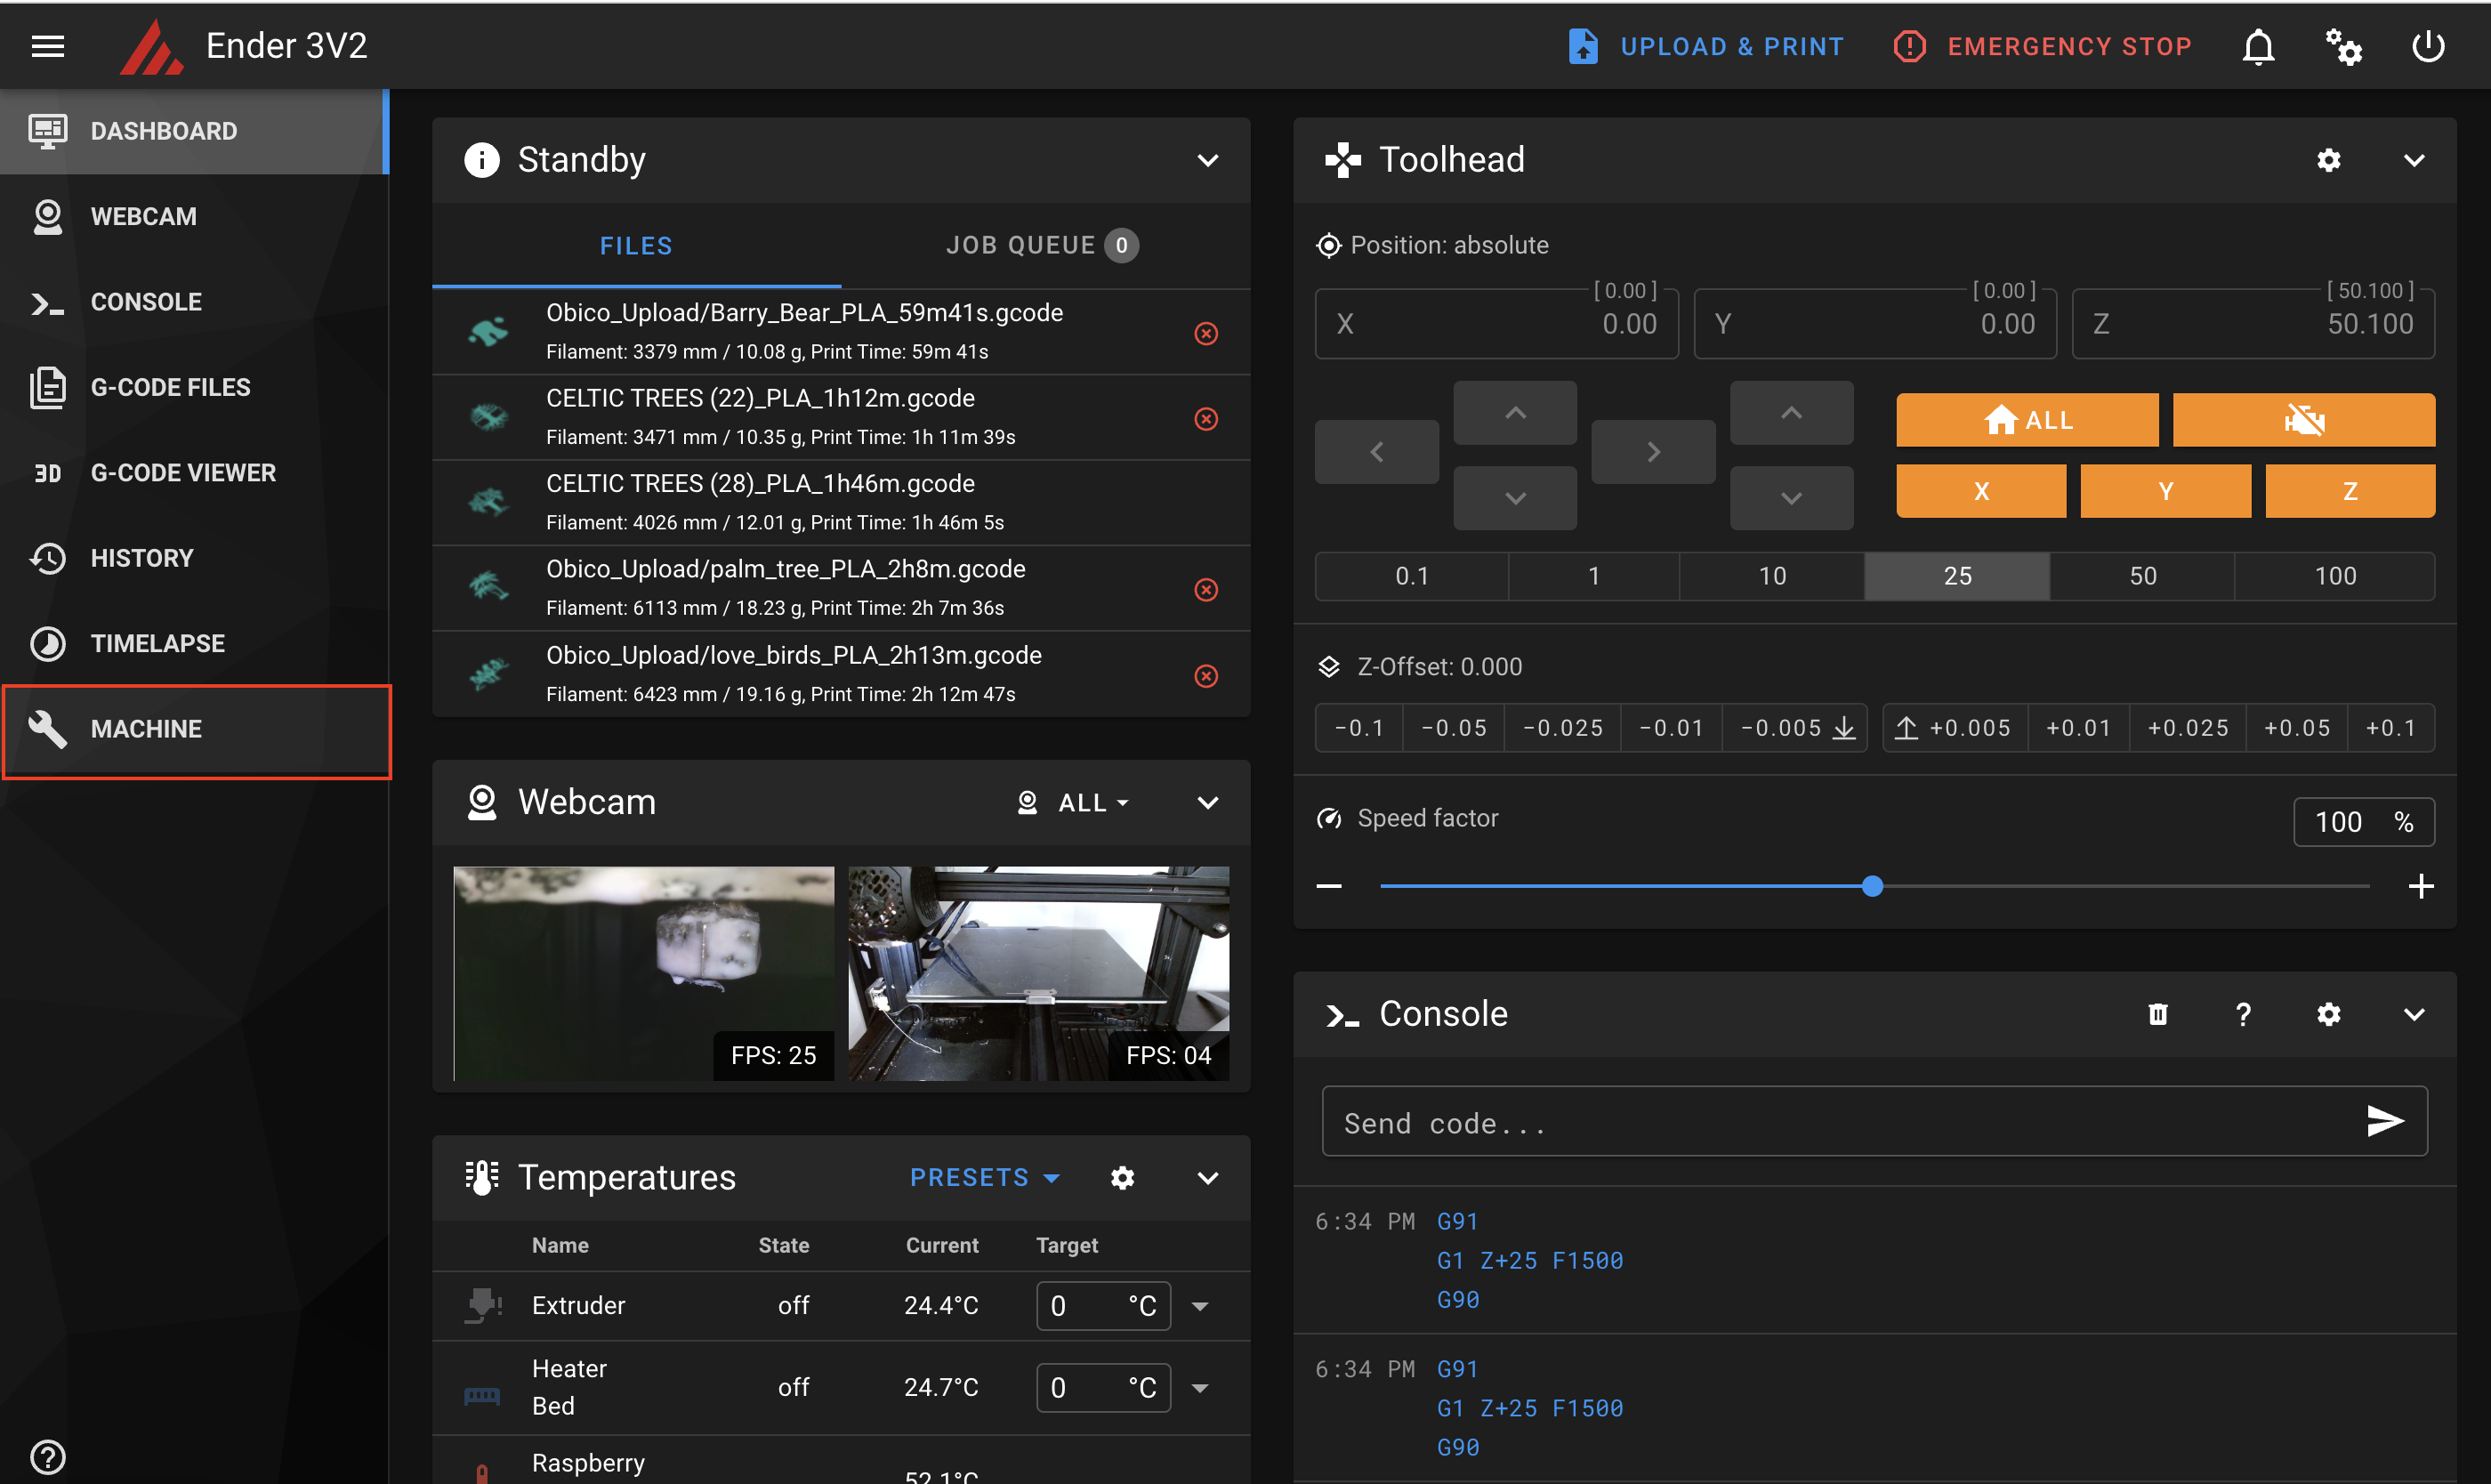
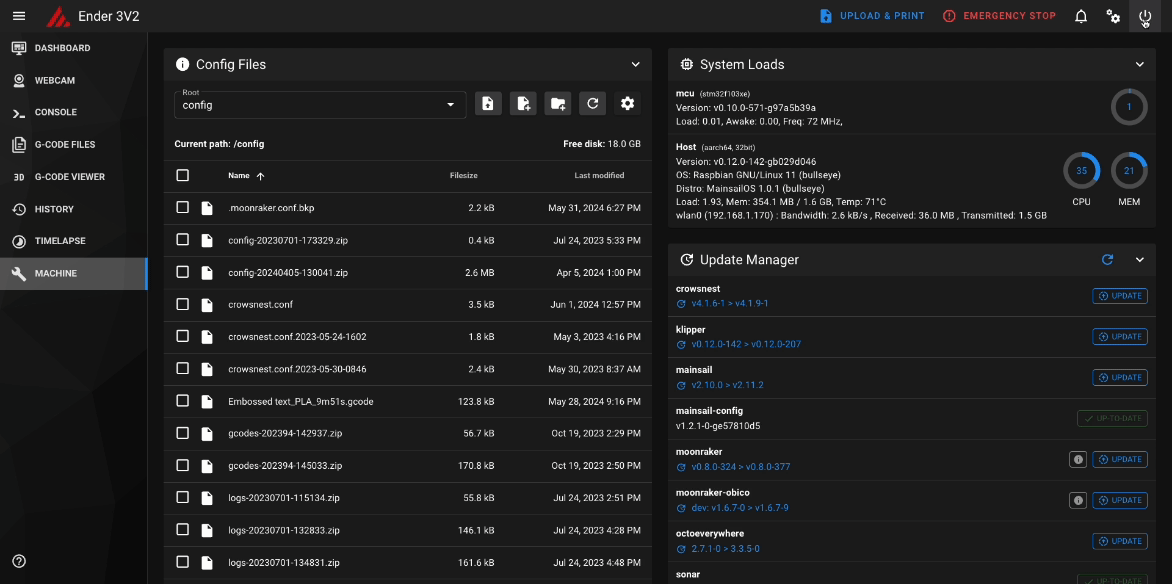
Click “Machine” on the bottom left of the mainsail page
-
Click the “moonraker-obico.cfg” file to open it.
-
Locate the section with [webcam].
-
Copy and paste the following line underneath the [webcam] section:
is_nozzle_camera = True
The section was:
[webcam]
disable_video_streaming = False
It now becomes:
[webcam]
disable_video_streaming = False
is_nozzle_camera = True
- Click the Power Button in the top right corner of the screen and restart moonraker-obico for the changes to take effect in the Obico app.
Fluidd
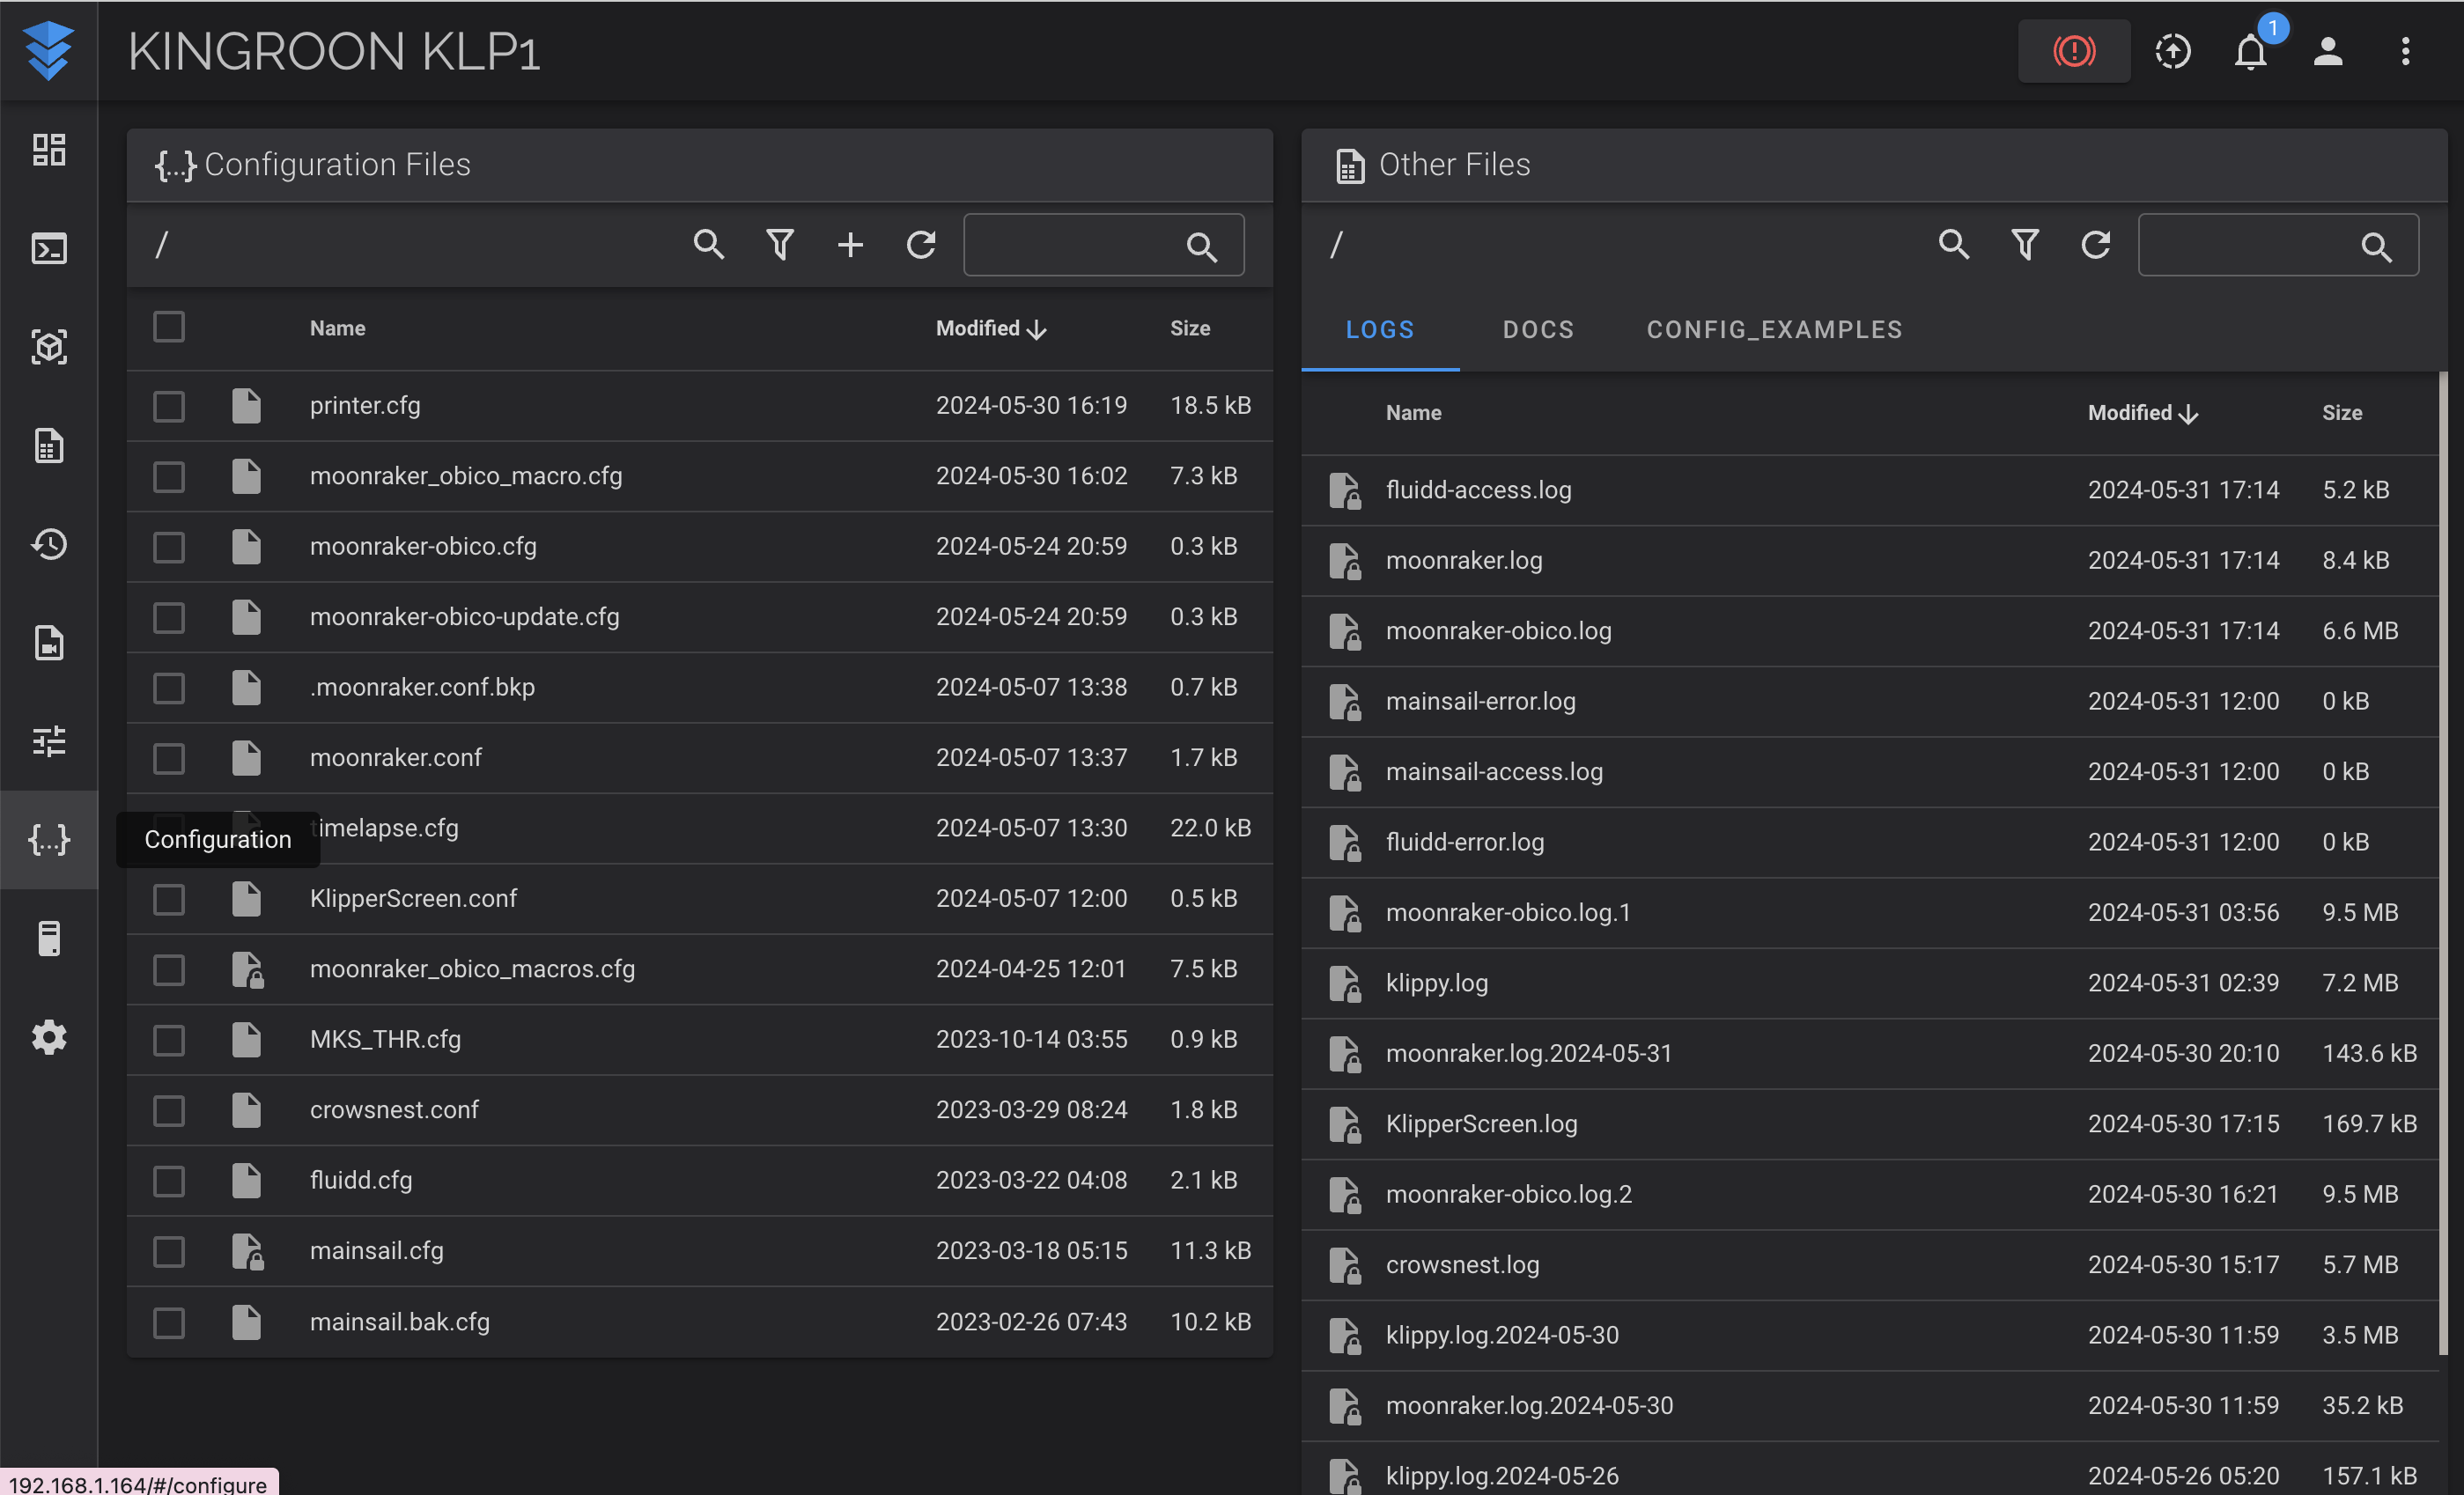
- Click “Configuration” on the left of the fluidd interface
- Click the “moonraker-obico.cfg” file to open it.
- Locate the section with [webcam].
- Copy and paste the following line underneath the [webcam] section:
is_nozzle_camera = True
The section was:
[webcam]
disable_video_streaming = False
It now becomes:
[webcam]
disable_video_streaming = False
is_nozzle_camera = True
- Click the three-dot Button in the top right corner of the screen and restart moonraker-obico for the changes to take effect in the Obico app.
- Mainsail
- fluidd
Mainsail
Step 1: Find the name of your webcam(s) in Mainsail
- Open Mainsail
- Click the Gear icon on the top right of the page to open the “Settings” menu
3.Scroll down to “Webcams”
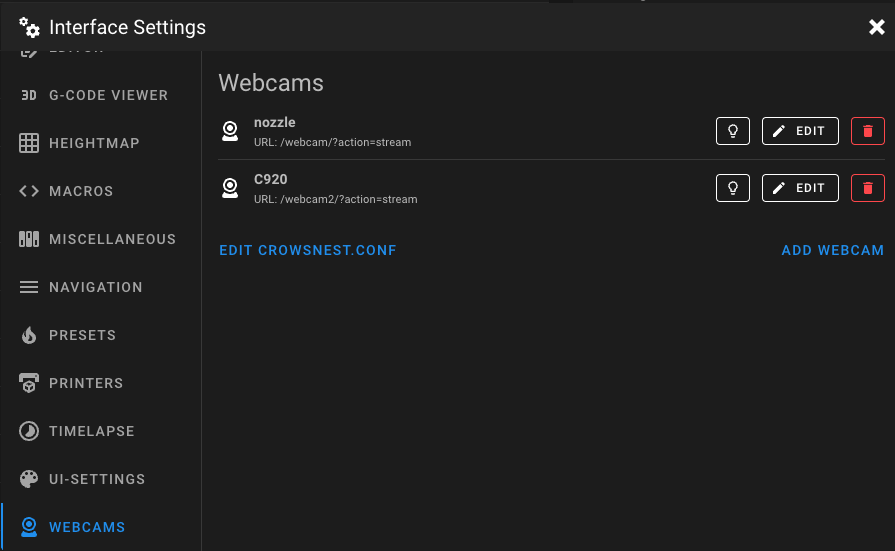
- Note the name of each of your webcams you want to add to Obico. In this example, we have one webcam named “C920” and another named “nozzle”.
Step 2: Add Cameras to Obico Configuration
- Click “Machine” on the bottom left of the mainsail page.
- Click the “moonraker-obico.cfg” file to open it.
- Locate the section with [webcam].
- Configure the section so each camera is specified as a webcam followed by the name of the camera we found earlier. Add
is_nozzle_camera = Trueto the camera that specifies your nozzle camera. In this example, with one USB webcam called “C920” and one nozzle camera called “nozzle”, the webcam section was:
[webcam]
disable_video_streaming = False
It now becomes:
[webcam C920]
disable_video_streaming = False

[webcam nozzle]
disable_video_streaming = False
Is_nozzle_camera = True
Webcam names are case sensitive! Be sure to match the case exactly as it appears in Mainsail
The first [webcam] section will be your primary webcam. A primary webcam is what Obico uses for failure detection and generating timelapse videos. For instance, if you have a minimum webcam section in moonraker-obico.cfg:
- Click “Save and close” to close the moonraker-obico configuration file.
- Click the Power Button in the top right corner of the screen and restart moonraker-obico for the changes to take effect in the Obico app.
Fluidd
Step 1: Find the name of your webcam(s) in Fluidd
- Open Fluidd
- Click the Gear icon on the bottom left of the page to open the “Settings” menu.
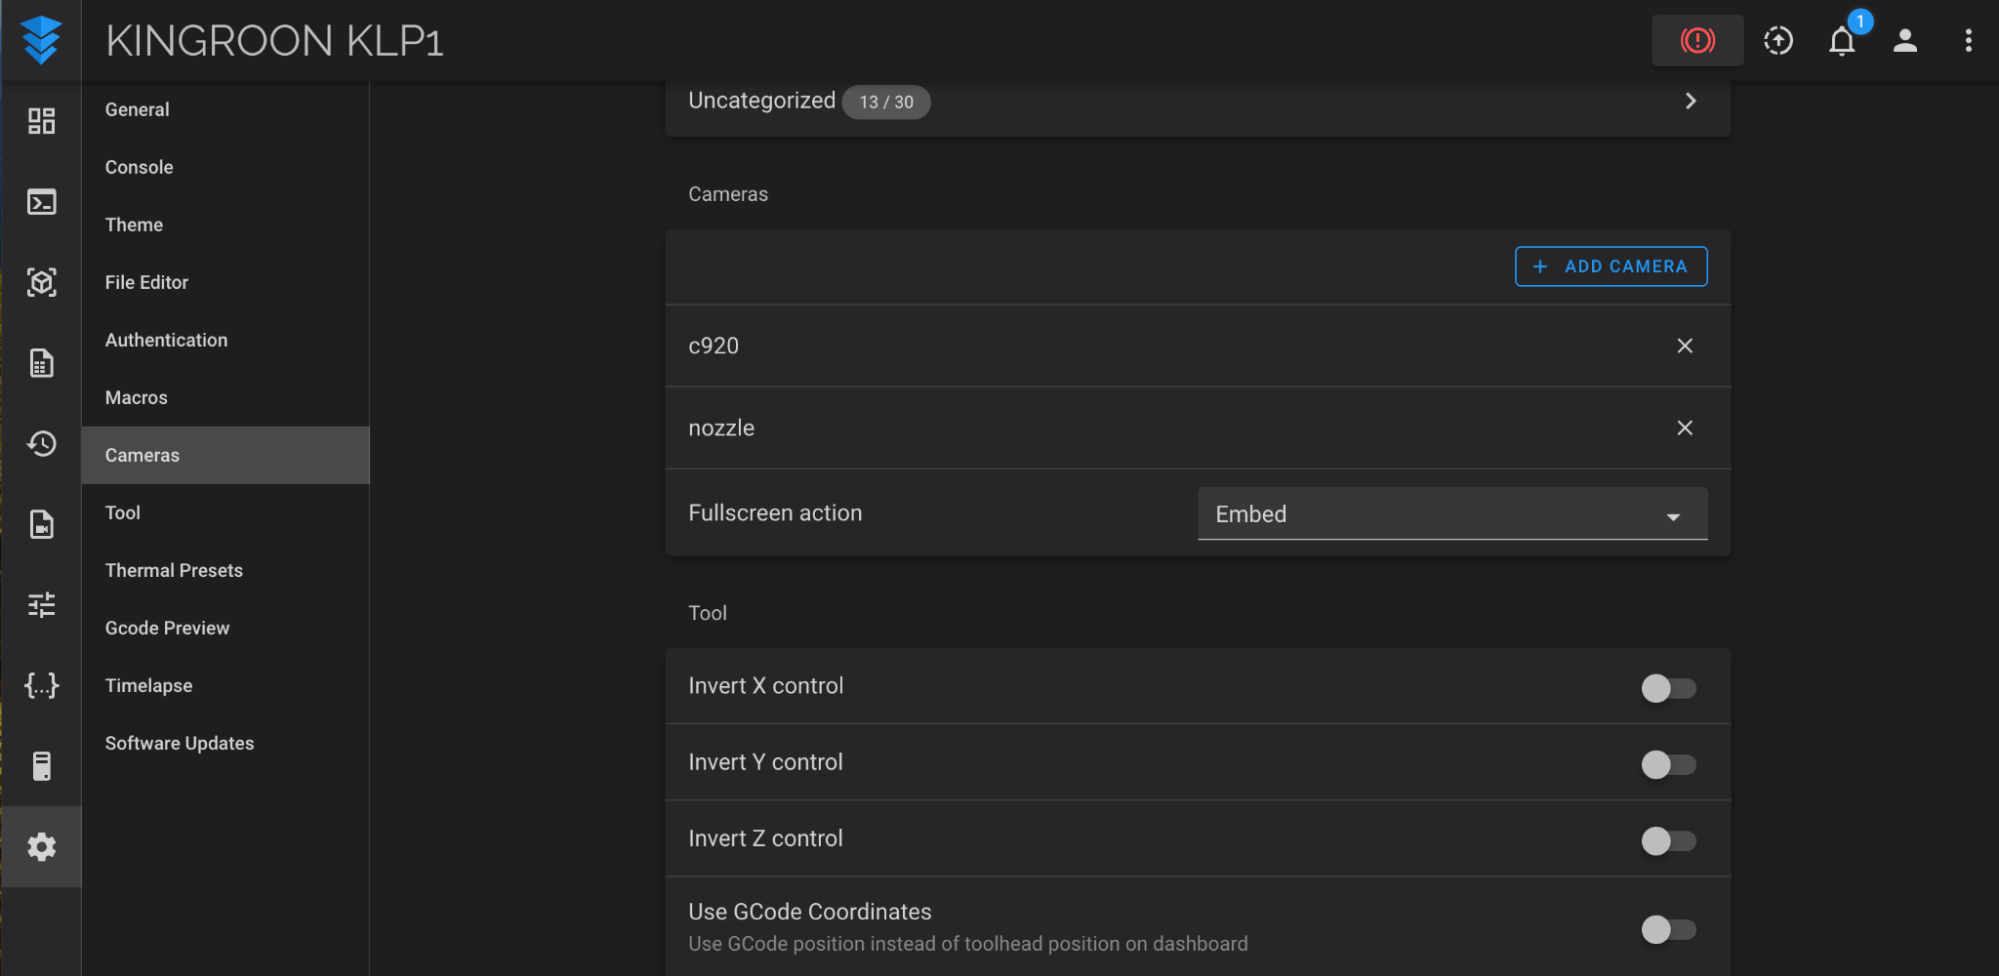
- Scroll down to “Cameras”
- Note the name of each of your webcams. In this example, we have one webcam named “C920” and another named “nozzle”.
Step 2: Add Cameras to Obico Configuration
- Click “Configuration” on the left of the fluidd interface.
- Click the “moonraker-obico.cfg” file to open it.
- Locate the section with [webcam].
- Configure the section so each camera is specified as a webcam followed by the name of the camera we found earlier. Add
is_nozzle_camera = Trueto the camera that specifies your nozzle camera. In this example, with one USB webcam called “c920” and one nozzle camera called “nozzle”, the webcam section goes from:
[webcam]
disable_video_streaming = False
It now becomes:
[webcam C920]
disable_video_streaming = False

[webcam nozzle]
disable_video_streaming = False
Is_nozzle_camera = True
Webcam names are case sensitive! Be sure to match the case exactly as it appears in Mainsail
The first [webcam] section will be your primary webcam. A primary webcam is what Obico uses for failure detection and generating timelapse videos. For instance, if you have a minimum webcam section in moonraker-obico.cfg:
- Click “Save and close” to close the moonraker-obico configuration file.
- Click the three-dot Button in the top right corner of the screen and restart moonraker-obico for the changes to take effect in the Obico app.
Check the stream in Obico
Now, you should see a new button on the webcam tab of the printer control page. Use it to swap back and forth between cameras or view multiple streams at once.
Next Steps: Slicer Configuration
Once your camera is configured for first layer AI, configure your slicer for first layer AI.