Перейти к основному содержимому

OrcaSlicer vs PrusaSlicer vs Cura - Comparing the Most Popular Slicers

· 17 мин. чтения

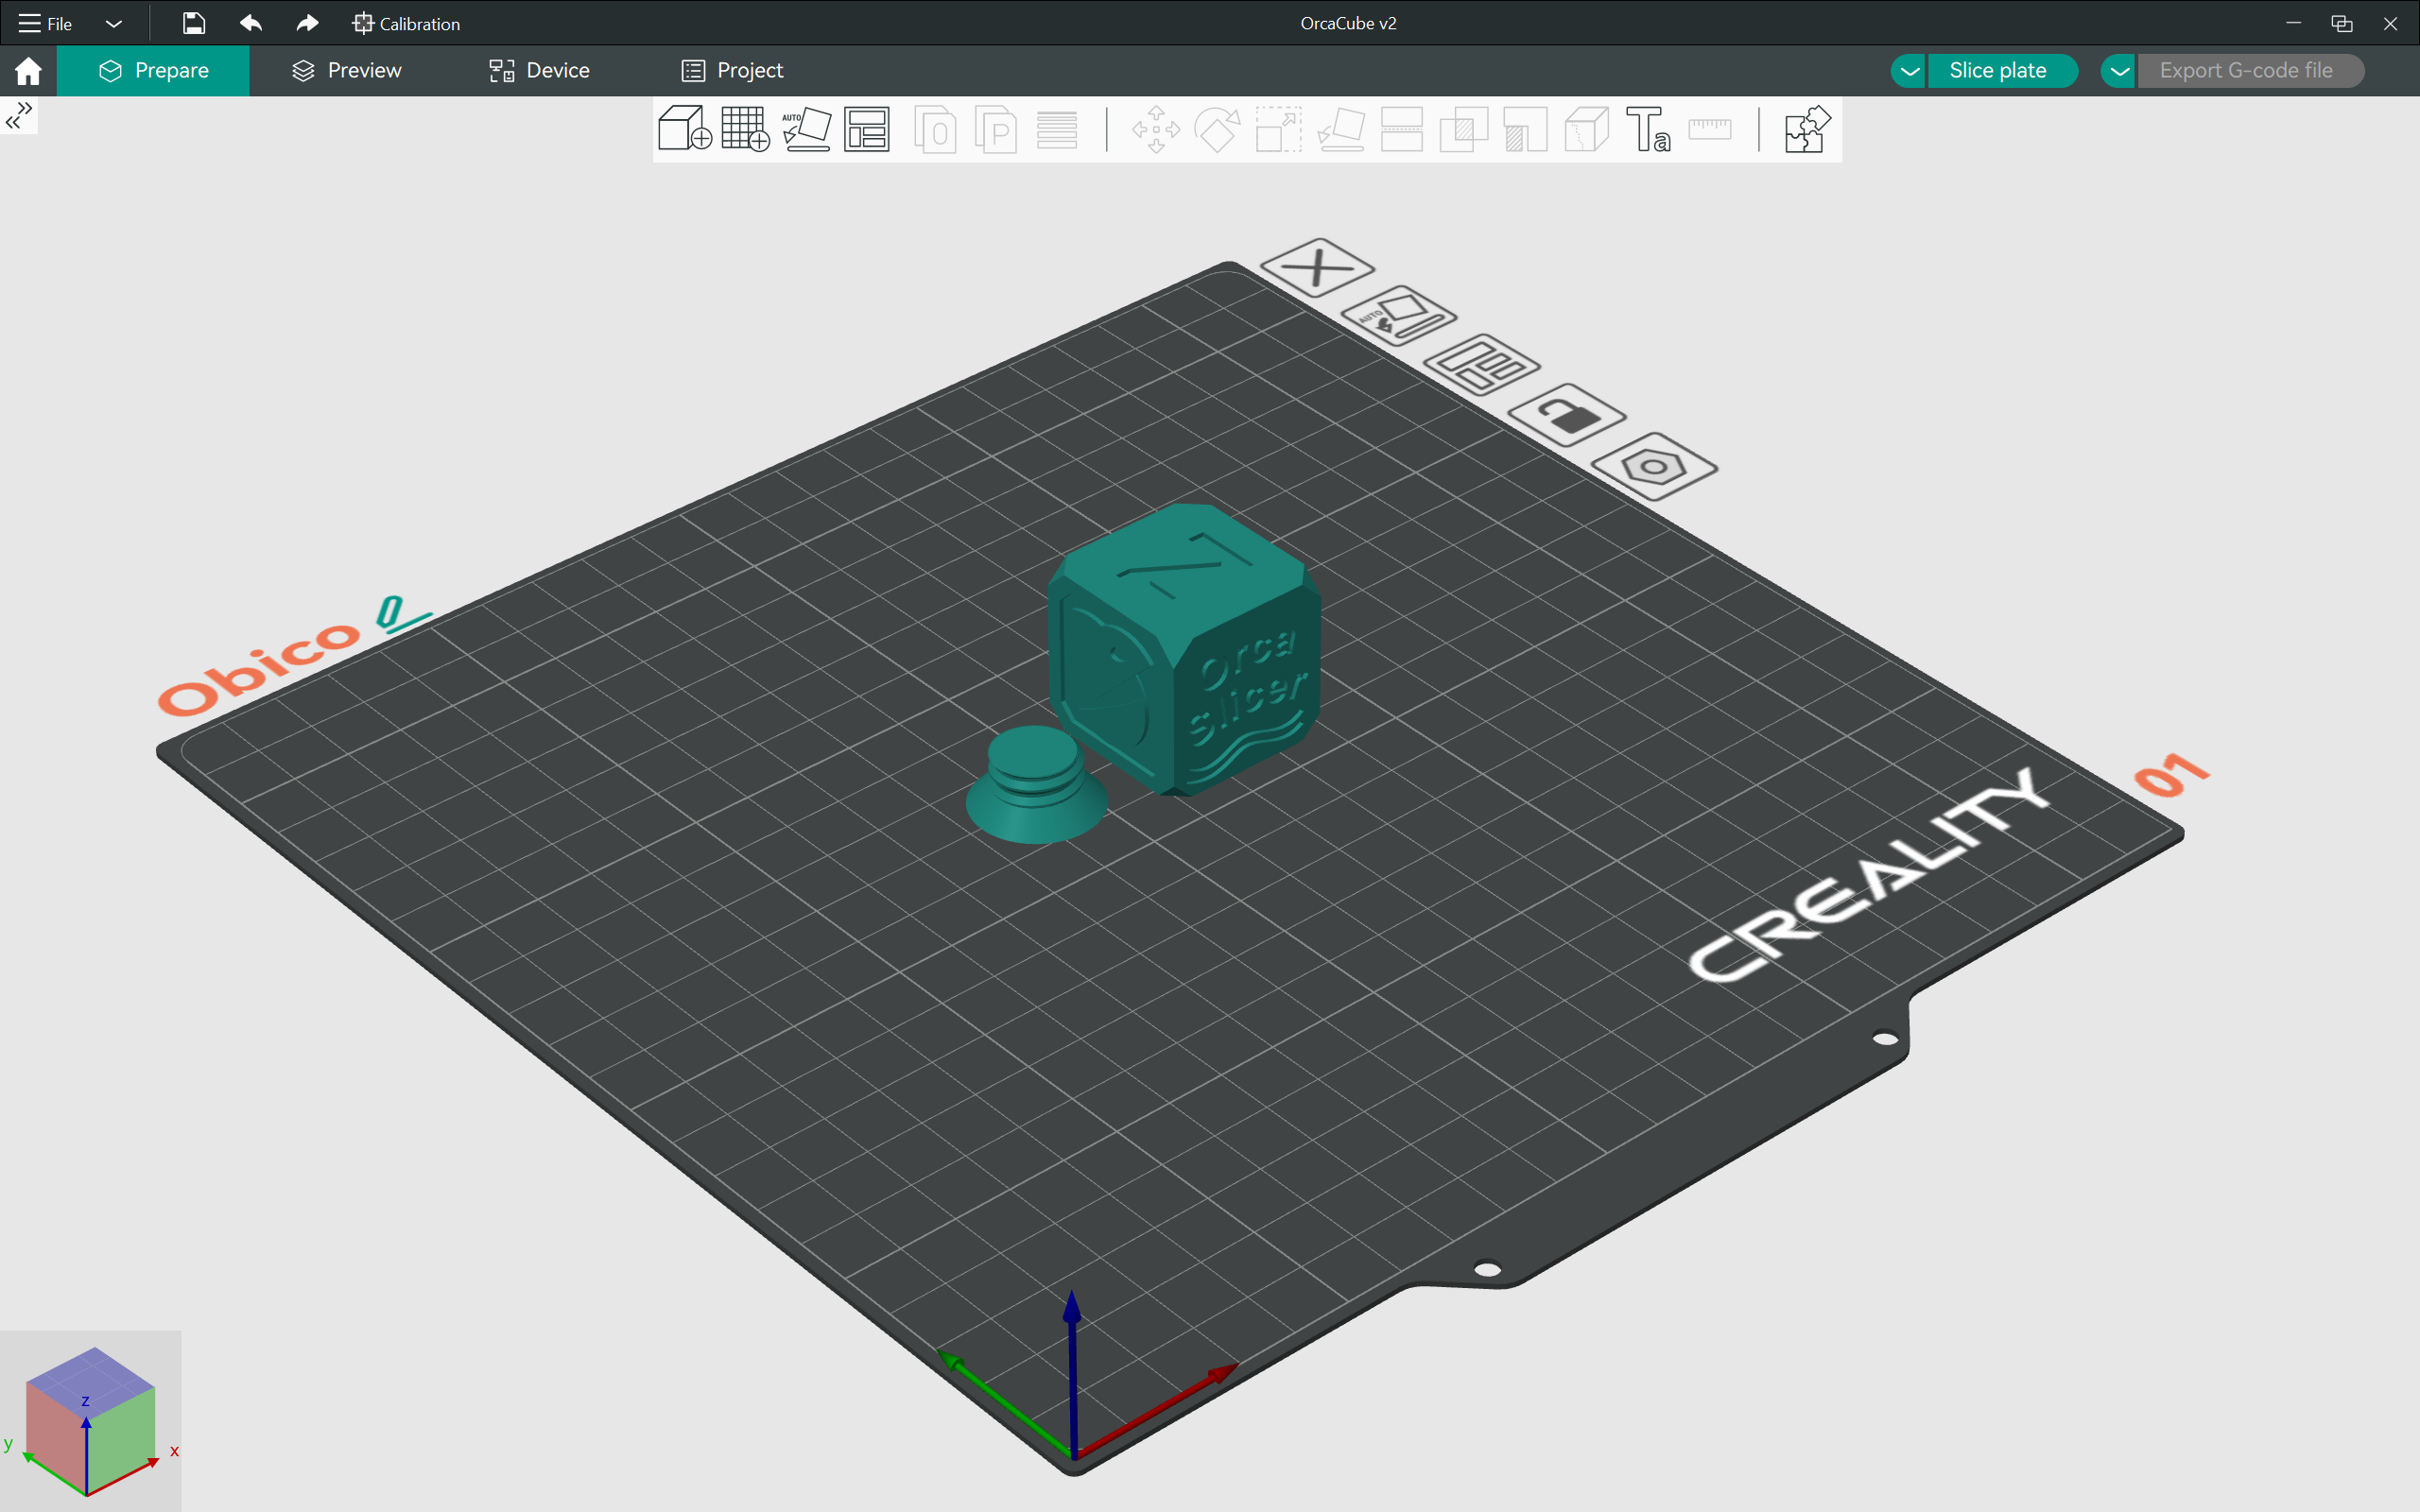
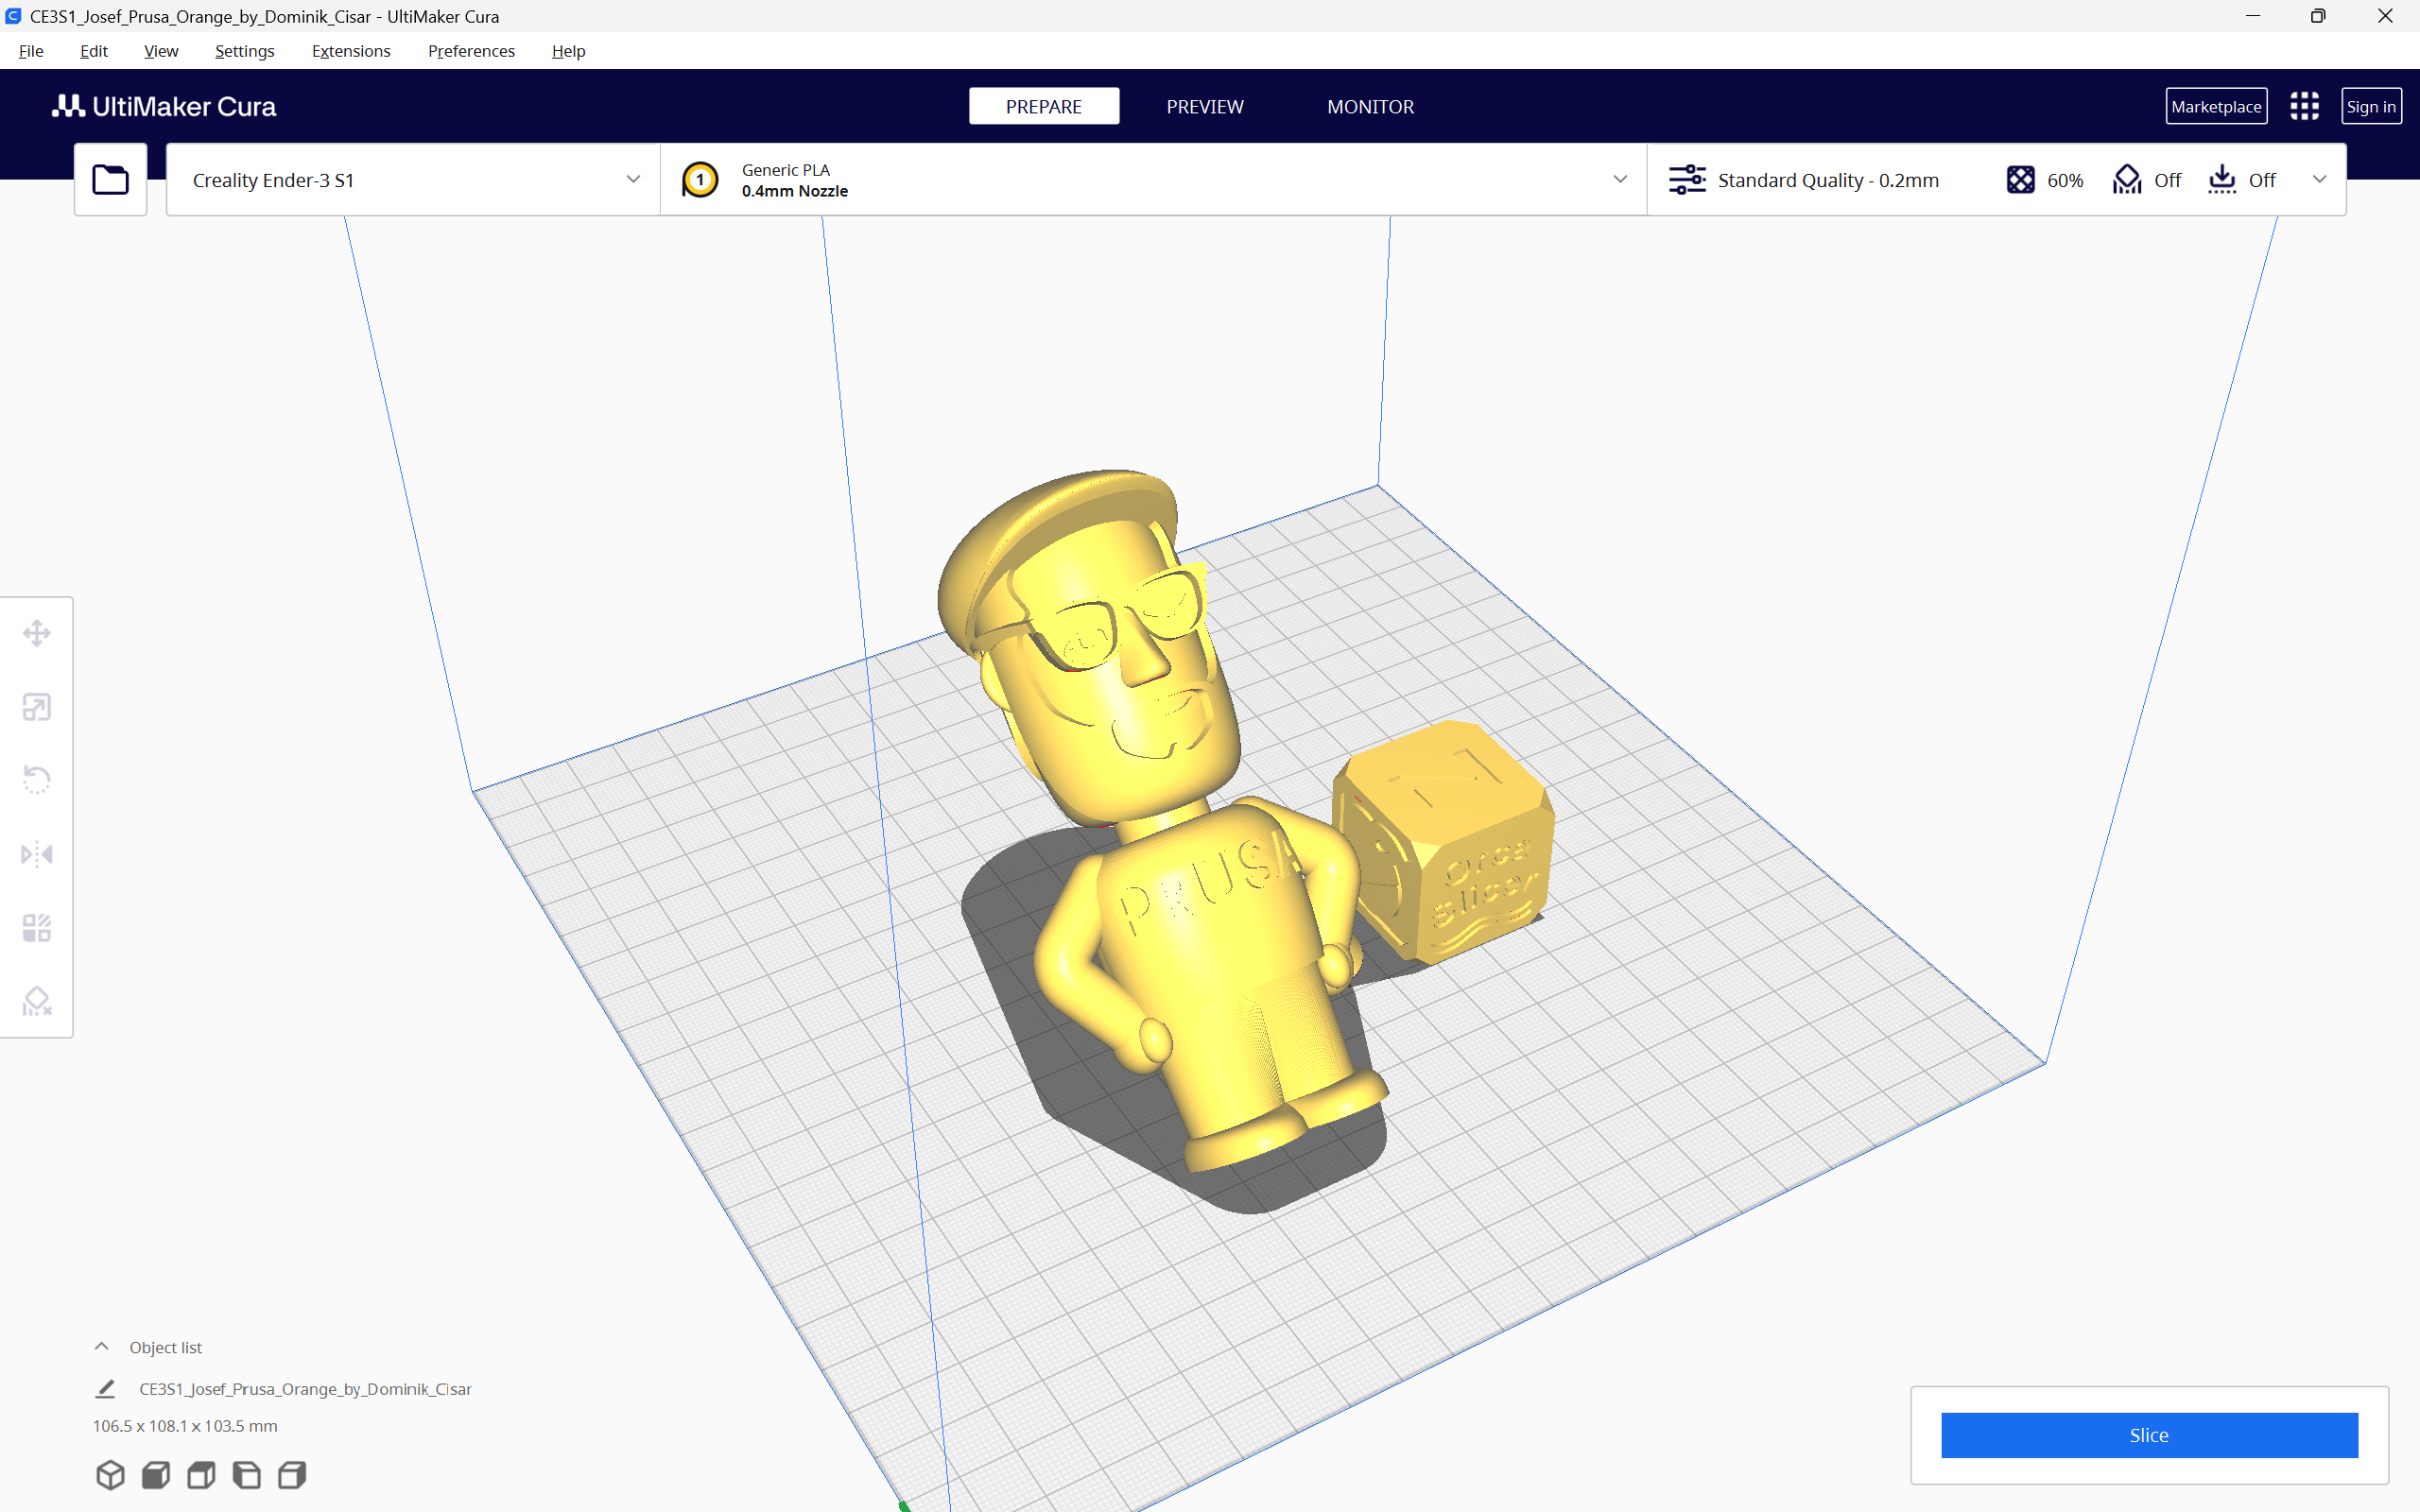
OrcaSlicer, PrusaSlicer and the Cura slicer, are three of the prominent 3D printing slicers you can use today. They are all free to use, open-source, and equipped with exceptional features that enhance your 3D printing experience.

With all these similarities and options, it can get challenging to choose the slicer that fits your needs perfectly. Maybe OrcaSlicer has the features you like, but PrusaSlicer’s supports work better. Or Cura has better 3D printer selection for you.

In this piece, we will answer these questions and more. We will compare OrcaSlicer, PrusaSlicer, and Cura based on their features, slicer settings, printer compatibility, and other parameters to determine which slicer comes out on top. This should help you make an informed decision and choose the slicer that best fits into your 3D printing workflow.

Let’s slice right into it.

How to fix "Buster-backports Release no longer has a Release file" Error

· 2 мин. чтения

While installing Obico on your Makerbase 3D printer following our guides, you may come across the error below during installation by running the command ./install.sh. This error indicates that there is no release file in "Buster-backports Release", hence making it impossible to update securely.

![How to fix "Buster-backports Release no longer has a Release file" Error](/img/blogs/buster-backports-release-no-longer-has-a-release-file-main.png "How to fix \\"Buster-backports Release no longer has a Release file\\" Error")

###### Installing required system packages... You may be prompted to enter password.

[sudo] password for mks:
Hit:1 http://security.debian.org buster/updates InRelease
Hit:2 http://deb.debian.org/debian buster InRelease
Hit:3 http://deb.debian.org/debian buster-updates InRelease
Ign:4 http://deb.debian.org/debian buster-backports InRelease
Err:5 http://deb.debian.org/debian buster-backports Release
404 Not Found [IP: 199.232.82.132 80]
Reading package lists... Done
E: The repository 'http://deb.debian.org/debian buster-backports Release' does not have a Release file.
N: Updating from such a repository can't be done securely, and is therefore disabled by default.
N: See apt-secure(8) manpage for repository creation and user configuration details.

Maximum Volumetric Speed Test in OrcaSlicer: A Comprehensive Guide

· 20 мин. чтения

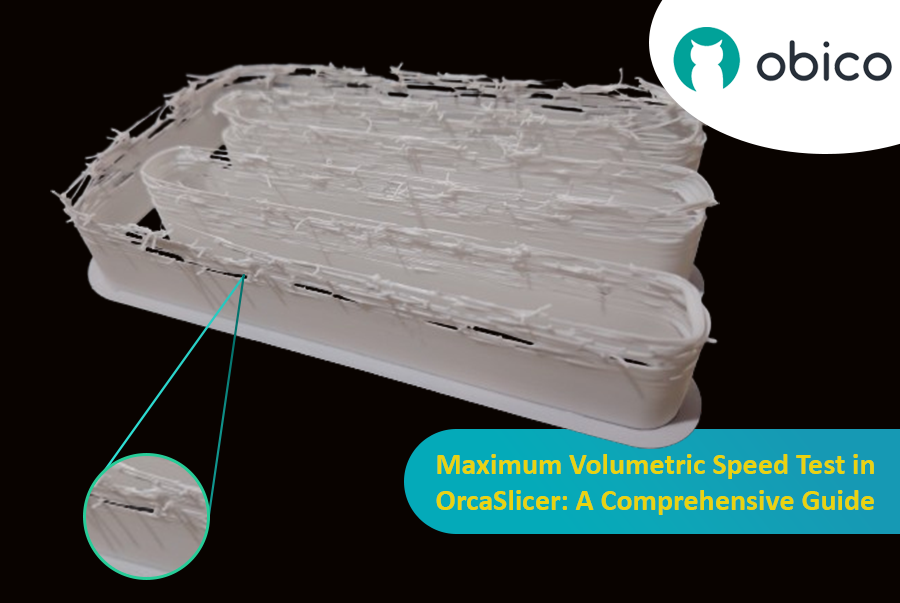
Hello there! Welcome to our easy-to-understand guide on how to control the OrcaSlicer maximum volumetric speed test for 3D printing enthusiasts. If you’re looking forward to enhancing print quality and efficiency, then this is the best place for you. This tutorial will help you optimize your printer’s volumetric speed that determines at what speed you can print without compromising on quality.

Maximum Volumetric Speed Test in OrcaSlicer: A Comprehensive Guide

Volumetric speed knowledge is crucial in 3D printing because it enables one understand how fast a printer can produce objects with accuracy. If this speed is tested and adjusted, under extrusion among other common problems while printing can be avoided thus ensuring that all your prints are good-looking even at higher speeds.

Tolerance Test in OrcaSlicer: A Comprehensive Guide

· 9 мин. чтения

Introduction

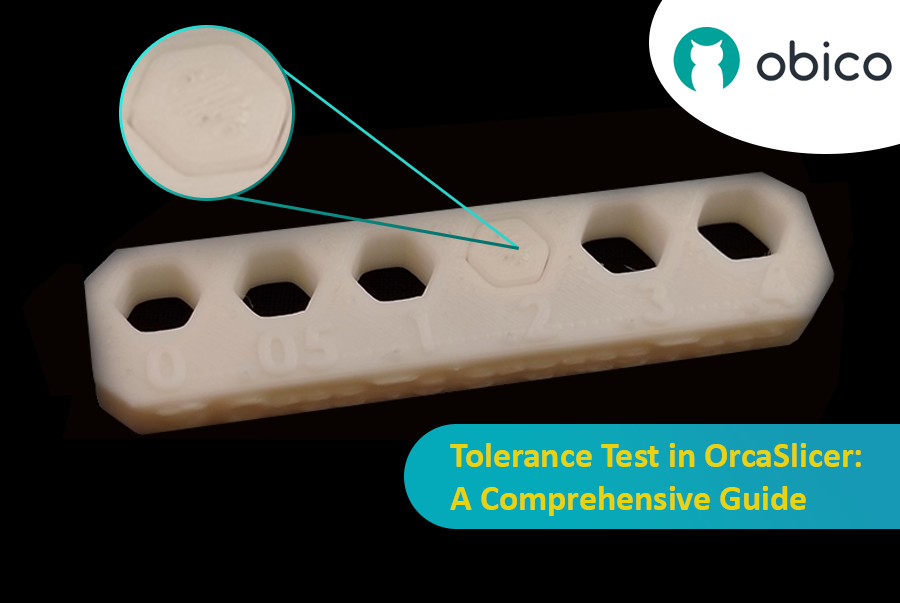
3D printing has revolutionized the way creators, engineers, and hobbyists bring their ideas to life. However, the transition from a digital model to a tangible object isn’t always straightforward. One key challenge is ensuring parts fit together seamlessly. In this comprehensive guide, we’ll delve into the world of tolerance testing using OrcaSlicer, a valuable tool for 3D printing. We will understand together how to know the right tolerances value to design successful prints which fit together well.
Tolerance Test in OrcaSlicer: A Comprehensive Guide

But before we get started testing our 3D printer, let’s understand some important related topics.

The Importance of Tolerance in 3D Printing

In the world of 3D printing, tolerance is all about precision. It's the measure of how accurately a 3D printer can replicate the dimensions specified in your digital design. Imagine you're creating a puzzle; if the pieces are too big or too small, they won't fit together. Similarly, for 3D printed parts to function and fit together as intended, the printer must be able to accurately produce parts within very tight dimensional limits. Good tolerance affects everything from how smoothly moving parts interact to the overall look and strength of the finished product.

But why do you need to make the tolerance test?

Well, in 3D printing things do not always go right. Every filament type has its own shrinkage coefficient and this affects how your print turns out. Different printers, with their unique mechanics and settings, can also produce varied results. That's why testing for tolerance is crucial - it helps you understand how your specific printer and chosen filament behave together, allowing you to adjust the tolerances in your design for the perfect print.
Калибровка опережения давления в OrcaSlicer: подробное руководство

· 19 мин. чтения
подсказка

Try JusPrin, the first GenAI 3D printing tool built on OrcaSlicer.

Обзор Pressure Advance

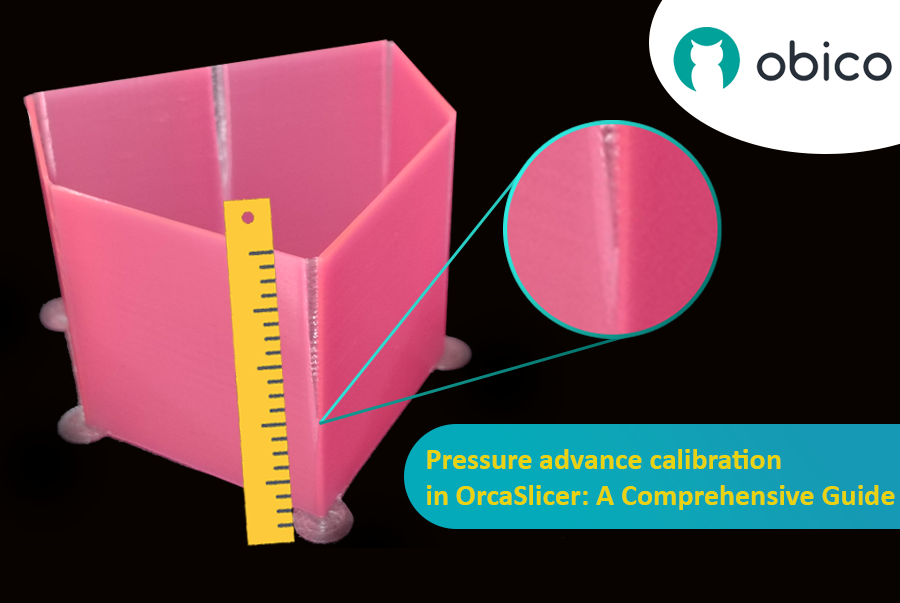
Представьте, что вы рисуете ручкой, которая иногда проливает слишком много чернил, а иногда почти не проливает. В 3D-печати что-то похожее может произойти, когда ваш принтер движется быстро и меняет свою скорость — это может испортить количество выходящего пластика.

Калибровка опережения давления в OrcaSlicer: подробное руководство

Но почему ваш принтер иногда ошибается в количестве выходящего пластика?

В 3D-принтере выход нити зависит от давления внутри сопла. Это как в садовом шланге: нужно достаточное давление воды, чтобы вода начала распыляться. Когда принтер ускоряется или замедляется, например, при прохождении поворотов, требуется некоторое время, чтобы давление сопла догнало его. Если принтер движется слишком быстро и слишком рано, выходит недостаточно нити. А если он замедляется слишком быстро, выходит слишком много нити. Из-за этого углы вашего отпечатка могут выглядеть немного неряшливо, потому что принтер не отрегулировал поток нити в соответствии с изменениями скорости.

И вот тут-то в дело вступает Pressure Advance. Это умная функция, которая компенсирует эти изменения, гарантируя выдавливание нужного количества нити при ускорении или замедлении принтера. Благодаря Pressure Advance ваш принтер может лучше справляться с изменениями скорости, что приводит к более плавным и четким отпечаткам, особенно в сложных углах.

Retraction test in OrcaSlicer: A Comprehensive Guide

· 17 мин. чтения

Introduction

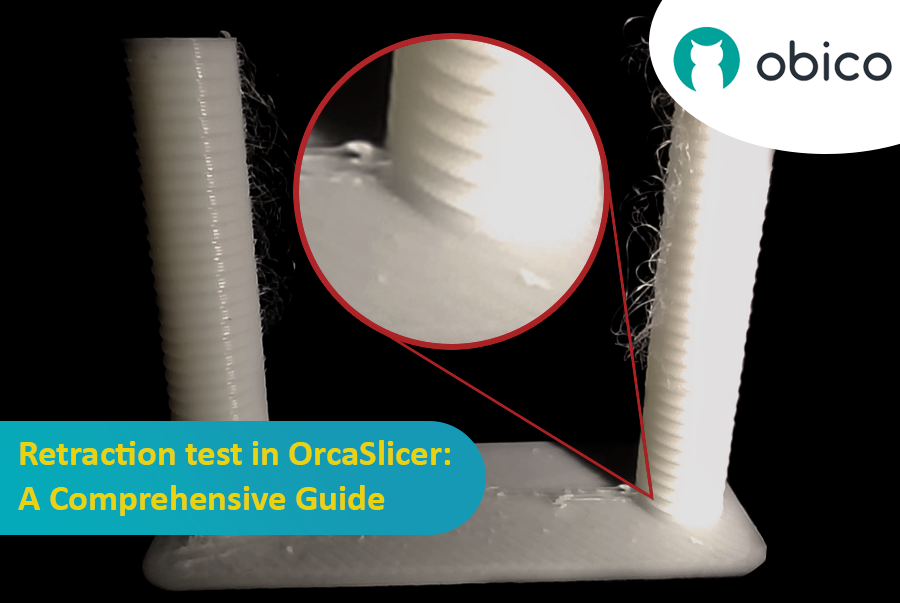
3D printing is a fascinating technology that allows you to create almost anything you can imagine. However, it also comes with some challenges and limitations, such as the quality of the printed parts. One of the most common issues that affect the appearance and functionality of 3D prints is the presence of unwanted material residues, such as strings, blobs, and zits.

Retraction test in OrcaSlicer: A Comprehensive Guide

Fortunately, there is a way to reduce or eliminate these artifacts by using a feature called retraction. But what does retraction mean?

Let’s break it down:

What is the retraction and the retraction test?

The retraction test is a calibration procedure that aims to reduce or eliminate the stringing and oozing problems that may occur during 3D printing. Stringing and oozing are caused by the excess material that leaks out of the nozzle when the hotend moves from one part of the model to another without extruding. This results in unwanted strands or blobs of filament on the surface or between the parts of the model, affecting the quality and appearance of the print.

Испытание температурной башни в OrcaSlicer: подробное руководство

· 10 мин. чтения
подсказка

Try JusPrin, the first GenAI 3D printing tool built on OrcaSlicer.

Введение в испытание температурной башни с помощью OrcaSlicer

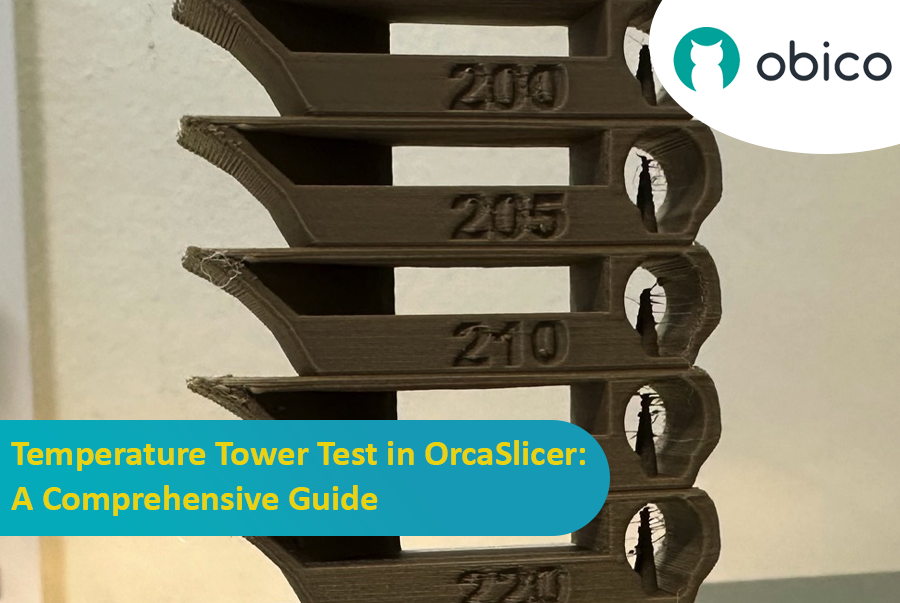
3D-печать — это увлекательная технология, которая позволяет создавать физические объекты из цифровых моделей. Однако для достижения наилучших результатов необходимо точно настроить параметры принтера и оптимизировать параметры филамента. Одним из важнейших факторов, влияющих на качество отпечатков, является температура.

Температура влияет на то, насколько хорошо нить плавится, течет и связывается с предыдущими слоями. Если температура слишком низкая, нить может не выдавливаться должным образом, что приводит к недоэкструзии, плохой адгезии и слабым деталям. Если температура слишком высокая, нить может вытекать, вытягиваться или деформироваться, что приводит к переэкструзии, каплям и деформациям.

Испытание температурной башни в OrcaSlicer: подробное руководство

Чтобы найти оптимальную температуру для вашей нити, вам необходимо провести испытание на температурной башне.

Калибровка расхода в OrcaSlicer: подробное руководство

· 9 мин. чтения
подсказка

Try JusPrin, the first GenAI 3D printing tool built on OrcaSlicer.

Введение

Калибровка расхода — важный шаг в достижении высококачественных 3D-печатей. Правильная скорость потока обеспечивает равномерное нанесение слоев, более гладкие поверхности и лучшую детализацию. В этой статье, которая является одной из серии статей о калибровке OrcaSlicer, мы рассмотрим процесс калибровки расхода с использованием OrcaSlicer, программного обеспечения слайсера с открытым исходным кодом, разработанного для 3D-принтеров с моделированием методом послойного наплавления (FDM).

Калибровка расхода в OrcaSlicer: подробное руководство

Прежде чем углубиться в процесс калибровки расхода в OrcaSlicer, давайте ненадолго остановимся, чтобы понять, что это такое и каковы его основные функции.

OrcaSlicer: мощный и гибкий вариант для 3D-печати и нарезки

OrcaSlicer — это open-source программное обеспечение для 3D-печати слайсером для FDM-принтеров. Оно в первую очередь предназначено для принтеров, совместимых с прошивками Marlin, Klipper и Bambu Lab. Оно поддерживает различные популярные модели таких брендов, как Creality, Prusa, Elegoo и даже Voron с открытым исходным кодом.

Семейное древо OrcaSlicer:

OrcaSlicer основан на Bambu Studio, которая, в свою очередь, является производной от PrusaSlicer. PrusaSlicer, в свою очередь, основан на решении с открытым исходным кодом Slic3r.

Sovol SV06 Series - Klipper Remote Access and AI

· 12 мин. чтения

Introduction: Welcoming You to the Sovol SV06 Series

Hey there! Let's jump into the world of the Sovol SV06. This printer is getting a lot of buzz for being budget-friendly while still offering some pretty cool features. If you're thinking about getting into 3D printing without spending a ton, the Sovol SV06 is a solid choice. It gives you a lot for its price, similar to more expensive printers like the Prusa MK3S+, but at a fraction of the cost. With neat features like dual Z-axis motors, automatic bed leveling, and the ability to reach up to 300 °C, it really stands out in the budget printer crowd.

Introduction: Welcoming You to the Sovol SV06 Series

Optimizing Extrusion Rates: A Guide to Correcting Under Extrusion

· 14 мин. чтения

Introduction

Tackling the Challenge of Under Extrusion in 3D Printing

Welcome to the world of 3D printing! In this amazing realm where we bring ideas to life layer by layer, there’s a common hiccup known as under extrusion that can sometimes throw a wrench in our creative works. But worry not! Understanding and fixing this issue is easier than you might think.

Optimizing Extrusion Rates: A Guide to Correcting Under Extrusion