Pular para o conteúdo principal

Sovol SV06 ACE - Klipper Remote Access and AI

· Leitura de 10 minutos

If you've been using 3D printers for a while, you'll know there's a way to remotely control prints, check on progress, and perhaps even optimize your printer's movement for smoother running.

But how exactly can you do that?

It's impossible without getting slightly technical, but it's all worth the faster print times and advanced motion control. The quickest answer is–Klipper firmware.

Klipper is an open-source firmware based on Python developed to handle the advanced changes in 3D printing hardware. Normally, 3D printers come with a standard firmware hardcoded onto the on-board memory and any configuration change requires firmware installation, like solving a labyrinth. Instead, Klipper firmware can be edited, and modified and a simple device restart applies the changes.

It's compatible with many 3D printers and you can check the complete list here. Klipper pairs with these common printers:

  • Creality

  • Sovol

  • Pursa

  • Anycubic

    You have set up Klipper and the Moonraker API correctly, and it is connected to your printer. An interface such as Mainsail/Fluidd is highly recommended.

Sovol SV06 Ace - Klipper remote control and AI

What Is Remote Access Using Klipper?

Remote access or remote controlling your 3D printer allows you to monitor (in real-time), control, manage print files, and receive updates about your print from a distance. Remote access using Klipper works through a web-based interface requiring your phone or computer and a 3D printer connected to the internet.

That's slightly unsecure, but there are other ways like port forwarding and bots and then there's Obico.

Obico offers everything that comes with remote access plus, smart monitoring, AI error detection, print optimization, file management, and cloud-based storage. It's entirely open-source and you can even set up your own local server and have hybrid access or a fall-back option.

SOVOL SV06 ACE Klipper Integration

Previous Sovol printers like the SV06 are based on a Marlin control board which runs entirely on the printer's micro-controller. Marlin is the old architecture for 3D printers and faces performance issues because Marlin firmware does not meet the advanced hardware capabilities of printers.

There are ways to upgrade to a Klipper firmware which involves using a Raspberry Pi controller, or a tablet. However, now you can also use Klipper touchscreens such as the one provided by Sovol which simplifies the upgrade.

Sovol SV06 ACE comes with pre-installed Klipper integration, so you don't have to go through the Raspberry Pi guides found on the internet for your Sovol printer.

Klipper Integration

Download, Install, and Setup Bambu Studio – Step-by-Step Guide

· Leitura de 6 minutos

What is Bambu Studio?

If you’re into 3D printing, or just dipping your toes into it, you’ve probably come across Bambu Studio.

But what is it, exactly?

In simple terms, Bambu Studio is a 3D printing slicer software that acts as the bridge between your creative ideas and your printer.

It’s designed to be user-friendly, so you don’t need anything like a PhD in 3D printing to get started. Yet, it’s packed with advanced features (like multi-material support) that will help you handle complex projects very easily. And its slicing engine? It’s not just fast, it’s also smart and is designed to ensure your prints come out just the way you envisioned them.

It’s also compatible with a variety of 3D printers, such as Bambu Lab’s X1 series and P1P, along with other popular models from brands like Creality and Prusa.

Let’s dive into how to get it up and running!

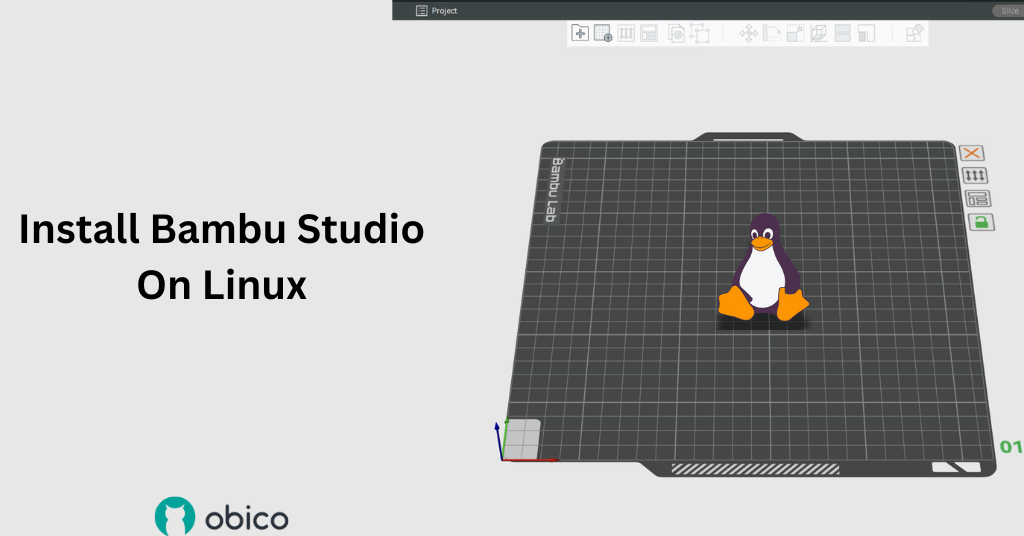
Instalar o Bambu Studio no Linux

· Leitura de 10 minutos
dica

Try JusPrin, the first GenAI 3D printing tool built on OrcaSlicer.

O Bambu Studio, lançado em 2022 junto com a impressora 3D Bambu Labs X1, é um software fatiador de código aberto baseado no PrusaSlicer (que, por sua vez, era baseado no Slic3r).

É naturalmente a arma escolhida pelas impressoras 3D da Bambu Labs em todo o mundo, devido à sua integração perfeita com toda a gama de máquinas da Bambu Labs.

Quando foi lançado, estava disponível exclusivamente para computadores com sistemas operacionais macOS e Windows. Se você quisesse executá-lo no Linux, teria que tentar fazê-lo rodar em uma camada de compatibilidade (como o WINE) ou em uma máquina virtual (como o VMWare ou o VirtualBox).

A boa notícia para alguns usuários de Linux é que, desde março de 2023, o Bambu Studio está disponível explicitamente para Ubuntu e Fedora. Portanto, se você é usuário do Fedora ou Ubuntu e deseja instalar o Bambu Studio em seu sistema Linux, continue lendo para obter informações sobre onde obtê-lo e como instalá-lo.

Há duas maneiras de instalar o Bambu Studio no Linux:

  • Instalando o Bambu Studio com Flatpak
  • Instalando o Bambu Studio no Ubuntu / Fedora a partir de uma AppImage

Instalando Bambu Studio com Flatpak

Primeiro, vamos começar com a opção mais fácil: instalar usando o Flatpak. O Flatpak é ideal para quem não deseja instalar um monte de dependências e compilar o software sozinho. Esta pode ser a melhor opção para a maioria das pessoas, pois, de acordo com diversos fóruns (GitHub e Reddit), instalar as dependências e compilar pode produzir resultados bastante variados.

nota

Important Note for Users of Ubuntu 23.10 and Upwards

With the release of Ubuntu 23.10 (and newer versions), the default app store is App Center, which does not support installing Flatpak apps. Installing the Flatpak plugin will automatically install the deb-based GNOME Software app as your new software center, which will enable you to use both Flatpak and traditional deb packages. The step to achieve this is described in the process below.

Os passos a seguir são o que você precisa fazer para instalar o Bambu Studio no Ubuntu / Fedora usando o FlatPak. Observe que o Flatpak já está instalado no Fedora, então você pode pular direto para o passo 6. Usuários do Ubuntu devem começar do passo 1 se o Flatpak ainda não estiver instalado.

1) Instalar Flatpak

Primeiro, você precisa instalar o FlatPak. Basta abrir o aplicativo Terminal e executar:

sudo apt install flatpak

2) Instale o plugin Flatpak do software GNOME

A instalação do plugin GNOME Software Flatpak permitirá que você instale aplicativos Flatpak por meio de uma GUI.

Execute o seguinte comando para instalar o plugin:

sudo apt install gnome-software-plugin-flatpak

3) Adicione o Repositório Flathub

Agora que sua distribuição Linux pode ser instalada com o Flatpak, você precisará de um repositório para encontrar seus aplicativos Flatpak. Flathub é o mais comum.

Para habilitá-lo, execute:

flatpak remote-add --if-not-exists flathub https://dl.flathub.org/repo/flathub.flatpakrepo

Este comando adiciona o Flathub como um controle remoto Flatpak, permitindo que você acesse milhares de aplicativos.

4) Reinicie o seu sistema

Para que as alterações entrem em vigor, é recomendável reiniciar o sistema:

sudo reboot

5) Verifique a instalação do Flatpak

Para garantir que o Flatpak esteja instalado e funcionando corretamente, execute o seguinte comando:

flatpak --version

Você deverá ver o número da versão do Flatpak exibido no terminal.

6) Instale o Bambu Studio

Agora que os pré-requisitos foram instalados, você pode prosseguir e acessar o Bambu Studio via Flathub:

flatpak install flathub org.bambu.BambuStudio

7) Execute o Bambu Studio

Depois de esperar a instalação do Bambu Studio, agora você pode executá-lo digitando o seguinte:

flatpak run org.bambu.BambuStudio

Então aí está, a maneira mais simples e eficaz de instalar o Bambu Studio em máquinas Linux. Claro, uma vantagem de usar uma versão FlatPak é que ela também é relativamente simples de atualizar.

Veja como você pode garantir que sua versão Flatpak do Bambu Studio esteja atualizada.

Basta atualizar todos os seus aplicativos Flatpak com este comando:

flatpak update

Ou, se você deseja atualizar o Bambu Studio sozinho, digite o seguinte:

flatpak update com.bambulab.BambuStudio

Método alternativo de download do Bambu Studio

Você também pode baixar o Bambu Studio no Diretório Flathub.

Outra maneira de instalar o fatiador Bambu Lab é usando os arquivos de instalação oficiais do Flathub. Marque o selo de verificação ao lado do uploader e clique em Instalar.

Depois que os arquivos de instalação do Bambu Studio forem baixados, copie o nome do arquivo de instalação e use este comando no terminal do local baixado.

BLOCO DE CÓDIGO_9

Instalando o Bambu Studio no Ubuntu / Fedora a partir de um AppImage

Sua outra opção (mais complicada) para instalar o Bambu Studio nos sistemas operacionais Ubuntu e Fedora é usar o AppImage do Github.

Há muitos relatos em vários fóruns de que esse método às vezes oferece resultados menos do que o desejado, por isso recomendamos que você opte pela versão Flatpak.

Observe que o processo é o mesmo para o Fedora e o Ubuntu, mas pode ser necessário desabilitar o SELinux no Fedora, pois ele pode interferir nas instalações do AppImage às vezes.

1) Obtenha o AppImage

Primeiro, você precisará baixar o AppImage do Bambu Labs GitHub aqui.

Aqui você encontrará várias versões do Bambu Studio. Você também pode encontrar versões antigas do Bambu Studio AppImages e fazer o downgrade para uma versão mais antiga. Neste recurso, você encontra arquivos para Mac, Windows e Linux. Dependendo da sua distribuição, você pode selecionar o AppImage do Ubuntu ou do Fedora.

2) Mova o AppImage para uma pasta adequada

Em seguida, você precisará colocar seu AppImage em algum lugar conveniente (como sua pasta ~/Applications).

mkdir -p ~/Applications
mv ~/Downloads/BambuStudio-*.AppImage ~/Applications/

3) Tornar o AppImage executável

Há algumas maneiras de tornar seu AppImage executável.

Primeiro, localize sua AppImage na pasta para a qual você a moveu. Em seguida, clique com o botão direito do mouse na AppImage e selecione "Properties" no menu pop-up.

Em seguida, vá para a aba "Permissions" na janela Propriedades e marque a caixa "Allow executing file as a program". Feche a janela Propriedades e prossiga para a próxima etapa.

O segundo método é usar o Terminal para apontar para sua pasta Aplicativos e então torná-la executável.

cd ~/Applications
chmod +x BambuStudio-*.AppImage

4) Execute o executável AppImage

Agora que seu AppImage é executável, você pode simplesmente clicar duas vezes nele para instalar ou usar o terminal digitando a seguinte linha:

./BambuStudio-*.AppImage

Pronto. Espero que seu AppImage do Bambu Studio funcione. Se não funcionar, talvez seu sistema esteja com algumas dependências faltando. Se for o caso, você deverá receber uma mensagem de erro informando o que está faltando e deverá prosseguir com a instalação das dependências ausentes.

Etapas adicionais

Correção de compatibilidade para Ubuntu 24.x

Ao executar o Bambu Studio AppImage, você pode encontrar bibliotecas ausentes. O Bambu Studio requer libwebkit2gtk, que pode ser substituído por outras versões ou pode não estar disponível no seu computador.

Para resolver isso, você pode criar links simbólicos para essas bibliotecas específicas usando este comando no terminal.

sudo ln -sf /usr/lib/x86_64-linux-gnu/libwebkit2gtk-4.1.so.0   /usr/lib/x86_64-linux-gnu/libwebkit2gtk-4.0.so.37
sudo ln -sf /usr/lib/x86_64-linux-gnu/libjavascriptcoregtk-4.1.so.0 /usr/lib/x86_64-linux-gnu/libjavascriptcoregtk-4.0.so.18

Como o fatiador da impressora 3D está procurando por libwebkit2gtk, ele agora será redirecionado para a versão mais recente da mesma biblioteca disponível no Ubuntu 24.x

Configurando o Bambu Studio

Depois de executar o Bambu Studio com sucesso, você ainda precisa conectar sua impressora 3D, instalar plugins de rede e fazer login na sua conta.

Selecione sua impressora 3D

O Bambu Studio oferece uma variedade de impressoras 3D que você pode usar com este fatiador, mas ele funciona melhor com as impressoras Bambu Lab. Você pode selecionar a impressora e os bicos que deseja nesta etapa.

Seleção de Filamentos

Dependendo da sua impressora, você pode selecionar todas ou algumas das opções de filamento. Se você tiver capacidade de impressão em carbono, como a Bambu Lab X1 Carbon, também poderá selecionar carbono, além das opções PLA, Matte e Silk.

Conclua a configuração

Após concluir as escolhas iniciais, seu Bambu Studio deverá ficar assim. Para finalizar a configuração da sua impressora, acesse a aba "Preparar".

Você também pode selecionar seu tipo de PLA na barra lateral e criar uma predefinição personalizada que pode ser salva para impressões repetidas posteriormente.

Calibrando a impressora

As impressoras Bambu Lab funcionam muito bem assim que saem da fábrica, mas geralmente é uma boa prática calibrá-las antes de imprimir a primeira peça. Você pode seguir este guia para calibrar sua impressora. Ele aborda nivelamento da mesa, calibração da vazão e muitas outras dicas iniciais.

PERGUNTAS FREQUENTES

O Bambu Studio é gratuito?

O Bambu Studio é um software de fatiamento gratuito como o Cura e oferece perfis personalizáveis e gerenciamento de impressão 3D.

Como faço para baixar uma versão mais antiga do Bambu Studio?

Para baixar uma versão mais antiga do Bambu Studio, você pode verificar o repositório do GitHub e encontrar o título da versão mais antiga que procura. Você pode baixar o arquivo executável e realizar uma nova instalação.

Existe um aplicativo Bambu Lab?

O Bambu Lab possui um aplicativo móvel, diferente do Bambu Studio, mas com ele você pode ajustar a vazão, receber notificações e iniciar e pausar impressões. O Bambu Studio funciona com outras impressoras 3D, mas o aplicativo móvel é específico para impressoras Bambu Lab.

Quais tipos de arquivo o Bambu Studio suporta

O Bambu Studio suporta arquivos G-code padrão, seus arquivos .bambu e .3mf. O fatiador pode trabalhar com uma variedade de arquivos de peças 3D, como STL, OBJ, FPP e AMF.

Observações finais

Existem alguns recursos no Bambu Studio que exigem componentes nativos do Windows para funcionar (como o Reparo de Malha). Ao reparar arquivos STL no Bambu Studio em uma máquina Windows, ele utiliza o software Windows 3D Builder para verificar erros e repará-los. Você perderá essa funcionalidade em um sistema baseado em Linux.

Pode haver outros recursos faltando também, mas, se servir de consolo, os usuários de Mac também estão perdendo alguns desses recursos.

Se você deseja compilar o Bambu Studio do zero, há um guia prático em este link, mas recomendamos usar o método Flatpak - é mais fácil de instalar e também de atualizar.

Infelizmente, a Bambu Labs não publicou um guia completo para instalação em máquinas baseadas em Linux, mas esperamos que nosso pequeno guia ajude você a começar.

Boa sorte e divirta-se com seu novo fatiador no Linux!


Also available in: Deutsch | English | Español | Français | Italiano | Nederlands | Polski | Русский

Input Shaping: What it is and How to Use it

· Leitura de 5 minutos

Over the past decade, the hobbyist 3D printing community has seen several technological advances that have increased the quality and speed of hobby-level printing by leaps and bounds. One of these advances has been input shaping. Input shaping has the ability to make your 3D printer faster and more accurate, and the best part of all is that it’s incredibly cheap and easy to implement! In this article we’ll discuss what input shaping is, as well as how to use it.

A photo showing two 3DBenchys

Orca Slicer’s Spiral Vase (Vase Mode): A Deep Dive

· Leitura de 17 minutos

Introduction

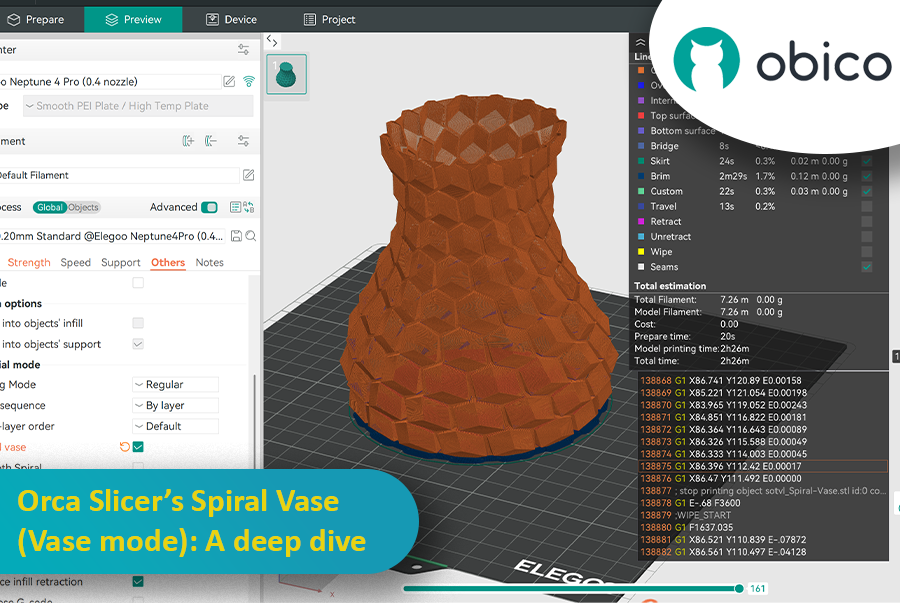
If you’ve ever wondered how people create those gorgeously smooth, hollow prints that look like ceramic vases straight from an artisan’s studio, you’re about to discover their secret. It’s called Spiral Vase Mode, and it can turn your 3D printer into a wizard of single-wall printing. Picture your extruder gliding in one continuous loop around a shape, steadily building a spiral from the bottom up. Gone are the days of multiple perimeters, infill grids, and cluttered top layers. In their place, you’ll find a single, graceful helix of filament that forms a delicate but surprisingly impressive object.

Orca Slicer’s Spiral Vase (Vase Mode): A Deep Dive

For many 3D printing enthusiasts, vase-mode prints represent a sweet spot between practicality and artistry. They can be quick to produce, visually striking, and mesmerizingly smooth on the surface. In short, they’re different from your average print. And thanks to Orca Slicer—a slicer admired for its user-friendly design and flexible feature set—accessing Spiral Vase Mode has never been simpler.

This guide will walk you through everything you need to know about Spiral Vase Mode in Orca Slicer. We’ll talk about what it is, why it’s so popular, and how to set it up. We’ll also cover vital details about nozzles, layer heights, water-tightness, tricky designs, and the all-important calibration steps. By the end, you’ll be ready to bring your own vase-mode dreams to life. Whether that’s a lamp, a prototype shell, a decorative piece, or an actual vase you can put flowers in, is entirely up to you.

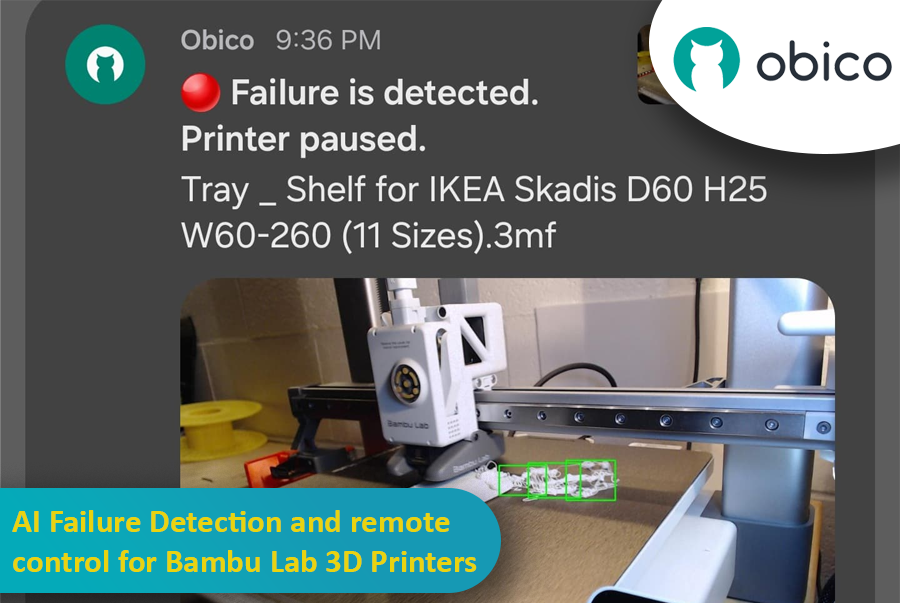
AI Failure Detection and Remote Control for Bambu Lab 3D Printers

· Leitura de 17 minutos

So, you’ve got a Bambu Lab 3D printer—maybe a fancy X1 Carbon, or maybe a more modest A1 or P1P—and you’re absolutely in love with how quickly and smoothly it prints. These machines are kind of like the Ferraris of the consumer 3D printing world, right? Super-fast, often come with neat features like built-in cameras, enclosed builds, multi-color printing capabilities, and even some AI-based magic that tries to detect when your print turns into the dreaded “spaghetti monster.” You know what I’m talking about: that moment when your once-promising print becomes a pile of tangled filament resembling something you’d serve with meatballs.

 AI Failure Detection and Remote Control for Bambu Lab 3D Printers

But here’s the catch: Not all Bambu Lab printers have the same level of AI detection built in. Models like the Bambu X1 Carbon are decked out with advanced AI spaghetti detection and even LiDAR to inspect that first layer. Meanwhile, other models—like the Bambu A1 series or the P1P—lack AI features altogether. Maybe you went from a Creality printer that you’d meticulously set up with OctoPrint and had all sorts of plugins running, including advanced failure detection. Then you jumped ship to a Bambu Lab machine and realized you miss that robust ecosystem. Or maybe you just love tinkering and want to integrate Obico’s AI-based spaghetti detection and remote monitoring into your Bambu workflow.

Well, good news: With a bit of creativity, a spare single-board computer (like a Raspberry Pi or Orange Pi), a camera (such as a trusty old Logitech C920), and some software tweaking, you can get AI failure detection working via Obico on your Bambu printer—no matter which model you have. This can transform your Bambu printer setup into something that feels both luxurious and smart, catching failures before they waste days of print time and tons of filament.

In this “case study” or super-long how-to, I’ll walk you through a scenario: Let’s imagine you have a Bambu A1 printer. You love it, but you want AI failure detection similar to what you might have had with other printers integrated with Obico. We’ll talk about using OctoPrint as a virtual “bridge,” installing plugins, setting up a camera, and linking everything to Obico’s cloud so you can watch your prints from anywhere, get notifications if something goes wrong, and even pause or stop the printer remotely. And if you’re on a higher-tier Bambu like the X1 Carbon, you might not need this as much—but it’s still super cool to have another layer of AI detection from Obico’s machine-learning setup.

I’ll also share some links to relevant GitHub repos, documentation pages, and other helpful guides.

QIDI Plus4 - Klipper Remote Access and AI

· Leitura de 15 minutos

The QIDI Plus4 is not just a 3D printer; it’s a game changer for those who want precision, reliability, and advanced features. Whether you are a hobbyist or a professional, the QIDI Plus4 has features that will take your entire printing experience to the next level. Pre-installed with Klipper firmware, equipped with a heated chamber, and packed with intelligent monitoring capabilities, this amazing 3D printer ensures that your prints are accurate, consistent, and efficient.

QIDI Plus4 3D printer in action with remote and AI capabilities

In this article, we will go in-depth on the QIDI Plus4 features and guide you through setting up remote access and AI monitoring with Obico.

Introducing the New Prusa CORE One: A Revolutionary 3D Printer

· Leitura de 12 minutos

The 3D printing world has just got a new game changer: the Prusa Core One. This is not just a new printer; it’s a leap forward in design, functionality, and performance. The new CORE One printer offers a CoreXY design, active chamber temperature control, and a host of user-focused innovations. It combines speed, precision, and versatility in a sleek, compact package.

Prusa Core One: The Revolutionary 3D Printer

Whether you are a hobbyist looking to expand your creative possibilities, a professional engineer in need of reliable prototypes, or a teacher exploring 3D printing, the Prusa CORE One has something for everyone.

Let’s take a closer look together at what makes this new printer a true standout.

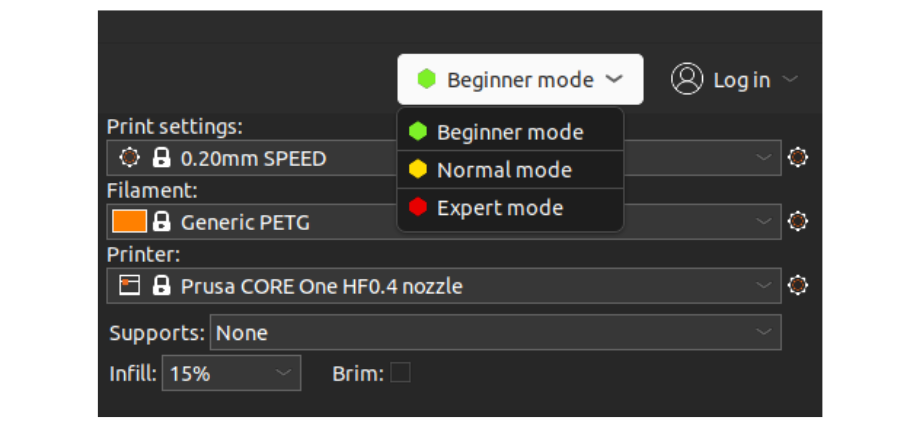
Orca Slicer Filament Profiles and How to Make Your Own

· Leitura de 15 minutos

3D printing is more than a hobby; it’s a tool for innovation, design, and creativity. As technology gets better, the tools we use to optimize the print process get better. Orca Slicer is one of the best slicing software options out there for users who want precision, efficiency, and customization. One of its many features is the ability to create and manage your own filament profiles, and that’s a game changer for getting great results every time.

Orca Slicer Filament Profiles and How to Make Your Own

In this article we’ll go deep into filament profiles in Orca Slicer, what they are, why they matter, and how you can create, fine-tune, and optimize your own custom profiles for your material.

JusPrin - The first GenAI 3D printing app

· Leitura de 3 minutos

Back in 2019, I built The Spaghetti Detective. It was the first AI tool made specifically for the 3D printing community. Fast forward a few years, and we’re in the GenAI era. But there have been no GenAI apps for the 3D printing.

Well, that’s about to change. Meet JusPrin, the first GenAI app for 3D printing. No slicing. Just print.