Aller au contenu principal

Caméra Klipper - Installation et configuration d'une caméra avec Klipper

· 10 minutes de lecture

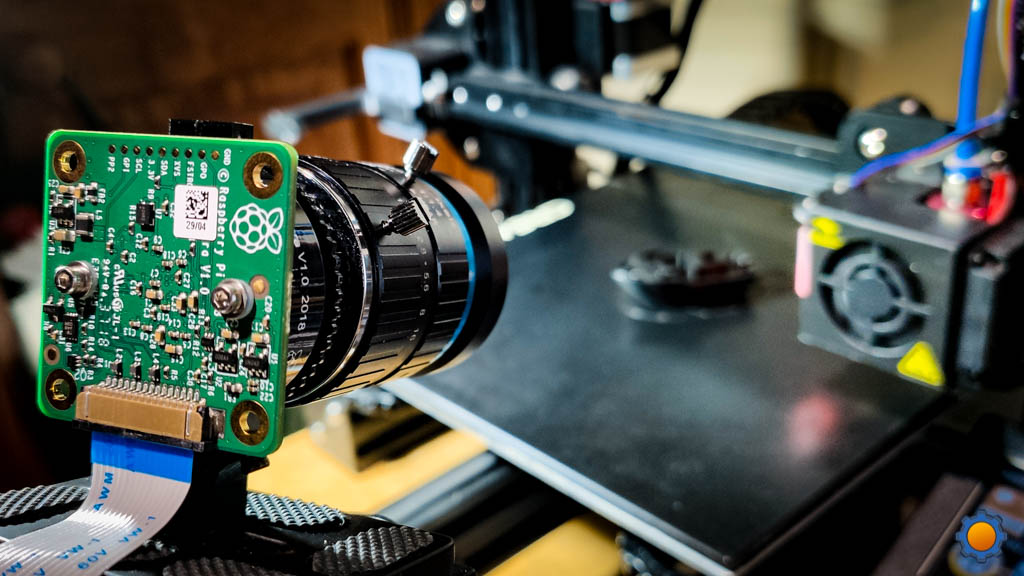
Klipper est l'un des rares firmwares d'impression 3D prenant en charge nativement une caméra externe pour la surveillance de votre imprimante. Son interface web facilite la connexion d'une caméra au Raspberry Pi et le suivi de l'impression.

Cependant, Klipper est un firmware relativement récent, avec des ressources et des guides limités concernant ses différentes fonctionnalités. En tant que nouvel utilisateur ou débutant, il est facile de se perdre dans les méandres de l'installation et de la configuration d'une caméra sur son imprimante 3D Klipper.

Cet article a pour but de simplifier le processus et de vous aider à configurer une caméra sur votre imprimante 3D connectée à Klipper. Poursuivez votre lecture pour découvrir en détail la procédure de configuration de la caméra Klipper et comment elle peut optimiser votre flux de travail d'impression 3D.
Timelapse Klipper avec Fluidd ou Mainsail - Tout ce que vous devez savoir

· 9 minutes de lecture

Introduction

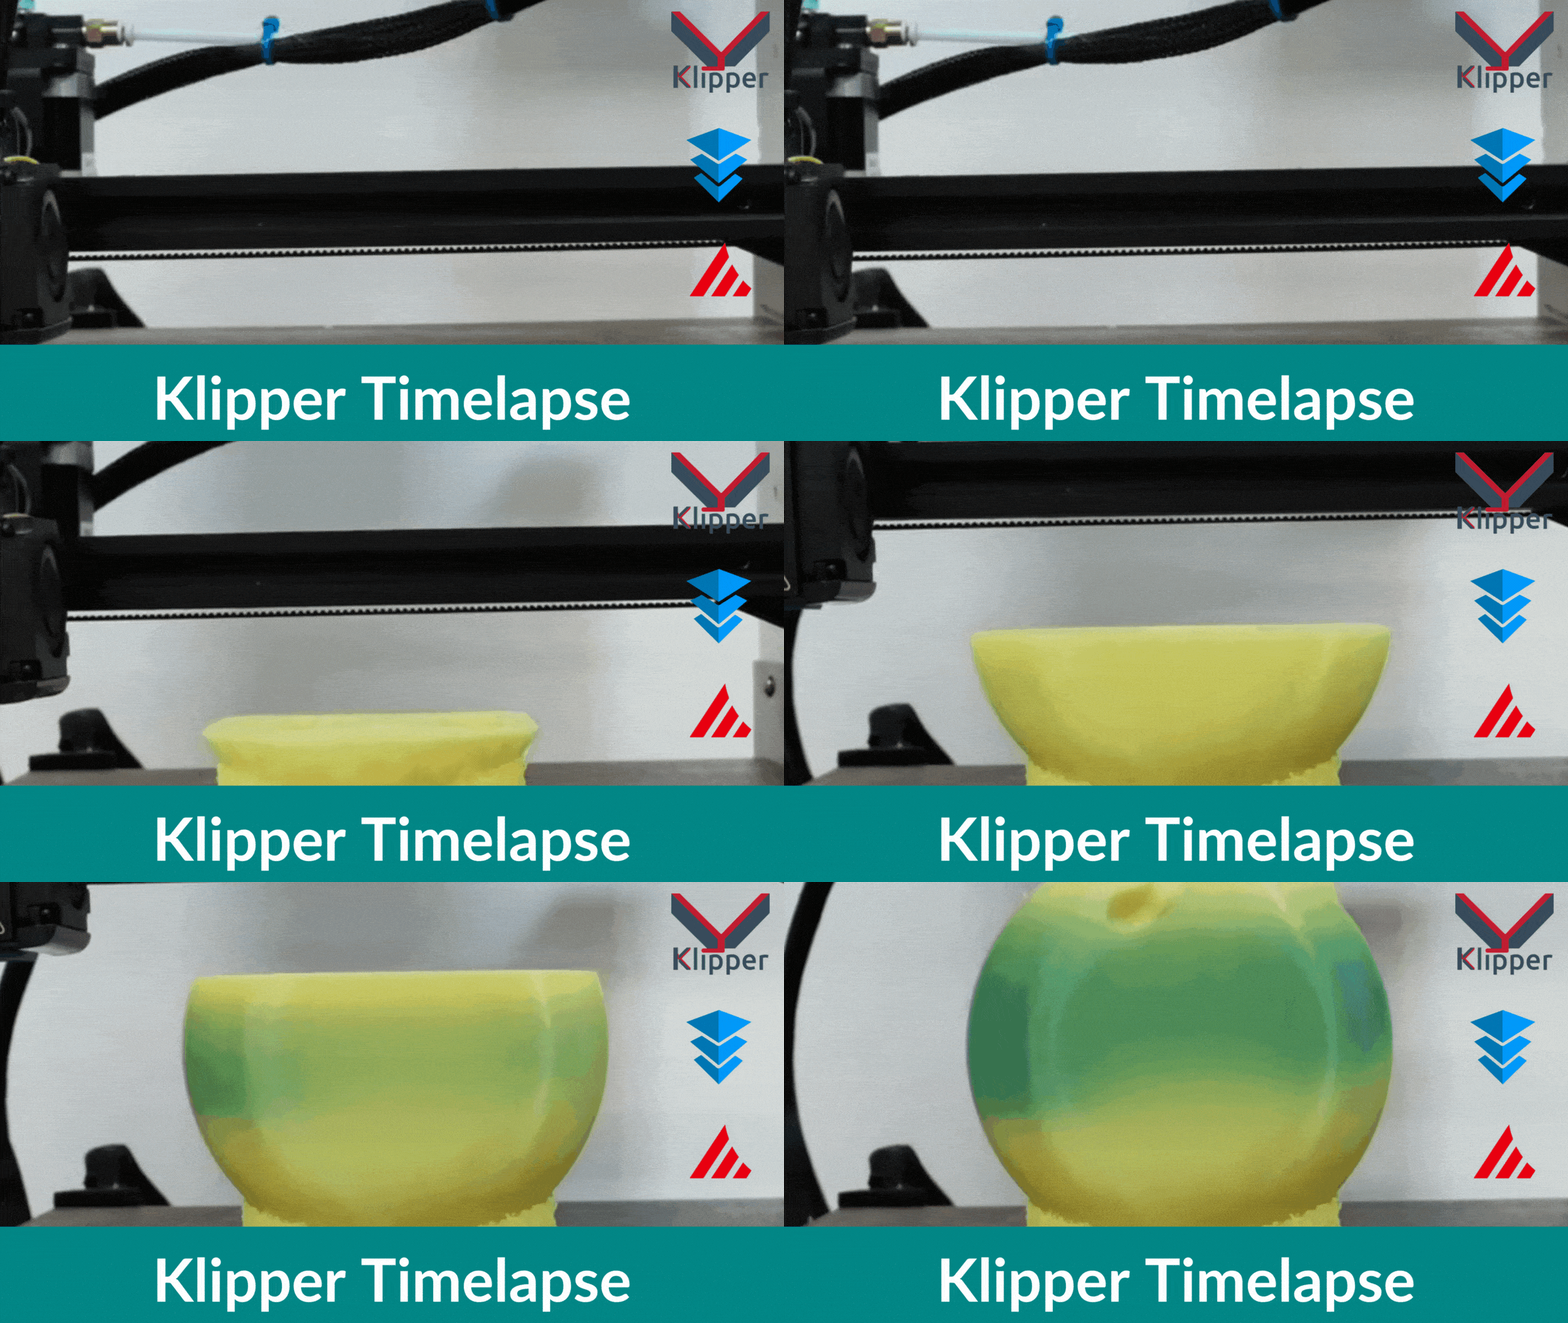
Grâce à la fonction timelapse de Klipper, vous pouvez enregistrer l'intégralité de votre processus d'impression 3D et en partager des extraits sur vos réseaux sociaux. Ces vidéos constituent également un excellent outil pour analyser les échecs d'impression et en identifier les causes.

Pourtant, malgré leur utilité, la création de vidéos en accéléré dans Klipper peut s'avérer complexe pour de nombreux utilisateurs. Et bien que la configuration soit relativement simple, les réglages initiaux peuvent facilement dérouter les débutants.

Dans cet article, nous allons simplifier ce processus pour vous. Nous détaillerons la procédure étape par étape et configurerons la fonctionnalité timelapse pour votre instance Klipper. À la fin de ce guide, vous serez capable d'enregistrer des vidéos timelapse d'une qualité exceptionnelle de vos impressions 3D et de les partager avec vos proches.

Commençons le tournage.

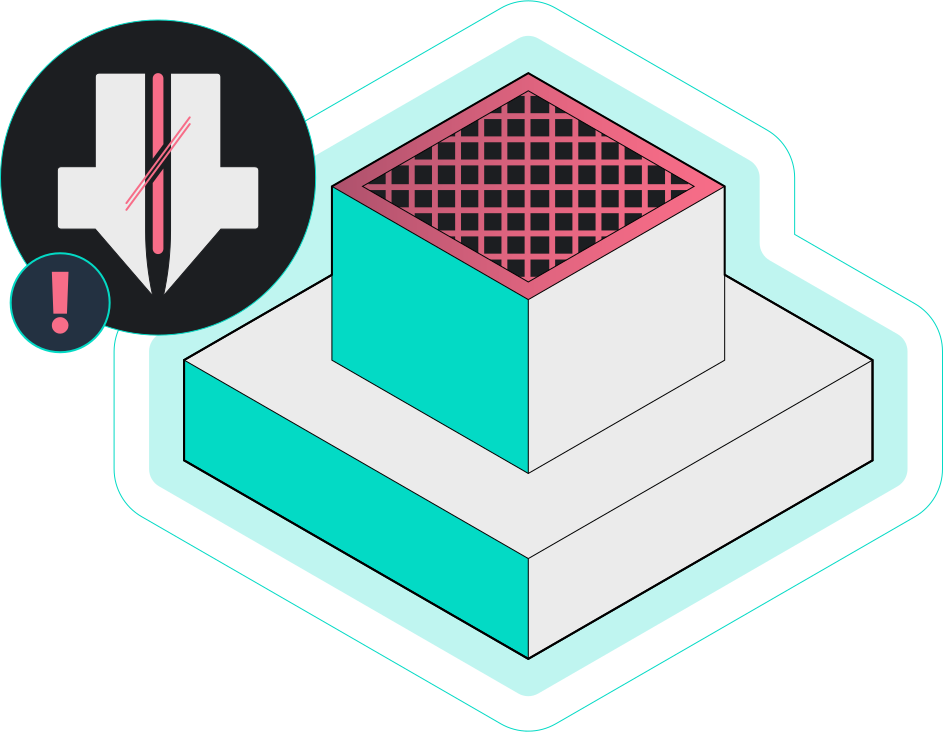
Nozzle Scraping Bed Surface

· 4 minutes de lecture

Nozzle Scraping Bed Surface

What Is It?

Inaccurate bed leveling, low initial layer height, or incorrect Z-offset settings can cause your printer's nozzle to scrape against the printing bed. It might damage the nozzle and the print bed and restrict the filament from flowing out of the nozzle.

If left unchecked for a while, it can build up pressure in the hot end and cause the extruder motor to skip steps. Nozzle scraping is relatively minor but one of the most common issues faced by beginners and new 3D printer users.

Blobs and Zits

· 3 minutes de lecture

Blobs or Zits

What Is It?

Blobs or Zits are the tiny dots on your print's surface and directly affect its overall quality and appearance. These are often the result of incorrect retraction settings or high printing temperature and negatively affect the surface finish of your 3D printed part.

Sometimes, you can easily remove them with sanding, but big blobs can be challenging to remove and may leave an impression on your parts. For this reason, it's best to tune your printer to not create them in the first place rather than try to remove them through post-processing.

Broken Filament

· 4 minutes de lecture

Broken Filament

What Is It?

The filament is a relatively fine plastic thread, which can break easily under certain conditions. If your filament breaks mid-way during a print, it will cause a print failure leading to a loss of print time and effort.

Filament usually breaks due to poor quality control, high humidity, or extreme tension in the filament path. These conditions are essential to consider if you're planning to print large-sized objects or want to use your printer for batch 3D printing.

Filament Stops Extruding Mid-Print

· 4 minutes de lecture

Filament Stops Extruding Mid-Print

What Is It?

Your 3D printer can stop extruding filament mid-way during printing, leading to a failed print and losing printing time. The most likely and apparent reason might be your printer running out of filament material.

But, in some cases, nozzle clogs and defective extruders too can be a potential issue.

First Layer Issues

· 5 minutes de lecture

First Layer Issues

What Is It?

First layer issues reduce the chances of a successful print and are often the cause behind several failed 3D prints. Some of the significant and most common first layer problems are - prints not sticking to the bed surface, the first layer too rough, the nozzle not extruding filament or holes and lines in the bottom of your prints.

These problems can either affect the quality of your prints or cause them to fail, leading to loss of filament and printing times. Therefore, it's crucial to eliminate these issues and ensure a smooth and even initial layer.

Gaps in Print Surfaces

· 4 minutes de lecture

Gaps in Print surfaces

What Is It?

Often 3D prints can have small visible gaps on their top surfaces, outer walls, and between the infill structure and the inner walls. These cavities ruin the appearance of your 3D-printed model and might also affect its structural integrity. Often, the cause behind gaps in your 3D prints is related to slicer settings, and you can quickly resolve these gaps by fine-tuning specific settings.

Inferior Surface Quality Above Supports

· 3 minutes de lecture

Inferior Surface Quality above Supports

What Is It?

Supports are essential to provide a base for the overhangs in your 3D prints. But incorrect support settings can affect your print's quality and appearance. If the top of your support is too close to the print's surface, it might leave marks and blobs. Whereas, if there's too much gap between the support and the print, you will encounter filament drooling and poor overhangs.

In an ideal scenario, the support should easily detach from the print's surface without leaving any marks. Moreover, the supported area of the print shouldn't indicate any filament drooling or signs of a support structure underneath it.

Inferior Surface Quality Underneath Supports

· 3 minutes de lecture

Inferior Surface Quality underneath Supports

What Is It?

With extreme overhangs, you need to use support structures that use the print's surface as their base. In such cases, the support pillars can adhere firmly to your print, affecting your part's surface quality. Less distance between the support base and the print can make removing the supports a challenge.

Popular slicers such as Cura and PrusaSlicer circumvent this issue using Tree Supportstructures. Tree supports have minimal contact with your 3D prints and help you achieve better-looking parts even with large overhangs.