Build a Pushover notification plugin for Obico
This tutorial walks you through the steps to build a Pushover notification plugin and run it in your self-hosted Obico Server. As a matter of fact, the Pushover notification that's shipped with the Obico Server is just a slightly polished version.
1. Create a Pushover app and obtain its API Token
Creating a Pushover app is a surprisingly simple process. Follow the Pushover instructions.
If everything goes smoothly, you should see a page similar to this when you are done:
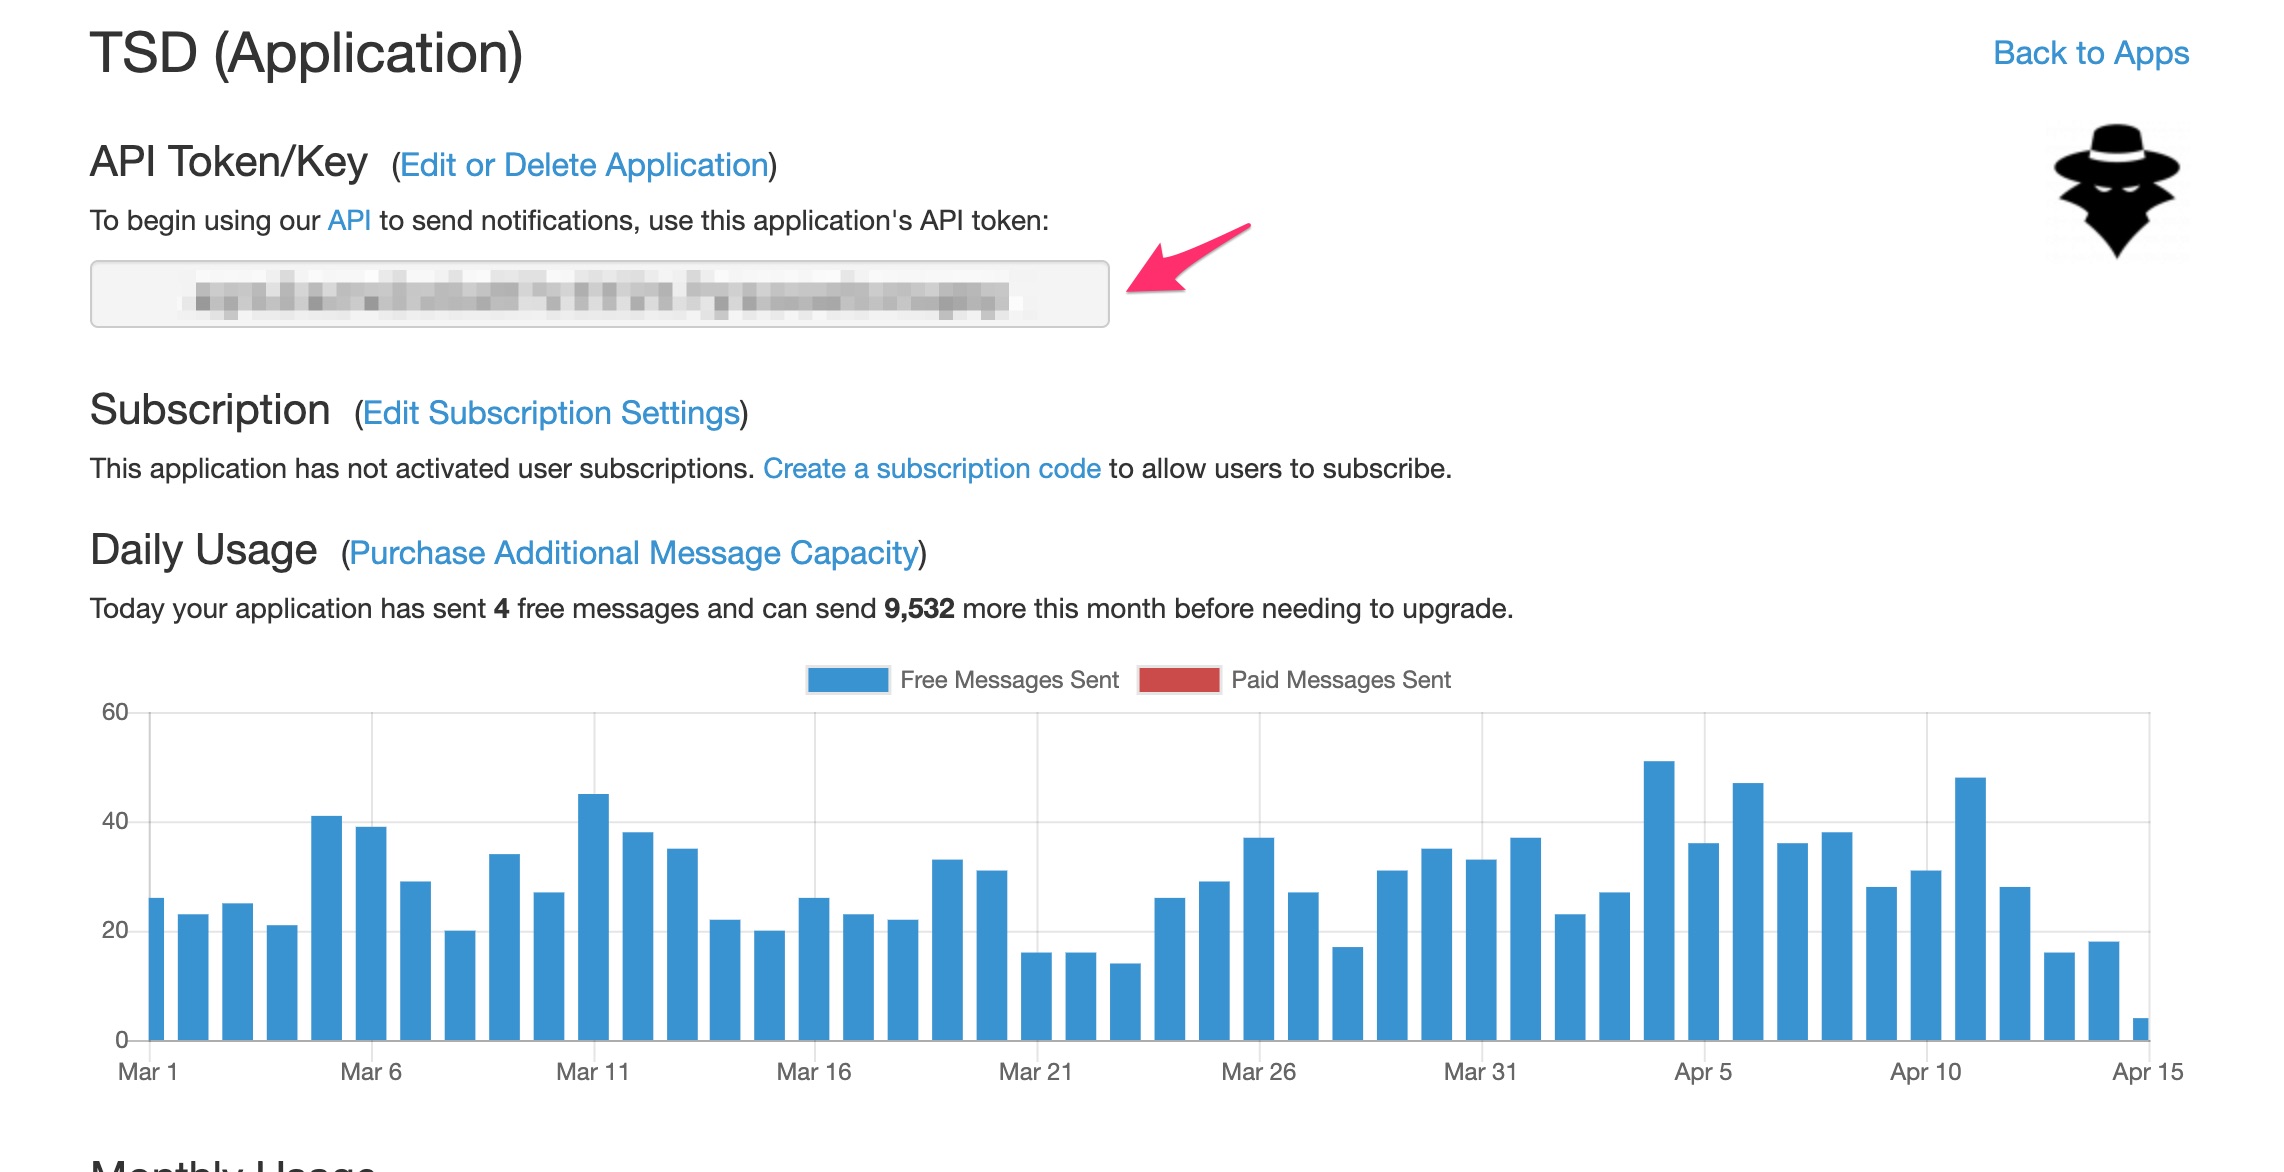
The "API Token/Key" will be used to configure the Obico notification plugin we will create in this tutorial.
2. Create a Obico notification plugin
2.1 Backend plugin files
- Create a sub-folder named
mypushoverinbackend/notifications/plugins. The folder namemypushoveris your plugin ID and shouldn't be the same as any other pluginsbackend/notifications/plugins. - Download this file and save it as
__init__.pyinbackend/notifications/plugins/mypushover.
2.2 Frontend plugin files
- Download this file and save it as
mypushover.vueinfrontend/src/notifications/plugins/. Please note that the file namemypushover.vueshould match the plugin ID you chose in step 2.1. - Open the file
frontend/src/notifications/plugins.jsand add the following lines to the bottom of the file:
...
  mypushover: {
    displayName: 'My Pushover plugin',
  },
...
2.3 Configure environment variables
- Make a copy of
dotenv.exampleand rename the copy as.envin the project root directory if you haven't previously done so. - Open the
.envfile. - Add a line that looks like this:
...
PUSHOVER_APP_TOKEN=the-pushover-app-token-you-obtained-in-step-1
...
2.4. Rebuild the frontend
Run these command to rebuild the frontend:
cd frontend
yarn
yarn build
cd ..
3. Restart the server
docker-compose restart
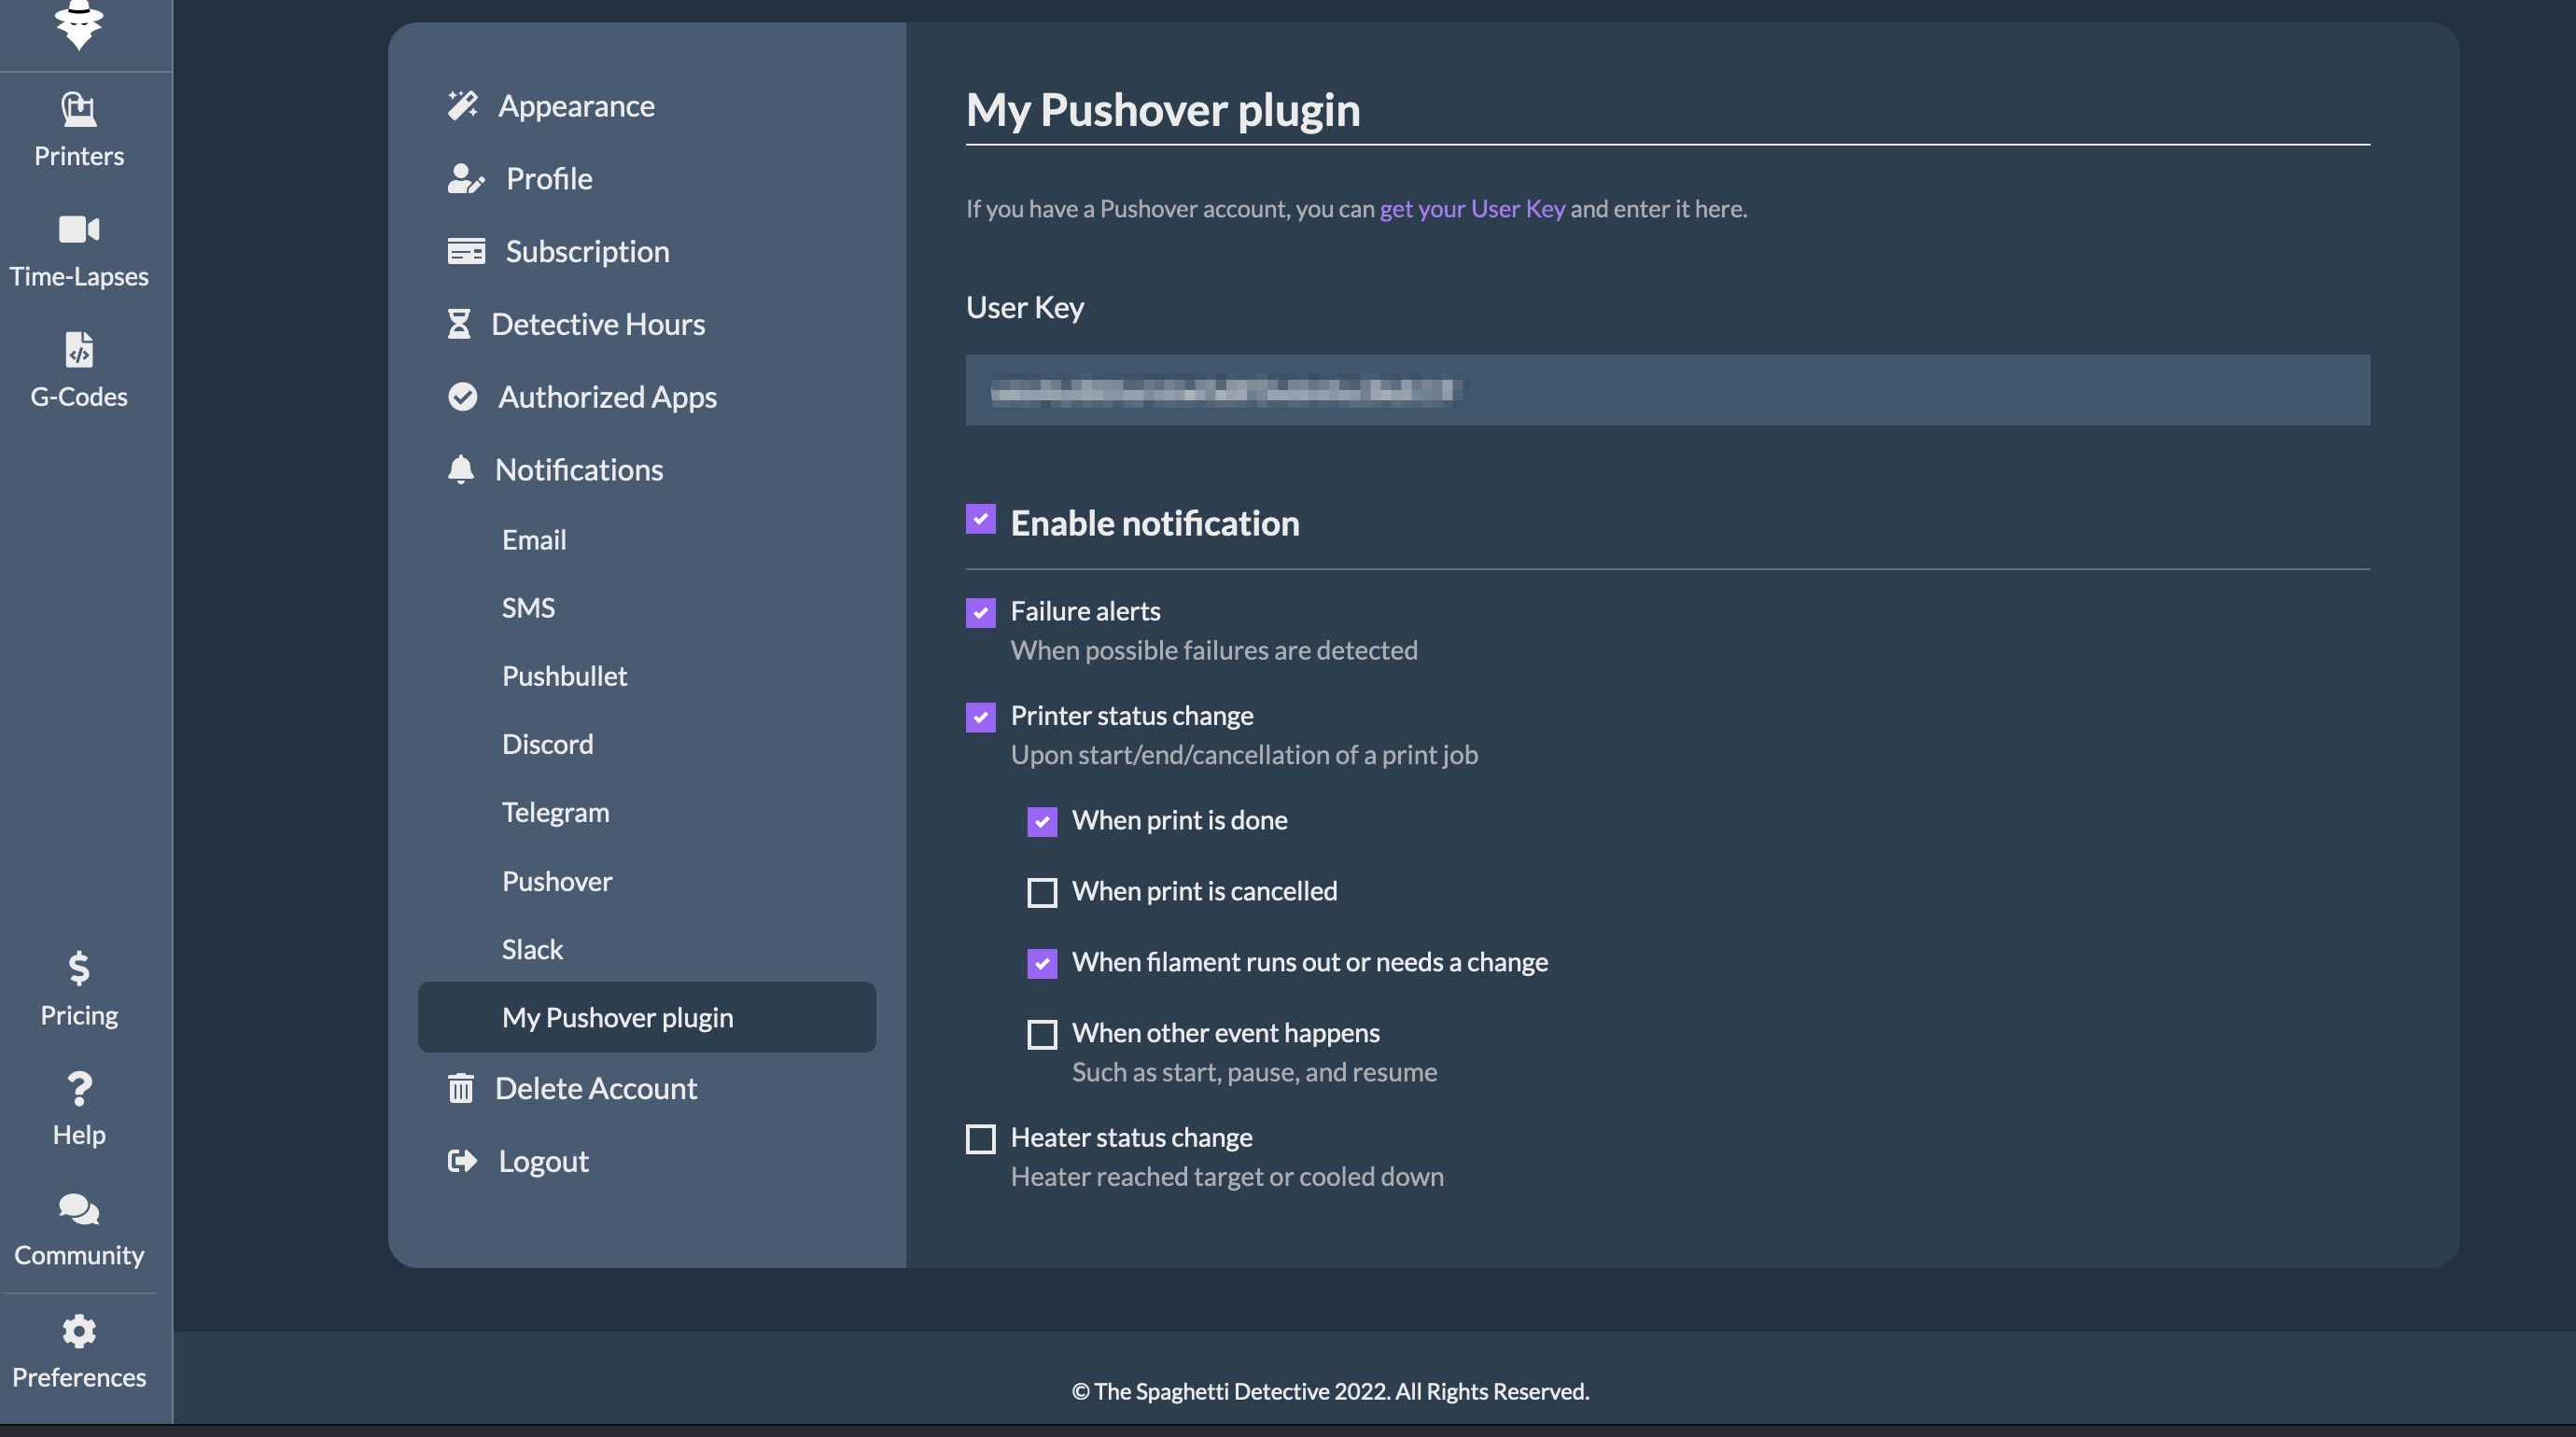
You should be able to see the notification plugin you just created on your Obico Server and start receiving notifications from your own pushover app!