Glue Stick or Glass Bed - Let's Talk About Bed Adhesion

3D printer users have a long history of fighting bed adhesion problems. That's why we have all these creative solutions: glue stick, glass bed, blue tape, you name it. For starters, we want to give you an overview on what factors play a role in bed adhesion, and how to get them right. We will drill down to each of them in details in the blogs to follow.
Proper bed leveling
The first item on the bed adhesion checklist is the obvious, but most important step: proper bed leveling. This is the #1 step that, unless you are a seasoned veteran (and even then) with a highly reliable automated leveling system like what is found on the Prusa mk3, you simply cannot skip. Without a properly leveled bed, a few things might happen, you may either experience:
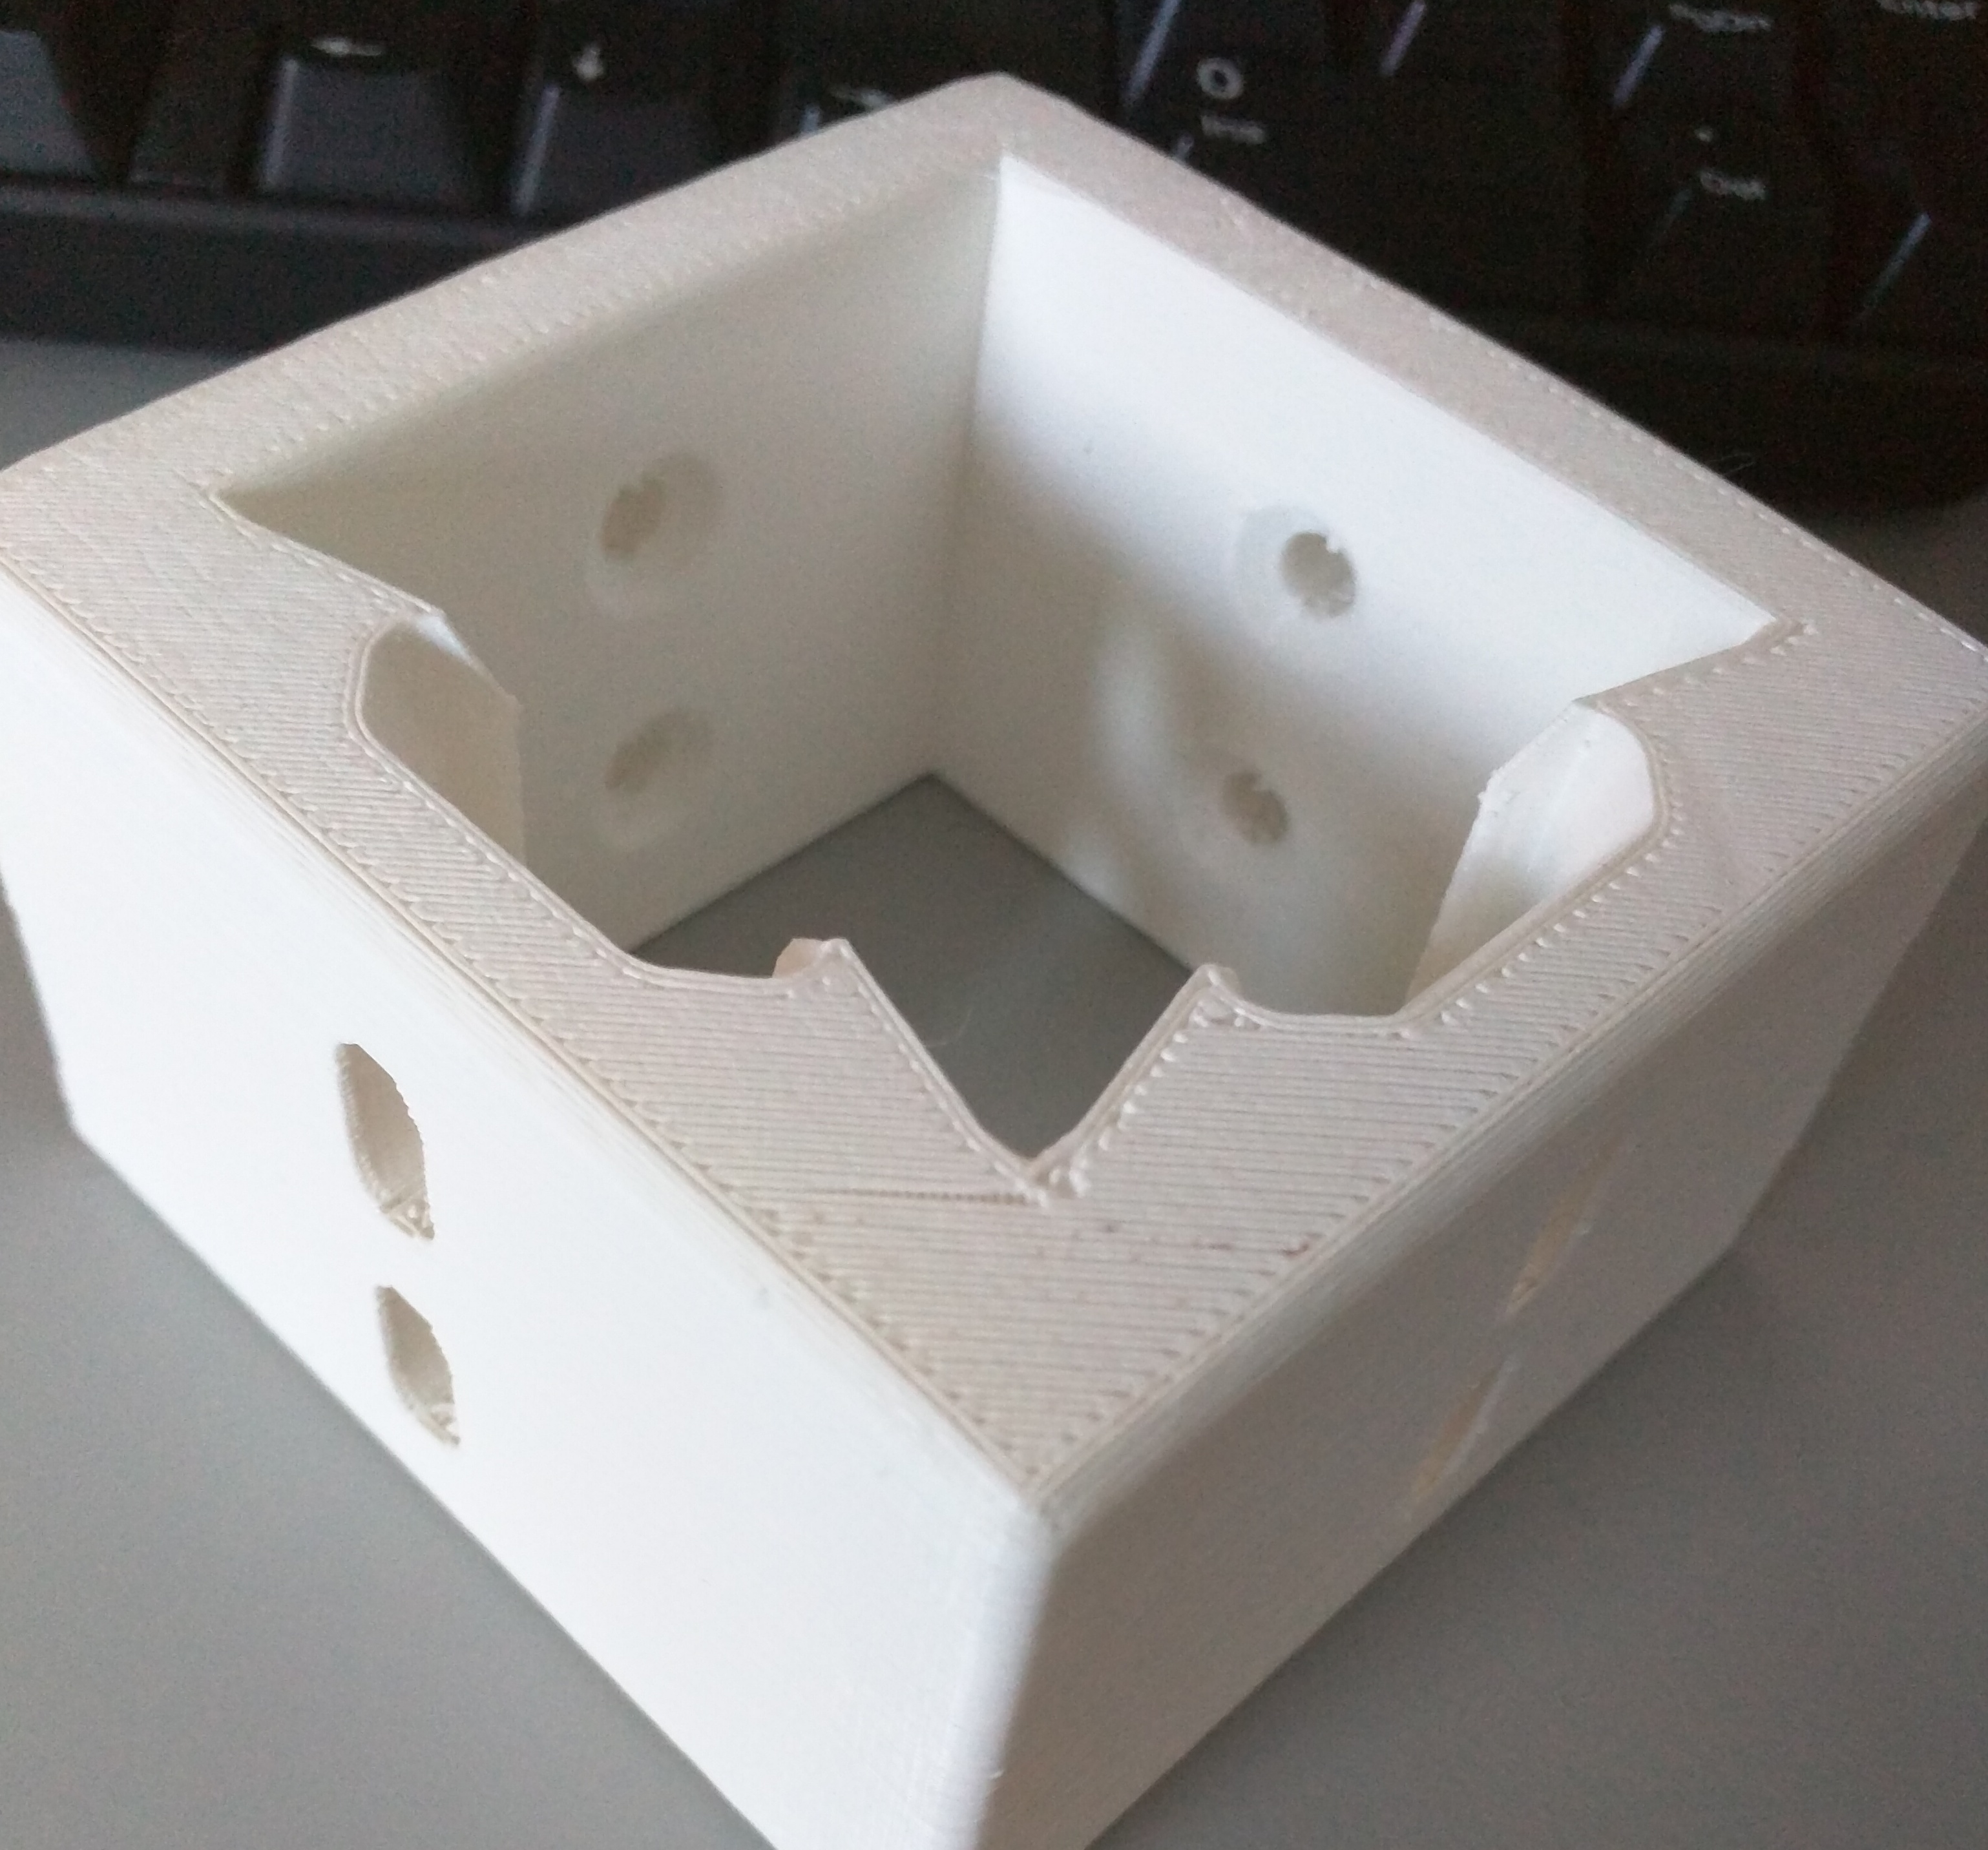
- Underextrusion, where your hotend stops extruding filament due to not having the required pressure to extrude against your tightly-pressed bed.
- No adhesion, where your filament is not compressed against the bed and doesn't adhere at all.
- A combination of the two, where you start off with loosely adhered filament on one corner of the bed, but as the hotend moves to the other corner, your extruder motor starts skipping steps and strips out the filament, and you wake up to some air.
Fortunately, there are several good guides on how to properly level your bed. We here at TSD recommend using the paper leveling trick on all four corners while nozzle and bed are hot. There will be an additional blog post on leveling tips and tricks, which will also include a section on mesh leveling!
Bed surface matters
The second most common reason for failed bed adhesion is imperfection in the bed surface itself.
When 3D printers were getting their start, one of the most common surfaces was a piece of aluminum, something that current printers still have as one of their base substrates. Aluminum is cheap, light, and easy to manufacture whether you're stamping, laser cutting, or machining the base. It also has the advantage of being relatively thermally conductive, ensuring a speedy heat-up time.
However, using thin-gage aluminum as your structure (especially in laser cut and stamped varieties) has shown a key weakness, these surfaces tend to be warped and non-planar, especially when heated and subjected to differential cooling. This warping can result in a difference between peaks and valleys of the surface of easily over .5mm, which is a few multiples of common printed layer heights for most desktop printers. This (relatively) massive height difference across the entire bed plane, even when properly leveled at the corners can result in under extrusion and no adhesion, which can significantly hamper surface quality or outright ruin a print by detaching from the bed. Most users have gotten around this problem by using a piece of glass, which is typically flatter to begin with, and deflects significantly less when heated.
Glass bed, blue tape, or glue stick?
The final culprit of poor bed adhesion is the bed surface itself and how the filament bonds to it. This category is something that's far less cut and dry, and for most users requires quite a bit of experimentation to get right for their particular equipment and filament combo. Bed preparation has three major categories: bed material, surface coating, and temperature. If one of these isn't properly configured for the particular printer and filament, the print can become detached from the bed and you'll have a mess on your hands.
There are a few commonly used bed surface materials on most desktop printers. The most common bed base materials are glass and aluminum. As discussed before, aluminum heats quickly and is also a sturdy and resilient surface if prints get stuck too well. Glass, while very hard and scratch-resistant, is simultaneously fragile and will shatter if not taken care of properly. Borosilicate glass, while much rarer and typically only used in places like ovens or Pyrex, can stand up to repeated thermal cycling and doesn't break in a similar way to common glass blends. Atop these two super-common bases is a wide variety of permanent or ablative surfaces that aid in adhesion. The most notable of these add-ons are blue painters' tape, PEI sheets, and surface veneers like Buildtak. We won't get into the details here, but will be writing a more in-depth look on these surfaces that can be built on.
On top of these surfaces there exists a variety of adhesives, sprays, and cleaners that aim to ensure that your print stays put on your bed. The most common adhesive is also the humblest, a simple stick of Elmers washable glue. On the other end, there are custom mixes like Wolfbite or Magigoo that aim to provide that extra adhesion you need for tricky prints in tricky environments. On the other end of adhesives or additives, is simple bed surface maintenance you can do. Glass and PEI should be cleaned with isopropyl alcohol to ensure the removal of dust and oils from your hands to enable the filament to stick properly. A simple 5 second operation to wipe down your print bed could save quite a bit of time spent wasted on a failed print! (or have TSD watch it for you!)
PLA, ABS, PETG, OMG!
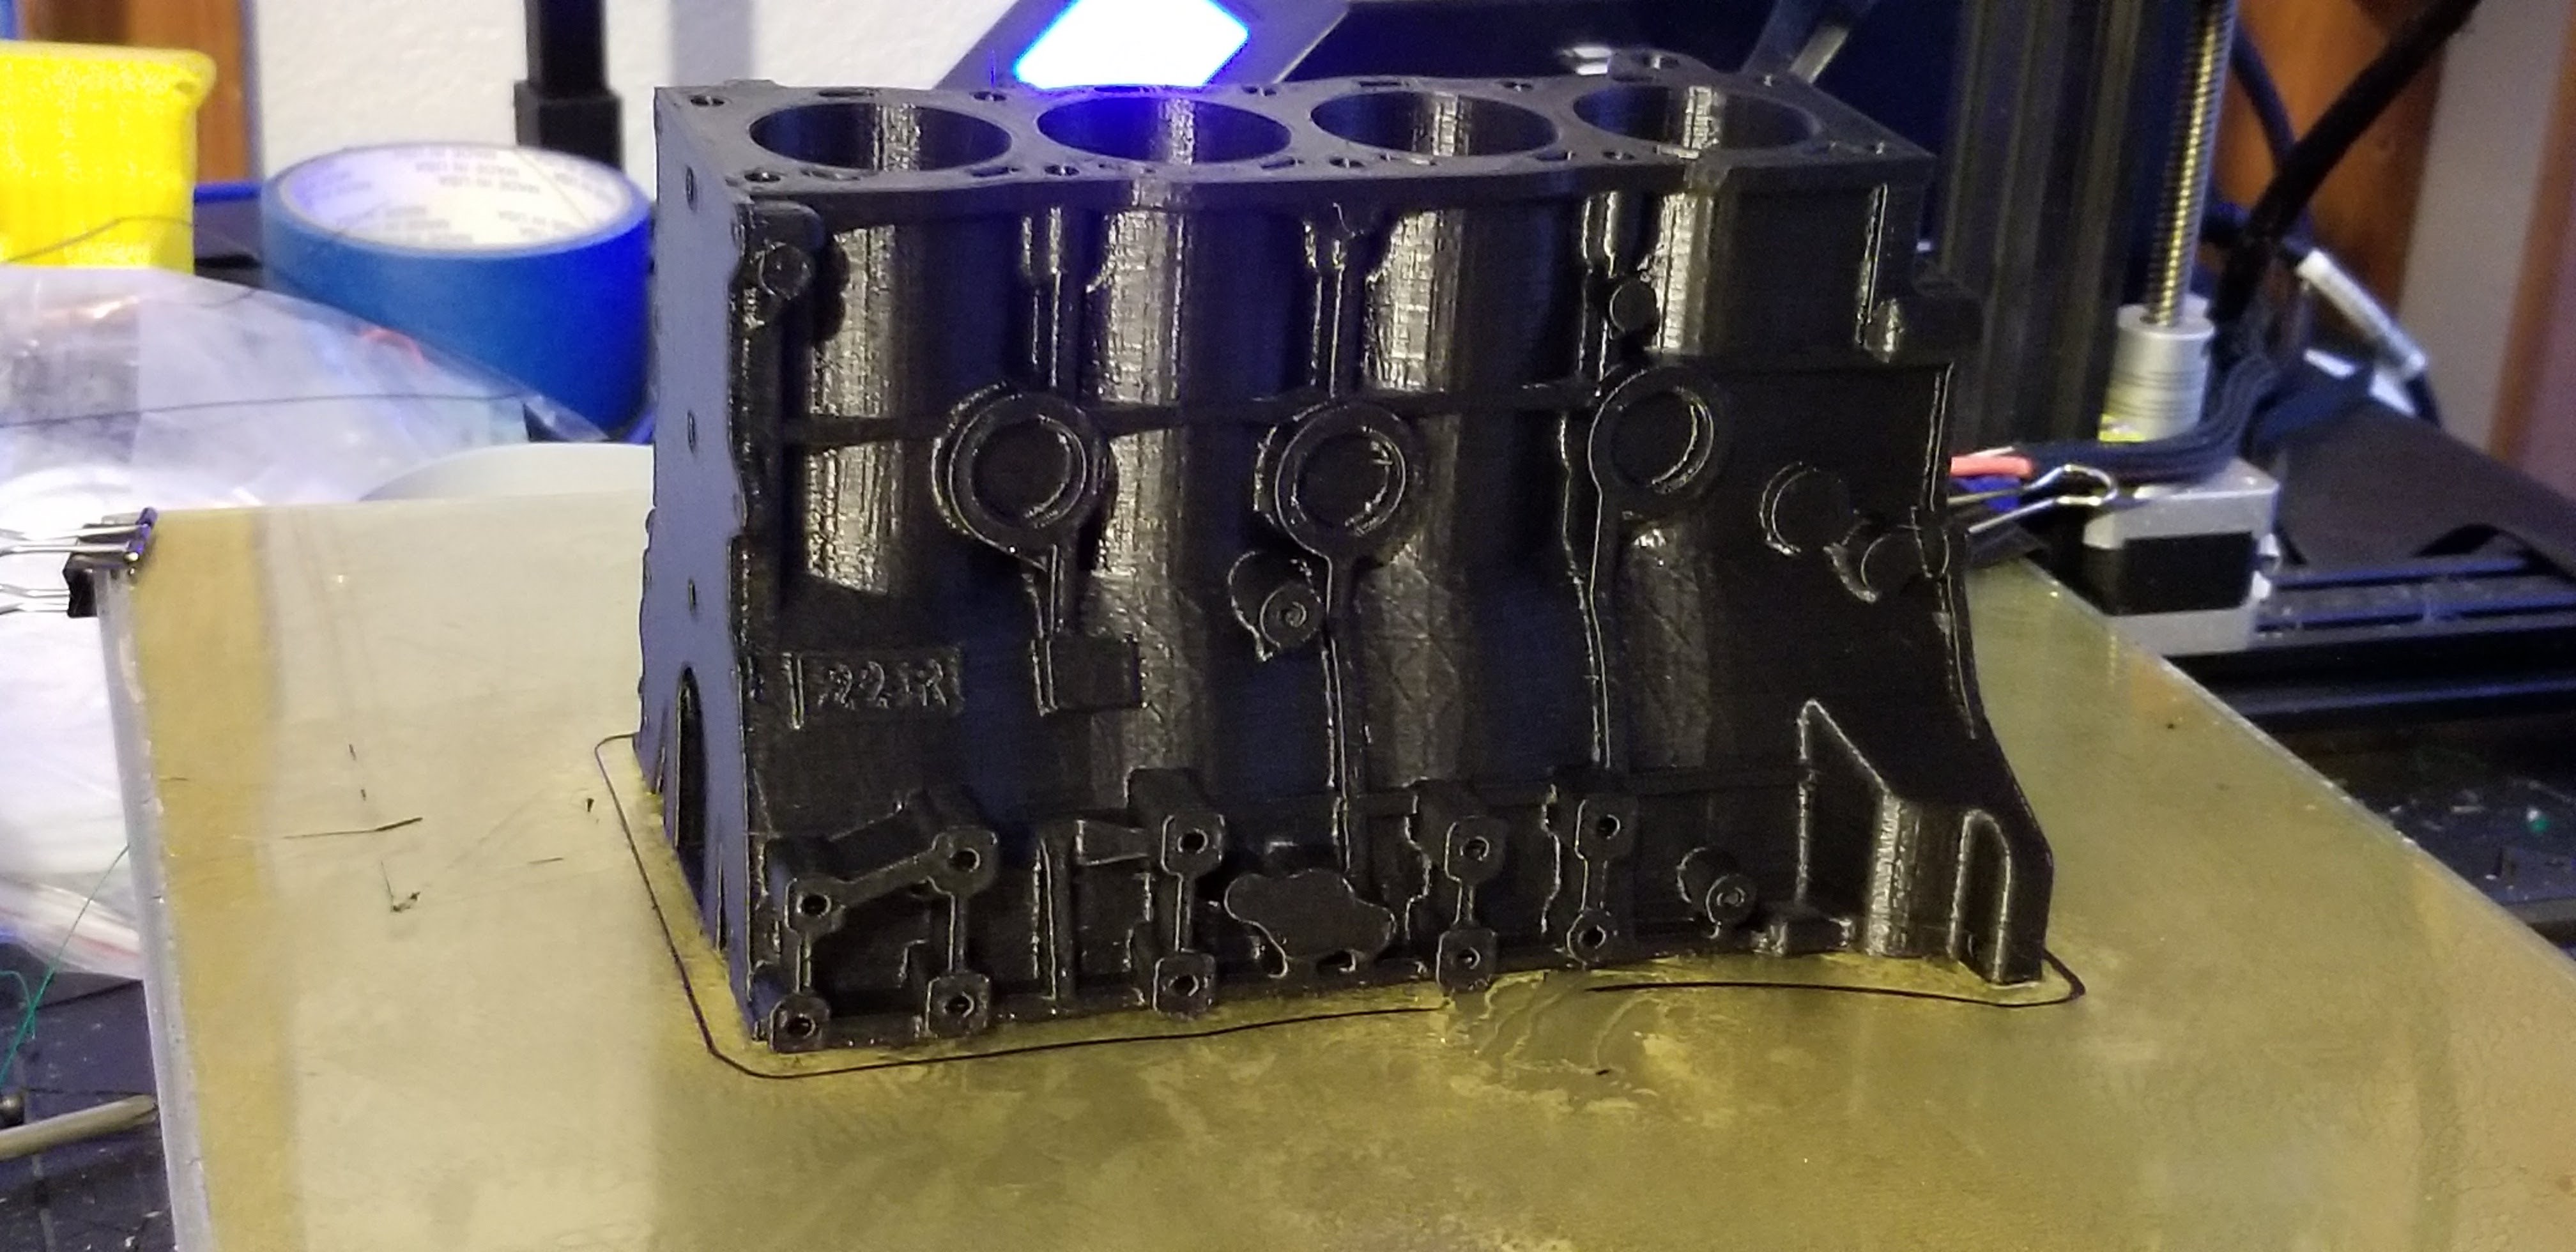
The final element of bed surface is temperature. Most commonly used recommended bed temperatures are at or close to the TG, or the glass transition temperature of the filament being printed. The reason for this is when the very hot filament is extruded and then cools down and recrystallizes, it will want to shrink. Unfortunately, this means that the outer edges will shrink first, causing the common issue of print warpage. This in some cases will cause the entire print to curl up, get caught on the nozzle, and will break adhesion with the bed.
Common Filament: Temperature combinations are:
- PLA: 60C
- ABS: 100-110C
- PETG: 85C
- Nylon: (100C+) (Blend dependent)
- Polycarbonate: (110C+) (hotter the better!)
Depending on your particular printer and filament, these temperatures may be different by up to 10C.
There are quite a few things that can go wrong during the course of a print, but, no matter what the root cause of your bed adhesion issue, you can rest assured that The Spaghetti Detective has your back. We hope that this was a good overview of common bed adhesion issues, and look forwards to expanding on quite a few of these topics in the coming months.
Luke