Ga naar hoofdinhoud

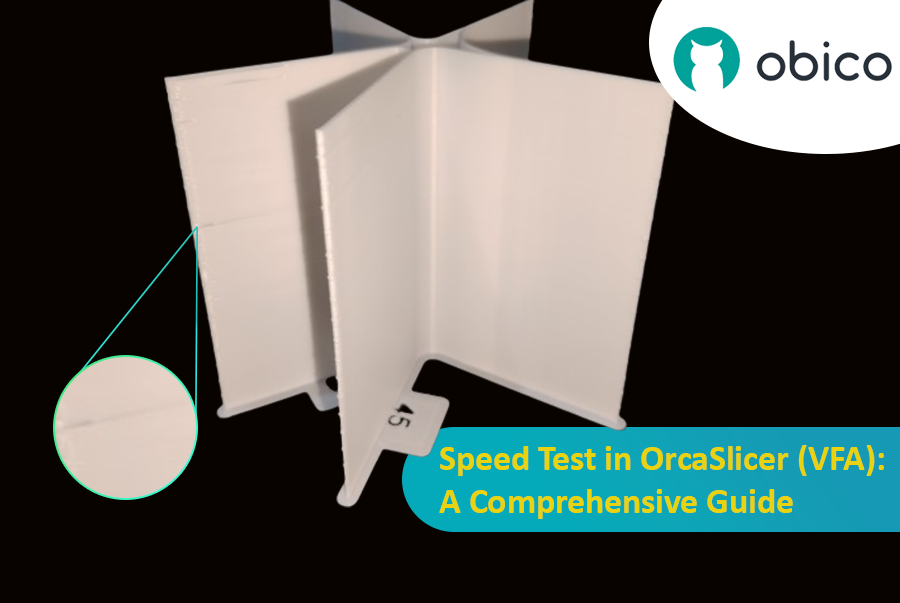
Speed Test in OrcaSlicer (VFA): A Comprehensive Guide

· 15 minuten leestijd

Introduction

3D printing is a great technology that turns designs into real objects, but figuring out the best print speed can be tricky. If you go too fast, quality may be lost; if you go too slow, it takes forever.

Speed Test in OrcaSlicer (VFA): A Comprehensive Guide

In this guide, we will show you how to use OrcaSlicer to determine the perfect print speed for your 3D printer. By the end of it, you will know how to get great prints quickly while maintaining good quality.

Let’s get started!

A Guide to the OrcaSlicer Device Tab

· 6 minuten leestijd

orcaslicer-device-tab-title-image

Source: macrovector via Freepik

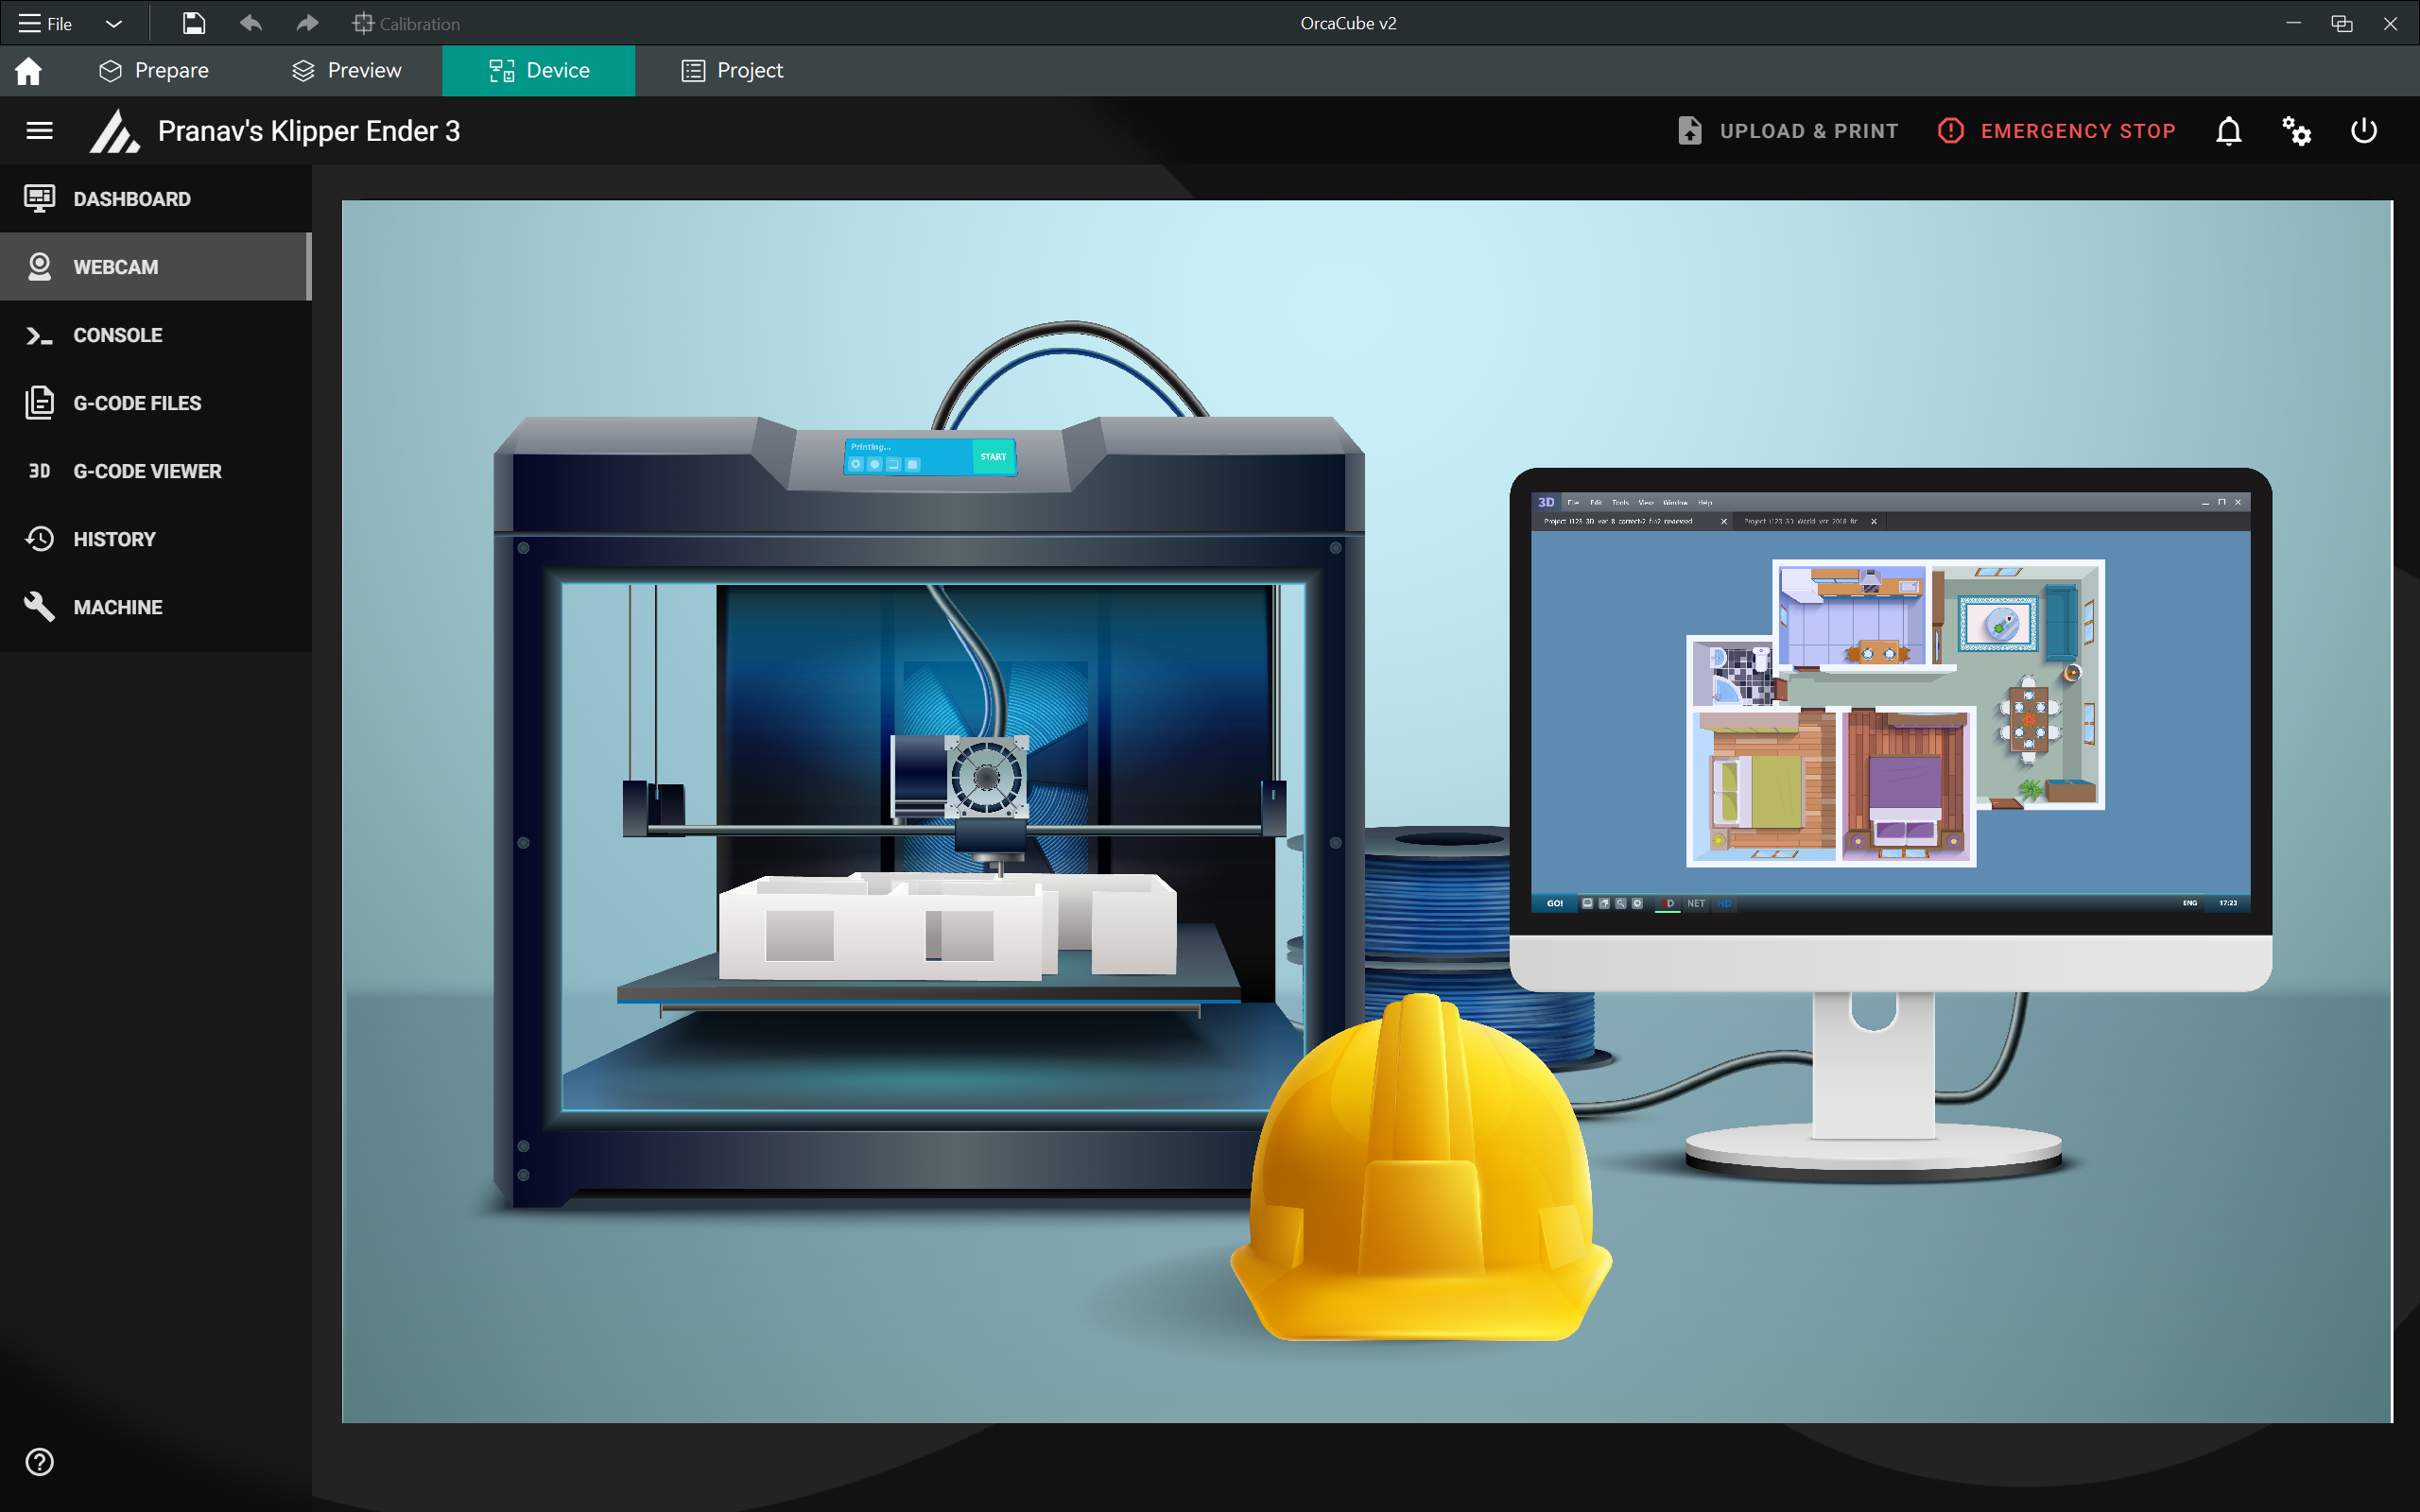
The OrcaSlicer’s Device Tab makes the software an all-in-one application for your 3D printing workflow. You can slice the file in OrcaSlicer, send it to your 3D printer, and access the printer’s interface through a single tab in OrcaSlicer.

If you're new to OrcaSlicer or need a refresher on its basic functions and setup, we recommend starting with our guide, "Getting Started with OrcaSlicer". This introductory guide provides a comprehensive overview that will help you efficiently get your 3D printer up and running with OrcaSlicer.

In this short article, we'll outline the process of using the device tab in OrcaSlicer with your 3D printer. We’ll cover the usage of Klipper, Octoprint, and Obico interfaces in OrcaSlicer and how you stand to benefit from this feature.

Let’s make a splash with OrcaSlicer!

How to Setup a 3D Printer in OrcaSlicer

· 10 minuten leestijd

orcaslicer-printer-plate

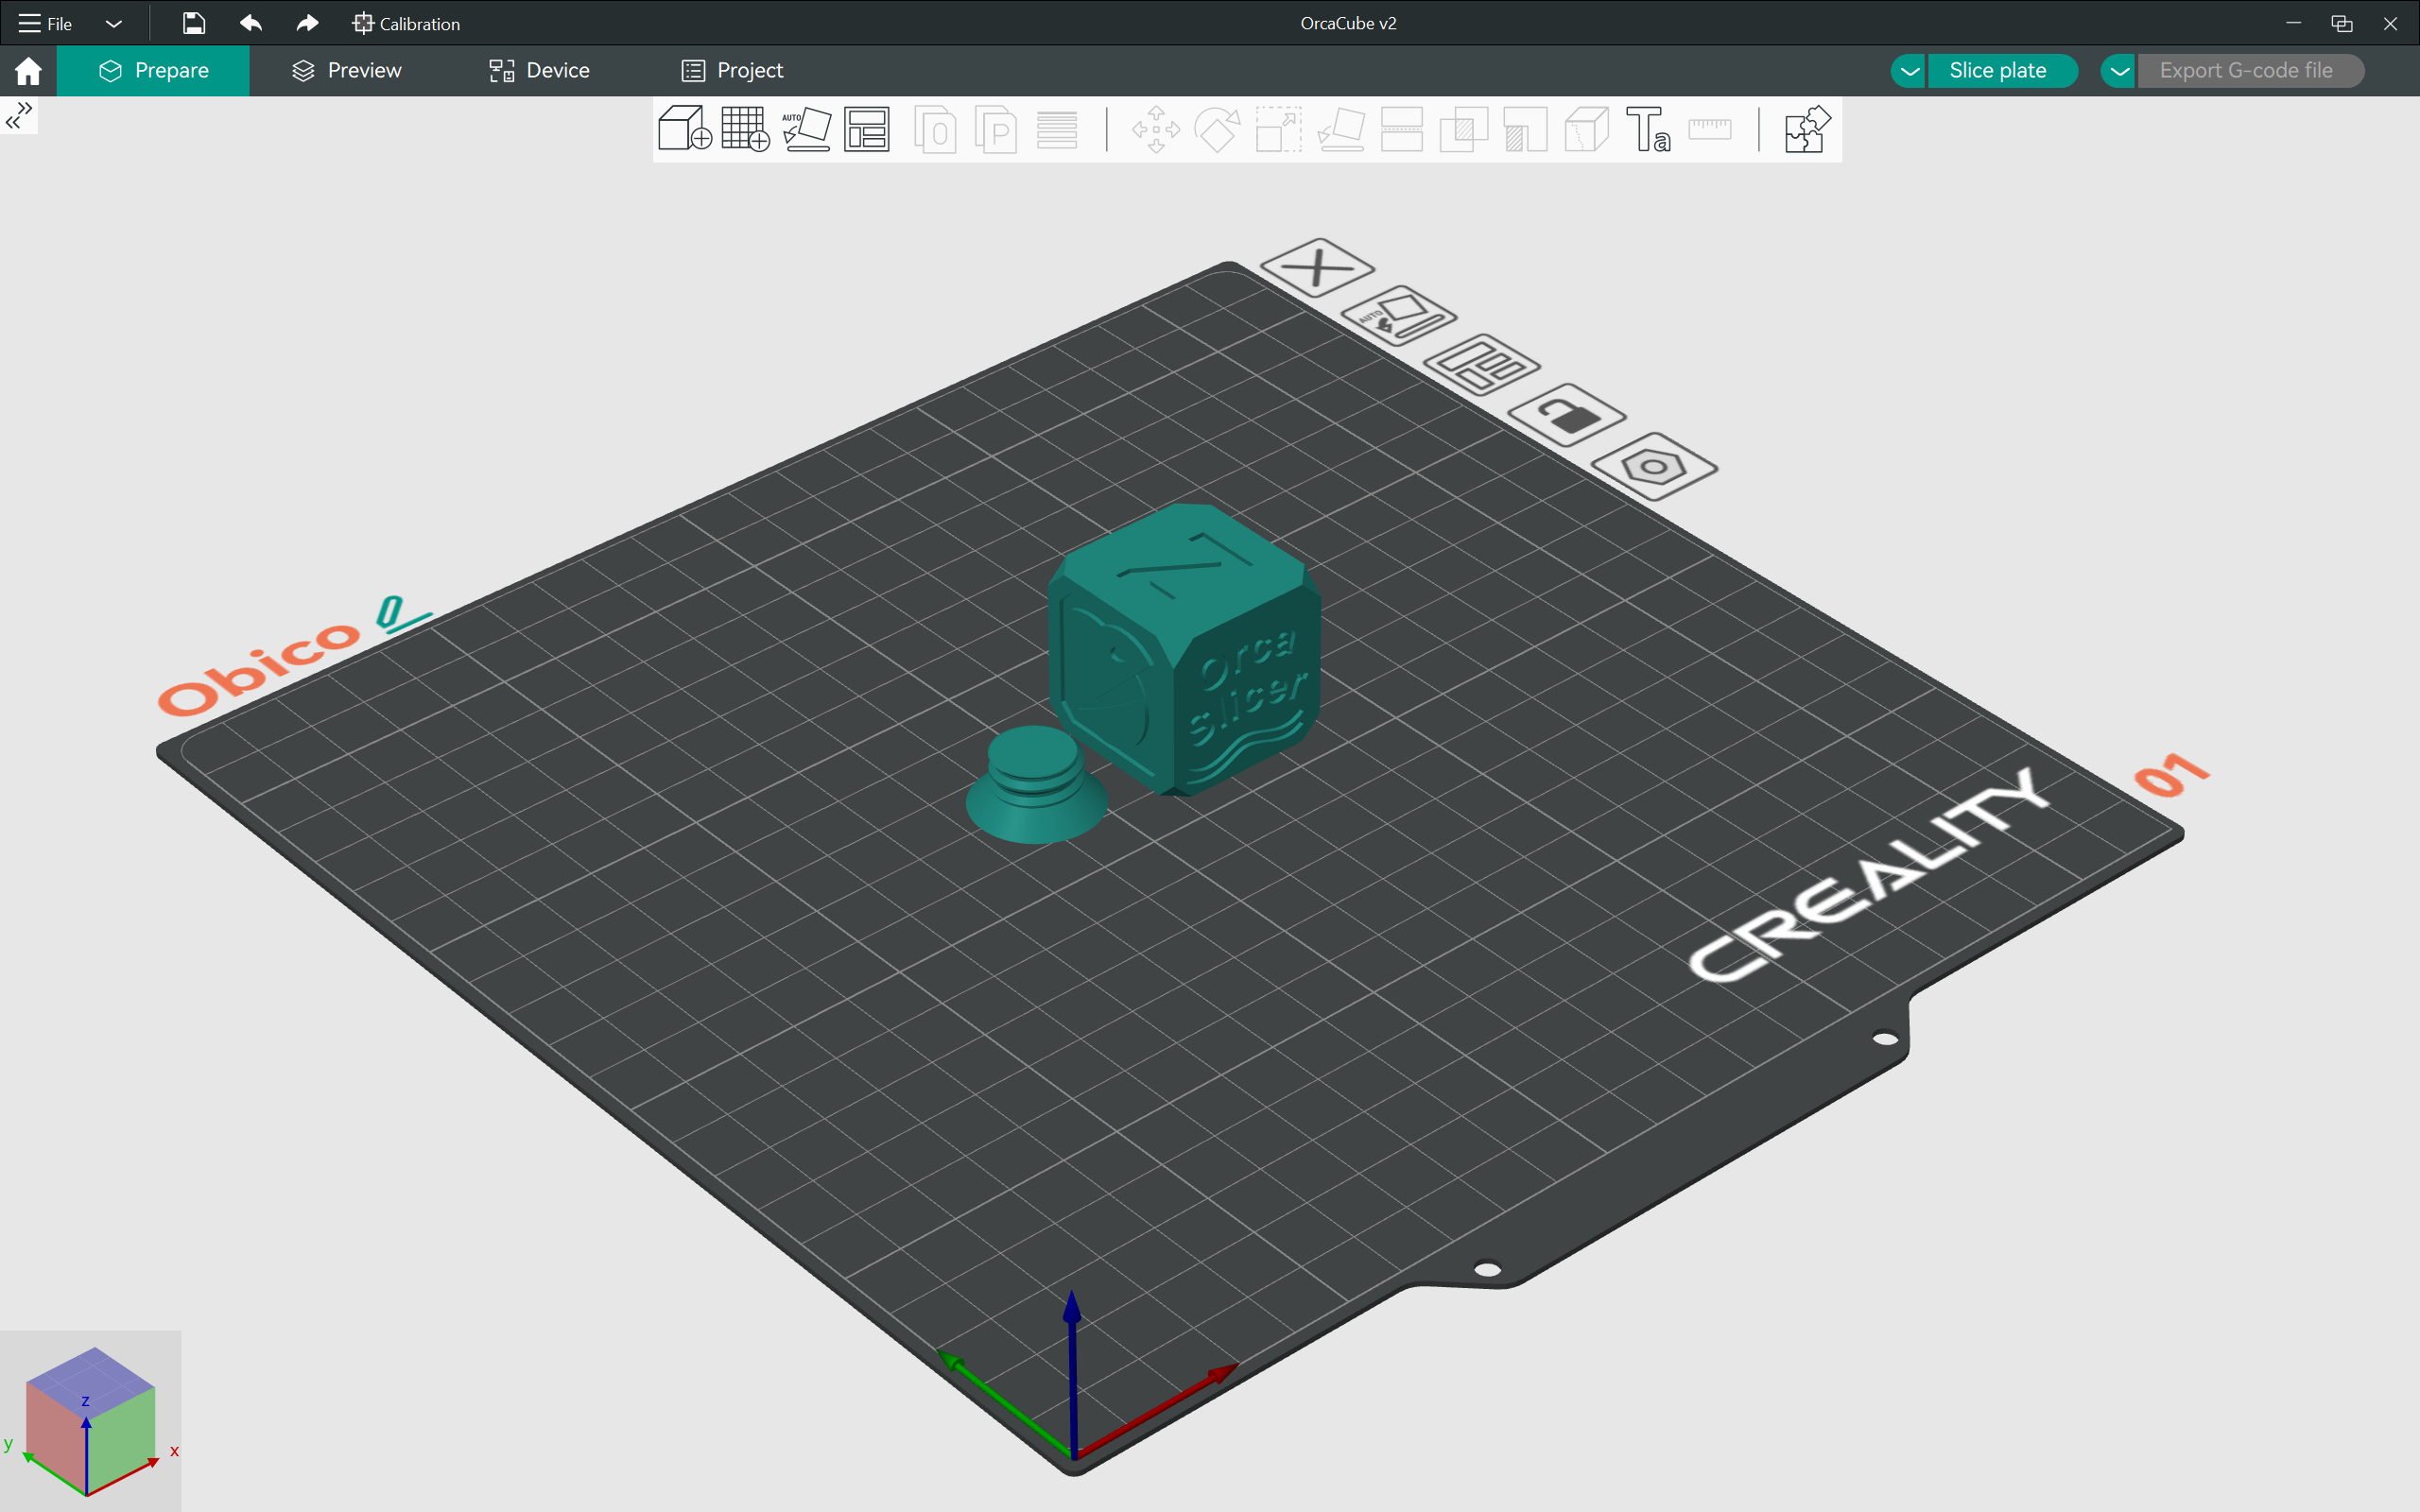
OrcaSlicer is quickly rising as one of the most popular slicers in the 3D printing community. Its range of useful features, calibration tests, and wide printer compatibility all help this slicer stand out from the rest.

It is a relatively new slicer when compared to PrusaSlicer and Cura. While the initial configuration process is straightforward, it can be challenging for first-time 3D printer users to understand, especially when it comes to adding custom 3D printers and creating unique printing profiles.

This piece will guide you through the entire process of adding 3D printers, creating their profiles, and setting up the printer for your first 3D print. It’ll help you understand the core functions of OrcaSlicer and improve your initial setup experience.

Ready to dive in? Let's get kraken with OrcaSlicer!

OrcaSlicer vs PrusaSlicer vs Cura - Comparing the Most Popular Slicers

· 17 minuten leestijd

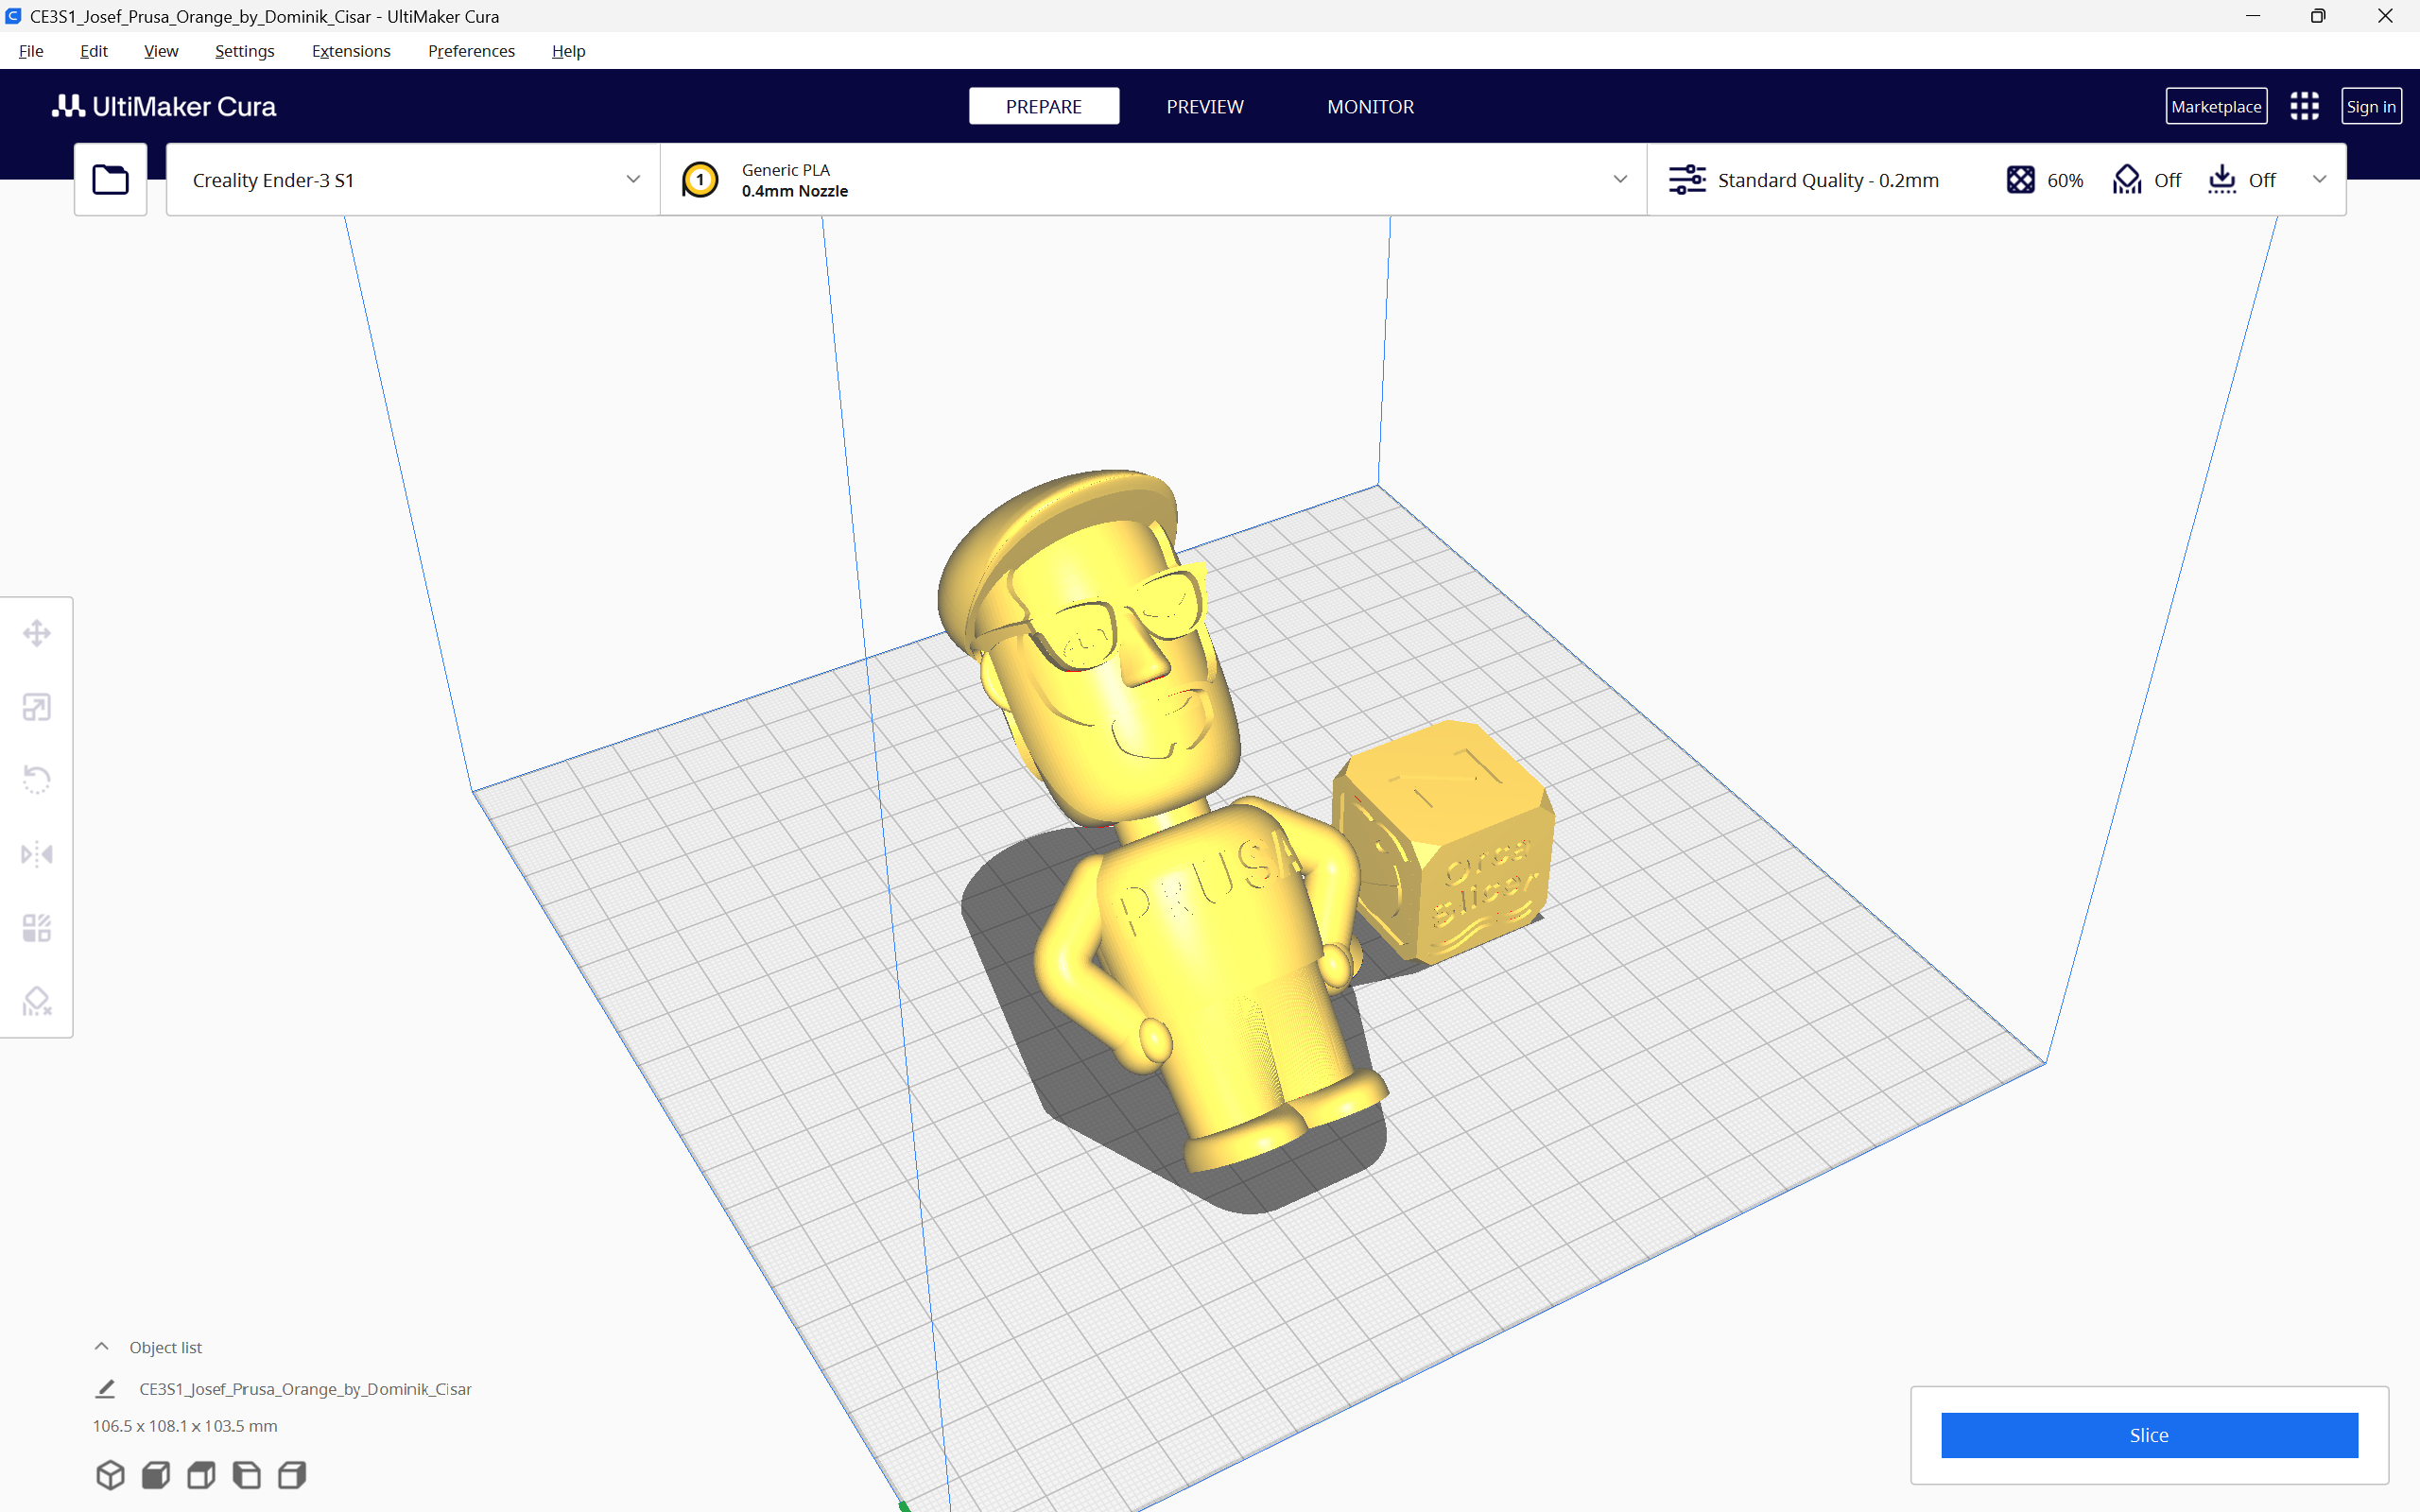
OrcaSlicer, PrusaSlicer and the Cura slicer, are three of the prominent 3D printing slicers you can use today. They are all free to use, open-source, and equipped with exceptional features that enhance your 3D printing experience.

With all these similarities and options, it can get challenging to choose the slicer that fits your needs perfectly. Maybe OrcaSlicer has the features you like, but PrusaSlicer’s supports work better. Or Cura has better 3D printer selection for you.

In this piece, we will answer these questions and more. We will compare OrcaSlicer, PrusaSlicer, and Cura based on their features, slicer settings, printer compatibility, and other parameters to determine which slicer comes out on top. This should help you make an informed decision and choose the slicer that best fits into your 3D printing workflow.

Let’s slice right into it.

How to fix "Buster-backports Release no longer has a Release file" Error

· 2 minuten leestijd

While installing Obico on your Makerbase 3D printer following our guides, you may come across the error below during installation by running the command ./install.sh. This error indicates that there is no release file in "Buster-backports Release", hence making it impossible to update securely.

![How to fix "Buster-backports Release no longer has a Release file" Error](/img/blogs/buster-backports-release-no-longer-has-a-release-file-main.png "How to fix \\"Buster-backports Release no longer has a Release file\\" Error")

###### Installing required system packages... You may be prompted to enter password.

[sudo] password for mks:
Hit:1 http://security.debian.org buster/updates InRelease
Hit:2 http://deb.debian.org/debian buster InRelease
Hit:3 http://deb.debian.org/debian buster-updates InRelease
Ign:4 http://deb.debian.org/debian buster-backports InRelease
Err:5 http://deb.debian.org/debian buster-backports Release
404 Not Found [IP: 199.232.82.132 80]
Reading package lists... Done
E: The repository 'http://deb.debian.org/debian buster-backports Release' does not have a Release file.
N: Updating from such a repository can't be done securely, and is therefore disabled by default.
N: See apt-secure(8) manpage for repository creation and user configuration details.

Maximum Volumetric Speed Test in OrcaSlicer: A Comprehensive Guide

· 20 minuten leestijd

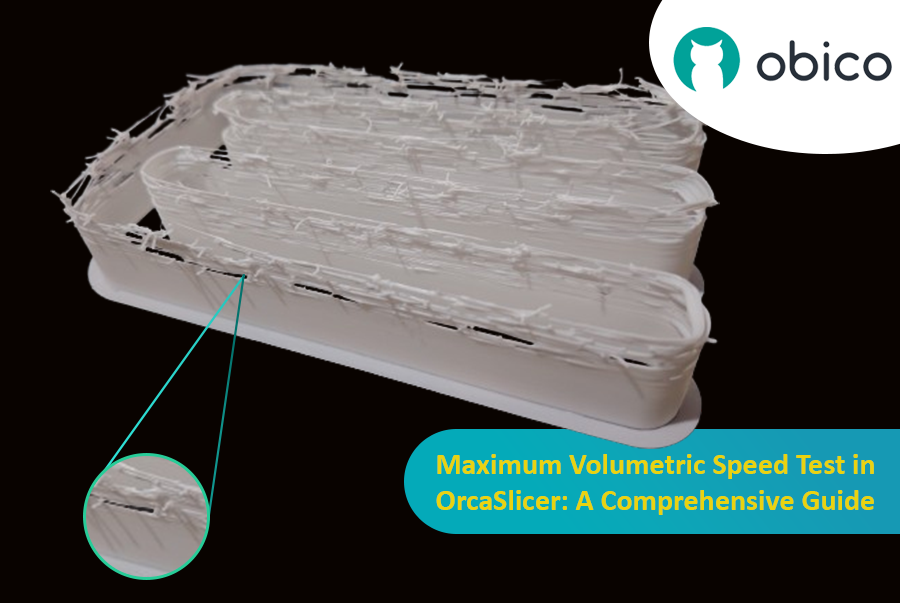
Hello there! Welcome to our easy-to-understand guide on how to control the OrcaSlicer maximum volumetric speed test for 3D printing enthusiasts. If you’re looking forward to enhancing print quality and efficiency, then this is the best place for you. This tutorial will help you optimize your printer’s volumetric speed that determines at what speed you can print without compromising on quality.

Maximum Volumetric Speed Test in OrcaSlicer: A Comprehensive Guide

Volumetric speed knowledge is crucial in 3D printing because it enables one understand how fast a printer can produce objects with accuracy. If this speed is tested and adjusted, under extrusion among other common problems while printing can be avoided thus ensuring that all your prints are good-looking even at higher speeds.

Tolerance Test in OrcaSlicer: A Comprehensive Guide

· 9 minuten leestijd

Introduction

3D printing has revolutionized the way creators, engineers, and hobbyists bring their ideas to life. However, the transition from a digital model to a tangible object isn’t always straightforward. One key challenge is ensuring parts fit together seamlessly. In this comprehensive guide, we’ll delve into the world of tolerance testing using OrcaSlicer, a valuable tool for 3D printing. We will understand together how to know the right tolerances value to design successful prints which fit together well.
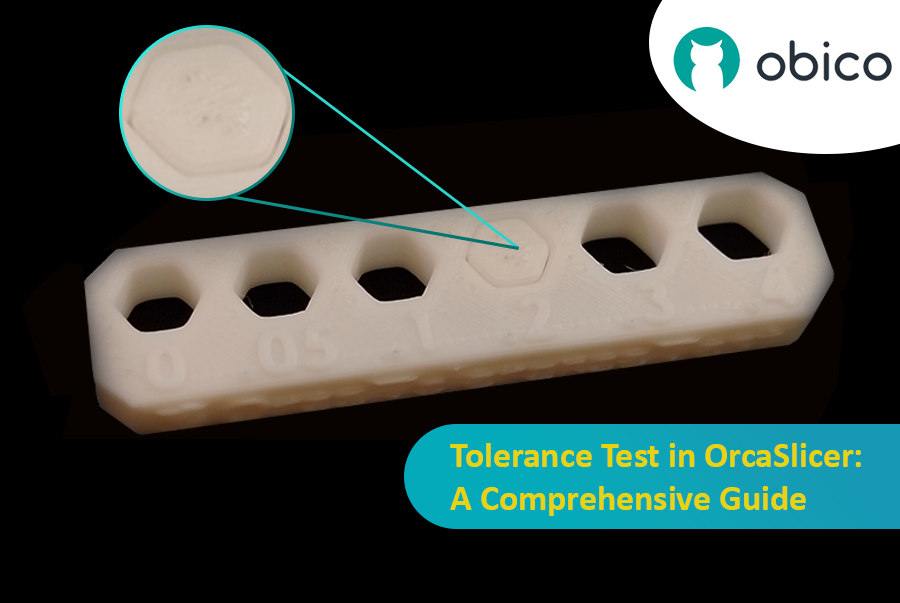
Tolerance Test in OrcaSlicer: A Comprehensive Guide

But before we get started testing our 3D printer, let’s understand some important related topics.

The Importance of Tolerance in 3D Printing

In the world of 3D printing, tolerance is all about precision. It's the measure of how accurately a 3D printer can replicate the dimensions specified in your digital design. Imagine you're creating a puzzle; if the pieces are too big or too small, they won't fit together. Similarly, for 3D printed parts to function and fit together as intended, the printer must be able to accurately produce parts within very tight dimensional limits. Good tolerance affects everything from how smoothly moving parts interact to the overall look and strength of the finished product.

But why do you need to make the tolerance test?

Well, in 3D printing things do not always go right. Every filament type has its own shrinkage coefficient and this affects how your print turns out. Different printers, with their unique mechanics and settings, can also produce varied results. That's why testing for tolerance is crucial - it helps you understand how your specific printer and chosen filament behave together, allowing you to adjust the tolerances in your design for the perfect print.
Kalibratie van de drukvoorloop in OrcaSlicer: een uitgebreide handleiding

· 21 minuten leestijd
tip

Try JusPrin, the first GenAI 3D printing tool built on OrcaSlicer.

Overzicht van drukvooruitgang

Stel je voor dat je tekent met een pen die soms te veel inkt morst en soms nauwelijks. Bij 3D-printen kan iets soortgelijks gebeuren wanneer je printer snel beweegt en de snelheid verandert – dat kan de hoeveelheid plastic die eruit komt beïnvloeden.

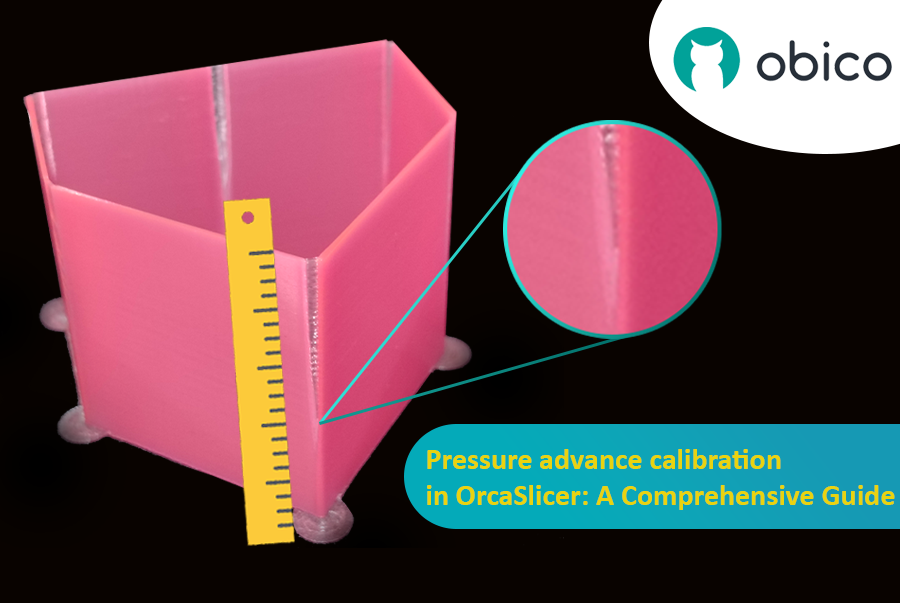
Kalibratie van de drukvoorloop in OrcaSlicer: een uitgebreide handleiding

Maar waarom maakt je printer soms zoveel plastic kapot?

In een 3D-printer komt het filament eruit op basis van de druk in de nozzle. Het is net als een tuinslang; je hebt voldoende waterdruk nodig voordat het water eruit spuit. Wanneer de printer versnelt of vertraagt, bijvoorbeeld bij het nemen van bochten, duurt het even voordat de nozzledruk is aangepast. Als de printer te snel beweegt, komt er te weinig filament uit. En als hij te snel vertraagt, komt er te veel filament uit. Dit kan ervoor zorgen dat de hoeken van je print er wat rommelig uitzien, omdat de printer de filamentstroom niet precies goed heeft afgesteld op de snelheidsveranderingen.

En hier komt Pressure Advance in beeld. Deze slimme functie compenseert deze veranderingen en zorgt ervoor dat de juiste hoeveelheid filament wordt geëxtrudeerd, ongeacht de snelheid van de printer. Met Pressure Advance kan uw printer snelheidsovergangen beter verwerken, wat resulteert in vloeiendere en scherpere afdrukken, vooral in lastige hoeken.

Retraction test in OrcaSlicer: A Comprehensive Guide

· 17 minuten leestijd

Introduction

3D printing is a fascinating technology that allows you to create almost anything you can imagine. However, it also comes with some challenges and limitations, such as the quality of the printed parts. One of the most common issues that affect the appearance and functionality of 3D prints is the presence of unwanted material residues, such as strings, blobs, and zits.

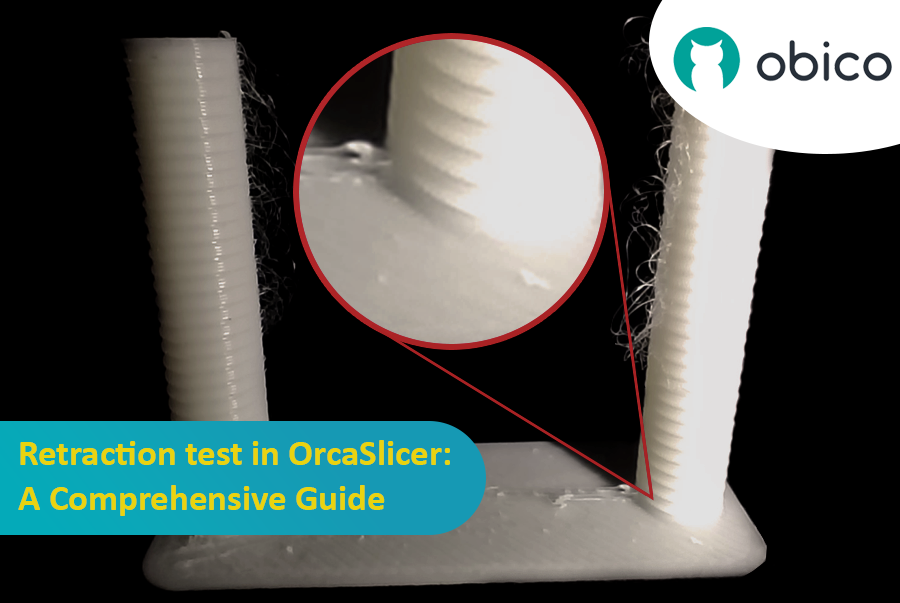
Retraction test in OrcaSlicer: A Comprehensive Guide

Fortunately, there is a way to reduce or eliminate these artifacts by using a feature called retraction. But what does retraction mean?

Let’s break it down:

What is the retraction and the retraction test?

The retraction test is a calibration procedure that aims to reduce or eliminate the stringing and oozing problems that may occur during 3D printing. Stringing and oozing are caused by the excess material that leaks out of the nozzle when the hotend moves from one part of the model to another without extruding. This results in unwanted strands or blobs of filament on the surface or between the parts of the model, affecting the quality and appearance of the print.

Temperatuurtorentest in OrcaSlicer: een uitgebreide gids

· 11 minuten leestijd
tip

Try JusPrin, the first GenAI 3D printing tool built on OrcaSlicer.

Introductie tot temperatuurtorentest met OrcaSlicer

3D-printen is een fascinerende technologie waarmee je fysieke objecten kunt creëren op basis van digitale modellen. Om de beste resultaten te behalen, moet je echter je printerinstellingen nauwkeurig afstemmen en je filamentparameters optimaliseren. Een van de belangrijkste factoren die de kwaliteit van je prints beïnvloedt, is de temperatuur.

De temperatuur beïnvloedt hoe goed het filament smelt, vloeit en hecht aan de vorige lagen. Als de temperatuur te laag is, kan het filament mogelijk niet goed extruderen, wat resulteert in onderextrusie, slechte hechting en zwakke onderdelen. Bij een te hoge temperatuur kan het filament lekken, slierten of kromtrekken, wat resulteert in overextrusie, klonters en vervormingen.

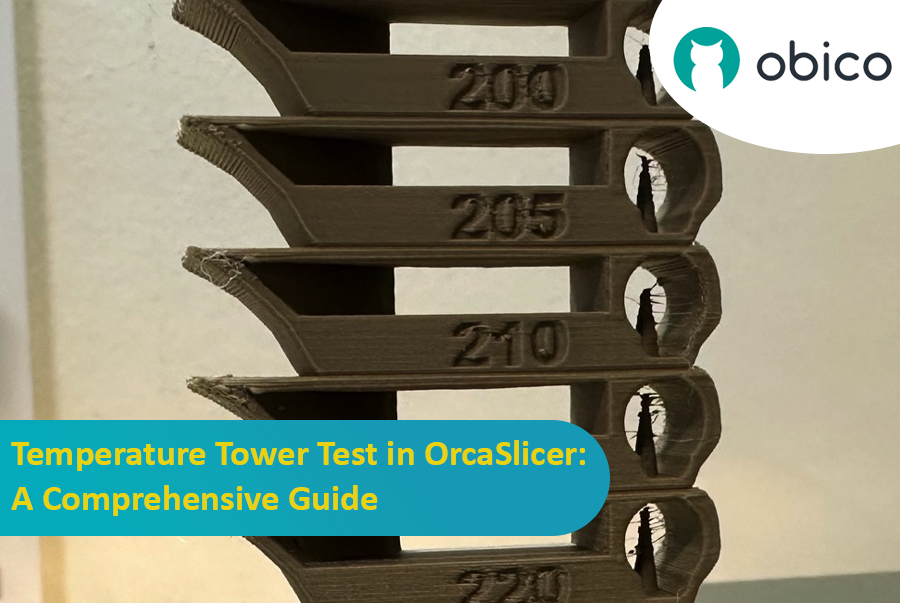
Temperatuurtorentest in OrcaSlicer: een uitgebreide gids

Om de optimale temperatuur voor uw filament te vinden, moet u een temperatuurtorentest uitvoeren.