Zum Hauptinhalt springen

JusPrin 1.0

The First GenAI 3D Printing Experience Now Available!

JusPrin Logo

6 Posts getaggt mit "filament"

Alle Tags anzeigen

In the 3D printing world, the initial setup of your print is just as important as the model you’re trying to bring to life. One of the most critical and often overlooked components of this setup is the Start G-code, a set of instructions that prepares your 3D printer for the actual print. Whether you use Orca Slicer, a feature-rich slicing software that is based on Bambu Studio and PrusaSlicer, or another slicer, understanding and customizing the Start G-code can be the key to better prints and a smoother workflow.
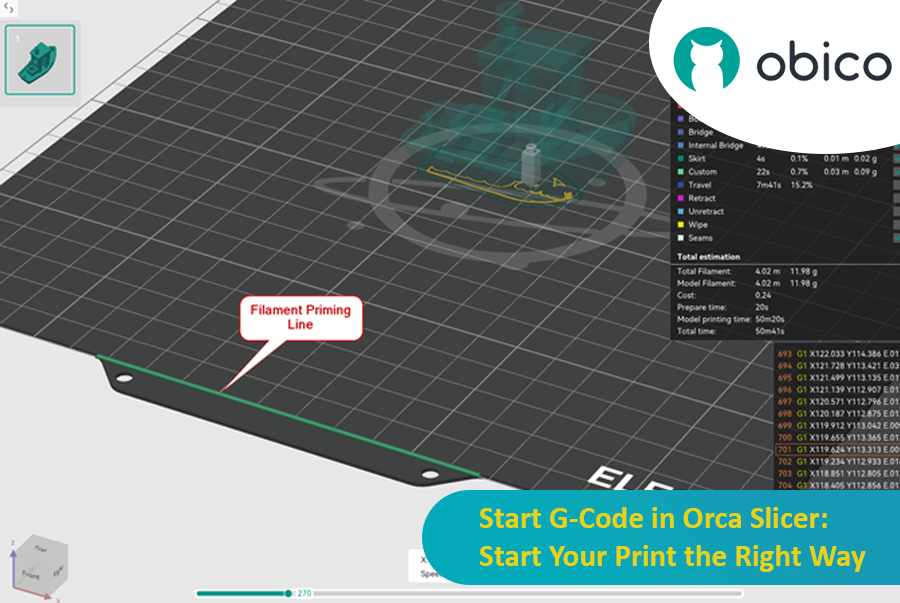
Start G-Code in Orca Slicer: Start Your Print the Right Way

In this article, we will go deep into what is Start G-code, why it’s important for perfect prints, how to edit it in Orca Slicer, and how to customize it for any 3D printer. We will also explain the Start G-code in the well-known Elegoo Neptune 4 Pro in Orca Slicer as an example for better understanding.

By the end of this article, you will know how Start G-code works, how to tweak it for best results, and how to use advanced techniques like Klipper macros to make your G-code simpler more readable and easier to update.

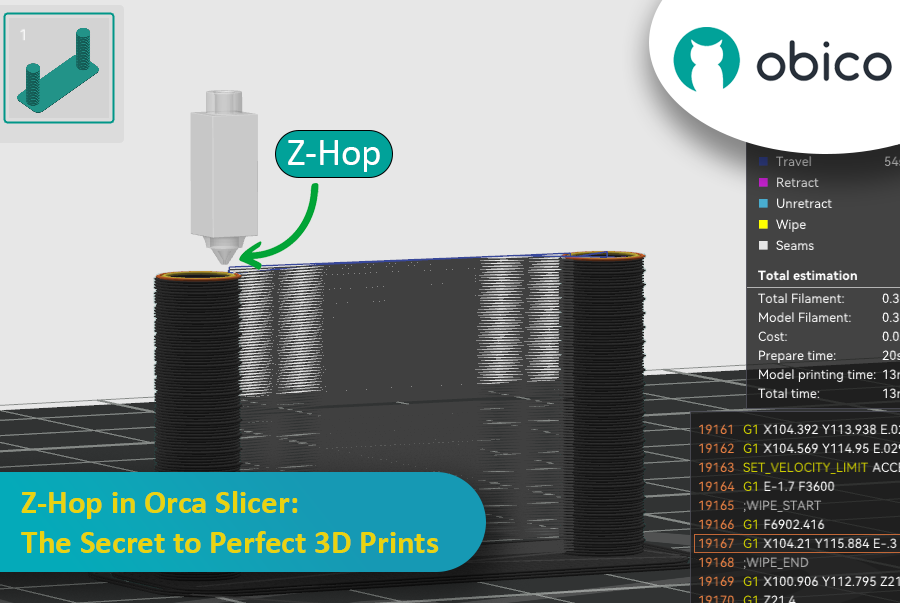
Ever seen those little strings hanging off your 3D print like tiny spider webs? Or the nozzle scratching over a beautiful layer? If you’ve experienced these issues, you’re not alone—and there’s a fix. Enter Z-Hop, a feature in Orca Slicer that will take your 3D prints from good to great.

Z-Hop in Orca Slicer: The Secret to Perfect 3D Prints

Whether you’re new to 3D printing or a hobbyist, getting the settings right makes a huge difference. In this guide, we’ll be exploring Z-Hop—what it is, how to use it, and why it’s a game changer.

Let’s get started!

Introduction

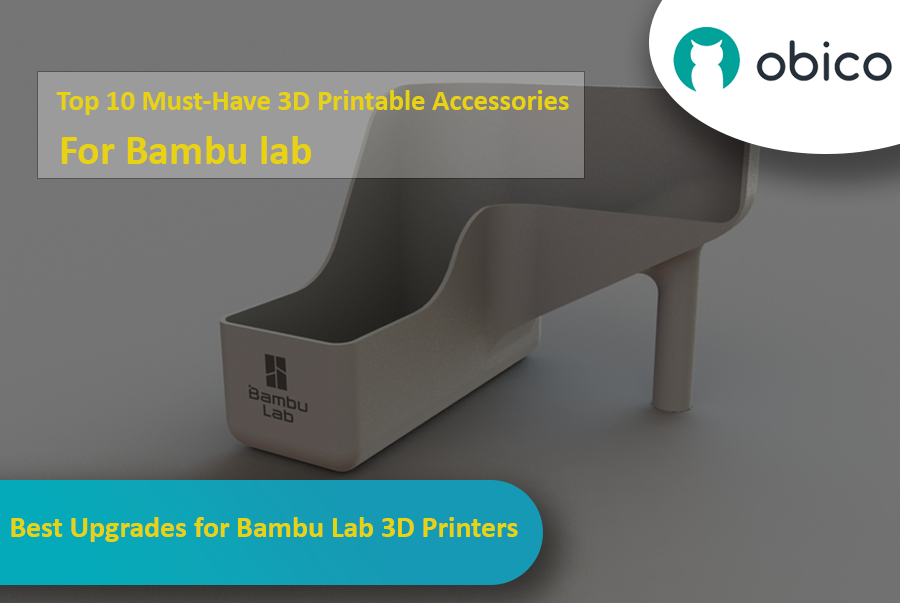
If you have a Bambu Lab 3D printer, you’ve already opened the door to a world of creativity, precision, and innovation. Bambu Lab printers are known for being reliable and high quality, so they’re a favorite among users all around the world.

But even great printers can be made better with a bit of customization. With the right printable accessories, you can make your Bambu Lab printer even more efficient, more versatile, and more fun to use. In this guide, we’ll take a look at some of the best 3D printable accessories to get the most out of your Bambu Lab 3D printer.

Best Upgrades for Bambu Lab 3D Printers

Whether you want to reduce vibrations, manage your filament better, or tweak your AMS system, these upgrades offer practical and easy-to-print solutions that you can print directly with your Bambu Lab printer.

Let’s get started and see how these upgrades can improve your 3D printing experience.

tipp

Try JusPrin, the first GenAI 3D printing tool built on OrcaSlicer.

Übersicht über den Druckvorschub

Stellen Sie sich vor, Sie zeichnen mit einem Stift, der manchmal zu viel Tinte verschüttet, manchmal kaum. Beim 3D-Druck kann etwas Ähnliches passieren, wenn sich Ihr Drucker schnell bewegt und seine Geschwindigkeit ändert – das kann die Menge des austretenden Kunststoffs beeinträchtigen.

Druckvorlaufkalibrierung in OrcaSlicer: Ein umfassender Leitfaden

Aber warum gibt Ihr Drucker manchmal Fehler bei der Menge des herauskommenden Kunststoffs an?

Bei einem 3D-Drucker hängt die Filamentabgabe vom Druck in der Düse ab. Es ist wie bei einem Gartenschlauch: Sie benötigen ausreichend Wasserdruck, bevor das Wasser herausspritzt. Wenn der Drucker beschleunigt oder verlangsamt, z. B. beim Fahren um Kurven, dauert es einen Moment, bis der Düsendruck wieder aufgeholt hat. Bewegt sich der Drucker zu schnell, kommt nicht genügend Filament heraus. Und wenn er zu schnell verlangsamt, kommt zu viel Filament heraus. Dadurch können die Ecken Ihres Drucks etwas unordentlich aussehen, da der Drucker den Filamentfluss nicht richtig an die Geschwindigkeitsänderungen angepasst hat.

Und hier kommt Pressure Advance ins Spiel. Diese intelligente Funktion gleicht diese Änderungen aus und stellt sicher, dass beim Beschleunigen oder Verlangsamen des Druckers die richtige Filamentmenge extrudiert wird. Mit Pressure Advance kann Ihr Drucker Geschwindigkeitsübergänge besser bewältigen, was zu gleichmäßigeren und schärferen Drucken führt, insbesondere an schwierigen Ecken.

tipp

Try JusPrin, the first GenAI 3D printing tool built on OrcaSlicer.

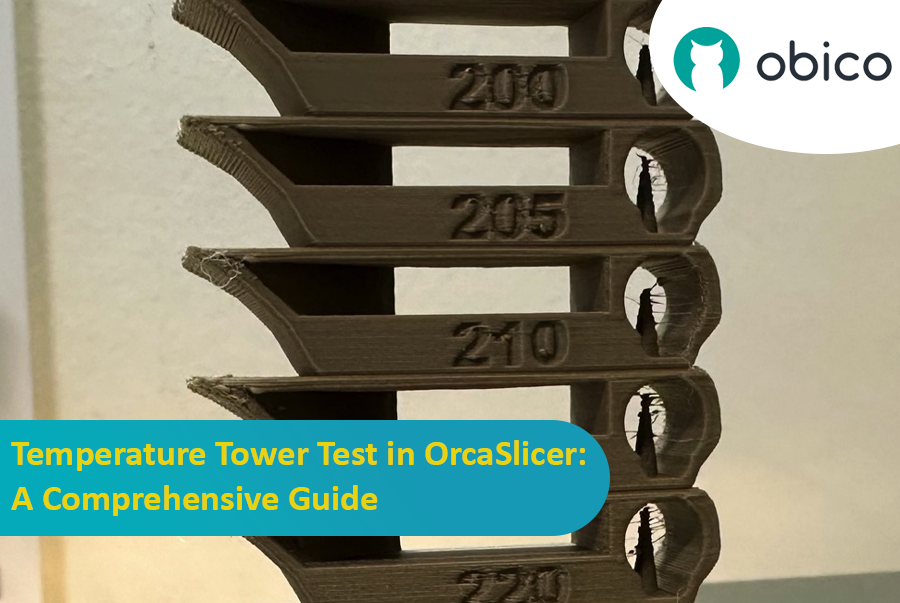
Einführung in den Temperaturturmtest mit OrcaSlicer

3D-Druck ist eine faszinierende Technologie, mit der Sie physische Objekte aus digitalen Modellen erstellen können. Um optimale Ergebnisse zu erzielen, müssen Sie jedoch Ihre Druckereinstellungen optimieren und Ihre Filamentparameter optimieren. Einer der wichtigsten Faktoren, der die Qualität Ihrer Drucke beeinflusst, ist die Temperatur.

Die Temperatur beeinflusst, wie gut das Filament schmilzt, fließt und sich mit den vorherigen Schichten verbindet. Bei zu niedriger Temperatur kann das Filament nicht richtig extrudiert werden, was zu Unterextrusion, schlechter Haftung und schwachen Teilen führt. Bei zu hoher Temperatur kann das Filament austreten, Fäden ziehen oder sich verziehen, was zu Überextrusion, Klecksen und Verformungen führt.

Temperaturturm-Test in OrcaSlicer: Ein umfassender Leitfaden

Um die optimale Temperatur für Ihr Filament zu finden, müssen Sie einen Temperaturturmtest durchführen.

Introduction

Imagine you've spent hours waiting for a 3D print to finish, only to find it has these unexpected and unwanted stripes or lines across it. This issue, known as Z banding, is a common headache in 3D printing. It's like when you're drawing a straight line but your ruler keeps slipping, leaving you with a jagged line instead of a smooth one. Z banding can make your 3D printed objects look striped instead of having a smooth, even surface.

Fixing Z Banding/Wobble: A Comprehensive Guide

But why should we care about fixing this? Well, these lines are not just a cosmetic problem. They can make your 3D printed items weaker and less functional. Think of it like building a tower with blocks; if the blocks aren't lined up properly, the tower won't be as strong. That's why it's important for anyone using a 3D printer, whether you're a hobbyist or a professional, to understand how to tackle this issue. This guide is here to help you do just that, turning those frustrating lines into a thing of the past and helping you get the best results from your 3D printing projects.