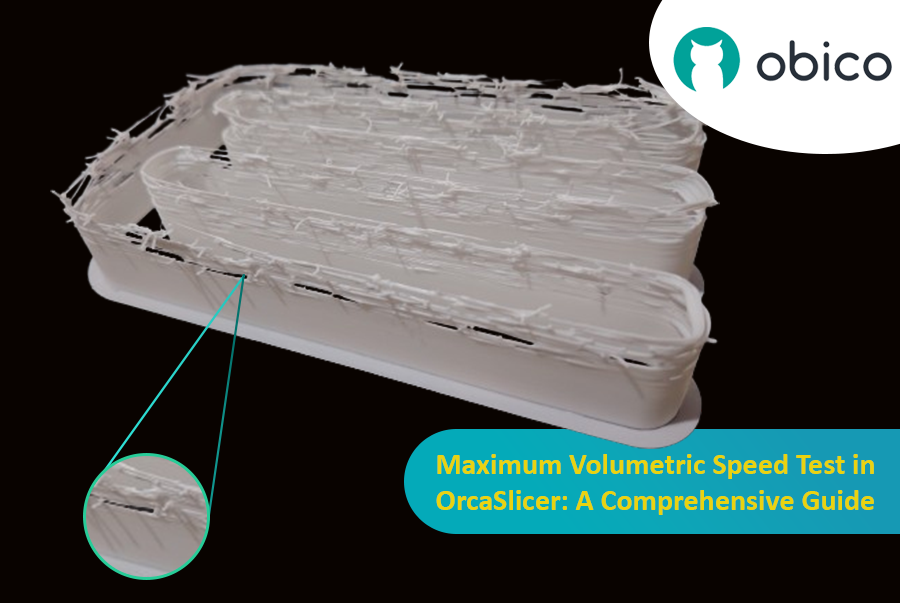
Achieving high-quality 3D prints relies heavily on precise printer calibration. Without it, you'll encounter common issues like stringing, poor bed adhesion, and inaccurate dimensions. Calibration is the foundation for consistent, reliable, and excellent print results.
OrcaSlicer is an advanced, open-source slicing software with powerful built-in calibration tools. This guide will help you use the latest stable releases of OrcaSlicer (typically versions 2.3.0 or recent 2.3.1 nightly builds) to fine-tune your printer. We'll cover Temperature, Flow Rate, Pressure Advance, Retraction, Tolerance, Max Volumetric Speed, and Vertical Fine Artifacts (VFA) calibrations. These tests are designed to be performed in a specific order, progressively improving your print quality.
Understanding OrcaSlicer: Your Calibration Hub
OrcaSlicer offers advanced features like precise wall control, "sandwich mode" for better surface finish, "polyholes conversion" for complex geometries, and seamless integration with Klipper, OctoPrint, and PrusaLink. It provides granular control while remaining user-friendly with drag-and-drop design and pre-made printer profiles.
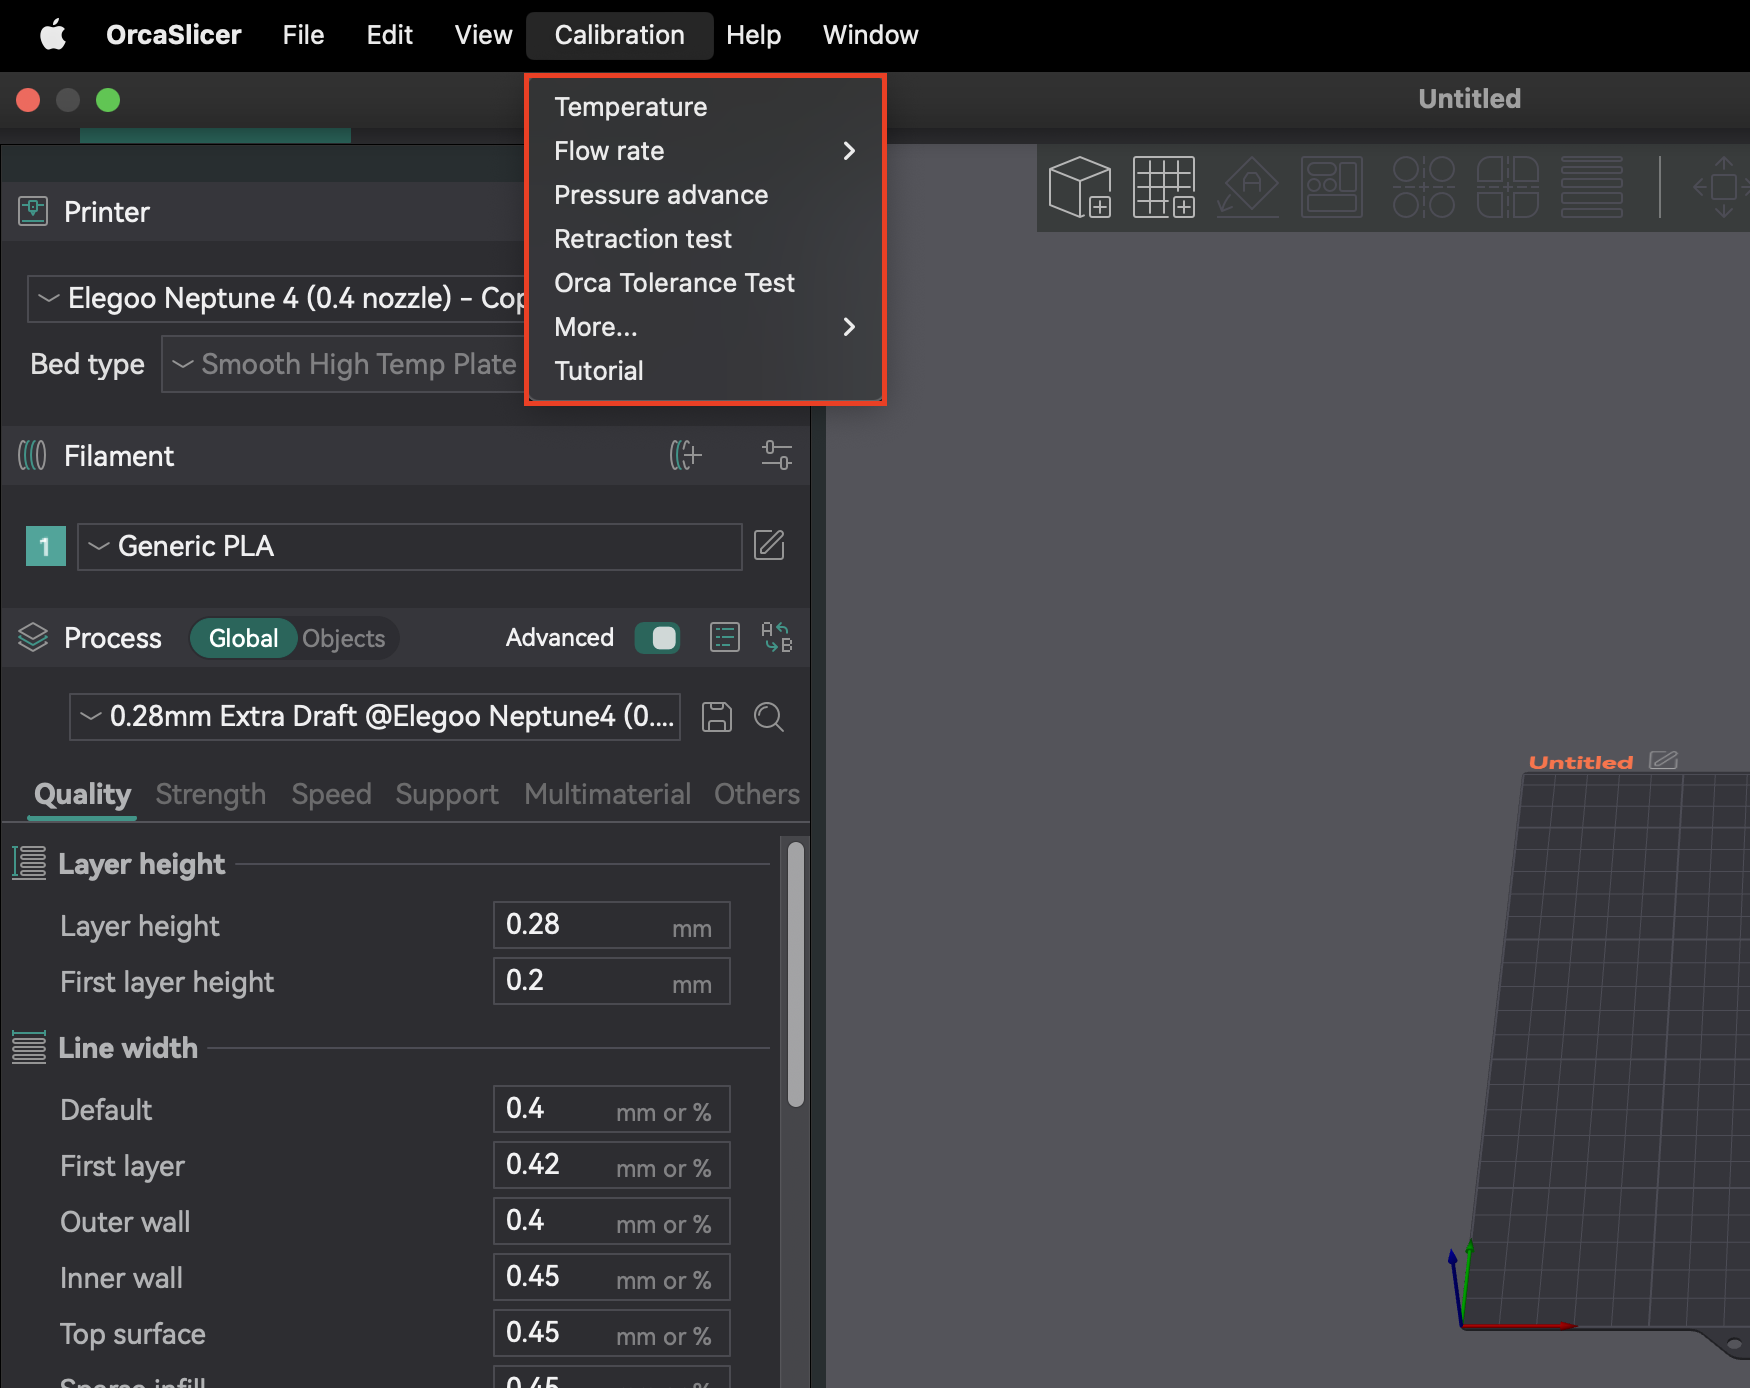
Accessing Calibration Tools in OrcaSlicer
Most calibration features are in the "Calibration" menu. After completing any calibration test, always create a new project. This ensures OrcaSlicer exits calibration mode and resets parameters for your next prints.


