Obico First Layer AI (codename: Celestrius) Alpha Deep Dive
Obico First Layer AI (codename: Celestrius) has rolled out to hundreds of alpha testers so far. Now let's hear what the alpha testers have to say:
The Obico team was the first to offer AI for 3D printing failure detection back as early as 2019. Since then, our AI has watched over 80 million hours of 3D printing and caught almost one million 3D printing fialures. Over the years, we have continued to improve our initial webcam based failure detection product and worked on a variety of new projects like our recent first-layer AI inspection that is currently in alpha testing.
This article is the first in a series on AI. In this series, we will discuss some of the basics in AI and how it can be applied to 3D printing.
Today, we will talk about the introduction and workings of deep learning. It is the era of technology, we see better interaction with machines every day. These machines are now capable of providing many services that were once totally expected from human beings. Almost all of these tasks are directly or indirectly connected with the advancement of deep learning.
Deep learning is the branch of machine learning that is capable of learning complex patterns of data presented in the form of networks. Nowadays, Deep learning is one of the most demanding fields because of the rapid growth in research and experiments on it. People are now more aware of deep learning and the reason is, deep learning is not only limited to higher-level technology, but the common devices also have their applications in it. This article is based on an introduction, basic information, and workings of deep learning, along with its applications. So we will start with the introduction.

Klipper is not any run-off-the-mill 3D printing firmware. Its extensive range of features, upgradability, and growing popularity are making all the news in the 3D printing community right now.
Installing Klipper and getting it running is one part of upgrading to Klipper. The real fun begins when you start configuring it. There are so many things you can install side-to-side with Klipper to improve your 3D printing game.
In this article, we'll be exploring the top 10 Klipper applications that you should install on your 3D printer. These applications are designed to improve Klipper's functionality and provide you with the best possible Klipper experience.
So, let's get started!
3D printing is an incredible technology, allowing individuals to transform digital designs into tangible objects. With the rise in popularity of 3D printing, the need for mobility and ease of monitoring has become increasingly crucial. This is where mobile apps come into play, allowing users to manage, monitor, and even design 3D prints right from their smartphones. In this article, we delve deep into the world of 3D printing mobile apps, focusing on OctoPrint, Klipper related apps and others that have become essential tools for enthusiasts and professionals alike.

3D printing, once a niche hobby, has quickly expanded into various sectors such as healthcare, education, manufacturing, and even at-home projects. With the growth of this technology, the tools surrounding it, notably mobile apps, have seen a surge in development. Mobile apps for 3D printing have brought forth a revolution in how individuals interact with their printers. Here are compelling reasons why these mobile apps are becoming indispensable for 3D printing enthusiasts and professionals alike:

The Klipper firmware allows you to wirelessly connect and access your 3D printer from your home network. You can control your Klipper printer using a smartphone, a laptop, or a tablet, as long as the printer and the device are connected to the same home network.
But what happens when you want to go outside and monitor your prints, or the home network's out, and you want to use the mobile network? The stock Klipper firmware is limited to giving you wireless control, not complete remote control.
This is where Obico steps in.
In this article, we’ll discuss how to remotely access your Klipper 3D printer using Obico. We'll also walk you through the installation and configuration process and examine how the Klipper remote access will benefit your 3D printing workflow.
Read on to discover the exciting possibilities of remote Klipper Access!
Since our early days as The Spaghetti Detective, Obico has been at the forefront of 3D print failure detection. Today, over a hundred thousand makers trust our technology, with almost one million failed 3D prints caught to date!
The Obico team has been working on something new for a while, and we are excited to announce it today!
For the past several months, we’ve been working with about 50 early pilots (thank you if you are one of the pilots!) to collect millions of images. With a huge amount of effort, we were able to successfully build an initial version of the AI.
Now we are ready to invite you to participate in the alpha program to get early access to this amazing technology!

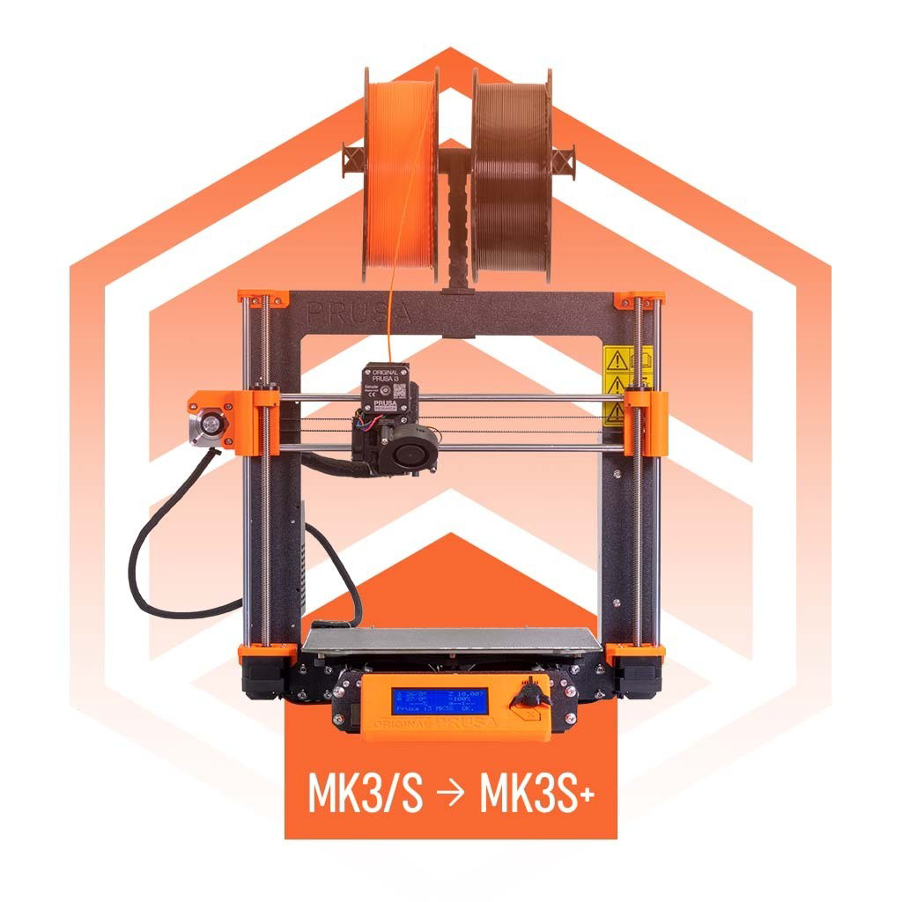
Prusa i3 MK3S+ 3D printer/Courtesy: Prusa
Every maker around the world knows that the Prusa i3 MK3 S/MK3S+ 3D printer is a best-in-class 3D printer that not only delivers high-quality prints but is also accurate and reliable. However, as technology evolves and the needs and desires of the user and the customer change, it becomes necessary to keep your printer up to date while also making the process simple. As a result, we've compiled a list of the top ten must-have upgrades for your Prusa i3 MK3 S/MK3S+ 3D printer.
If you own a 3D printer, you are probably aware that 3D printing is not as simple as it may appear. It has a steep learning curve and can be irritating at times. But what makes it all worthwhile are the custom products you can create with it, the time you save, and the money you can save and even earn with your printer. To ensure that you are always eager to print more and more, it is important that you regularly upgrade your printer.
These upgrades are not only required because they can improve the capabilities of your printer, but they also help you make the process a lot easier, friendlier, fun, and organized.

Original Prusa Enclosure/Source: Prusa

Picture Source : LazaroFilm via Reddit
Tired of the limited and uninspiring interface options that come with your 3D printers? Need a full-fledged user interface that’s easy to use yet rich with features? Well, Klipper is here to save the day!
Klipper is an open-source firmware that revolutionizes how you interact with your 3D printers. With its various interface options, you can control and access your machines like never before. These interfaces provide a refreshing experience that enhances your entire 3D printing process.
This piece goes into detail about Klipper Interfaces, explaining what they are, why you need them, and which ones are the best. Our goal is to tell you about the different interface choices Klipper has and help you choose the one that works best for you.
So, buckle up, and let’s Klipp-on some interfaces!
Octoprint has changed the way we use 3D printers in more ways than anyone could have thought. Wireless 3D printing, failure detection, smooth time-lapse movies, and a ton of other features make it one of the best 3D printing software on the market today.
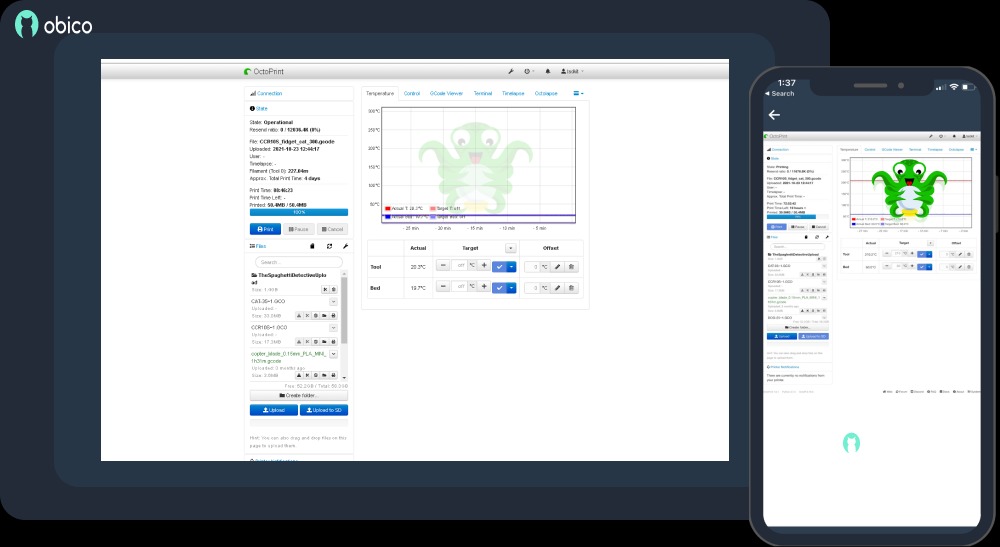
Some of these features are built into the program, and others are made possible by the plugin system. The "plugins" allow users to perform a wide variety of operations and increase Octoprint's use.
It can be difficult to know which plugins to install first and what they do as a newbie while setting up a 3D printer. In this article, we’ll help you figure out this ''plugin'' situation and guide you through installing them simply via a Plugin pack.
We’ve compiled a list of the best 11 plugins in Octoprint that you, as a beginner, should take notice of. The purpose is to get you up and running quickly with Octoprint and ensure that you get the most out of it.
Let's get started!

Изображение предоставлено: adonutforeveryone через Reddit
ABS — удивительный материал для 3D-печати. Это разновидность промышленного пластика, который использовался в качестве одного из первых материалов для 3D-печати в 1990-х годах. Но даже ABS не мо жет избежать проблемы FDM-3D-печати: полос на поверхности.
Моделирование методом послойного наплавления неизбежно приводит к образованию линий слоёв. Это делает ваши 3D-печатные детали особенными, но давайте будем честны, линии слоёв выглядят не на каждой модели. Они делают ваши модели менее профессиональными и снижают их визуальную привлекательность.
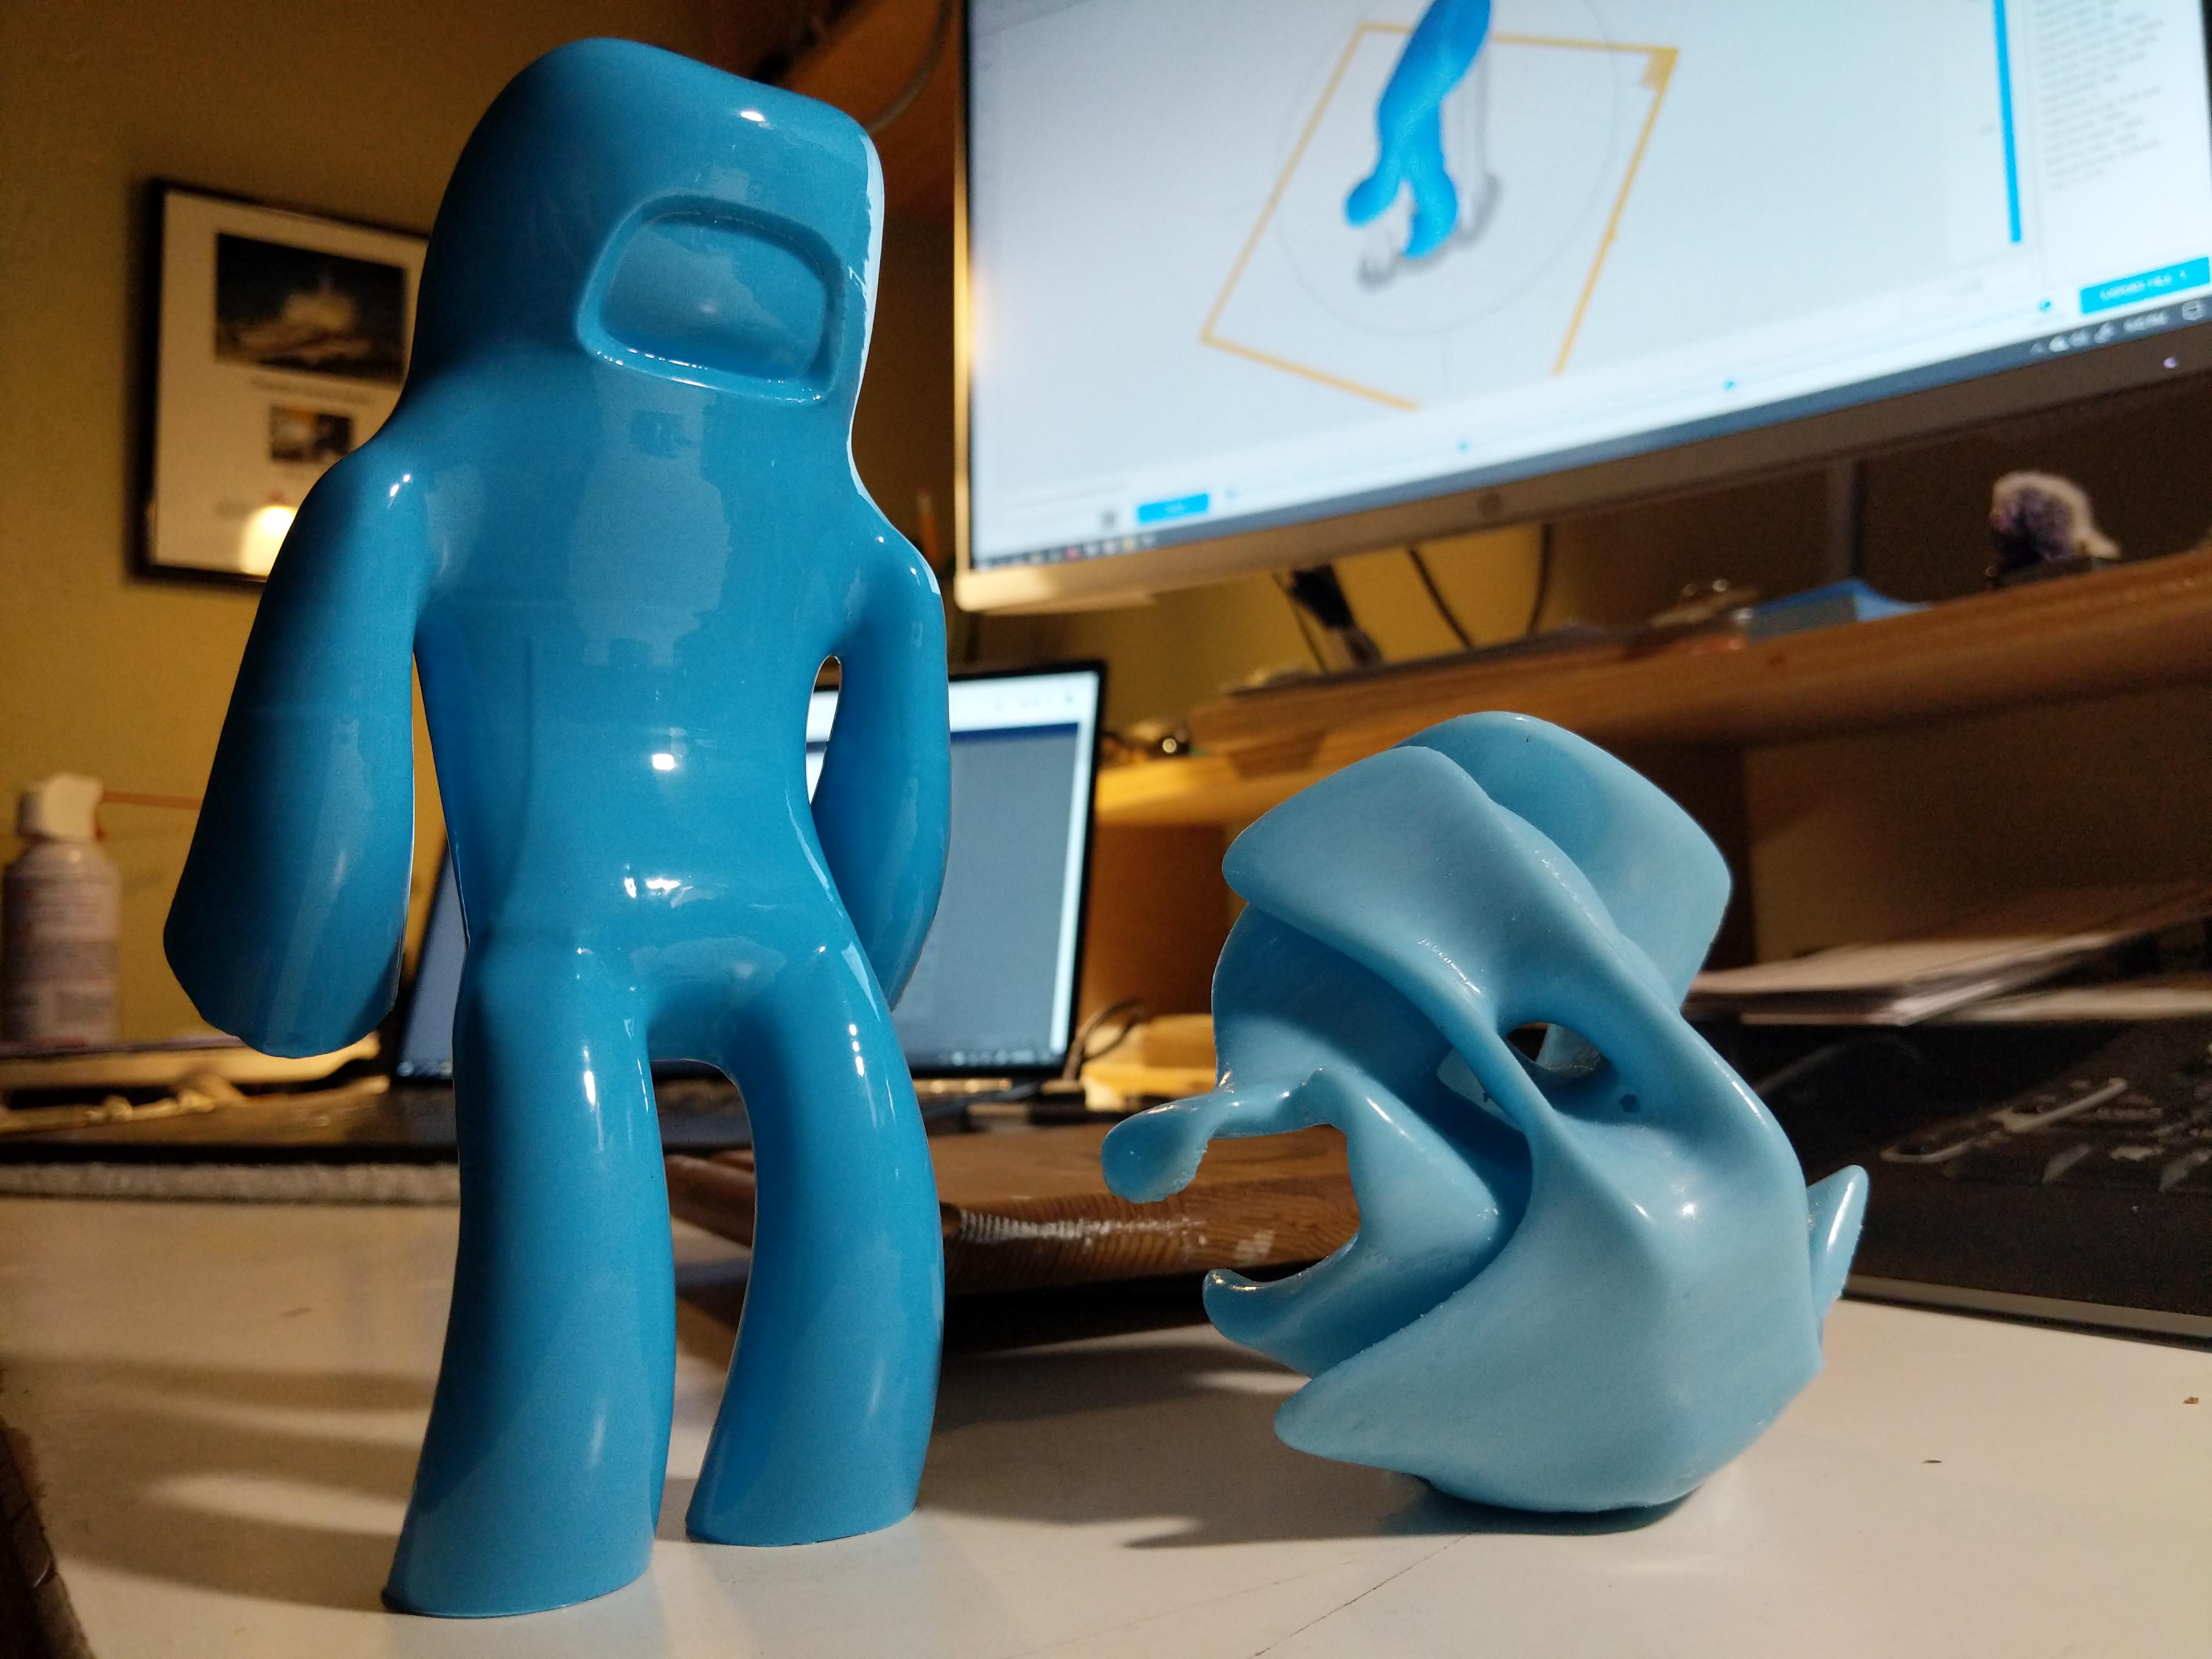
К счастью, эти слоистые линии на деталях из ABS-пластика можно полностью скрыть с помощью минимальной постобработки. Сглаживание ABS-пластика — это процесс, при котором слоистые линии полностью растворяются, придавая деталям гладкую, блестящую поверхность.
В этой статье мы узнаем все о процессе 3D-печати и покажем, как создавать профессионально выглядящие изделия. Давайте напечатаем несколько совершенно потрясающих творений!