Przejdź do głównej zawartości

Sovol SV06 ACE - Klipper Remote Access and AI

· 10 min aby przeczytać

If you've been using 3D printers for a while, you'll know there's a way to remotely control prints, check on progress, and perhaps even optimize your printer's movement for smoother running.

But how exactly can you do that?

It's impossible without getting slightly technical, but it's all worth the faster print times and advanced motion control. The quickest answer is–Klipper firmware.

Klipper is an open-source firmware based on Python developed to handle the advanced changes in 3D printing hardware. Normally, 3D printers come with a standard firmware hardcoded onto the on-board memory and any configuration change requires firmware installation, like solving a labyrinth. Instead, Klipper firmware can be edited, and modified and a simple device restart applies the changes.

It's compatible with many 3D printers and you can check the complete list here. Klipper pairs with these common printers:

  • Creality

  • Sovol

  • Pursa

  • Anycubic

    You have set up Klipper and the Moonraker API correctly, and it is connected to your printer. An interface such as Mainsail/Fluidd is highly recommended.

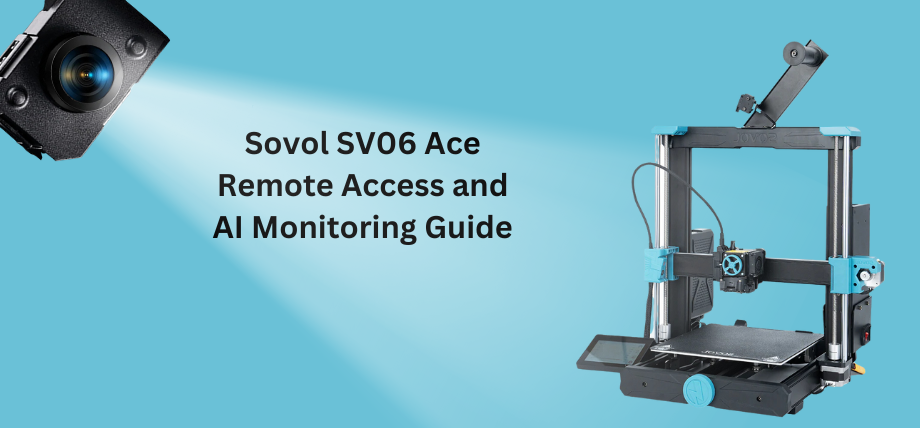
Sovol SV06 Ace - Klipper remote control and AI

What Is Remote Access Using Klipper?

Remote access or remote controlling your 3D printer allows you to monitor (in real-time), control, manage print files, and receive updates about your print from a distance. Remote access using Klipper works through a web-based interface requiring your phone or computer and a 3D printer connected to the internet.

That's slightly unsecure, but there are other ways like port forwarding and bots and then there's Obico.

Obico offers everything that comes with remote access plus, smart monitoring, AI error detection, print optimization, file management, and cloud-based storage. It's entirely open-source and you can even set up your own local server and have hybrid access or a fall-back option.

SOVOL SV06 ACE Klipper Integration

Previous Sovol printers like the SV06 are based on a Marlin control board which runs entirely on the printer's micro-controller. Marlin is the old architecture for 3D printers and faces performance issues because Marlin firmware does not meet the advanced hardware capabilities of printers.

There are ways to upgrade to a Klipper firmware which involves using a Raspberry Pi controller, or a tablet. However, now you can also use Klipper touchscreens such as the one provided by Sovol which simplifies the upgrade.

Sovol SV06 ACE comes with pre-installed Klipper integration, so you don't have to go through the Raspberry Pi guides found on the internet for your Sovol printer.

Klipper Integration

Download, Install, and Setup Bambu Studio – Step-by-Step Guide

· 6 min aby przeczytać

What is Bambu Studio?

If you’re into 3D printing, or just dipping your toes into it, you’ve probably come across Bambu Studio.

But what is it, exactly?

In simple terms, Bambu Studio is a 3D printing slicer software that acts as the bridge between your creative ideas and your printer.

It’s designed to be user-friendly, so you don’t need anything like a PhD in 3D printing to get started. Yet, it’s packed with advanced features (like multi-material support) that will help you handle complex projects very easily. And its slicing engine? It’s not just fast, it’s also smart and is designed to ensure your prints come out just the way you envisioned them.

It’s also compatible with a variety of 3D printers, such as Bambu Lab’s X1 series and P1P, along with other popular models from brands like Creality and Prusa.

Let’s dive into how to get it up and running!

Instalacja Bambu Studio na Linuksie

· 8 min aby przeczytać
wskazówka

Try JusPrin, the first GenAI 3D printing tool built on OrcaSlicer.

Bambu Studio, wydane w 2022 r. wraz z drukarką 3D Bambu Labs X1, to oprogramowanie typu slicer z otwartym kodem źródłowym, bazujące na PrusaSlicer (który z kolei opierał się na Slic3r).

Naturalnie jest to broń pierwszego wyboru dla drukarek 3D Bambu Labs na całym świecie ze względu na bezproblemową integrację z całą gamą urządzeń Bambu Labs.

Kiedy został wydany, był dostępny wyłącznie na komputery z systemami operacyjnymi macOS i Windows. Jeśli chciałeś go uruchomić na Linuksie, musiałeś go uruchomić na warstwie kompatybilności (takiej jak WINE) lub na maszynie wirtualnej (pomyśl o VMWare lub VirtualBox).

Dobrą wiadomością dla niektórych użytkowników Linuksa jest to, że od marca 2023 r. Bambu Studio jest dostępne specjalnie dla Ubuntu i Fedory. Jeśli więc jesteś użytkownikiem Fedory lub Ubuntu i chcesz zainstalować Bambu Studio w swoim systemie opartym na Linuksie, czytaj dalej, aby uzyskać informacje o tym, skąd je pobrać i jak zainstalować.

Istnieją dwa sposoby instalacji Bambu Studio w systemie Linux:

  • Instalowanie Bambu Studio z Flatpak
  • Instalowanie Bambu Studio na Ubuntu / Fedora z AppImage

Instalowanie Bambu Studio z Flatpakiem

Najpierw zacznijmy od łatwej opcji, czyli instalacji za pomocą Flatpak. Flatpak jest idealny dla tych, którzy nie chcą instalować wielu zależności i kompilować oprogramowania samodzielnie. Może to być najlepsza opcja dla większości osób, ponieważ według różnych forów (GitHub i Reddit) instalowanie zależności i kompilacja mogą dawać nieco zróżnicowane rezultaty.

notatka

Important Note for Users of Ubuntu 23.10 and Upwards

With the release of Ubuntu 23.10 (and newer versions), the default app store is App Center, which does not support installing Flatpak apps. Installing the Flatpak plugin will automatically install the deb-based GNOME Software app as your new software center, which will enable you to use both Flatpak and traditional deb packages. The step to achieve this is described in the process below.

Poniższe kroki to to, co musisz zrobić, aby zainstalować Bambu Studio na Ubuntu / Fedora przy użyciu FlatPak. Należy pamiętać, że Flatpak jest już zainstalowany na Fedorze, więc możesz od razu przejść do kroku numer 6. Użytkownicy Ubuntu powinni zacząć od kroku 1, jeśli Flatpak nie jest jeszcze zainstalowany.

1) Zainstaluj Flatpak

Najpierw musisz zainstalować FlatPak. Po prostu otwórz aplikację Terminal i uruchom:

sudo apt install flatpak

2) Zainstaluj wtyczkę Flatpak do oprogramowania GNOME

Zainstalowanie wtyczki GNOME Software Flatpak umożliwi instalowanie aplikacji Flatpak za pośrednictwem interfejsu graficznego.

Aby zainstalować wtyczkę, uruchom następujące polecenie:

sudo apt install gnome-software-plugin-flatpak

3) Dodaj repozytorium Flathub

Teraz, gdy możesz zainstalować dystrybucję Linuksa za pomocą Flatpak, będziesz potrzebować repozytorium, w którym znajdziesz aplikacje Flatpak. Płaski jest najpopularniejszy.

Aby włączyć, uruchom:

flatpak remote-add --if-not-exists flathub https://dl.flathub.org/repo/flathub.flatpakrepo

Ta komenda dodaje Flathub jako pilota Flatpak, umożliwiając dostęp do tysięcy aplikacji.

4) Uruchom ponownie system

Aby zmiany zostały wprowadzone, zaleca się ponowne uruchomienie systemu:

sudo reboot

5) Sprawdź instalację Flatpak

Aby upewnić się, że Flatpak został zainstalowany prawidłowo i działa poprawnie, uruchom następujące polecenie:

flatpak --version

W terminalu powinien zostać wyświetlony numer wersji Flatpak.

6) Zainstaluj Bambu Studio

Teraz, gdy wymagania wstępne zostały zainstalowane, możesz uzyskać dostęp do Bambu Studio za pośrednictwem Flathub:

flatpak install flathub org.bambu.BambuStudio

7) Uruchom Bambu Studio

Po odczekaniu, aż Bambu Studio zostanie zainstalowane, możesz uruchomić je, wpisując następujące polecenie:

flatpak run org.bambu.BambuStudio

Oto więc najprostszy i najskuteczniejszy sposób instalacji Bambu Studio na maszynach Linux. Oczywiście zaletą korzystania z wersji FlatPak jest to, że jest ona stosunkowo prosta w aktualizacji.

Oto, jak możesz mieć pewność, że Twoja wersja Bambu Studio w formacie Flatpak jest aktualna.

Po prostu zaktualizuj wszystkie swoje aplikacje Flatpak za pomocą tego polecenia:

flatpak update

Jeśli natomiast chcesz przeprowadzić samodzielną aktualizację Bambu Studio, wpisz poniższe polecenie:

flatpak update com.bambulab.BambuStudio

Alternatywna metoda pobierania Bambu Studio

Możesz również pobrać Bambu Studio z Katalog Flathub.

Innym sposobem zainstalowania Bambu Lab slicer jest użycie oficjalnych plików instalacyjnych na Flathub. Sprawdź odznakę weryfikacji obok uploadera i kliknij Install.

Po pobraniu plików instalacyjnych Bambu Studio skopiuj nazwę pliku instalacyjnego i użyj tego polecenia w terminalu w lokalizacji, w której pobrano pliki.

BLOKADA KODU_9

Instalowanie Bambu Studio na Ubuntu/Fedora z AppImage

Inną (bardziej skomplikowaną) opcją instalacji Bambu Studio w systemach operacyjnych Ubuntu i Fedora jest skorzystanie z AppImage z serwisu Github.

Na różnych forach można znaleźć wiele doniesień, że ta metoda czasami przynosi mniej niż oczekiwane rezultaty, dlatego radzimy wybrać wersję Flatpak.

Należy pamiętać, że proces ten jest taki sam w przypadku dystrybucji Fedora i Ubuntu, jednak może być konieczne wyłączenie funkcji SELinux w systemie Fedora, ponieważ czasami może ona kolidować z instalacjami AppImage.

1) Pobierz AppImage

Najpierw musisz pobrać AppImage z Bambu Labs GitHub Tutaj.

Tutaj znajdziesz różne wersje Bambu Studio. Możesz również znaleźć stare wydania Bambu Studio AppImages i przejść na starszą wersję. W tym zasobie znajdziesz pliki dla systemów Mac, Windows i Linux. W zależności od dystrybucji możesz wybrać Ubuntu lub Fedora AppImage.

2) Przenieś AppImage do odpowiedniego folderu

Następnie należy umieścić plik AppImage w dogodnym miejscu (np. w folderze ~/Applications).

mkdir -p ~/Applications
mv ~/Downloads/BambuStudio-*.AppImage ~/Applications/

3) Uczyń AppImage wykonywalnym

Istnieje kilka sposobów na uczynienie pliku AppImage wykonywalnym.

Najpierw zlokalizuj swój AppImage w folderze, do którego go przeniosłeś. Następnie kliknij prawym przyciskiem myszy na AppImage, wybierz "Properties" z menu podręcznego.

Następnie przejdź do zakładki "Permissions" w oknie Właściwości i zaznacz pole wyboru "Allow executing file as a program". Zamknij okno Właściwości i przejdź do następnego kroku.

Druga metoda polega na użyciu terminala i wskazaniu folderu Aplikacje, a następnie uczynieniu go wykonywalnym.

cd ~/Applications
chmod +x BambuStudio-*.AppImage

4) Uruchom plik wykonywalny AppImage

Teraz, gdy Twój AppImage jest już wykonywalny, możesz po prostu kliknąć go dwukrotnie, aby zainstalować, lub możesz skorzystać z terminala, wpisując następujący wiersz:

./BambuStudio-*.AppImage

To wszystko. Miejmy nadzieję, że Bambu Studio AppImage powinno działać. Jeśli nie działa, to Twojemu systemowi może brakować niektórych zależności. Jeśli tak jest, powinieneś otrzymać komunikat o błędzie informujący o tym, czego brakuje, i powinieneś kontynuować instalację brakujących zależności.

Dodatkowe kroki

Poprawka zgodności dla Ubuntu 24.x

Podczas uruchamiania Bambu Studio AppImage możesz napotkać brakujące biblioteki. Bambu Studio wymaga libwebkit2gtk, który może zostać zastąpiony innymi wersjami lub może być niedostępny na twoim komputerze.

Aby rozwiązać ten problem, możesz utworzyć dowiązania symboliczne dla tych konkretnych bibliotek, korzystając z tego polecenia w terminalu.

sudo ln -sf /usr/lib/x86_64-linux-gnu/libwebkit2gtk-4.1.so.0   /usr/lib/x86_64-linux-gnu/libwebkit2gtk-4.0.so.37
sudo ln -sf /usr/lib/x86_64-linux-gnu/libjavascriptcoregtk-4.1.so.0 /usr/lib/x86_64-linux-gnu/libjavascriptcoregtk-4.0.so.18

Ponieważ program do cięcia drukarek 3D szuka biblioteki libwebkit2gtk, zostanie przekierowany do nowszej wersji tej samej biblioteki dostępnej w systemie Ubuntu 24.x

Konfigurowanie Bambu Studio

Po pomyślnym uruchomieniu Bambu Studio musisz jeszcze podłączyć drukarkę 3D, zainstalować wtyczki sieciowe i zalogować się na swoje konto.

Wybierz swoją drukarkę 3D

Bambu Studio oferuje szereg drukarek 3D, które możesz sparować z tym slicerem, ale najlepiej współpracuje z drukarkami Bambu Lab. Na tym etapie możesz wybrać posiadaną drukarkę i dysze.

Wybór filamentu

W zależności od drukarki możesz wybrać wszystkie lub kilka opcji filamentu. Jeśli masz możliwość drukowania węglowego, jak Bambu Lab X1 Carbon, możesz również wybrać węgiel wraz z opcjami PLA, Matte i Silk.

Zakończ konfigurację

Po dokonaniu początkowych wyborów Twoje Bambu Studio powinno wyglądać tak. Aby zakończyć konfigurację drukarki, przejdź do zakładki „Przygotowanie”.

Możesz również wybrać rodzaj PLA z paska bocznego i utworzyć niestandardowy zestaw ustawień, który możesz zapisać i wykorzystać w późniejszych wydrukach.

Kalibracja drukarki

Drukarki Bambu Lab działają świetnie od razu po wyjęciu z pudełka, ale ogólnie dobrą praktyką jest kalibracja drukarki przed wydrukowaniem pierwszej części. Możesz skorzystać z tego przewodnika, aby skalibrować drukarkę. Obejmuje on poziomowanie stołu, kalibrację szybkości przepływu i wiele innych wskazówek dla początkujących.

Najczęściej zadawane pytania

Czy Bambu Studio jest darmowe?

Bambu Studio to darmowy program do cięcia, podobny do Cura, oferujący konfigurowalne profile i zarządzanie wydrukami 3D.

Jak pobrać starszą wersję Bambu Studio?

Aby pobrać starszą wersję Bambu Studio, możesz sprawdzić repozytorium GitHub i znaleźć starszy tytuł wydania, którego szukasz. Możesz pobrać plik wykonywalny i wykonać nową instalację.

Czy istnieje aplikacja Bambu Lab?

Bambu Lab ma aplikację mobilną, która różni się od Bambu Studio, ale umożliwia dostosowanie szybkości przepływu, otrzymywanie powiadomień oraz uruchamianie i wstrzymywanie wydruków. Bambu Studio może współpracować z innymi drukarkami 3D, ale aplikacja mobilna jest przeznaczona specjalnie dla drukarek Bambu Lab.

Jakie typy plików obsługuje Bambu Studio

Bambu Studio obsługuje standardowe pliki G-code, ich pliki .bambu i .3mf. Slicer może pracować z wieloma plikami części 3D, takimi jak STL, OBJ, FPP i AMF.

Uwagi końcowe

Niektóre funkcje w Bambu Studio wymagają natywnych komponentów Windows do działania (takich jak Mesh Repair). Podczas naprawy plików STL w Bambu Studio na komputerze z systemem Windows, korzysta ono z oprogramowania Windows 3D Builder, aby sprawdzić błędy i je naprawić. Utracisz tę funkcjonalność w systemie opartym na systemie Linux.

Być może brakuje także innych funkcji, ale jeśli to jakaś pociecha, użytkownikom komputerów Mac również brakuje niektórych z nich.

Jeśli chcesz skompilować Bambu Studio od podstaw, przydatny przewodnik znajdziesz pod adresem ten link, ale zalecamy skorzystanie z metody Flatpak — jest ona łatwiejsza w instalacji i aktualizacji.

Niestety, Bambu Labs nie opublikowało szczegółowego przewodnika dotyczącego instalacji na komputerach opartych na systemie Linux, ale mamy nadzieję, że nasz krótki przewodnik pomoże Ci zacząć.

Powodzenia i baw się dobrze korzystając z nowego slicera w systemie Linux!


Also available in: Deutsch | English | Español | Français | Italiano | Nederlands | Português | Русский

Input Shaping: What it is and How to Use it

· 5 min aby przeczytać

Over the past decade, the hobbyist 3D printing community has seen several technological advances that have increased the quality and speed of hobby-level printing by leaps and bounds. One of these advances has been input shaping. Input shaping has the ability to make your 3D printer faster and more accurate, and the best part of all is that it’s incredibly cheap and easy to implement! In this article we’ll discuss what input shaping is, as well as how to use it.

A photo showing two 3DBenchys

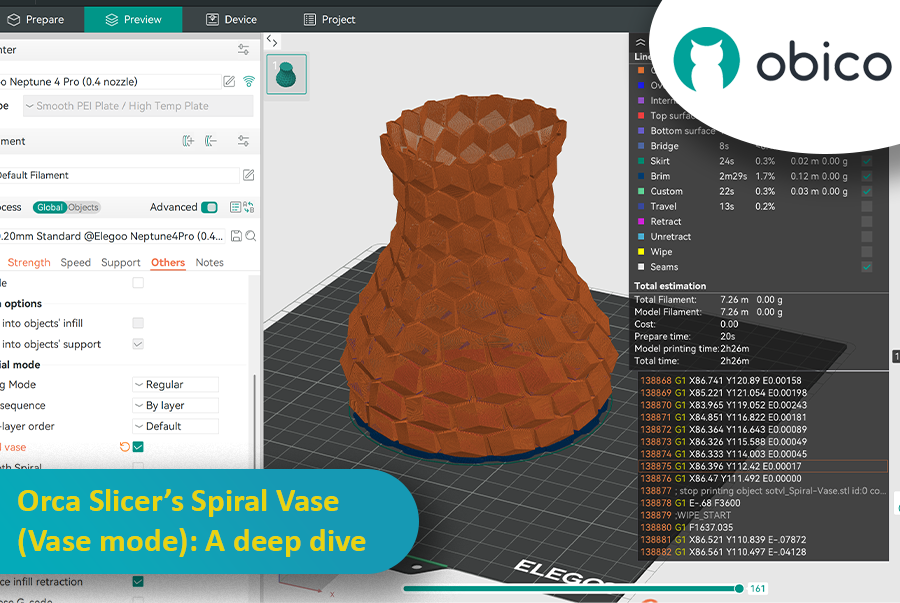
Orca Slicer’s Spiral Vase (Vase Mode): A Deep Dive

· 17 min aby przeczytać

Introduction

If you’ve ever wondered how people create those gorgeously smooth, hollow prints that look like ceramic vases straight from an artisan’s studio, you’re about to discover their secret. It’s called Spiral Vase Mode, and it can turn your 3D printer into a wizard of single-wall printing. Picture your extruder gliding in one continuous loop around a shape, steadily building a spiral from the bottom up. Gone are the days of multiple perimeters, infill grids, and cluttered top layers. In their place, you’ll find a single, graceful helix of filament that forms a delicate but surprisingly impressive object.

Orca Slicer’s Spiral Vase (Vase Mode): A Deep Dive

For many 3D printing enthusiasts, vase-mode prints represent a sweet spot between practicality and artistry. They can be quick to produce, visually striking, and mesmerizingly smooth on the surface. In short, they’re different from your average print. And thanks to Orca Slicer—a slicer admired for its user-friendly design and flexible feature set—accessing Spiral Vase Mode has never been simpler.

This guide will walk you through everything you need to know about Spiral Vase Mode in Orca Slicer. We’ll talk about what it is, why it’s so popular, and how to set it up. We’ll also cover vital details about nozzles, layer heights, water-tightness, tricky designs, and the all-important calibration steps. By the end, you’ll be ready to bring your own vase-mode dreams to life. Whether that’s a lamp, a prototype shell, a decorative piece, or an actual vase you can put flowers in, is entirely up to you.

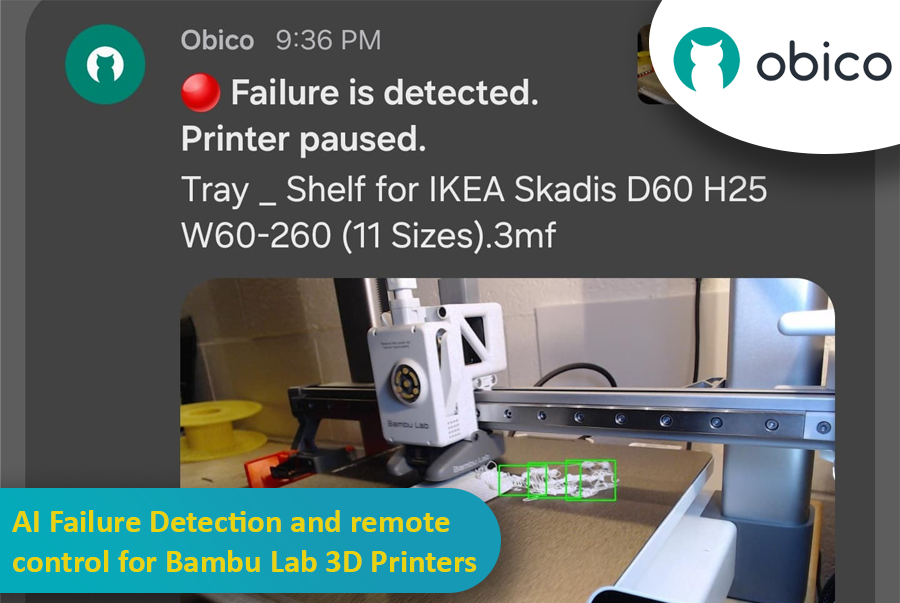
AI Failure Detection and Remote Control for Bambu Lab 3D Printers

· 17 min aby przeczytać

So, you’ve got a Bambu Lab 3D printer—maybe a fancy X1 Carbon, or maybe a more modest A1 or P1P—and you’re absolutely in love with how quickly and smoothly it prints. These machines are kind of like the Ferraris of the consumer 3D printing world, right? Super-fast, often come with neat features like built-in cameras, enclosed builds, multi-color printing capabilities, and even some AI-based magic that tries to detect when your print turns into the dreaded “spaghetti monster.” You know what I’m talking about: that moment when your once-promising print becomes a pile of tangled filament resembling something you’d serve with meatballs.

 AI Failure Detection and Remote Control for Bambu Lab 3D Printers

But here’s the catch: Not all Bambu Lab printers have the same level of AI detection built in. Models like the Bambu X1 Carbon are decked out with advanced AI spaghetti detection and even LiDAR to inspect that first layer. Meanwhile, other models—like the Bambu A1 series or the P1P—lack AI features altogether. Maybe you went from a Creality printer that you’d meticulously set up with OctoPrint and had all sorts of plugins running, including advanced failure detection. Then you jumped ship to a Bambu Lab machine and realized you miss that robust ecosystem. Or maybe you just love tinkering and want to integrate Obico’s AI-based spaghetti detection and remote monitoring into your Bambu workflow.

Well, good news: With a bit of creativity, a spare single-board computer (like a Raspberry Pi or Orange Pi), a camera (such as a trusty old Logitech C920), and some software tweaking, you can get AI failure detection working via Obico on your Bambu printer—no matter which model you have. This can transform your Bambu printer setup into something that feels both luxurious and smart, catching failures before they waste days of print time and tons of filament.

In this “case study” or super-long how-to, I’ll walk you through a scenario: Let’s imagine you have a Bambu A1 printer. You love it, but you want AI failure detection similar to what you might have had with other printers integrated with Obico. We’ll talk about using OctoPrint as a virtual “bridge,” installing plugins, setting up a camera, and linking everything to Obico’s cloud so you can watch your prints from anywhere, get notifications if something goes wrong, and even pause or stop the printer remotely. And if you’re on a higher-tier Bambu like the X1 Carbon, you might not need this as much—but it’s still super cool to have another layer of AI detection from Obico’s machine-learning setup.

I’ll also share some links to relevant GitHub repos, documentation pages, and other helpful guides.

QIDI Plus4 - Klipper Remote Access and AI

· 15 min aby przeczytać

The QIDI Plus4 is not just a 3D printer; it’s a game changer for those who want precision, reliability, and advanced features. Whether you are a hobbyist or a professional, the QIDI Plus4 has features that will take your entire printing experience to the next level. Pre-installed with Klipper firmware, equipped with a heated chamber, and packed with intelligent monitoring capabilities, this amazing 3D printer ensures that your prints are accurate, consistent, and efficient.

QIDI Plus4 3D printer in action with remote and AI capabilities

In this article, we will go in-depth on the QIDI Plus4 features and guide you through setting up remote access and AI monitoring with Obico.

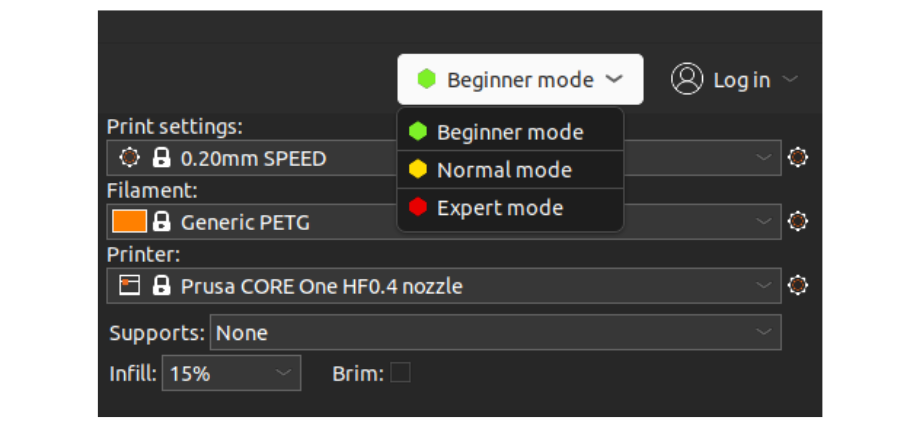
Introducing the New Prusa CORE One: A Revolutionary 3D Printer

· 12 min aby przeczytać

The 3D printing world has just got a new game changer: the Prusa Core One. This is not just a new printer; it’s a leap forward in design, functionality, and performance. The new CORE One printer offers a CoreXY design, active chamber temperature control, and a host of user-focused innovations. It combines speed, precision, and versatility in a sleek, compact package.

Prusa Core One: The Revolutionary 3D Printer

Whether you are a hobbyist looking to expand your creative possibilities, a professional engineer in need of reliable prototypes, or a teacher exploring 3D printing, the Prusa CORE One has something for everyone.

Let’s take a closer look together at what makes this new printer a true standout.

Orca Slicer Filament Profiles and How to Make Your Own

· 15 min aby przeczytać

3D printing is more than a hobby; it’s a tool for innovation, design, and creativity. As technology gets better, the tools we use to optimize the print process get better. Orca Slicer is one of the best slicing software options out there for users who want precision, efficiency, and customization. One of its many features is the ability to create and manage your own filament profiles, and that’s a game changer for getting great results every time.

Orca Slicer Filament Profiles and How to Make Your Own

In this article we’ll go deep into filament profiles in Orca Slicer, what they are, why they matter, and how you can create, fine-tune, and optimize your own custom profiles for your material.

JusPrin - The first GenAI 3D printing app

· 3 min aby przeczytać

Back in 2019, I built The Spaghetti Detective. It was the first AI tool made specifically for the 3D printing community. Fast forward a few years, and we’re in the GenAI era. But there have been no GenAI apps for the 3D printing.

Well, that’s about to change. Meet JusPrin, the first GenAI app for 3D printing. No slicing. Just print.