Ga naar hoofdinhoud

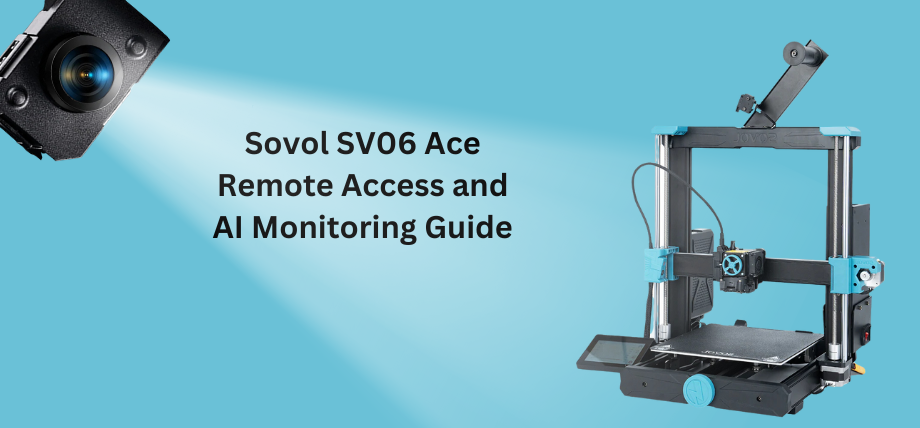
Sovol SV06 ACE - Klipper Remote Access and AI

· 10 minuten leestijd

If you've been using 3D printers for a while, you'll know there's a way to remotely control prints, check on progress, and perhaps even optimize your printer's movement for smoother running.

But how exactly can you do that?

It's impossible without getting slightly technical, but it's all worth the faster print times and advanced motion control. The quickest answer is–Klipper firmware.

Klipper is an open-source firmware based on Python developed to handle the advanced changes in 3D printing hardware. Normally, 3D printers come with a standard firmware hardcoded onto the on-board memory and any configuration change requires firmware installation, like solving a labyrinth. Instead, Klipper firmware can be edited, and modified and a simple device restart applies the changes.

It's compatible with many 3D printers and you can check the complete list here. Klipper pairs with these common printers:

  • Creality

  • Sovol

  • Pursa

  • Anycubic

    You have set up Klipper and the Moonraker API correctly, and it is connected to your printer. An interface such as Mainsail/Fluidd is highly recommended.

Sovol SV06 Ace - Klipper remote control and AI

What Is Remote Access Using Klipper?

Remote access or remote controlling your 3D printer allows you to monitor (in real-time), control, manage print files, and receive updates about your print from a distance. Remote access using Klipper works through a web-based interface requiring your phone or computer and a 3D printer connected to the internet.

That's slightly unsecure, but there are other ways like port forwarding and bots and then there's Obico.

Obico offers everything that comes with remote access plus, smart monitoring, AI error detection, print optimization, file management, and cloud-based storage. It's entirely open-source and you can even set up your own local server and have hybrid access or a fall-back option.

SOVOL SV06 ACE Klipper Integration

Previous Sovol printers like the SV06 are based on a Marlin control board which runs entirely on the printer's micro-controller. Marlin is the old architecture for 3D printers and faces performance issues because Marlin firmware does not meet the advanced hardware capabilities of printers.

There are ways to upgrade to a Klipper firmware which involves using a Raspberry Pi controller, or a tablet. However, now you can also use Klipper touchscreens such as the one provided by Sovol which simplifies the upgrade.

Sovol SV06 ACE comes with pre-installed Klipper integration, so you don't have to go through the Raspberry Pi guides found on the internet for your Sovol printer.

Klipper Integration

Download, Install, and Setup Bambu Studio – Step-by-Step Guide

· 6 minuten leestijd

What is Bambu Studio?

If you’re into 3D printing, or just dipping your toes into it, you’ve probably come across Bambu Studio.

But what is it, exactly?

In simple terms, Bambu Studio is a 3D printing slicer software that acts as the bridge between your creative ideas and your printer.

It’s designed to be user-friendly, so you don’t need anything like a PhD in 3D printing to get started. Yet, it’s packed with advanced features (like multi-material support) that will help you handle complex projects very easily. And its slicing engine? It’s not just fast, it’s also smart and is designed to ensure your prints come out just the way you envisioned them.

It’s also compatible with a variety of 3D printers, such as Bambu Lab’s X1 series and P1P, along with other popular models from brands like Creality and Prusa.

Let’s dive into how to get it up and running!

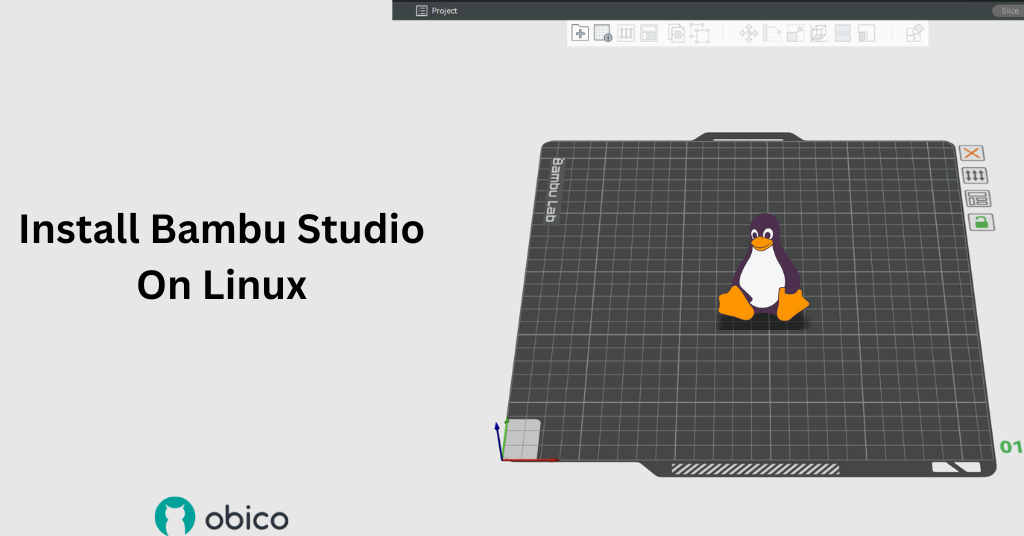
Installeer Bambu Studio op Linux

· 9 minuten leestijd
tip

Try JusPrin, the first GenAI 3D printing tool built on OrcaSlicer.

Bambu Studio, dat in 2022 tegelijk met de Bambu Labs X1 3D-printer werd uitgebracht, is een open-source slicersoftware gebaseerd op PrusaSlicer (dat op zijn beurt gebaseerd was op Slic3r).

Het is vanzelfsprekend het favoriete wapen van Bambu Labs 3D-printers over de hele wereld, vanwege de naadloze integratie met het volledige machinepark van Bambu Labs.

Toen het uitkwam, was het exclusief beschikbaar voor computers met macOS en Windows. Als je het op Linux wilde draaien, moest je het eigenlijk op een compatibiliteitslaag (zoals WINE) of op een virtuele machine (denk aan VMWare of VirtualBox) proberen te draaien.

Het goede nieuws voor bepaalde Linux-gebruikers is dat Bambu Studio sinds maart 2023 expliciet beschikbaar is voor Ubuntu en Fedora. Dus als je daadwerkelijk een Fedora- of Ubuntu-gebruiker bent en Bambu Studio op je Linux-systeem wilt installeren, lees dan verder voor informatie over waar je het kunt verkrijgen en hoe je het installeert.

Er zijn twee manieren om Bambu Studio op Linux te installeren:

  • Bambu Studio installeren met Flatpak
  • Bambu Studio installeren op Ubuntu/Fedora vanuit een AppImage

Bambu Studio installeren met Flatpak

Laten we beginnen met de makkelijkste optie: installeren met Flatpak. Flatpak is ideaal voor wie geen grote hoeveelheid afhankelijkheden wil installeren en de software niet zelf wil compileren. Dit is misschien wel de beste optie voor de meeste mensen, omdat volgens verschillende forums (GitHub en Reddit) het installeren van de afhankelijkheden en het compileren ervan nogal uiteenlopende resultaten kan opleveren.

notitie

Important Note for Users of Ubuntu 23.10 and Upwards

With the release of Ubuntu 23.10 (and newer versions), the default app store is App Center, which does not support installing Flatpak apps. Installing the Flatpak plugin will automatically install the deb-based GNOME Software app as your new software center, which will enable you to use both Flatpak and traditional deb packages. The step to achieve this is described in the process below.

De volgende stappen zijn nodig om Bambu Studio op Ubuntu/Fedora te installeren met Flatpak. Let op: Flatpak is al geïnstalleerd op Fedora, dus je kunt direct naar stap 6 gaan. Ubuntu-gebruikers kunnen het beste bij stap 1 beginnen als Flatpak nog niet geïnstalleerd is.

1) Flatpak installeren

Allereerst moet je FlatPak installeren. Open de Terminal-app en voer het volgende uit:

sudo apt install flatpak

2) Installeer de GNOME Software Flatpak-plug-in

Als u de GNOME Software Flatpak-plug-in installeert, kunt u Flatpak-apps installeren via een GUI.

Voer de volgende opdracht uit om de plug-in te installeren:

sudo apt install gnome-software-plugin-flatpak

3) Voeg de Flathub-repository toe

Nu je Linux-distributie Flatpak kan installeren, heb je een repository nodig om je Flatpak-apps te vinden. Flathub is de meest voorkomende.

Om dit in te schakelen, voer je het volgende uit:

flatpak remote-add --if-not-exists flathub https://dl.flathub.org/repo/flathub.flatpakrepo

Met deze opdracht voegt u Flathub toe als Flatpak-afstandsbediening, zodat u toegang hebt tot duizenden apps.

4) Start uw systeem opnieuw op

Om de wijzigingen door te voeren, wordt aanbevolen uw systeem opnieuw op te starten:

sudo reboot

5) Controleer de Flatpak-installatie

Om er zeker van te zijn dat Flatpak correct is geïnstalleerd en werkt, voert u de volgende opdracht uit:

flatpak --version

Het versienummer van Flatpak zou in de terminal moeten worden weergegeven.

6) Installeer Bamboo Studio

Nu de vereisten zijn geïnstalleerd, kunt u doorgaan en toegang krijgen tot Bambu Studio via Flathub:

flatpak install flathub org.bambu.BambuStudio

7) Run Bambu Studio

Nadat u hebt gewacht tot Bambu Studio is geïnstalleerd, kunt u het programma uitvoeren door het volgende te typen:

flatpak run org.bambu.BambuStudio

Dat is dus de eenvoudigste en meest effectieve manier om Bambu Studio op Linux-machines te installeren. Een voordeel van een FlatPak-versie is natuurlijk dat deze ook relatief eenvoudig te updaten is.

Zo zorgt u ervoor dat uw Flatpak-versie van Bambu Studio up-to-date is.

Werk al uw Flatpak-apps eenvoudig bij met deze opdracht:

flatpak update

Of, als u Bambu Studio zelfstandig wilt updaten, typ dan het volgende:

flatpak update com.bambulab.BambuStudio

Alternatieve methode voor het downloaden van Bambu Studio

Je kunt Bambu Studio ook downloaden via de Flathub-gids.

Een andere manier om de Bambu Lab-slicer te installeren is met behulp van de officiële installatiebestanden op Flathub. Controleer de geverifieerde badge naast de uploader en klik op Installeren.

Nadat de installatiebestanden van Bambu Studio zijn gedownload, kopieert u de naam van het installatiebestand en gebruikt u deze opdracht in de terminal van de gedownloade locatie.

sudo flatpak install <filename>

Bambu Studio installeren op Ubuntu / Fedora vanuit een AppImage

Een andere (ingewikkeldere) optie om Bambu Studio te installeren op Ubuntu- en Fedora-besturingssystemen is het gebruiken van AppImage van Github.

Er zijn veel berichten op diverse forums dat deze methode soms minder goede resultaten oplevert dan u wenst. Wij adviseren u daarom om voor de Flatpak-versie te kiezen.

Let op, het proces is hetzelfde voor Fedora en Ubuntu. Het kan wel zijn dat je SELinux op Fedora moet uitschakelen, omdat het soms de installatie van AppImage kan verstoren.

1) Download de AppImage

Eerst moet je de AppImage downloaden van de Bambu Labs GitHub hier.

Hier vind je verschillende versies van Bambu Studio. Je kunt er ook oude versies van de Bambu Studio AppImages vinden en downgraden naar een oudere versie. In deze bron vind je bestanden voor Mac, Windows en Linux. Afhankelijk van je distributie kun je de Ubuntu of Fedora AppImage kiezen.

2) Verplaats AppImage naar een geschikte map

Vervolgens moet u uw AppImage op een handige plek neerzetten (bijvoorbeeld in de map ~/Applications).

mkdir -p ~/Applications
mv ~/Downloads/BambuStudio-*.AppImage ~/Applications/

3) Maak AppImage uitvoerbaar

Er zijn een aantal manieren om uw AppImage uitvoerbaar te maken.

Zoek eerst je AppImage in de map waarnaar je hem zojuist hebt verplaatst. Klik vervolgens met de rechtermuisknop op de AppImage en selecteer "Properties" in het pop-upmenu.

Ga vervolgens naar het tabblad "Permissions" in het venster Eigenschappen en vink het vakje "Allow executing file as a program" aan. Sluit het venster Eigenschappen en ga naar de volgende stap.

De tweede methode is om de Terminal te gebruiken om naar de map Programma's te verwijzen en deze vervolgens uitvoerbaar te maken.

cd ~/Applications
chmod +x BambuStudio-*.AppImage

4) Voer het uitvoerbare bestand AppImage uit

Nu uw AppImage uitvoerbaar is, kunt u er eenvoudig op dubbelklikken om het te installeren. U kunt ook de terminal gebruiken door de volgende regel te typen:

./BambuStudio-*.AppImage

Dat is alles. Hopelijk werkt je Bambu Studio AppImage nu. Als dat niet lukt, ontbreken er mogelijk enkele afhankelijkheden in je systeem. In dat geval krijg je een foutmelding met de ontbrekende afhankelijkheden en kun je de ontbrekende afhankelijkheden installeren.

Extra stappen

Compatibiliteitsoplossing voor Ubuntu 24.x

Bij het gebruik van Bambu Studio AppImage kunnen er ontbrekende bibliotheken optreden. Bambu Studio vereist libwebkit2gtk, dat mogelijk vervangen is door andere versies of niet beschikbaar is op uw computer.

Om dit probleem op te lossen, kunt u symbolische koppelingen voor deze specifieke bibliotheken maken met behulp van deze opdracht in de terminal.

sudo ln -sf /usr/lib/x86_64-linux-gnu/libwebkit2gtk-4.1.so.0   /usr/lib/x86_64-linux-gnu/libwebkit2gtk-4.0.so.37
sudo ln -sf /usr/lib/x86_64-linux-gnu/libjavascriptcoregtk-4.1.so.0 /usr/lib/x86_64-linux-gnu/libjavascriptcoregtk-4.0.so.18

Omdat de 3D-printerslicer naar libwebkit2gtk zoekt, wordt deze nu doorgestuurd naar de nieuwere versie van dezelfde bibliotheek die beschikbaar is in Ubuntu 24.x

Bambu Studio instellen

Nadat u Bambu Studio succesvol hebt uitgevoerd, moet u nog steeds uw 3D-printer aansluiten, netwerkplug-ins installeren en inloggen op uw account.

Selecteer uw 3D-printer

Bambu Studio biedt een reeks 3D-printers die je met deze slicer kunt combineren, maar hij werkt het beste met Bambu Lab-printers. Je kunt in dit stadium de printer en de nozzles die je hebt, selecteren.

Filamentselectie

Afhankelijk van uw printer kunt u alle of enkele filamentopties selecteren. Als u over de mogelijkheid beschikt om te printen met carbon, zoals de Bambu Lab X1 Carbon, kunt u ook carbon selecteren, samen met PLA, Matte en Silk.

Voltooi de installatie

Nadat je de eerste keuzes hebt gemaakt, zou je Bambu Studio er zo uit moeten zien. Om de installatie van je printer af te ronden, ga je naar het tabblad 'Voorbereiden'.

U kunt ook uw PLA-type selecteren in de zijbalk en een aangepaste voorinstelling maken die u kunt opslaan voor herhaalde afdrukken op een later tijdstip.

De printer kalibreren

Bambu Lab-printers werken direct uit de doos prima, maar het is over het algemeen een goede gewoonte om de printer te kalibreren voordat u uw eerste onderdeel print. U kunt deze handleiding volgen om uw printer te kalibreren. Deze behandelt het nivelleren van het printbed, het kalibreren van de stroomsnelheid en vele andere beginnerstips.

Veelgestelde vragen

Is Bambu Studio gratis?

Bambu Studio is een gratis slicingsoftware zoals Cura en biedt aanpasbare profielen en 3D-printbeheer.

Hoe download ik een oudere versie van Bambu Studio?

Om een oudere versie van Bambu Studio te downloaden, kunt u de GitHub-repository raadplegen en de gewenste oudere releasetitel vinden. U kunt het uitvoerbare bestand downloaden en een nieuwe installatie uitvoeren.

Is er een Bambu Lab-app?

Bambu Lab heeft een mobiele app, die verschilt van Bambu Studio, maar waarmee je de printsnelheid kunt aanpassen, meldingen kunt ontvangen en prints kunt starten en pauzeren. De Bambu Studio kan met andere 3D-printers werken, maar de mobiele app is specifiek voor Bambu Lab-printers.

Welke bestandstypen ondersteunt Bambu Studio?

Bambu Studio ondersteunt standaard G-codebestanden, .bambu- en .3mf-bestanden. De slicer kan werken met een groot aantal 3D-bestandstypen, zoals STL, OBJ, FPP en AMF.

Slotopmerkingen

Sommige functies in Bambu Studio vereisen native Windows-componenten om te werken (zoals Mesh Repair). Bij het repareren van STL-bestanden in Bambu Studio op een Windows-computer wordt de Windows 3D Builder-software gebruikt om fouten te controleren en te herstellen. Op een Linux-systeem verliest u deze functionaliteit.

Er ontbreken misschien nog andere functies, maar als het een troost mag zijn: Mac-gebruikers missen ook enkele van deze functies.

Als je Bambu Studio helemaal zelf wilt compileren, kun je daarvoor een handige handleiding vinden op deze link, maar wij raden je aan de Flatpak-methode te gebruiken. Deze is makkelijker te installeren en ook makkelijker te updaten.

Helaas heeft Bambu Labs geen uitgebreide handleiding gepubliceerd voor de installatie op Linux-gebaseerde machines, maar hopelijk helpt onze korte handleiding u op weg.

Veel succes en plezier met je nieuwe slicer op Linux!


Also available in: Deutsch | English | Español | Français | Italiano | Polski | Português | Русский

Input Shaping: What it is and How to Use it

· 5 minuten leestijd

Over the past decade, the hobbyist 3D printing community has seen several technological advances that have increased the quality and speed of hobby-level printing by leaps and bounds. One of these advances has been input shaping. Input shaping has the ability to make your 3D printer faster and more accurate, and the best part of all is that it’s incredibly cheap and easy to implement! In this article we’ll discuss what input shaping is, as well as how to use it.

A photo showing two 3DBenchys

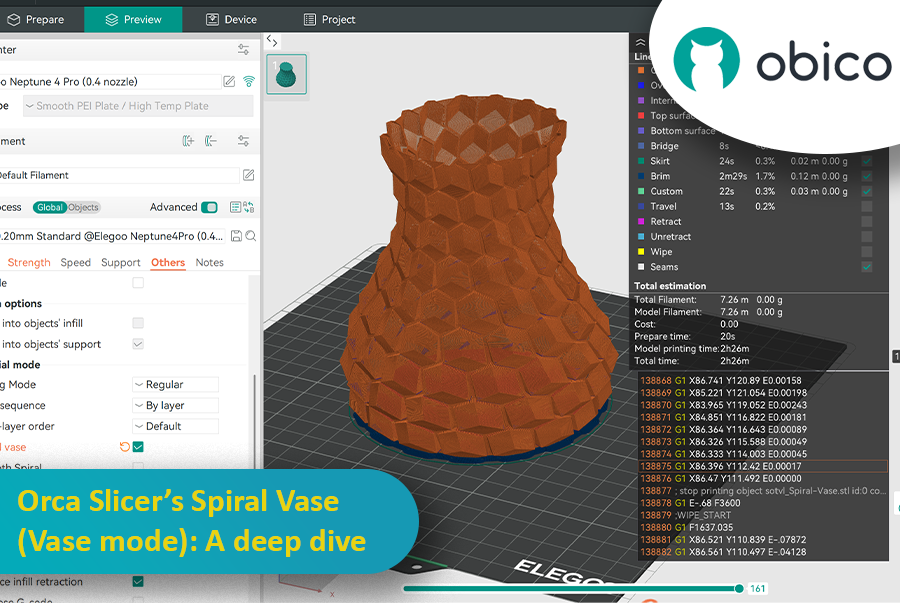
Orca Slicer’s Spiral Vase (Vase Mode): A Deep Dive

· 17 minuten leestijd

Introduction

If you’ve ever wondered how people create those gorgeously smooth, hollow prints that look like ceramic vases straight from an artisan’s studio, you’re about to discover their secret. It’s called Spiral Vase Mode, and it can turn your 3D printer into a wizard of single-wall printing. Picture your extruder gliding in one continuous loop around a shape, steadily building a spiral from the bottom up. Gone are the days of multiple perimeters, infill grids, and cluttered top layers. In their place, you’ll find a single, graceful helix of filament that forms a delicate but surprisingly impressive object.

Orca Slicer’s Spiral Vase (Vase Mode): A Deep Dive

For many 3D printing enthusiasts, vase-mode prints represent a sweet spot between practicality and artistry. They can be quick to produce, visually striking, and mesmerizingly smooth on the surface. In short, they’re different from your average print. And thanks to Orca Slicer—a slicer admired for its user-friendly design and flexible feature set—accessing Spiral Vase Mode has never been simpler.

This guide will walk you through everything you need to know about Spiral Vase Mode in Orca Slicer. We’ll talk about what it is, why it’s so popular, and how to set it up. We’ll also cover vital details about nozzles, layer heights, water-tightness, tricky designs, and the all-important calibration steps. By the end, you’ll be ready to bring your own vase-mode dreams to life. Whether that’s a lamp, a prototype shell, a decorative piece, or an actual vase you can put flowers in, is entirely up to you.

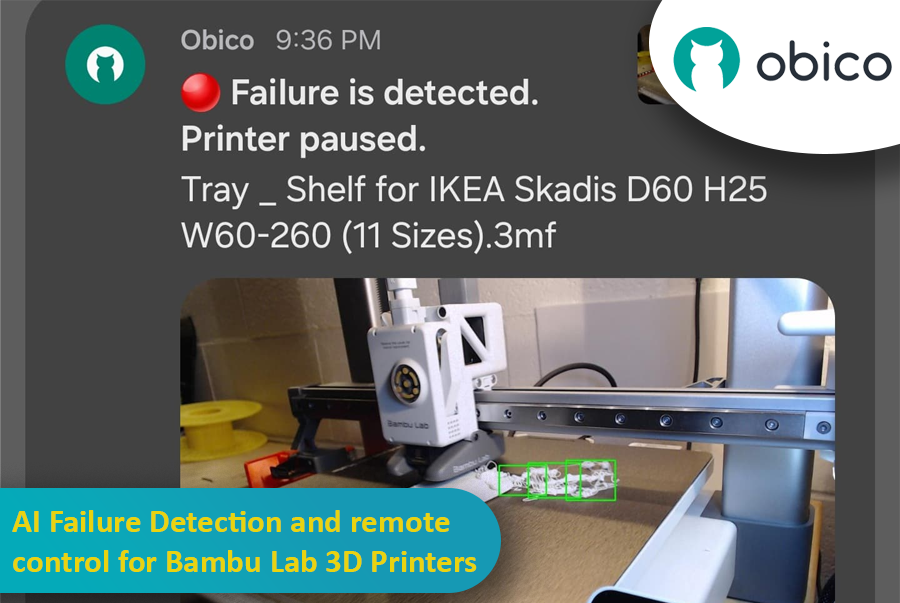
AI Failure Detection and Remote Control for Bambu Lab 3D Printers

· 17 minuten leestijd

So, you’ve got a Bambu Lab 3D printer—maybe a fancy X1 Carbon, or maybe a more modest A1 or P1P—and you’re absolutely in love with how quickly and smoothly it prints. These machines are kind of like the Ferraris of the consumer 3D printing world, right? Super-fast, often come with neat features like built-in cameras, enclosed builds, multi-color printing capabilities, and even some AI-based magic that tries to detect when your print turns into the dreaded “spaghetti monster.” You know what I’m talking about: that moment when your once-promising print becomes a pile of tangled filament resembling something you’d serve with meatballs.

 AI Failure Detection and Remote Control for Bambu Lab 3D Printers

But here’s the catch: Not all Bambu Lab printers have the same level of AI detection built in. Models like the Bambu X1 Carbon are decked out with advanced AI spaghetti detection and even LiDAR to inspect that first layer. Meanwhile, other models—like the Bambu A1 series or the P1P—lack AI features altogether. Maybe you went from a Creality printer that you’d meticulously set up with OctoPrint and had all sorts of plugins running, including advanced failure detection. Then you jumped ship to a Bambu Lab machine and realized you miss that robust ecosystem. Or maybe you just love tinkering and want to integrate Obico’s AI-based spaghetti detection and remote monitoring into your Bambu workflow.

Well, good news: With a bit of creativity, a spare single-board computer (like a Raspberry Pi or Orange Pi), a camera (such as a trusty old Logitech C920), and some software tweaking, you can get AI failure detection working via Obico on your Bambu printer—no matter which model you have. This can transform your Bambu printer setup into something that feels both luxurious and smart, catching failures before they waste days of print time and tons of filament.

In this “case study” or super-long how-to, I’ll walk you through a scenario: Let’s imagine you have a Bambu A1 printer. You love it, but you want AI failure detection similar to what you might have had with other printers integrated with Obico. We’ll talk about using OctoPrint as a virtual “bridge,” installing plugins, setting up a camera, and linking everything to Obico’s cloud so you can watch your prints from anywhere, get notifications if something goes wrong, and even pause or stop the printer remotely. And if you’re on a higher-tier Bambu like the X1 Carbon, you might not need this as much—but it’s still super cool to have another layer of AI detection from Obico’s machine-learning setup.

I’ll also share some links to relevant GitHub repos, documentation pages, and other helpful guides.

QIDI Plus4 - Klipper Remote Access and AI

· 15 minuten leestijd

The QIDI Plus4 is not just a 3D printer; it’s a game changer for those who want precision, reliability, and advanced features. Whether you are a hobbyist or a professional, the QIDI Plus4 has features that will take your entire printing experience to the next level. Pre-installed with Klipper firmware, equipped with a heated chamber, and packed with intelligent monitoring capabilities, this amazing 3D printer ensures that your prints are accurate, consistent, and efficient.

QIDI Plus4 3D printer in action with remote and AI capabilities

In this article, we will go in-depth on the QIDI Plus4 features and guide you through setting up remote access and AI monitoring with Obico.

Introducing the New Prusa CORE One: A Revolutionary 3D Printer

· 12 minuten leestijd

The 3D printing world has just got a new game changer: the Prusa Core One. This is not just a new printer; it’s a leap forward in design, functionality, and performance. The new CORE One printer offers a CoreXY design, active chamber temperature control, and a host of user-focused innovations. It combines speed, precision, and versatility in a sleek, compact package.

Prusa Core One: The Revolutionary 3D Printer

Whether you are a hobbyist looking to expand your creative possibilities, a professional engineer in need of reliable prototypes, or a teacher exploring 3D printing, the Prusa CORE One has something for everyone.

Let’s take a closer look together at what makes this new printer a true standout.

Orca Slicer Filament Profiles and How to Make Your Own

· 15 minuten leestijd

3D printing is more than a hobby; it’s a tool for innovation, design, and creativity. As technology gets better, the tools we use to optimize the print process get better. Orca Slicer is one of the best slicing software options out there for users who want precision, efficiency, and customization. One of its many features is the ability to create and manage your own filament profiles, and that’s a game changer for getting great results every time.

Orca Slicer Filament Profiles and How to Make Your Own

In this article we’ll go deep into filament profiles in Orca Slicer, what they are, why they matter, and how you can create, fine-tune, and optimize your own custom profiles for your material.

JusPrin - The first GenAI 3D printing app

· 3 minuten leestijd

Back in 2019, I built The Spaghetti Detective. It was the first AI tool made specifically for the 3D printing community. Fast forward a few years, and we’re in the GenAI era. But there have been no GenAI apps for the 3D printing.

Well, that’s about to change. Meet JusPrin, the first GenAI app for 3D printing. No slicing. Just print.