Перейти к основному содержимому

JusPrin 1.0

The First GenAI 3D Printing Experience Now Available!

JusPrin Logo

5 записей с тегом "Slicer Software"

Посмотреть все теги

3D printing is more than a hobby; it’s a tool for innovation, design, and creativity. As technology gets better, the tools we use to optimize the print process get better. Orca Slicer is one of the best slicing software options out there for users who want precision, efficiency, and customization. One of its many features is the ability to create and manage your own filament profiles, and that’s a game changer for getting great results every time.

Orca Slicer Filament Profiles and How to Make Your Own

In this article we’ll go deep into filament profiles in Orca Slicer, what they are, why they matter, and how you can create, fine-tune, and optimize your own custom profiles for your material.

подсказка

Try JusPrin, the first GenAI 3D printing tool built on OrcaSlicer.

Если вы занимаетесь 3D-печатью, вы наверняка использовали Cura или PrusaSlicer для нарезки своих моделей. Эти инструменты необходимы для преобразования любой 3D-модели в G-код, содержащий инструкции, которые ваша машина может выполнить для фактической печати вашей модели. Однако всегда есть место для нового программного обеспечения, которое предоставляет другие функции и опции.

Слайсер для косаток

Orca Slicer — это то, что вам нужно. Он бесплатный и создан на основе Студия Бамбу. Он дает вам больше возможностей для настройки, управления и получения точных результатов для ваших отпечатков. Если вы новичок, ищущий готовые профили, или опытный пользователь, ищущий расширенные настройки, Orca Slicer вам поможет.

Orca Slicer начинался как ответвление от Студия Бамбу, который в свою очередь основан на PrusaSlicer, одном из наиболее широко используемых программ для нарезки с открытым исходным кодом. Он был разработан SoftFever. Он быстро набрал обороты благодаря возросшему количеству профилей принтеров и более продвинутым параметрам калибровки печати. Он особенно полезен, если вы хотите больше контроля и детализации над тем, как получаются ваши 3D-модели.

Введение

В мире 3D-печати выбранное вами программное обеспечение для слайсера может существенно повлиять на качество, скорость и эффективность ваших отпечатков. Два популярных слайсера, которые произвели фурор в сообществе, — это Orca Slicer и Bambu Studio. Оба этих слайсера предлагают надежный набор функций, адаптированных для разных пользователей, но какой из них подойдет именно вам?

Orca Slicer против Bambu Studio: подробный обзор и характеристики

В этом руководстве мы сравним оба слайсера, рассмотрим установку, пользовательский интерфейс, отличительные особенности, поддержку сообщества и многое другое.

Независимо от того, являетесь ли вы новичком или опытным специалистом в 3D-печати, эта информация поможет вам выбрать правильный слайсер, соответствующий вашим потребностям.

Introduction

3D printing has revolutionized the way creators, engineers, and hobbyists bring their ideas to life. However, the transition from a digital model to a tangible object isn’t always straightforward. One key challenge is ensuring parts fit together seamlessly. In this comprehensive guide, we’ll delve into the world of tolerance testing using OrcaSlicer, a valuable tool for 3D printing. We will understand together how to know the right tolerances value to design successful prints which fit together well.
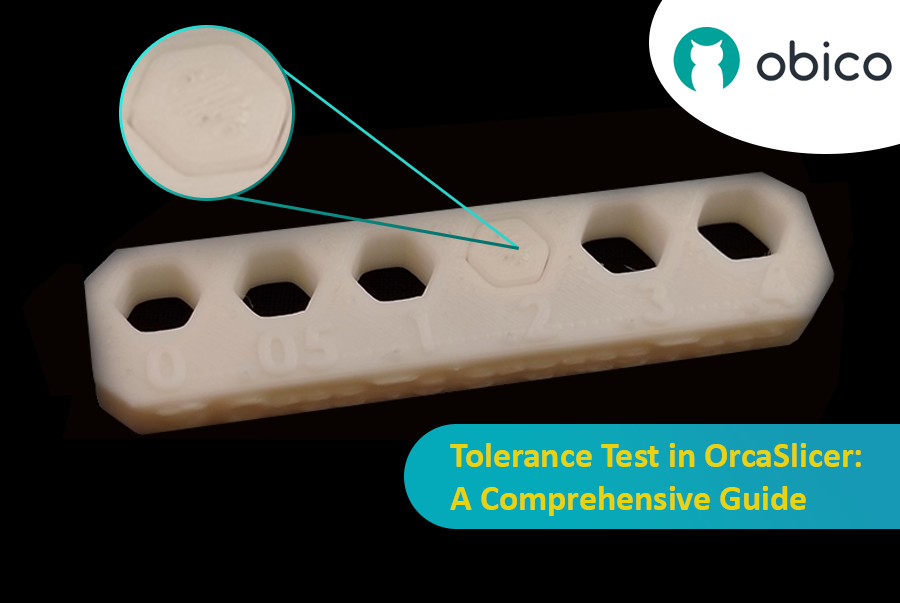
Tolerance Test in OrcaSlicer: A Comprehensive Guide

But before we get started testing our 3D printer, let’s understand some important related topics.

The Importance of Tolerance in 3D Printing

In the world of 3D printing, tolerance is all about precision. It's the measure of how accurately a 3D printer can replicate the dimensions specified in your digital design. Imagine you're creating a puzzle; if the pieces are too big or too small, they won't fit together. Similarly, for 3D printed parts to function and fit together as intended, the printer must be able to accurately produce parts within very tight dimensional limits. Good tolerance affects everything from how smoothly moving parts interact to the overall look and strength of the finished product.

But why do you need to make the tolerance test?

Well, in 3D printing things do not always go right. Every filament type has its own shrinkage coefficient and this affects how your print turns out. Different printers, with their unique mechanics and settings, can also produce varied results. That's why testing for tolerance is crucial - it helps you understand how your specific printer and chosen filament behave together, allowing you to adjust the tolerances in your design for the perfect print.


Introduction

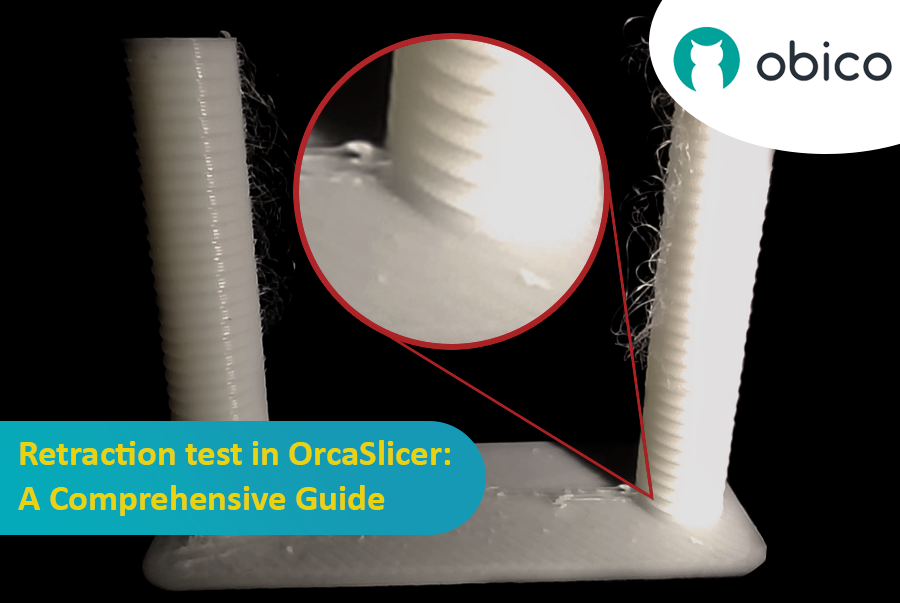
3D printing is a fascinating technology that allows you to create almost anything you can imagine. However, it also comes with some challenges and limitations, such as the quality of the printed parts. One of the most common issues that affect the appearance and functionality of 3D prints is the presence of unwanted material residues, such as strings, blobs, and zits.

Retraction test in OrcaSlicer: A Comprehensive Guide

Fortunately, there is a way to reduce or eliminate these artifacts by using a feature called retraction. But what does retraction mean?

Let’s break it down:

What is the retraction and the retraction test?

The retraction test is a calibration procedure that aims to reduce or eliminate the stringing and oozing problems that may occur during 3D printing. Stringing and oozing are caused by the excess material that leaks out of the nozzle when the hotend moves from one part of the model to another without extruding. This results in unwanted strands or blobs of filament on the surface or between the parts of the model, affecting the quality and appearance of the print.