Перейти к основному содержимому

JusPrin 1.0

The First GenAI 3D Printing Experience Now Available!

JusPrin Logo

6 записей с тегом "filament"

Посмотреть все теги

In the 3D printing world, the initial setup of your print is just as important as the model you’re trying to bring to life. One of the most critical and often overlooked components of this setup is the Start G-code, a set of instructions that prepares your 3D printer for the actual print. Whether you use Orca Slicer, a feature-rich slicing software that is based on Bambu Studio and PrusaSlicer, or another slicer, understanding and customizing the Start G-code can be the key to better prints and a smoother workflow.
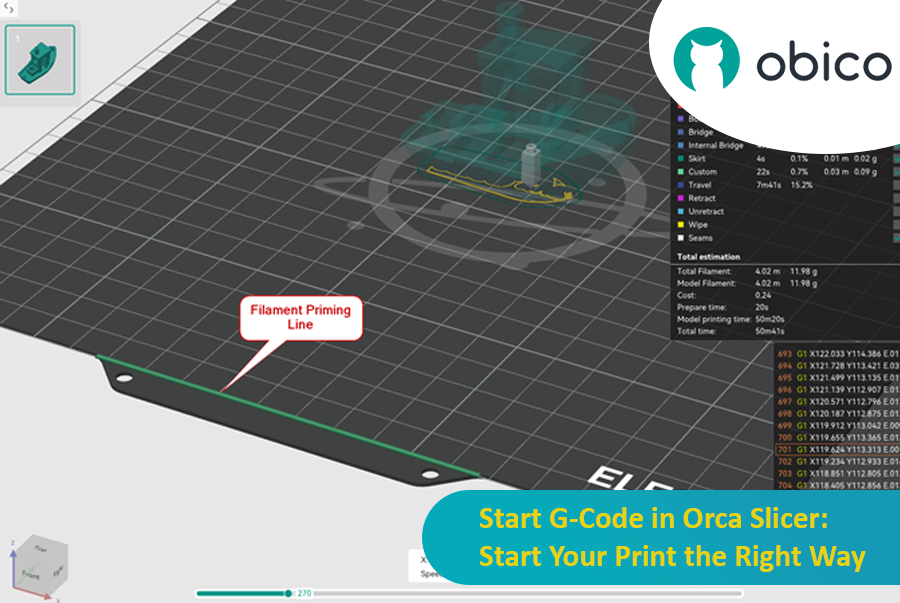
Start G-Code in Orca Slicer: Start Your Print the Right Way

In this article, we will go deep into what is Start G-code, why it’s important for perfect prints, how to edit it in Orca Slicer, and how to customize it for any 3D printer. We will also explain the Start G-code in the well-known Elegoo Neptune 4 Pro in Orca Slicer as an example for better understanding.

By the end of this article, you will know how Start G-code works, how to tweak it for best results, and how to use advanced techniques like Klipper macros to make your G-code simpler more readable and easier to update.

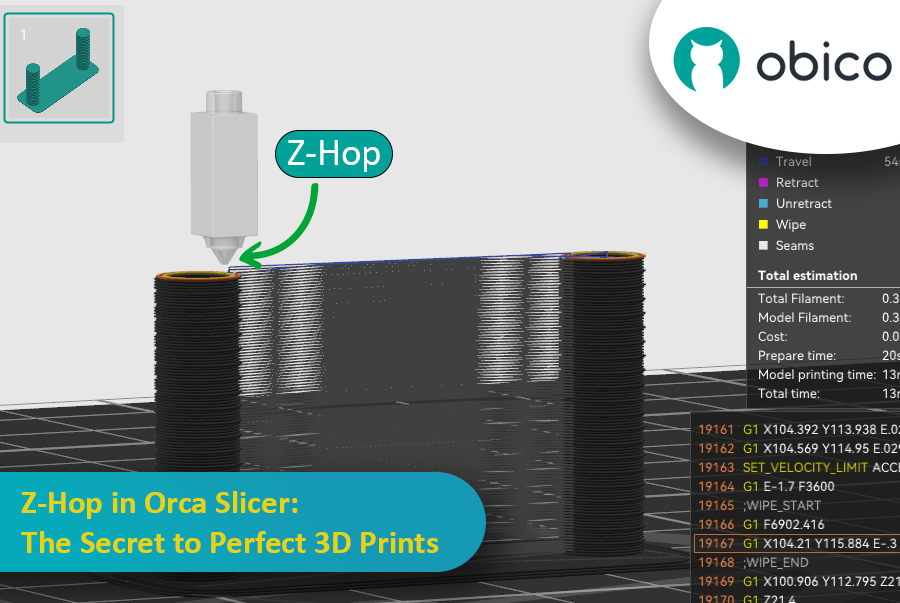
Ever seen those little strings hanging off your 3D print like tiny spider webs? Or the nozzle scratching over a beautiful layer? If you’ve experienced these issues, you’re not alone—and there’s a fix. Enter Z-Hop, a feature in Orca Slicer that will take your 3D prints from good to great.

Z-Hop in Orca Slicer: The Secret to Perfect 3D Prints

Whether you’re new to 3D printing or a hobbyist, getting the settings right makes a huge difference. In this guide, we’ll be exploring Z-Hop—what it is, how to use it, and why it’s a game changer.

Let’s get started!

Introduction

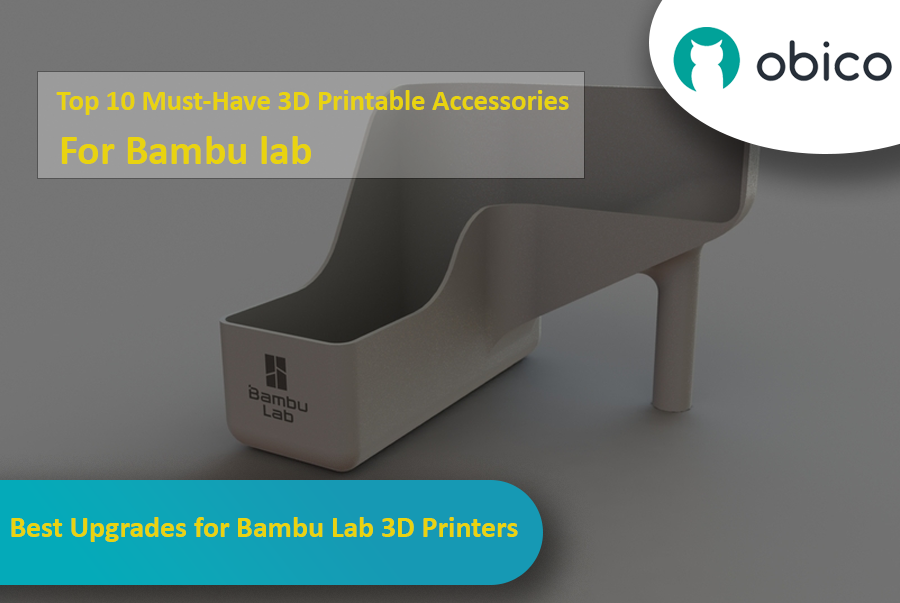
If you have a Bambu Lab 3D printer, you’ve already opened the door to a world of creativity, precision, and innovation. Bambu Lab printers are known for being reliable and high quality, so they’re a favorite among users all around the world.

But even great printers can be made better with a bit of customization. With the right printable accessories, you can make your Bambu Lab printer even more efficient, more versatile, and more fun to use. In this guide, we’ll take a look at some of the best 3D printable accessories to get the most out of your Bambu Lab 3D printer.

Best Upgrades for Bambu Lab 3D Printers

Whether you want to reduce vibrations, manage your filament better, or tweak your AMS system, these upgrades offer practical and easy-to-print solutions that you can print directly with your Bambu Lab printer.

Let’s get started and see how these upgrades can improve your 3D printing experience.

подсказка

Try JusPrin, the first GenAI 3D printing tool built on OrcaSlicer.

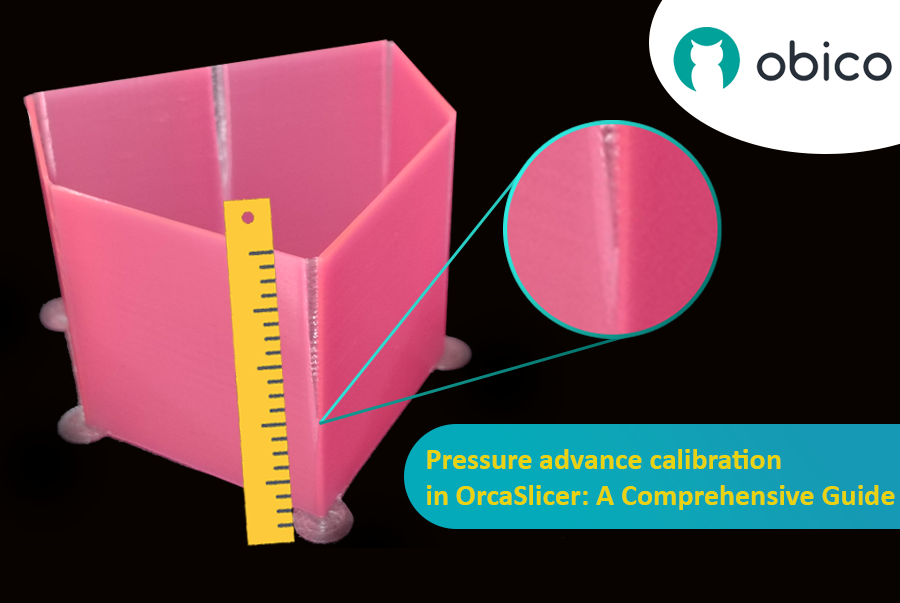
Обзор Pressure Advance

Представьте, что вы рисуете ручкой, которая иногда проливает слишком много чернил, а иногда почти не проливает. В 3D-печати что-то похожее может произойти, когда ваш принтер движется быстро и меняет свою скорость — это может испортить количество выходящего пластика.

Калибровка опережения давления в OrcaSlicer: подробное руководство

Но почему ваш принтер иногда ошибается в количестве выходящего пластика?

В 3D-принтере выход нити зависит от давления внутри сопла. Это как в садовом шланге: нужно достаточное давление воды, чтобы вода начала распыляться. Когда принтер ускоряется или замедляется, например, при прохождении поворотов, требуется некоторое время, чтобы давление сопла догнало его. Если принтер движется слишком быстро и слишком рано, выходит недостаточно нити. А если он замедляется слишком быстро, выходит слишком много нити. Из-за этого углы вашего отпечатка могут выглядеть немного неряшливо, потому что принтер не отрегулировал поток нити в соответствии с изменениями скорости.

И вот тут вступает в дело Pressure Advance. Это умная функция, которая компенсирует эти изменения, гарантируя, что нужное количество нити будет выдавлено при ускорении или замедлении принтера. Благодаря Pressure Advance ваш принтер может лучше справляться с изменениями скорости, что приводит к более плавным и четким отпечаткам, особенно в сложных углах.

подсказка

Try JusPrin, the first GenAI 3D printing tool built on OrcaSlicer.

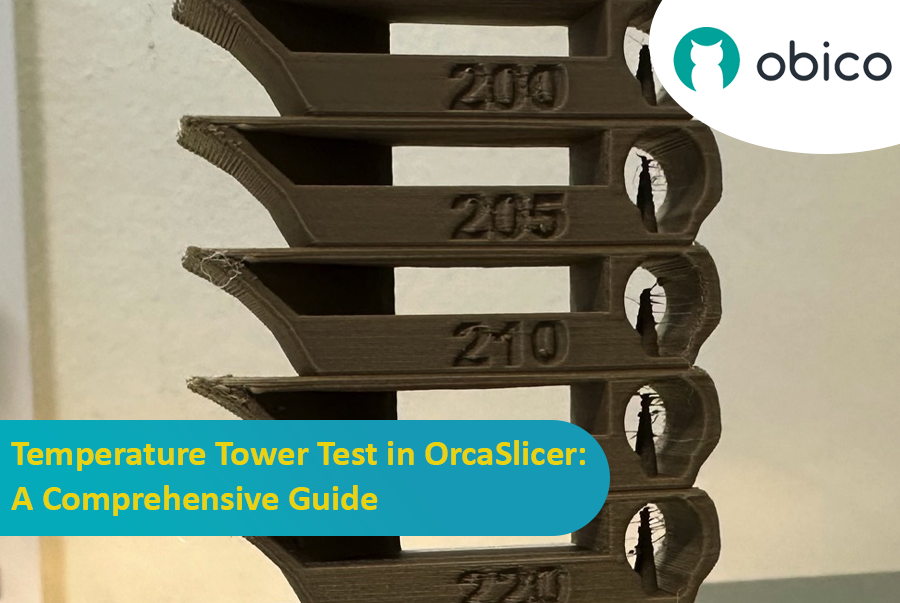
Введение в испытание температурной башни с помощью OrcaSlicer

3D-печать — это увлекательная технология, которая позволяет создавать физические объекты из цифровых моделей. Однако для достижения наилучших результатов необходимо точно настроить параметры принтера и оптимизировать параметры филамента. Одним из важнейших факторов, влияющих на качество отпечатков, является температура.

Температура влияет на то, насколько хорошо нить плавится, течет и связывается с предыдущими слоями. Если температура слишком низкая, нить может не выдавливаться должным образом, что приводит к недоэкструзии, плохой адгезии и слабым деталям. Если температура слишком высокая, нить может вытекать, вытягиваться или деформироваться, что приводит к переэкструзии, каплям и деформациям.

Испытание температурной башни в OrcaSlicer: подробное руководство

Чтобы найти оптимальную температуру для вашей нити, вам необходимо провести испытание на температурной башне.

Introduction

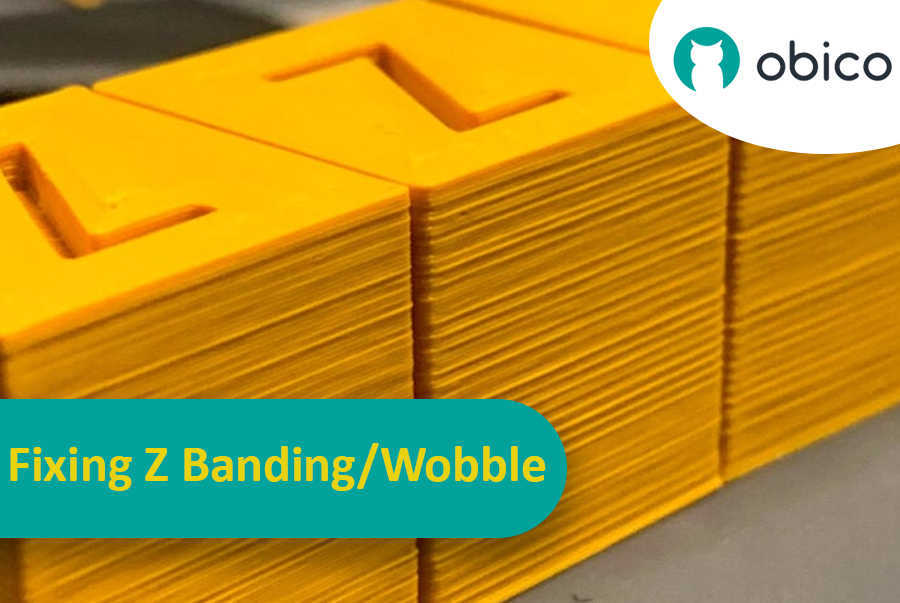
Imagine you've spent hours waiting for a 3D print to finish, only to find it has these unexpected and unwanted stripes or lines across it. This issue, known as Z banding, is a common headache in 3D printing. It's like when you're drawing a straight line but your ruler keeps slipping, leaving you with a jagged line instead of a smooth one. Z banding can make your 3D printed objects look striped instead of having a smooth, even surface.

Fixing Z Banding/Wobble: A Comprehensive Guide

But why should we care about fixing this? Well, these lines are not just a cosmetic problem. They can make your 3D printed items weaker and less functional. Think of it like building a tower with blocks; if the blocks aren't lined up properly, the tower won't be as strong. That's why it's important for anyone using a 3D printer, whether you're a hobbyist or a professional, to understand how to tackle this issue. This guide is here to help you do just that, turning those frustrating lines into a thing of the past and helping you get the best results from your 3D printing projects.