Pular para o conteúdo principal

JusPrin 1.0

The First GenAI 3D Printing Experience Now Available!

JusPrin Logo

6 postagens marcadas com "filament"

Ver todas os Marcadores

In the 3D printing world, the initial setup of your print is just as important as the model you’re trying to bring to life. One of the most critical and often overlooked components of this setup is the Start G-code, a set of instructions that prepares your 3D printer for the actual print. Whether you use Orca Slicer, a feature-rich slicing software that is based on Bambu Studio and PrusaSlicer, or another slicer, understanding and customizing the Start G-code can be the key to better prints and a smoother workflow.
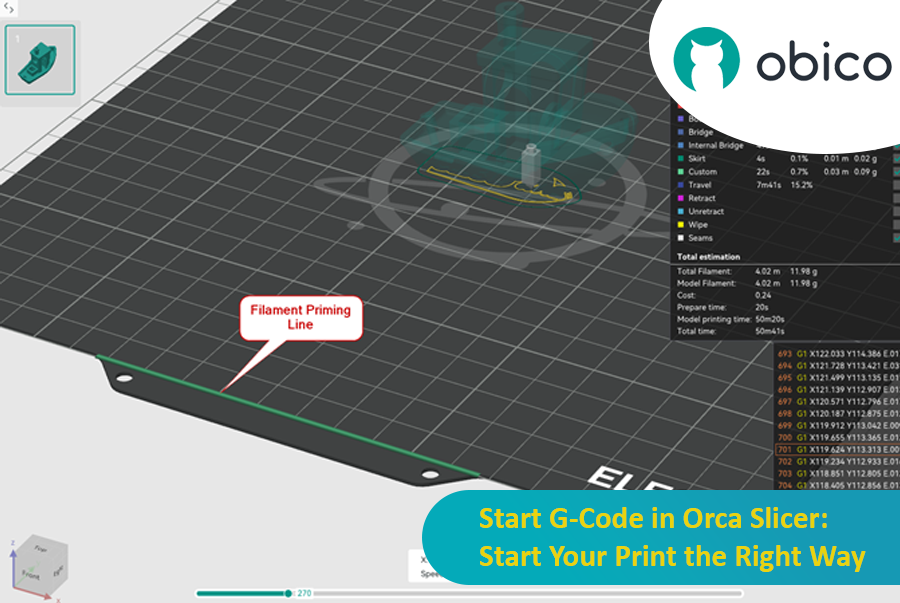
Start G-Code in Orca Slicer: Start Your Print the Right Way

In this article, we will go deep into what is Start G-code, why it’s important for perfect prints, how to edit it in Orca Slicer, and how to customize it for any 3D printer. We will also explain the Start G-code in the well-known Elegoo Neptune 4 Pro in Orca Slicer as an example for better understanding.

By the end of this article, you will know how Start G-code works, how to tweak it for best results, and how to use advanced techniques like Klipper macros to make your G-code simpler more readable and easier to update.

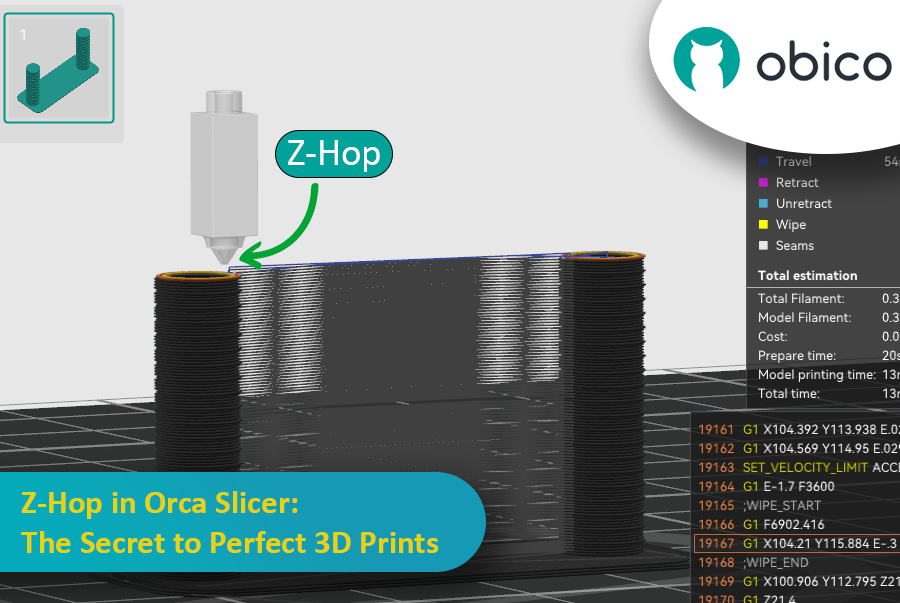
Ever seen those little strings hanging off your 3D print like tiny spider webs? Or the nozzle scratching over a beautiful layer? If you’ve experienced these issues, you’re not alone—and there’s a fix. Enter Z-Hop, a feature in Orca Slicer that will take your 3D prints from good to great.

Z-Hop in Orca Slicer: The Secret to Perfect 3D Prints

Whether you’re new to 3D printing or a hobbyist, getting the settings right makes a huge difference. In this guide, we’ll be exploring Z-Hop—what it is, how to use it, and why it’s a game changer.

Let’s get started!

Introduction

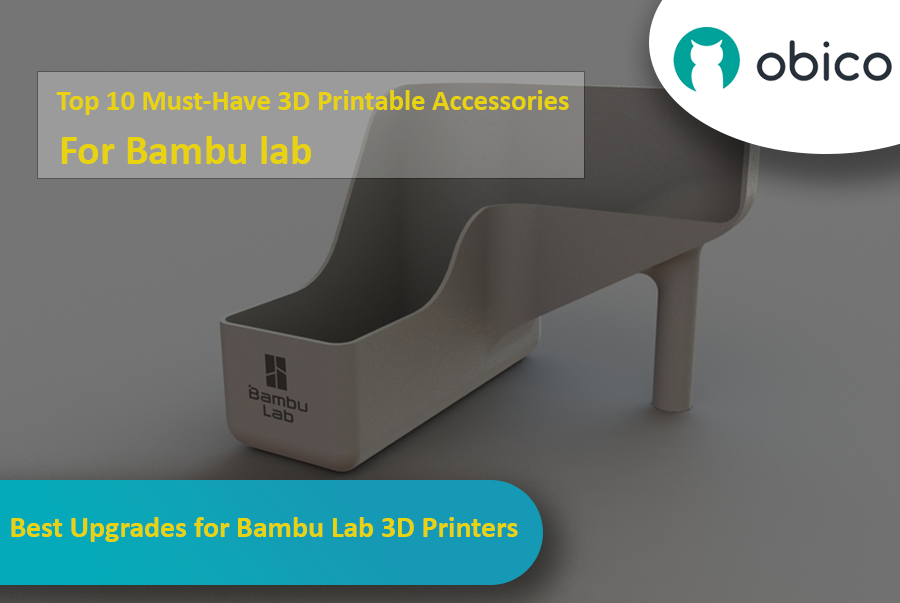
If you have a Bambu Lab 3D printer, you’ve already opened the door to a world of creativity, precision, and innovation. Bambu Lab printers are known for being reliable and high quality, so they’re a favorite among users all around the world.

But even great printers can be made better with a bit of customization. With the right printable accessories, you can make your Bambu Lab printer even more efficient, more versatile, and more fun to use. In this guide, we’ll take a look at some of the best 3D printable accessories to get the most out of your Bambu Lab 3D printer.

Best Upgrades for Bambu Lab 3D Printers

Whether you want to reduce vibrations, manage your filament better, or tweak your AMS system, these upgrades offer practical and easy-to-print solutions that you can print directly with your Bambu Lab printer.

Let’s get started and see how these upgrades can improve your 3D printing experience.

dica

Try JusPrin, the first GenAI 3D printing tool built on OrcaSlicer.

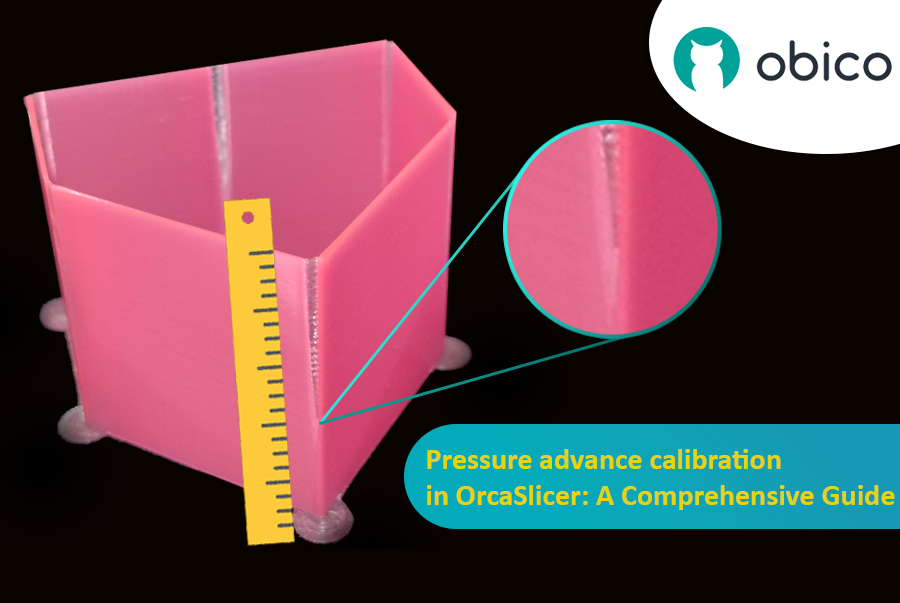
Visão geral do avanço de pressão

Imagine que você está desenhando com uma caneta que às vezes derrama muita tinta e outras vezes quase nada. Na impressão 3D, algo semelhante pode acontecer quando a impressora se move rapidamente e muda de velocidade – isso pode afetar a quantidade de plástico que sai.

Calibração de avanço de pressão no OrcaSlicer: um guia completo

Mas por que sua impressora às vezes erra na quantidade de plástico que sai?

Em uma impressora 3D, o filamento sai com base na pressão exercida dentro do bico. É como uma mangueira de jardim: você precisa de pressão de água suficiente antes que ela esguiche. Quando a impressora acelera ou desacelera, como ao fazer curvas, demora um pouco para que a pressão do bico se ajuste. Se a impressora se mover muito rápido e muito cedo, não sai filamento suficiente. E se ela desacelerar muito rápido, sai filamento demais. Isso pode fazer com que os cantos da sua impressão pareçam um pouco bagunçados, porque a impressora não ajustou o fluxo do filamento corretamente para as mudanças de velocidade.

E é aqui que o Avanço de Pressão entra em ação. É um recurso inteligente que compensa essas mudanças, garantindo que a quantidade certa de filamento seja extrudada conforme a impressora acelera ou desacelera. Com o Avanço de Pressão, sua impressora lida melhor com as transições de velocidade, resultando em impressões mais suaves e nítidas, especialmente nos cantos mais difíceis.

dica

Try JusPrin, the first GenAI 3D printing tool built on OrcaSlicer.

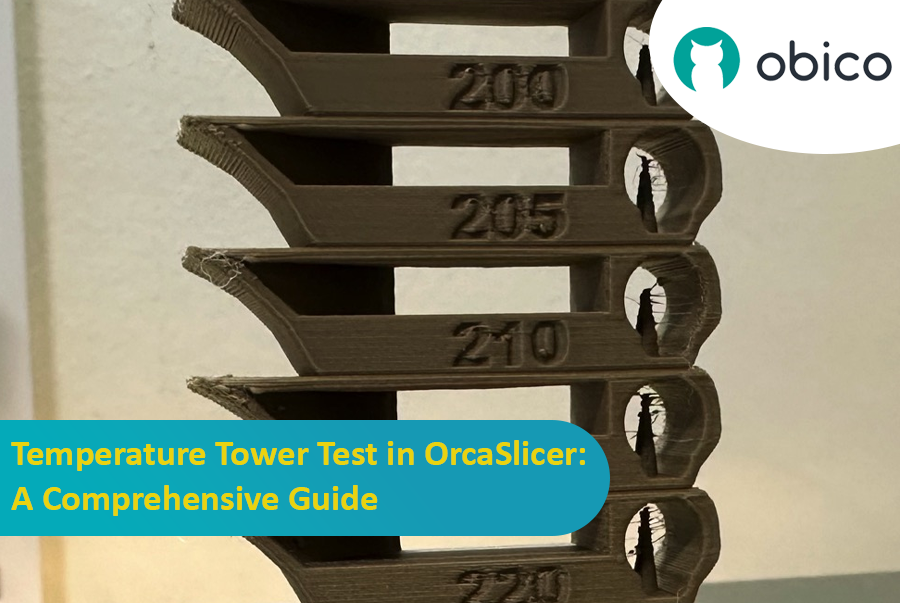
Introdução ao teste de torre de temperatura com OrcaSlicer

A impressão 3D é uma tecnologia fascinante que permite criar objetos físicos a partir de modelos digitais. No entanto, para obter os melhores resultados, você precisa ajustar as configurações da sua impressora e otimizar os parâmetros do filamento. Um dos fatores mais importantes que afetam a qualidade das suas impressões é a temperatura.

A temperatura afeta a qualidade da fusão, do fluxo e da ligação do filamento com as camadas anteriores. Se a temperatura for muito baixa, o filamento pode não ser extrudado corretamente, resultando em subextrusão, má adesão e peças fracas. Se a temperatura for muito alta, o filamento pode vazar, enroscar ou deformar, resultando em superextrusão, bolhas e deformações.

Teste de torre de temperatura no OrcaSlicer: um guia completo

Para encontrar a temperatura ideal para seu filamento, você precisa realizar um teste de torre de temperatura.

Introduction

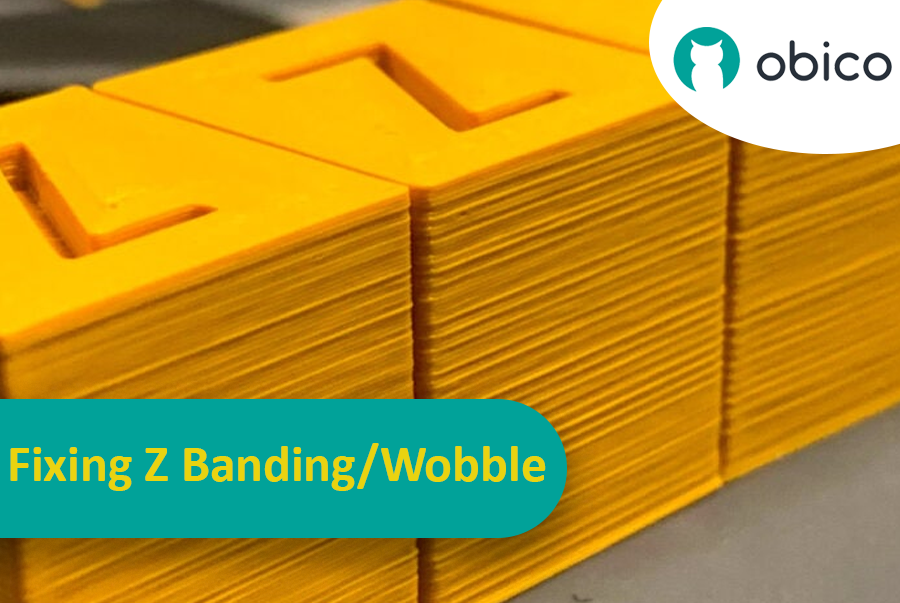
Imagine you've spent hours waiting for a 3D print to finish, only to find it has these unexpected and unwanted stripes or lines across it. This issue, known as Z banding, is a common headache in 3D printing. It's like when you're drawing a straight line but your ruler keeps slipping, leaving you with a jagged line instead of a smooth one. Z banding can make your 3D printed objects look striped instead of having a smooth, even surface.

Fixing Z Banding/Wobble: A Comprehensive Guide

But why should we care about fixing this? Well, these lines are not just a cosmetic problem. They can make your 3D printed items weaker and less functional. Think of it like building a tower with blocks; if the blocks aren't lined up properly, the tower won't be as strong. That's why it's important for anyone using a 3D printer, whether you're a hobbyist or a professional, to understand how to tackle this issue. This guide is here to help you do just that, turning those frustrating lines into a thing of the past and helping you get the best results from your 3D printing projects.