Przejdź do głównej zawartości

JusPrin 1.0

The First GenAI 3D Printing Experience Now Available!

JusPrin Logo

5 postów z tagiem "Slicer Software"

Wyświetl wszystkie tagi

3D printing is more than a hobby; it’s a tool for innovation, design, and creativity. As technology gets better, the tools we use to optimize the print process get better. Orca Slicer is one of the best slicing software options out there for users who want precision, efficiency, and customization. One of its many features is the ability to create and manage your own filament profiles, and that’s a game changer for getting great results every time.

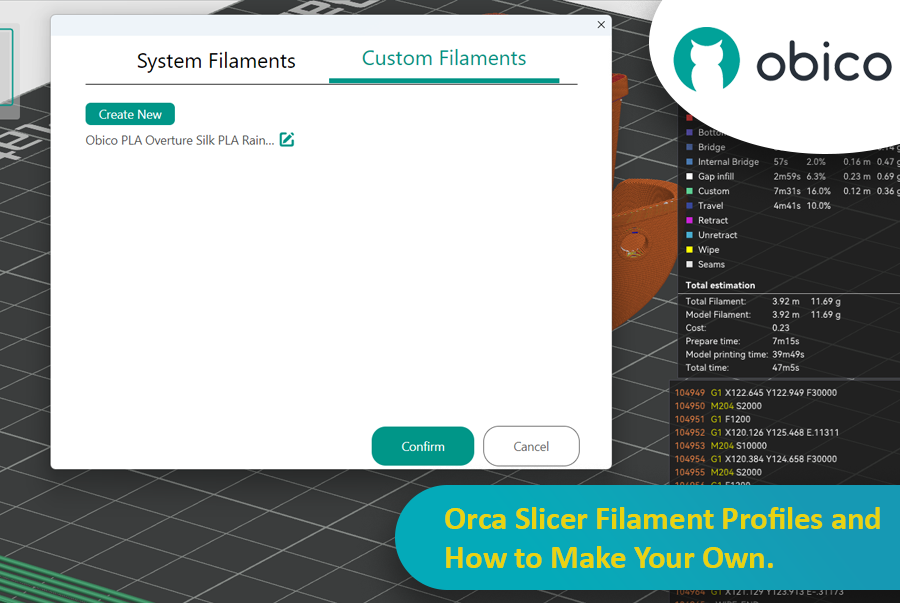
Orca Slicer Filament Profiles and How to Make Your Own

In this article we’ll go deep into filament profiles in Orca Slicer, what they are, why they matter, and how you can create, fine-tune, and optimize your own custom profiles for your material.

wskazówka

Try JusPrin, the first GenAI 3D printing tool built on OrcaSlicer.

Jeśli interesuje Cię druk 3D, musiałeś używać Cura lub PrusaSlicer do cięcia modeli. Te narzędzia są niezbędne do konwersji dowolnego modelu 3D na kod G, który zawiera instrukcje, które Twoja maszyna może wykonać, aby faktycznie wydrukować model. Zawsze jest jednak miejsce na nowe oprogramowanie, które oferuje różne funkcje i opcje.

Krajalnica Orca

Orca Slicer to to, czego potrzebujesz. Jest darmowy i zbudowany na Studio Bambu. Daje Ci więcej sposobów na dostosowywanie, kontrolowanie i uzyskiwanie precyzyjnych wyników dla Twoich wydruków. Jeśli jesteś początkującym szukającym gotowych profili lub doświadczonym użytkownikiem szukającym zaawansowanych ustawień, Orca Slicer ma dla Ciebie rozwiązanie.

Orca Slicer powstał jako fork Studio Bambu, który z kolei opiera się na PrusaSlicer, jednym z najpopularniejszych programów do krojenia z otwartym kodem źródłowym. Został opracowany przez Miękka gorączka. Szybko zyskał popularność dzięki zwiększonej liczbie profili drukarek i bardziej zaawansowanym opcjom kalibracji wydruku. Jest szczególnie pomocny, jeśli chcesz mieć większą kontrolę i szczegółowość nad tym, jak wychodzą Twoje modele 3D.

Wstęp

W świecie druku 3D wybrane oprogramowanie do cięcia może znacząco wpłynąć na jakość, szybkość i wydajność wydruków. Dwa popularne narzędzia do cięcia, które robią furorę w społeczności, to Orca Slicer i Bambu Studio. Oba te narzędzia do cięcia oferują solidny zestaw funkcji dostosowanych do różnych użytkowników, ale który z nich jest dla Ciebie odpowiedni?

Orca Slicer kontra Bambu Studio: szczegółowa recenzja i funkcje

W tym przewodniku porównamy oba slicery, omawiając instalację, interfejs użytkownika, wyróżniające się funkcje, wsparcie społeczności i nie tylko.

Niezależnie od tego, czy dopiero zaczynasz przygodę z drukiem 3D, czy masz już doświadczenie, ten artykuł pomoże Ci wybrać odpowiednią krajalnicę do Twoich potrzeb.

Introduction

3D printing has revolutionized the way creators, engineers, and hobbyists bring their ideas to life. However, the transition from a digital model to a tangible object isn’t always straightforward. One key challenge is ensuring parts fit together seamlessly. In this comprehensive guide, we’ll delve into the world of tolerance testing using OrcaSlicer, a valuable tool for 3D printing. We will understand together how to know the right tolerances value to design successful prints which fit together well.
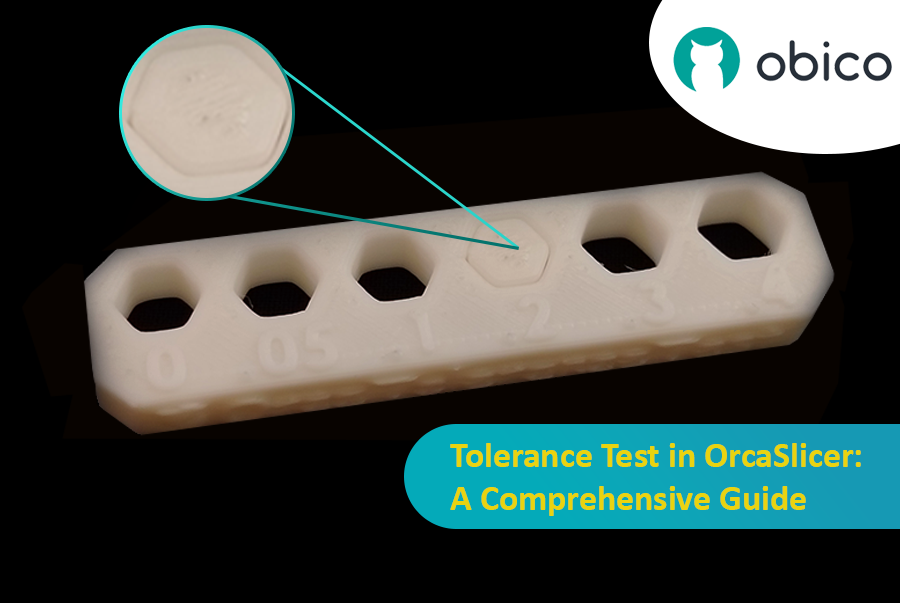
Tolerance Test in OrcaSlicer: A Comprehensive Guide

But before we get started testing our 3D printer, let’s understand some important related topics.

The Importance of Tolerance in 3D Printing

In the world of 3D printing, tolerance is all about precision. It's the measure of how accurately a 3D printer can replicate the dimensions specified in your digital design. Imagine you're creating a puzzle; if the pieces are too big or too small, they won't fit together. Similarly, for 3D printed parts to function and fit together as intended, the printer must be able to accurately produce parts within very tight dimensional limits. Good tolerance affects everything from how smoothly moving parts interact to the overall look and strength of the finished product.

But why do you need to make the tolerance test?

Well, in 3D printing things do not always go right. Every filament type has its own shrinkage coefficient and this affects how your print turns out. Different printers, with their unique mechanics and settings, can also produce varied results. That's why testing for tolerance is crucial - it helps you understand how your specific printer and chosen filament behave together, allowing you to adjust the tolerances in your design for the perfect print.

Introduction

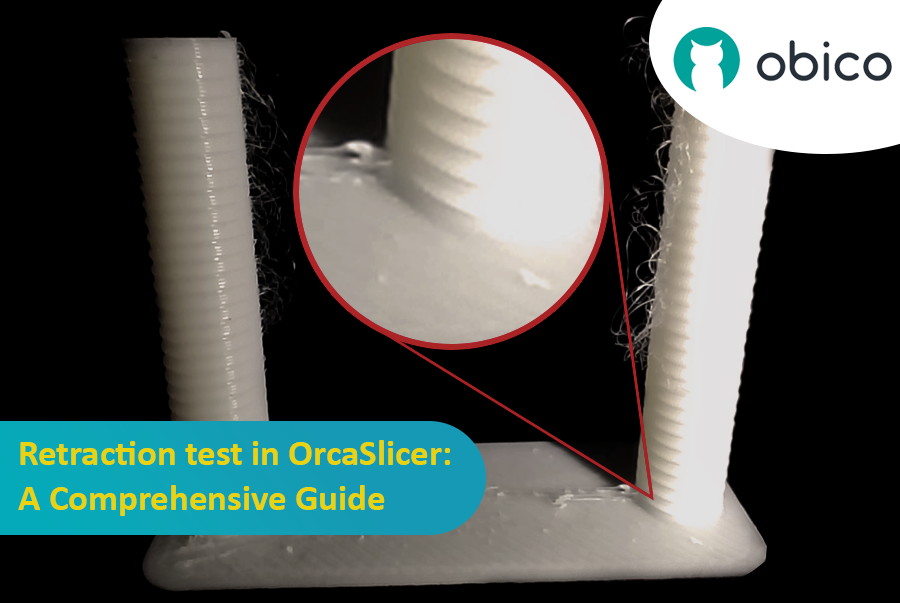
3D printing is a fascinating technology that allows you to create almost anything you can imagine. However, it also comes with some challenges and limitations, such as the quality of the printed parts. One of the most common issues that affect the appearance and functionality of 3D prints is the presence of unwanted material residues, such as strings, blobs, and zits.

Retraction test in OrcaSlicer: A Comprehensive Guide

Fortunately, there is a way to reduce or eliminate these artifacts by using a feature called retraction. But what does retraction mean?

Let’s break it down:

What is the retraction and the retraction test?

The retraction test is a calibration procedure that aims to reduce or eliminate the stringing and oozing problems that may occur during 3D printing. Stringing and oozing are caused by the excess material that leaks out of the nozzle when the hotend moves from one part of the model to another without extruding. This results in unwanted strands or blobs of filament on the surface or between the parts of the model, affecting the quality and appearance of the print.