Getting started with 3D printing, you’d expect to simply connect your 3D printer and send your 3D models for printing. Much like plug and play–except you’d need to slice your 3D model first.
3D printing works by printing layers, the slicer among many things, converts the 3D model into layers for the printer. The choice of printing slicer not only determines the quality but also the success rate of prints.
This guide will help you decide the best 3D printing slicer, whether just unpacking your 3D printer or looking to streamline your workflow.
What Is a 3D Printing Slicer?
A slicer gives a preview of your print, adjusting position and checking any errors on the build plate. It also gives you control over 3D printing parameters like print resolution, infill density, structures for overhangs, temperature controls, and any brims for adhesion.
A 3D printing slicer works by detecting your 3D printer and using information like extruder, print material, and any inputs like nozzle diameter, creating an appropriate G-code from the print-ready STL file.
What Makes A Beginner-Friendly Slicer?
Several slicer features are essential for beginners to get started with printing projects. These criteria will help you identify the must-have features.
Ease of Use
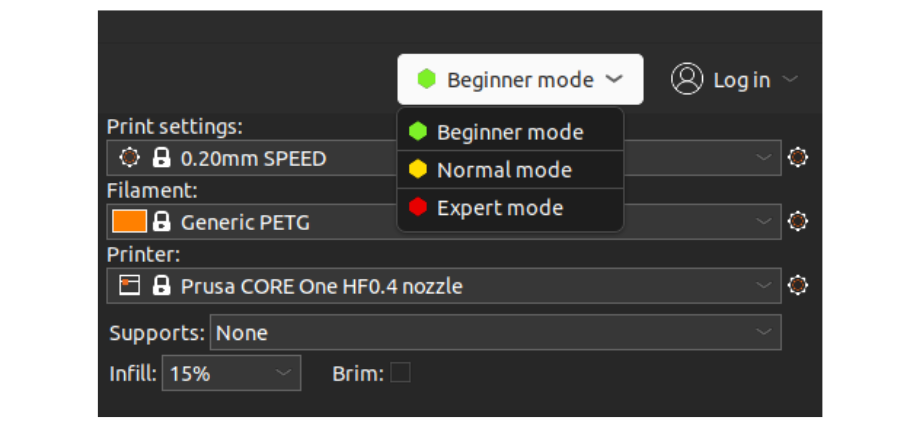
A beginner friendly slicer should have a decluttered interface that makes it easy to navigate essential options and at the same time, offer the flexibility to switch between beginner and advanced modes.
Some slicers color code their printing settings and options to green, yellow, and red, (🟢🟡🔴) guiding users to toggle or change parameter settings.
Novice 3D enthusiasts can tinker with the green settings and advanced users modify the yellow and red parameters.


