Przejdź do głównej zawartości

JusPrin 1.0

The First GenAI 3D Printing Experience Now Available!

JusPrin Logo

45 postów z tagiem "3D Printing"

Wyświetl wszystkie tagi

Introduction

The Sovol SV08 is a standout 3D printer in the current market, offering a mix of advanced features, precision, and versatility that caters to both beginners and experienced makers. By integrating it with the Obico platform, an AI-powered, open-source system, users can significantly enhance their 3D printing experience through remote monitoring, control, and AI failure detection.
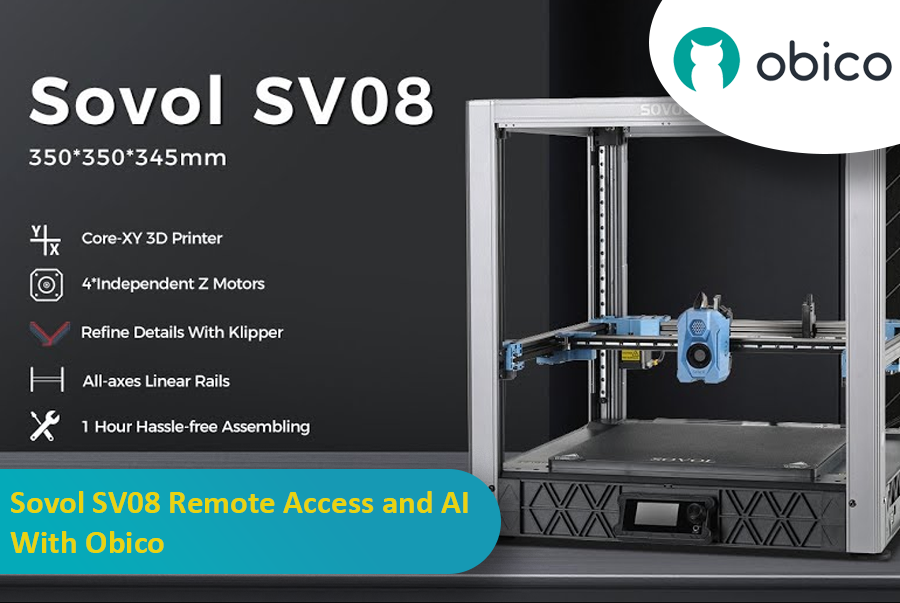
Sovol SV08 Remote Access and AI With Obico

This guide will take you through setting up your Sovol SV08 with Obico, including firmware updates, WiFi connections, and integrating the Obico system. We will also look at some advanced features provided by Obico, like Nozzle Ninja AI, which takes first-layer monitoring to another level, as well as the new built-in online slicer.

Introduction

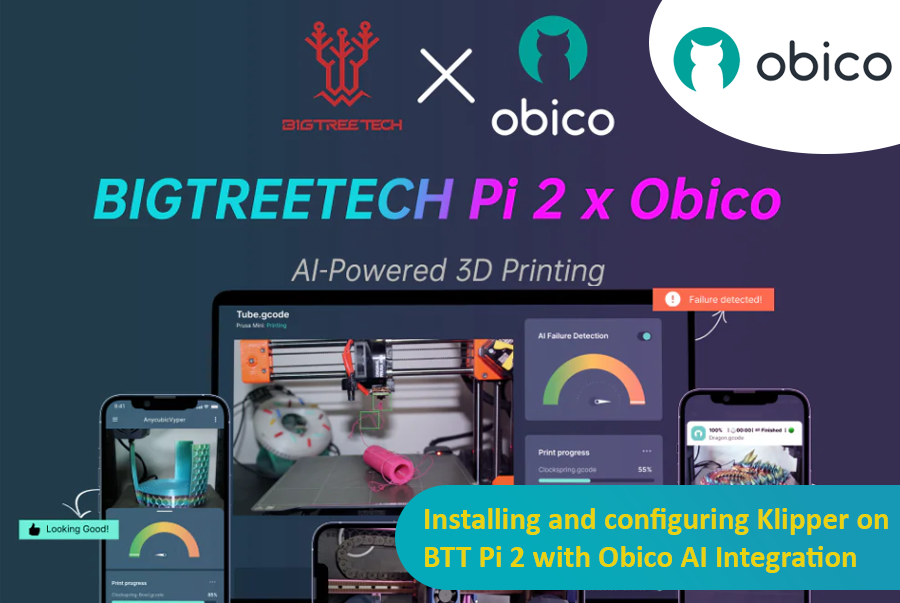
3D printing is a fast-moving field, with new developments constantly pushing the boundaries of what is possible. One such development is the partnership between Obico and BigTreeTech (BTT), which brings Obico's advanced AI capabilities within reach of 3D printer enthusiasts through the BTT Pi 2.

Installing and configuring Klipper on BTT Pi 2 with Obico AI Integration

This guide gives complete step-by-step instructions on how to install Klipper onto your BTT Pi 2 and then integrate Obico AI onto it. It includes detailed instructions for setting up an Ender 3 V2 3D printer as an example. Additionally, we will provide guidance on configuring other printer models to ensure all users can benefit from this setup. Whether you're a novice or an experienced user, this guide aims to simplify the process and enhance your 3D printing experience.

Introduction

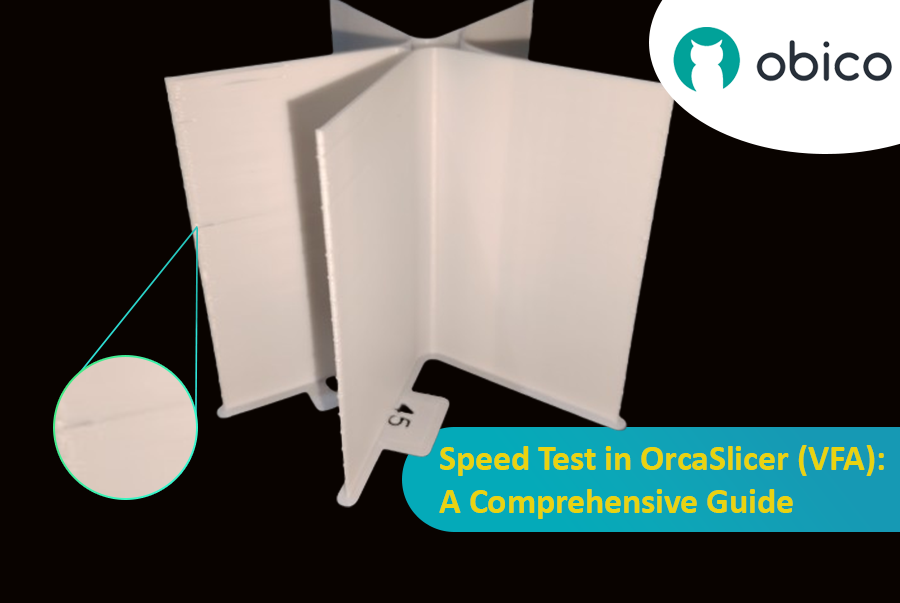
3D printing is a great technology that turns designs into real objects, but figuring out the best print speed can be tricky. If you go too fast, quality may be lost; if you go too slow, it takes forever.

Speed Test in OrcaSlicer (VFA): A Comprehensive Guide

In this guide, we will show you how to use OrcaSlicer to determine the perfect print speed for your 3D printer. By the end of it, you will know how to get great prints quickly while maintaining good quality.

Let’s get started!

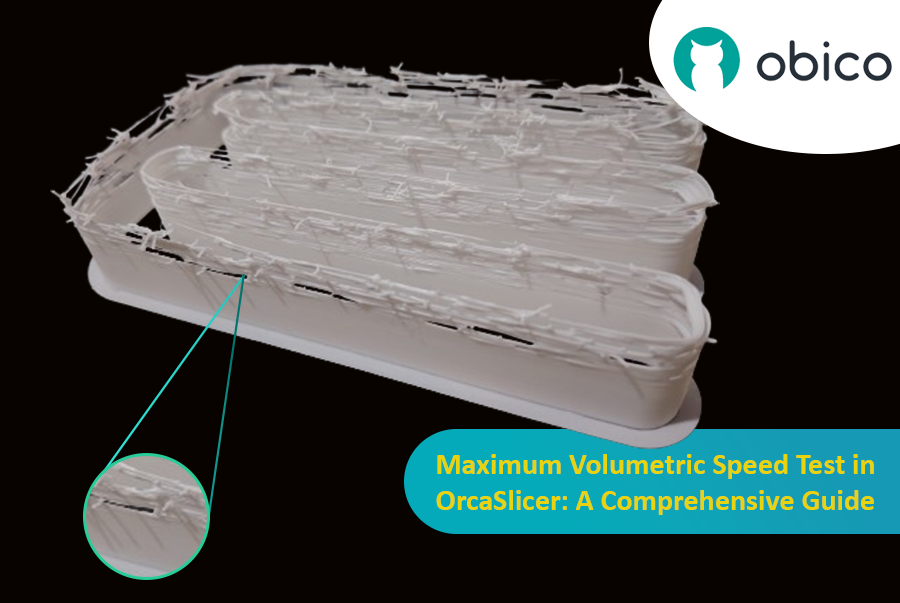
Hello there! Welcome to our easy-to-understand guide on how to control the OrcaSlicer maximum volumetric speed test for 3D printing enthusiasts. If you’re looking forward to enhancing print quality and efficiency, then this is the best place for you. This tutorial will help you optimize your printer’s volumetric speed that determines at what speed you can print without compromising on quality.

Maximum Volumetric Speed Test in OrcaSlicer: A Comprehensive Guide

Volumetric speed knowledge is crucial in 3D printing because it enables one understand how fast a printer can produce objects with accuracy. If this speed is tested and adjusted, under extrusion among other common problems while printing can be avoided thus ensuring that all your prints are good-looking even at higher speeds.

Introduction

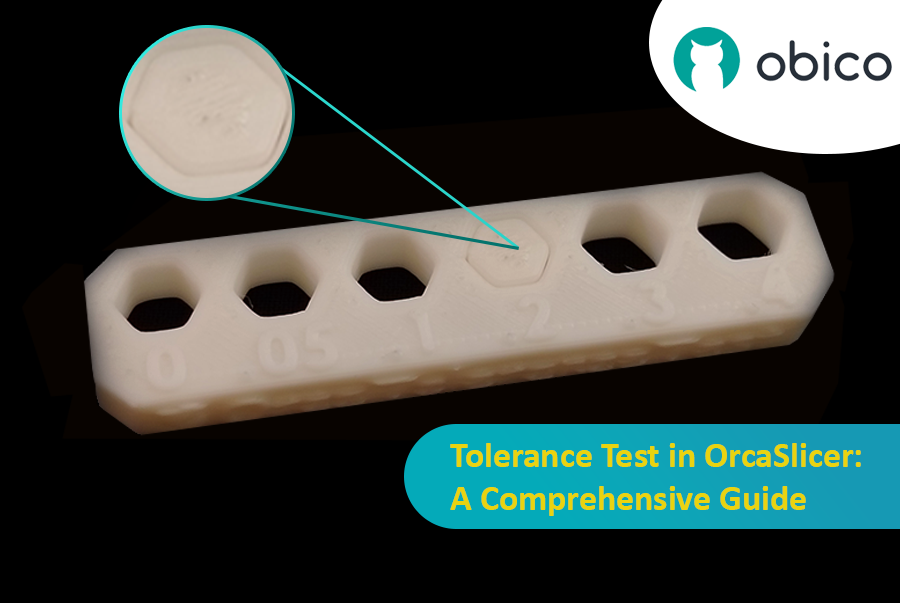
3D printing has revolutionized the way creators, engineers, and hobbyists bring their ideas to life. However, the transition from a digital model to a tangible object isn’t always straightforward. One key challenge is ensuring parts fit together seamlessly. In this comprehensive guide, we’ll delve into the world of tolerance testing using OrcaSlicer, a valuable tool for 3D printing. We will understand together how to know the right tolerances value to design successful prints which fit together well.

Tolerance Test in OrcaSlicer: A Comprehensive Guide

But before we get started testing our 3D printer, let’s understand some important related topics.

The Importance of Tolerance in 3D Printing

In the world of 3D printing, tolerance is all about precision. It's the measure of how accurately a 3D printer can replicate the dimensions specified in your digital design. Imagine you're creating a puzzle; if the pieces are too big or too small, they won't fit together. Similarly, for 3D printed parts to function and fit together as intended, the printer must be able to accurately produce parts within very tight dimensional limits. Good tolerance affects everything from how smoothly moving parts interact to the overall look and strength of the finished product.

But why do you need to make the tolerance test?

Well, in 3D printing things do not always go right. Every filament type has its own shrinkage coefficient and this affects how your print turns out. Different printers, with their unique mechanics and settings, can also produce varied results. That's why testing for tolerance is crucial - it helps you understand how your specific printer and chosen filament behave together, allowing you to adjust the tolerances in your design for the perfect print.

wskazówka

Try JusPrin, the first GenAI 3D printing tool built on OrcaSlicer.

Przegląd ciśnienia Advance

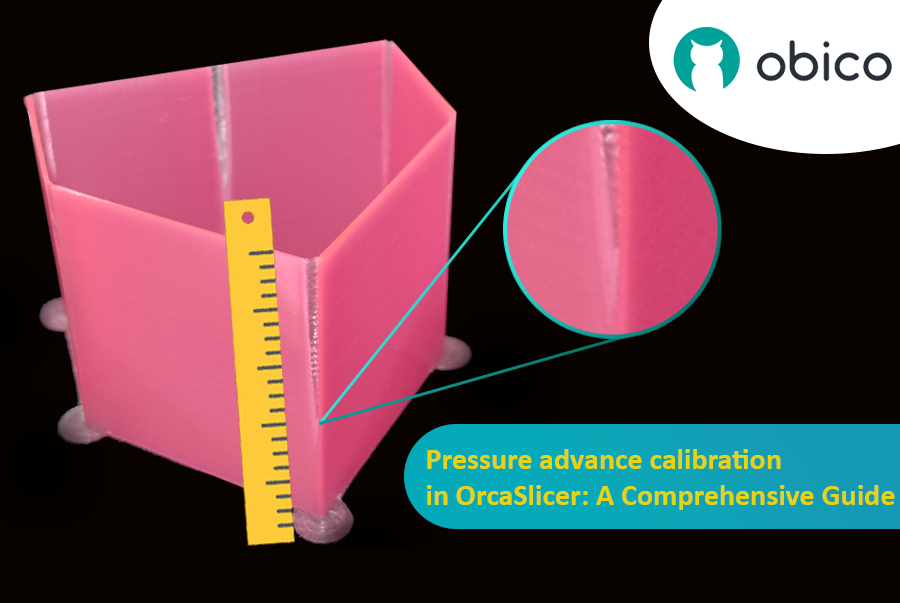
Wyobraź sobie, że rysujesz długopisem, który czasami rozlewa zbyt dużo tuszu, a czasami prawie wcale. W druku 3D coś podobnego może się zdarzyć, gdy drukarka porusza się szybko i zmienia swoją prędkość – może to zepsuć ilość wylewanego plastiku.

Kalibracja wyprzedzenia ciśnienia w OrcaSlicer: kompleksowy przewodnik

Ale dlaczego Twoja drukarka czasami psuje ilość plastiku, którą wypuszcza?

W drukarce 3D filament wychodzi w zależności od tego, jakie ciśnienie panuje w dyszy. To jak wąż ogrodowy; potrzebujesz odpowiedniego ciśnienia wody, zanim woda wytryśnie. Kiedy drukarka przyspiesza lub zwalnia, np. podczas pokonywania zakrętów, potrzeba trochę czasu, aby ciśnienie dyszy nadrobiło zaległości. Jeśli drukarka porusza się zbyt szybko, zbyt wcześnie, nie wychodzi wystarczająco dużo filamentu. A jeśli zwalnia zbyt szybko, wychodzi za dużo filamentu. Może to sprawić, że rogi wydruku będą wyglądać trochę niechlujnie, ponieważ drukarka nie dostosowała przepływu filamentu dokładnie do zmian prędkości.

I tutaj wkracza Pressure Advance. To inteligentna funkcja, która kompensuje te zmiany, zapewniając, że odpowiednia ilość filamentu jest wytłaczana, gdy drukarka przyspiesza lub zwalnia. Dzięki Pressure Advance drukarka lepiej radzi sobie ze zmianami prędkości, co prowadzi do gładszych, ostrzejszych wydruków, szczególnie w trudnych narożnikach.

Introduction

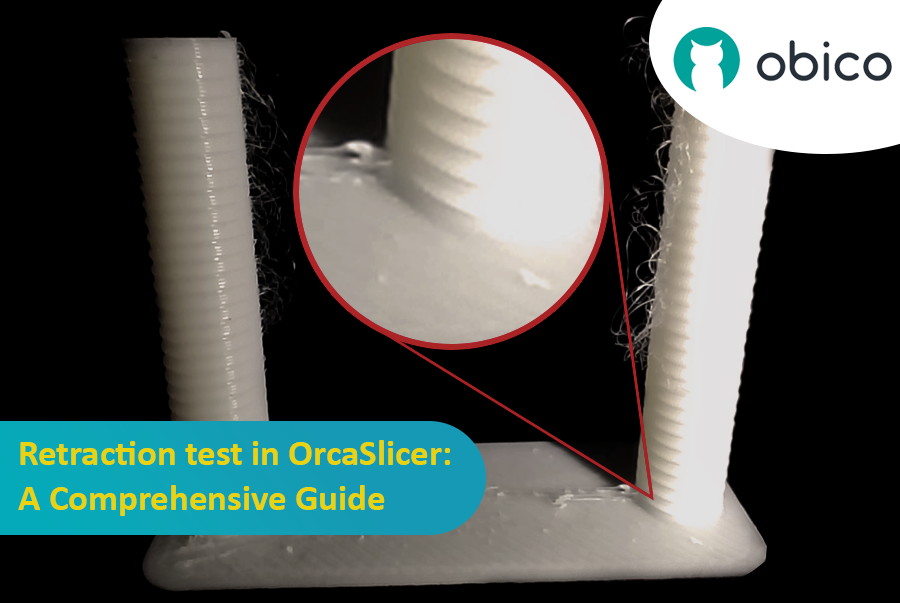
3D printing is a fascinating technology that allows you to create almost anything you can imagine. However, it also comes with some challenges and limitations, such as the quality of the printed parts. One of the most common issues that affect the appearance and functionality of 3D prints is the presence of unwanted material residues, such as strings, blobs, and zits.

Retraction test in OrcaSlicer: A Comprehensive Guide

Fortunately, there is a way to reduce or eliminate these artifacts by using a feature called retraction. But what does retraction mean?

Let’s break it down:

What is the retraction and the retraction test?

The retraction test is a calibration procedure that aims to reduce or eliminate the stringing and oozing problems that may occur during 3D printing. Stringing and oozing are caused by the excess material that leaks out of the nozzle when the hotend moves from one part of the model to another without extruding. This results in unwanted strands or blobs of filament on the surface or between the parts of the model, affecting the quality and appearance of the print.

wskazówka

Try JusPrin, the first GenAI 3D printing tool built on OrcaSlicer.

Wprowadzenie do testu wieży temperaturowej z OrcaSlicer

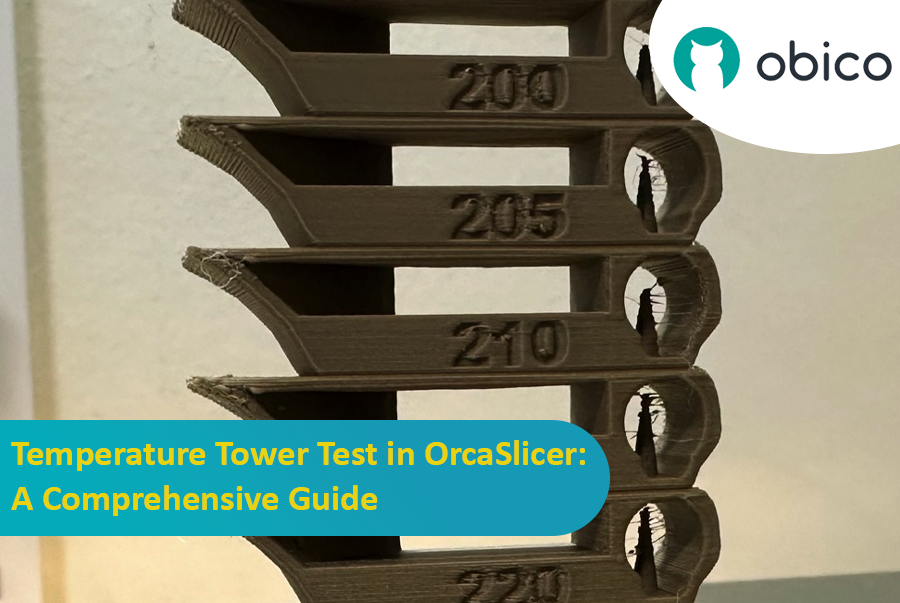
Drukowanie 3D to fascynująca technologia, która pozwala tworzyć fizyczne obiekty z modeli cyfrowych. Jednak aby osiągnąć najlepsze rezultaty, należy dostroić ustawienia drukarki i zoptymalizować parametry filamentu. Jednym z najważniejszych czynników wpływających na jakość wydruków jest temperatura.

Temperatura wpływa na to, jak dobrze filament topi się, płynie i łączy z poprzednimi warstwami. Jeśli temperatura jest zbyt niska, filament może nie wytłaczać się prawidłowo, co skutkuje niedostatecznym wytłaczaniem, słabą przyczepnością i słabymi częściami. Jeśli temperatura jest zbyt wysoka, filament może wyciekać, nitkować lub wypaczać się, co skutkuje nadmiernym wytłaczaniem, plamami i deformacjami.

Test wieży temperaturowej w OrcaSlicer: kompleksowy przewodnik

Aby znaleźć optymalną temperaturę dla danego filamentu, należy wykonać test w wieży temperaturowej.

wskazówka

Try JusPrin, the first GenAI 3D printing tool built on OrcaSlicer.

Wstęp

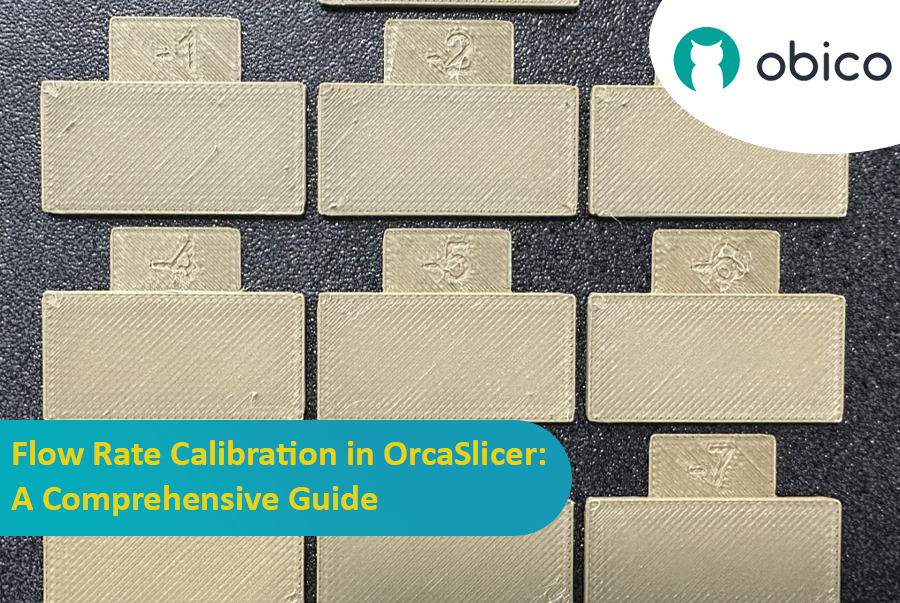
Kalibracja natężenia przepływu jest kluczowym krokiem w uzyskiwaniu wysokiej jakości wydruków 3D. Prawidłowe natężenie przepływu zapewnia spójne osadzanie warstw, gładsze powierzchnie i lepsze szczegóły. W tym artykule, który jest jednym z serii artykułów o kalibracji OrcaSlicer, zbadamy proces kalibracji natężenia przepływu przy użyciu OrcaSlicer, oprogramowania typu slicer o otwartym kodzie źródłowym przeznaczonego do drukarek 3D Fused Deposition Modeling (FDM).

Kalibracja natężenia przepływu w OrcaSlicer: kompleksowy przewodnik

Zanim zagłębimy się w proces kalibracji natężenia przepływu w OrcaSlicer, zatrzymajmy się na chwilę, aby zrozumieć, na czym on polega i jakie są jego główne cechy.

OrcaSlicer: Potężna i elastyczna opcja do cięcia wydruków 3D

OrcaSlicer to open-source oprogramowanie do cięcia druku 3D dla drukarek FDM. Jest przeznaczone głównie dla drukarek zgodnych z oprogramowaniem układowym Marlin, Klipper i Bambu Lab. Obsługuje różne popularne modele marek takich jak Creality, Prusa, Elegoo, a nawet open-source Voron.

Drzewo genealogiczne OrcaSlicer:

OrcaSlicer bazuje na Bambu Studio, które samo pochodzi od PrusaSlicer. PrusaSlicer z kolei bazuje na rozwiązaniu open-source Slic3r.

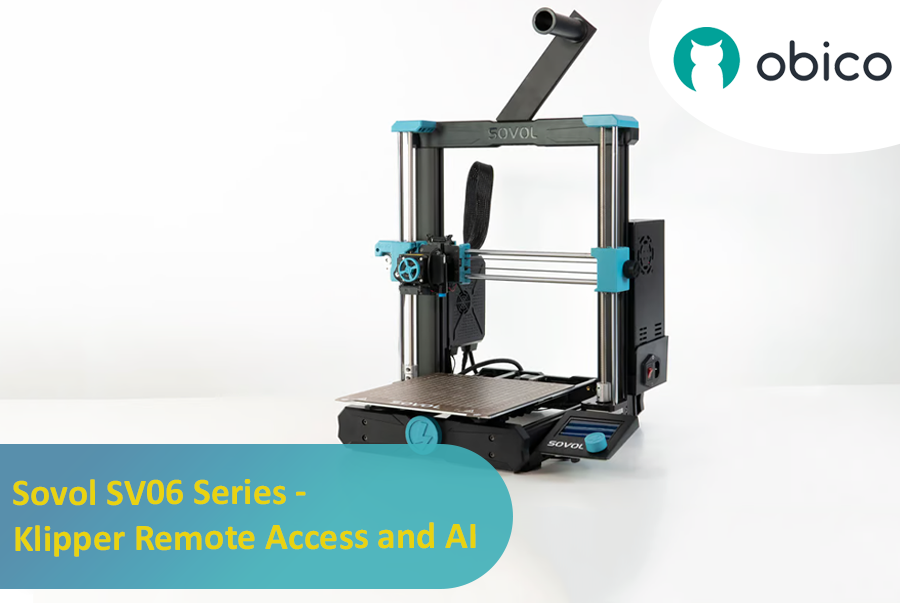
Introduction: Welcoming You to the Sovol SV06 Series

Hey there! Let's jump into the world of the Sovol SV06. This printer is getting a lot of buzz for being budget-friendly while still offering some pretty cool features. If you're thinking about getting into 3D printing without spending a ton, the Sovol SV06 is a solid choice. It gives you a lot for its price, similar to more expensive printers like the Prusa MK3S+, but at a fraction of the cost. With neat features like dual Z-axis motors, automatic bed leveling, and the ability to reach up to 300 °C, it really stands out in the budget printer crowd.

Introduction: Welcoming You to the Sovol SV06 Series