Klipper Remote Access and AI for Makerbase
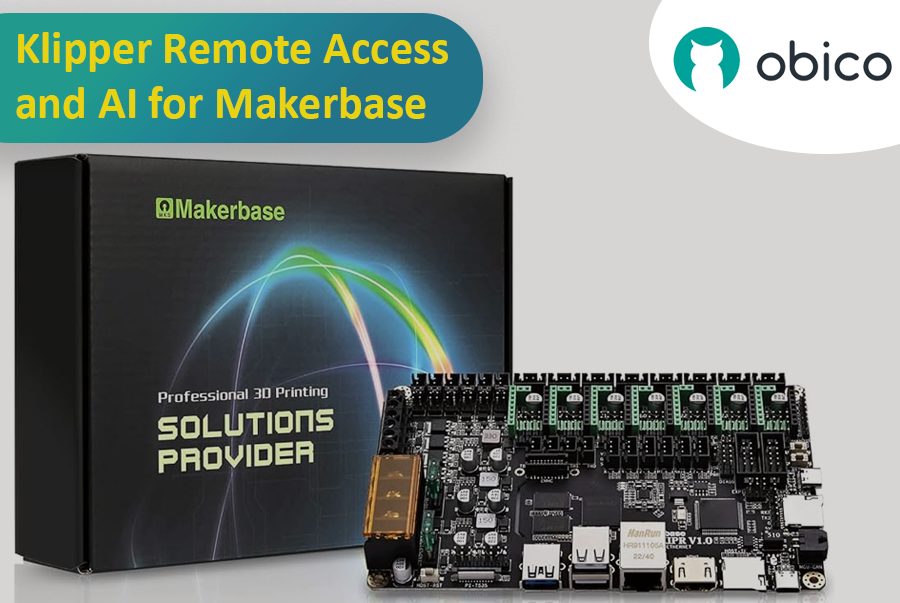
Are you looking to enhance your 3D printing experience by gaining remote access and AI-powered monitoring features for your Makerbase all-in-one motherboard? Look no further. This comprehensive guide will walk you through the process of installing Obico for Klipper, enabling you to enjoy remote access and AI monitoring capabilities on your Makerbase-based 3D printer.
Introduction
The fusion of Makerbase all-in-one motherboards, Klipper firmware, and Obico's remote access and AI-powered capabilities represents a significant leap forward in the world of 3D printing. This guide is intended for users who have 3D printers equipped with Makerbase boards and want to harness the power of Klipper and Obico to streamline their printing experience.
Understanding Makerbase Motherboards
Makerbase, often recognized by its MKS branding, stands as one of the most respected names in the 3D printing hardware industry. Offering a range of all-in-one motherboards designed specifically for 3D printing applications, Makerbase has successfully carved a niche for itself in the rapidly growing market. These motherboards have been engineered keeping in mind the intricacies of 3D printing, resulting in features that promote stability, precision, and ease of use.
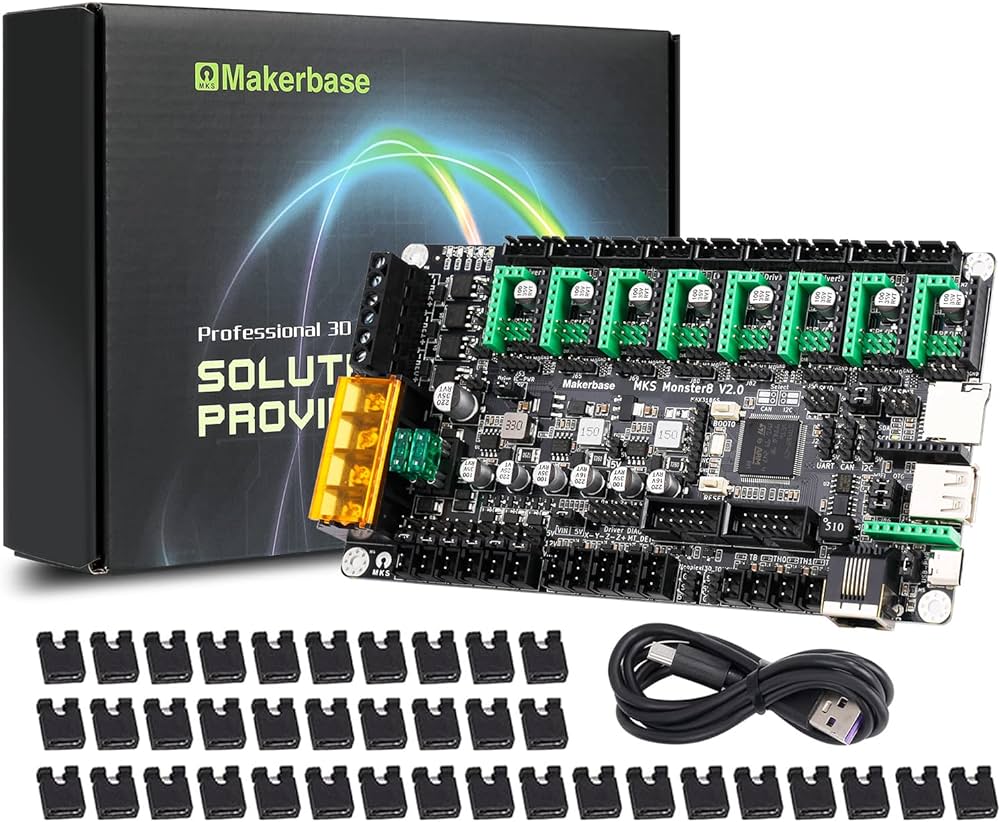
- Design Philosophy: Makerbase motherboards emphasize streamlined design, ensuring that all components, from stepper drivers to connectivity ports, are arranged for optimal performance and ease of accessibility.
- Compatibility: One of the significant attributes of Makerbase boards is their broad compatibility. They are designed to work seamlessly with a plethora of 3D printing setups, from DIY kits to professional-grade machines.
- Continuous Upgrades: In a bid to stay at the forefront of 3D printing technology, Makerbase continually updates its hardware lineup, integrating the latest in tech advancements.
Benefits of Using Makerbase with Klipper
Marrying Makerbase's hardware prowess with Klipper's innovative firmware approach brings forth a synergy that 3D printing enthusiasts can only dream of. Here's why this integration is beneficial:
- Optimized Performance: Klipper's capability to offload calculations to the complements Makerbase's hardware, resulting in faster and more accurate prints.
- Scalability: As users look to enhance their 3D printing setups, both Klipper and Makerbase offer scalability. Be it adding more extruders or integrating advanced features, this combination makes it feasible.
- Unified Experience: With Klipper's user-friendly interface and Makerbase's efficient design, users are treated to a unified and streamlined 3D printing experience, reducing the learning curve and promoting efficiency.
General Installation Process
Before we dive into the specifics, it's important to note that the installation process for Obico on Makerbase boards is quite similar across various 3D printer brands. In recent blogs, we've provided detailed installation guides for popular 3D printer brands such as Kingroon, Elegoo, Qidi, and Sovol. While these guides cater to specific brands, the general steps for installing Obico for Klipper on Makerbase boards remain consistent.
Link to Brand-Specific Guides
For those who own 3D printers from the aforementioned brands, we recommend checking out our brand-specific installation guides for detailed step-by-step instructions. You can find these guides on our website:
- Kingroon Installation Guide
- Elegoo Installation Guide
- Qidi Installation Guide
- Sovol Installation Guide
These brand-specific guides provide tailored instructions for each printer, ensuring a seamless installation process. However, if you own a 3D printer with a Makerbase board that's not mentioned in the brand-specific guides, you're in the right place. The following steps outline the general process for installing Obico for Klipper on Makerbase boards.
Step-by-Step Installation Guide
Step 1: SSH into Your Printer's Board
To begin, you'll connect to your printer's internal computer using a secure method called SSH. Here's how:
1. Open a Terminal or Command Prompt on Your Computer: Think of this as opening a door to your printer's computer.
2. Type the Following Command and Press Enter:
ssh mks@your-printer-ip-address
Replace your-printer-IP-address with the actual IP address of your printer. You can find the IP address in the Advance Settings on the display screen of your printer.
3. Enter Your Credentials:
- Username: mks
- Password: makerbase
It's like logging into your printer's computer system.
Step 2: Clone the Obico for Klipper Repository
Now, let's move on to the second step:
1. Navigate to Your Home Directory:
- In the terminal where you connected to your printer's board, you're in your printer's computer system now. Go to your home directory using this command:
cd ~
Think of it as going to your computer's "home" folder.
2. Clone the Obico for Klipper Repository:
git clone https://github.com/TheSpaghettiDetective/moonraker-obico.git
This is like downloading a program to your computer.
Step 3: Change Directory to the Obico Repository
Let's move on to the next step:
Enter the Newly Cloned Repository:
cd moonraker-obico
Think of it as opening a folder on your computer.
Step 4: Run the Installation Script
You're almost there! Let's move on to the next step:
Execute the Installation Script:
./install.sh
This script will set up Obico for Klipper on your printer's computer. Follow the on-screen prompts for the next steps in the installation process.
Step 5: Follow Installation Prompts
Now, let's continue with the next step, where you'll provide specific configurations:
During the Installation Process:
-
While the installation script is running, it will ask you for some specific settings. Here's what to enter when prompted:
Moonraker Host: When asked for the Moonraker host, type in:
127.0.0.1This tells Obico where to find the Moonraker software.
Moonraker Port: When prompted for the Moonraker port, enter:
7125This sets the communication port for Moonraker.
Moonraker Config File: You'll be asked to specify the path to your Moonraker configuration file. Usually, it's located at:
/home/mks/klipper_config/moonraker.confMake sure to enter the correct path to your configuration file.
Klipper Log Directory: When asked for the Klipper log directory, provide the path to your Klipper log files. Typically, it's located at:
/home/mks/klipper_logsThis helps Obico find the Klipper logs.
By providing these settings, you're helping Obico for Klipper communicate effectively with your 3D printer's software. Continue following the installation prompts as needed.
Completion: Obico for Klipper Installed
After completing these steps, you'll have successfully installed Obico for Klipper on your Makerbase-based 3D printer. To make the most of this setup, follow these additional steps:
Additional Steps
Step 1: Sign up for an Obico Account
If you haven't already, you'll need to create an Obico account to get started. You can do this through the Obico mobile app or the web app. Here's how:
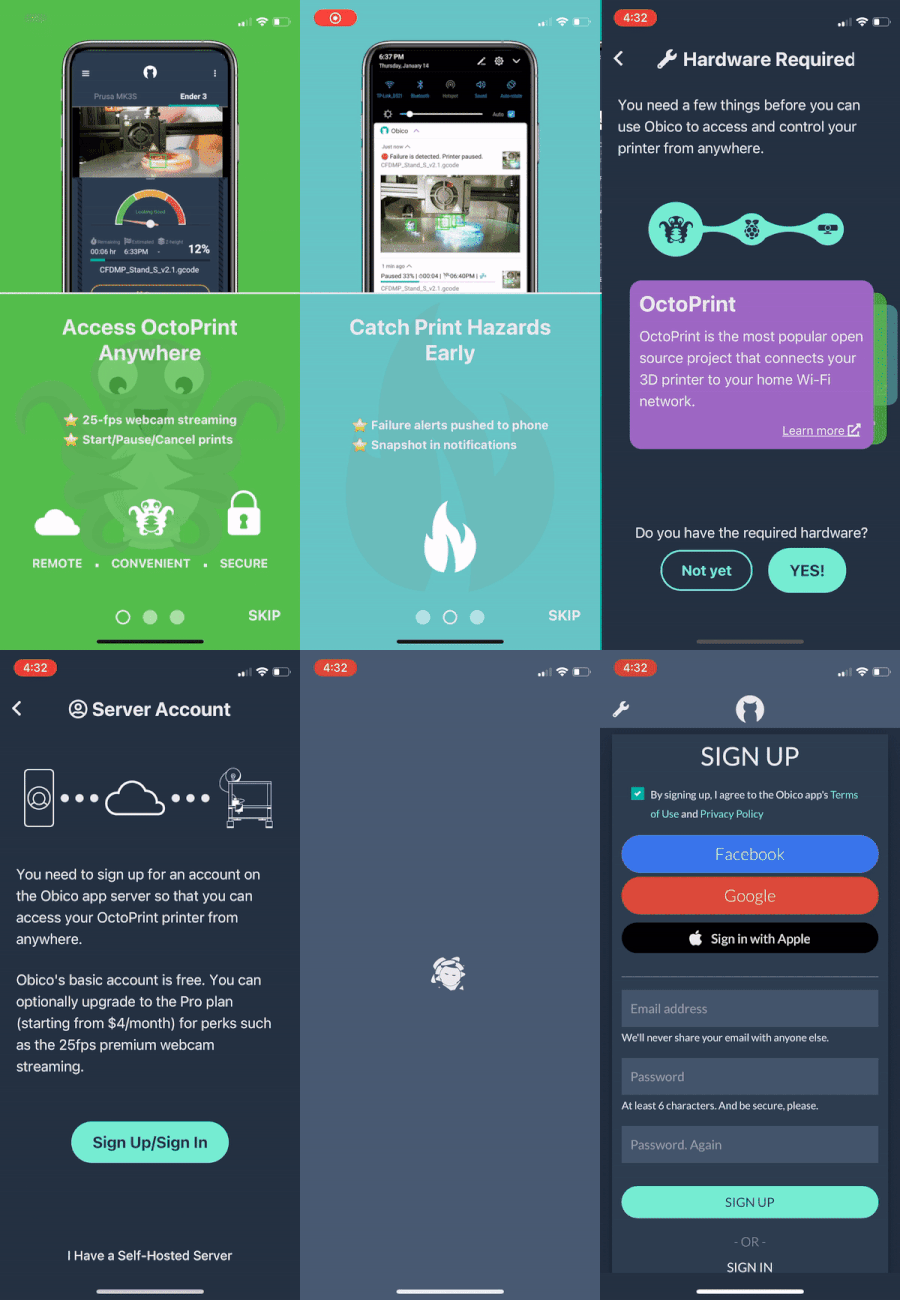
- 📱 Mobile App: If you're using the mobile app, open it and follow the on-screen prompts to sign up for an Obico account.
- 🌐 Web App: If you prefer to use the web app, open a web browser and go to the Obico Website. Click on the "Sign Up" option and follow the registration process.
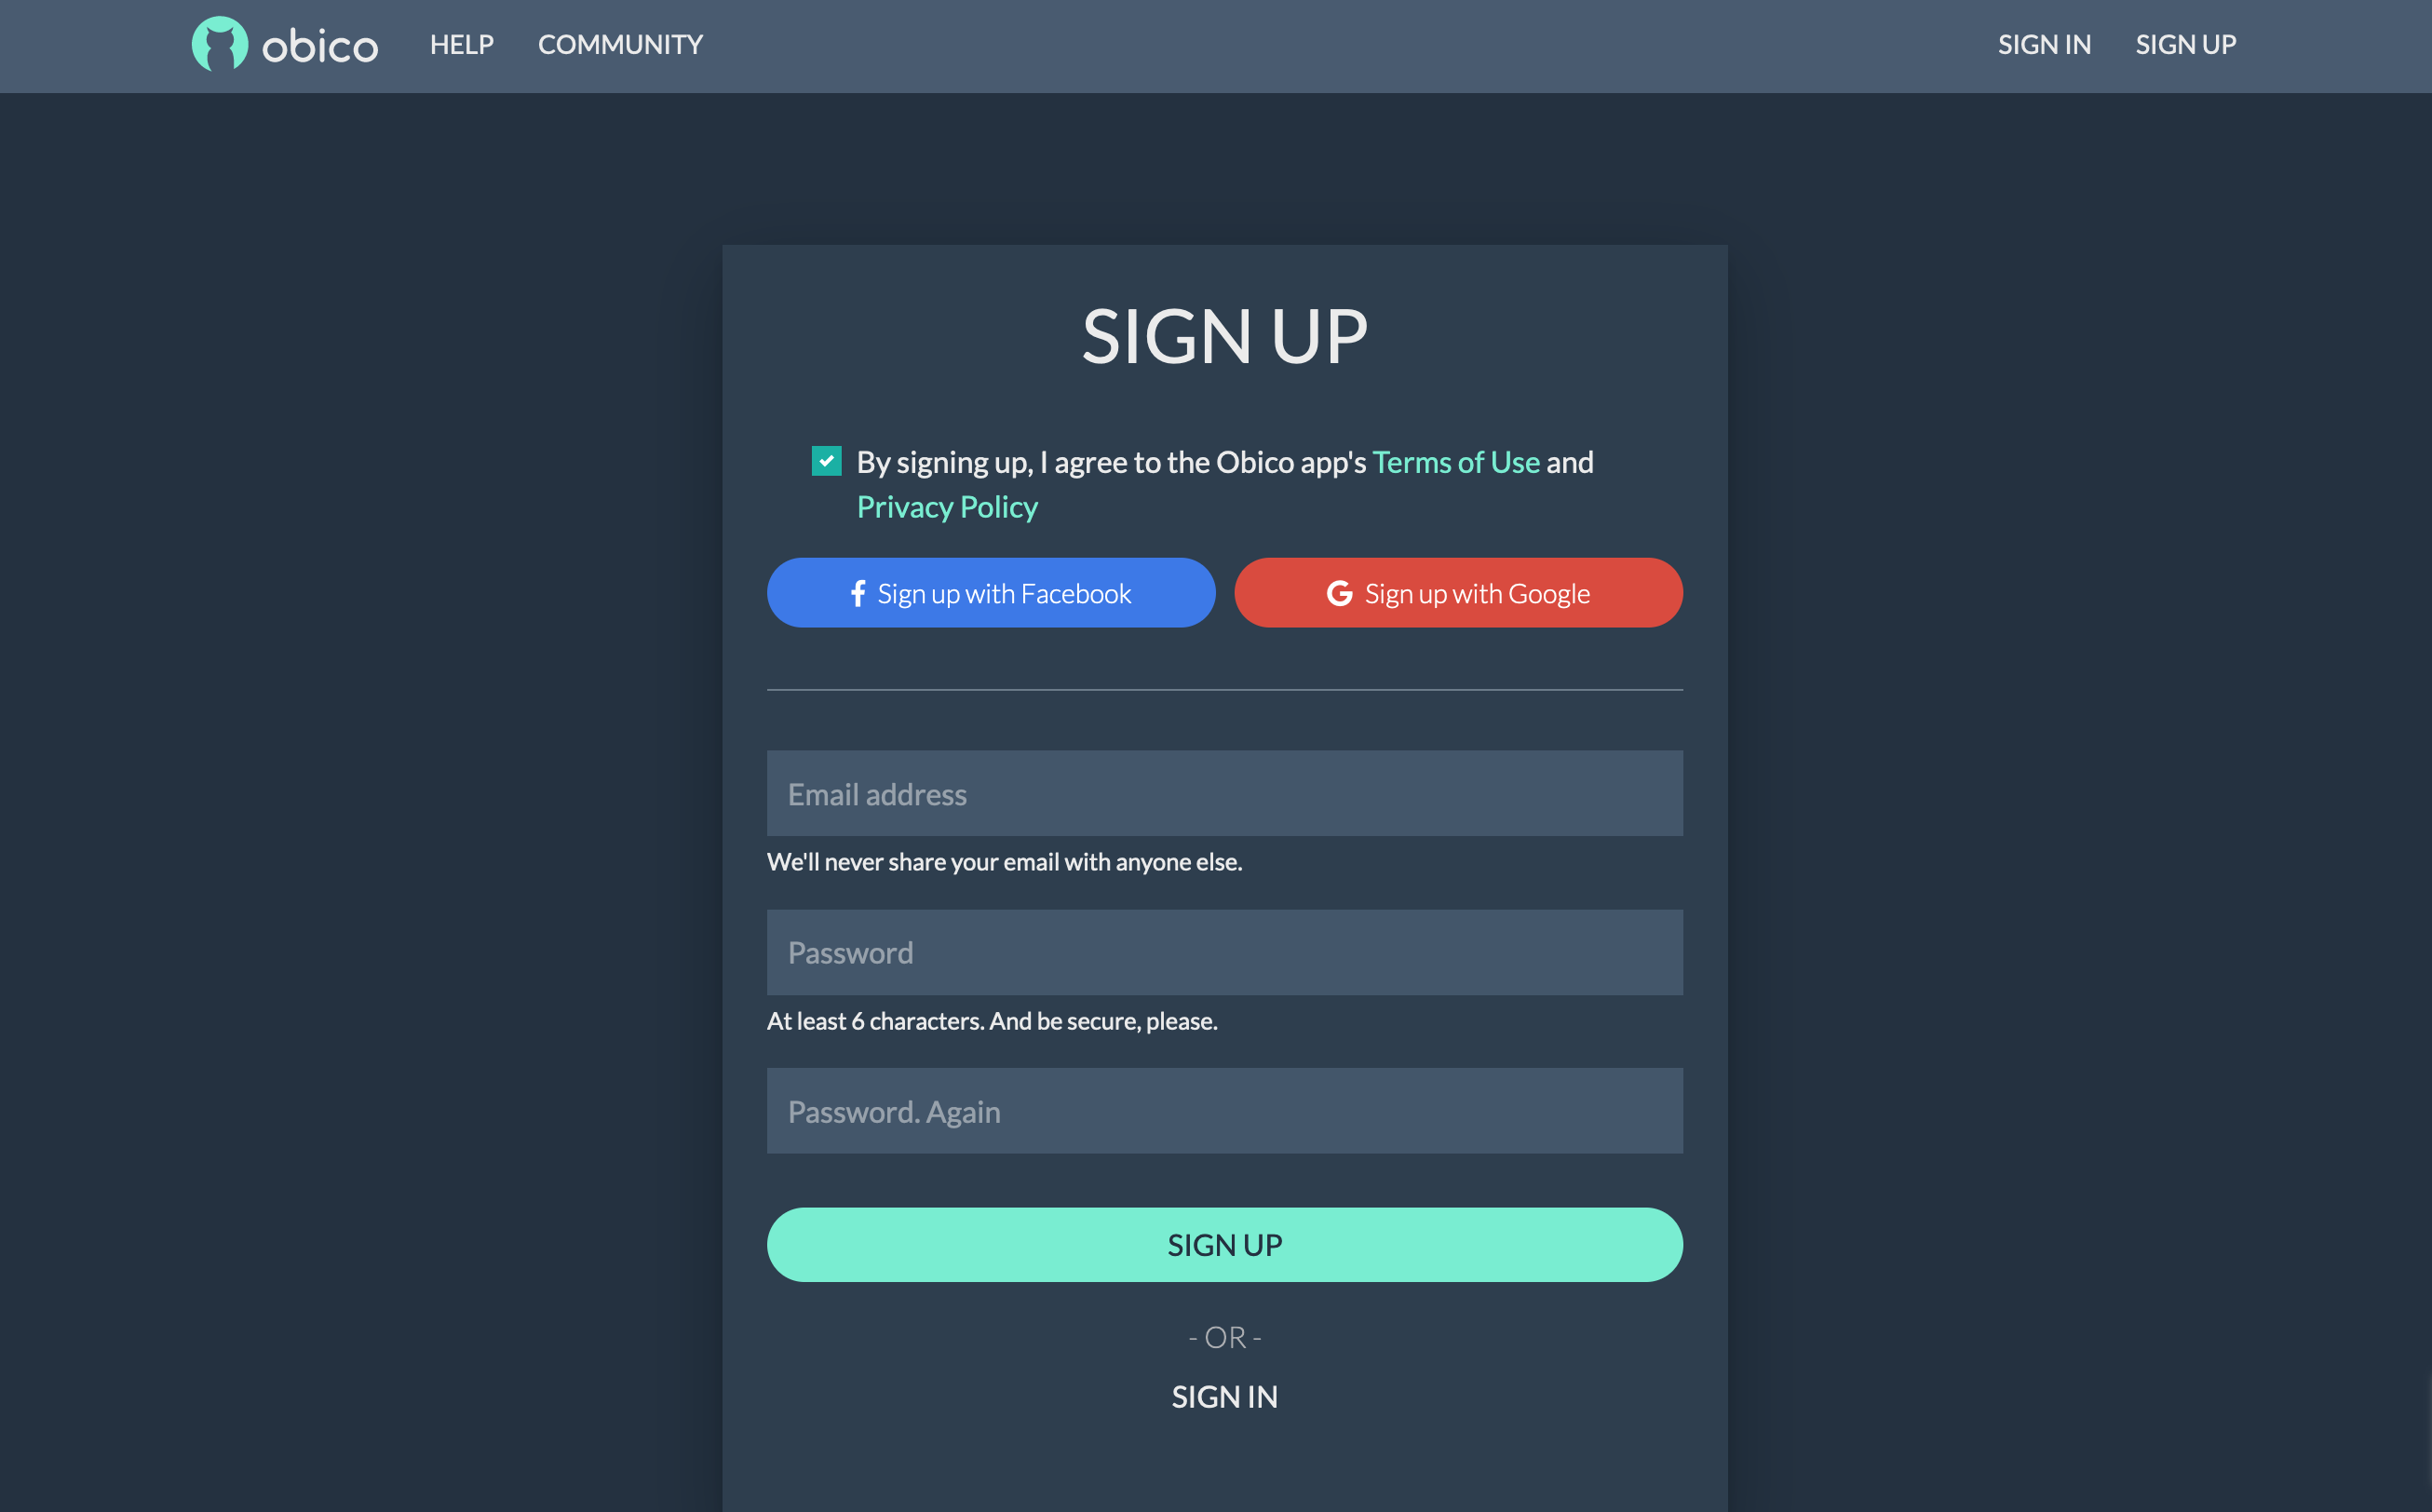
You can sign up with your email, Google, or Facebook account.
Step 2: Link Your Printer to Obico
To connect your 3D printer to Obico and unlock its remote access and AI-powered features, follow these steps:
- Visit the Obico Website: Access the Obico website Obico Website (or your own Obico server if you have one).
- Sign In: Login to your Obico account using the credentials you just created.
Once logged in, navigate to the "Printers" page on the Obico platform.
Step 3: Select "Klipper" and Connect Your Printer
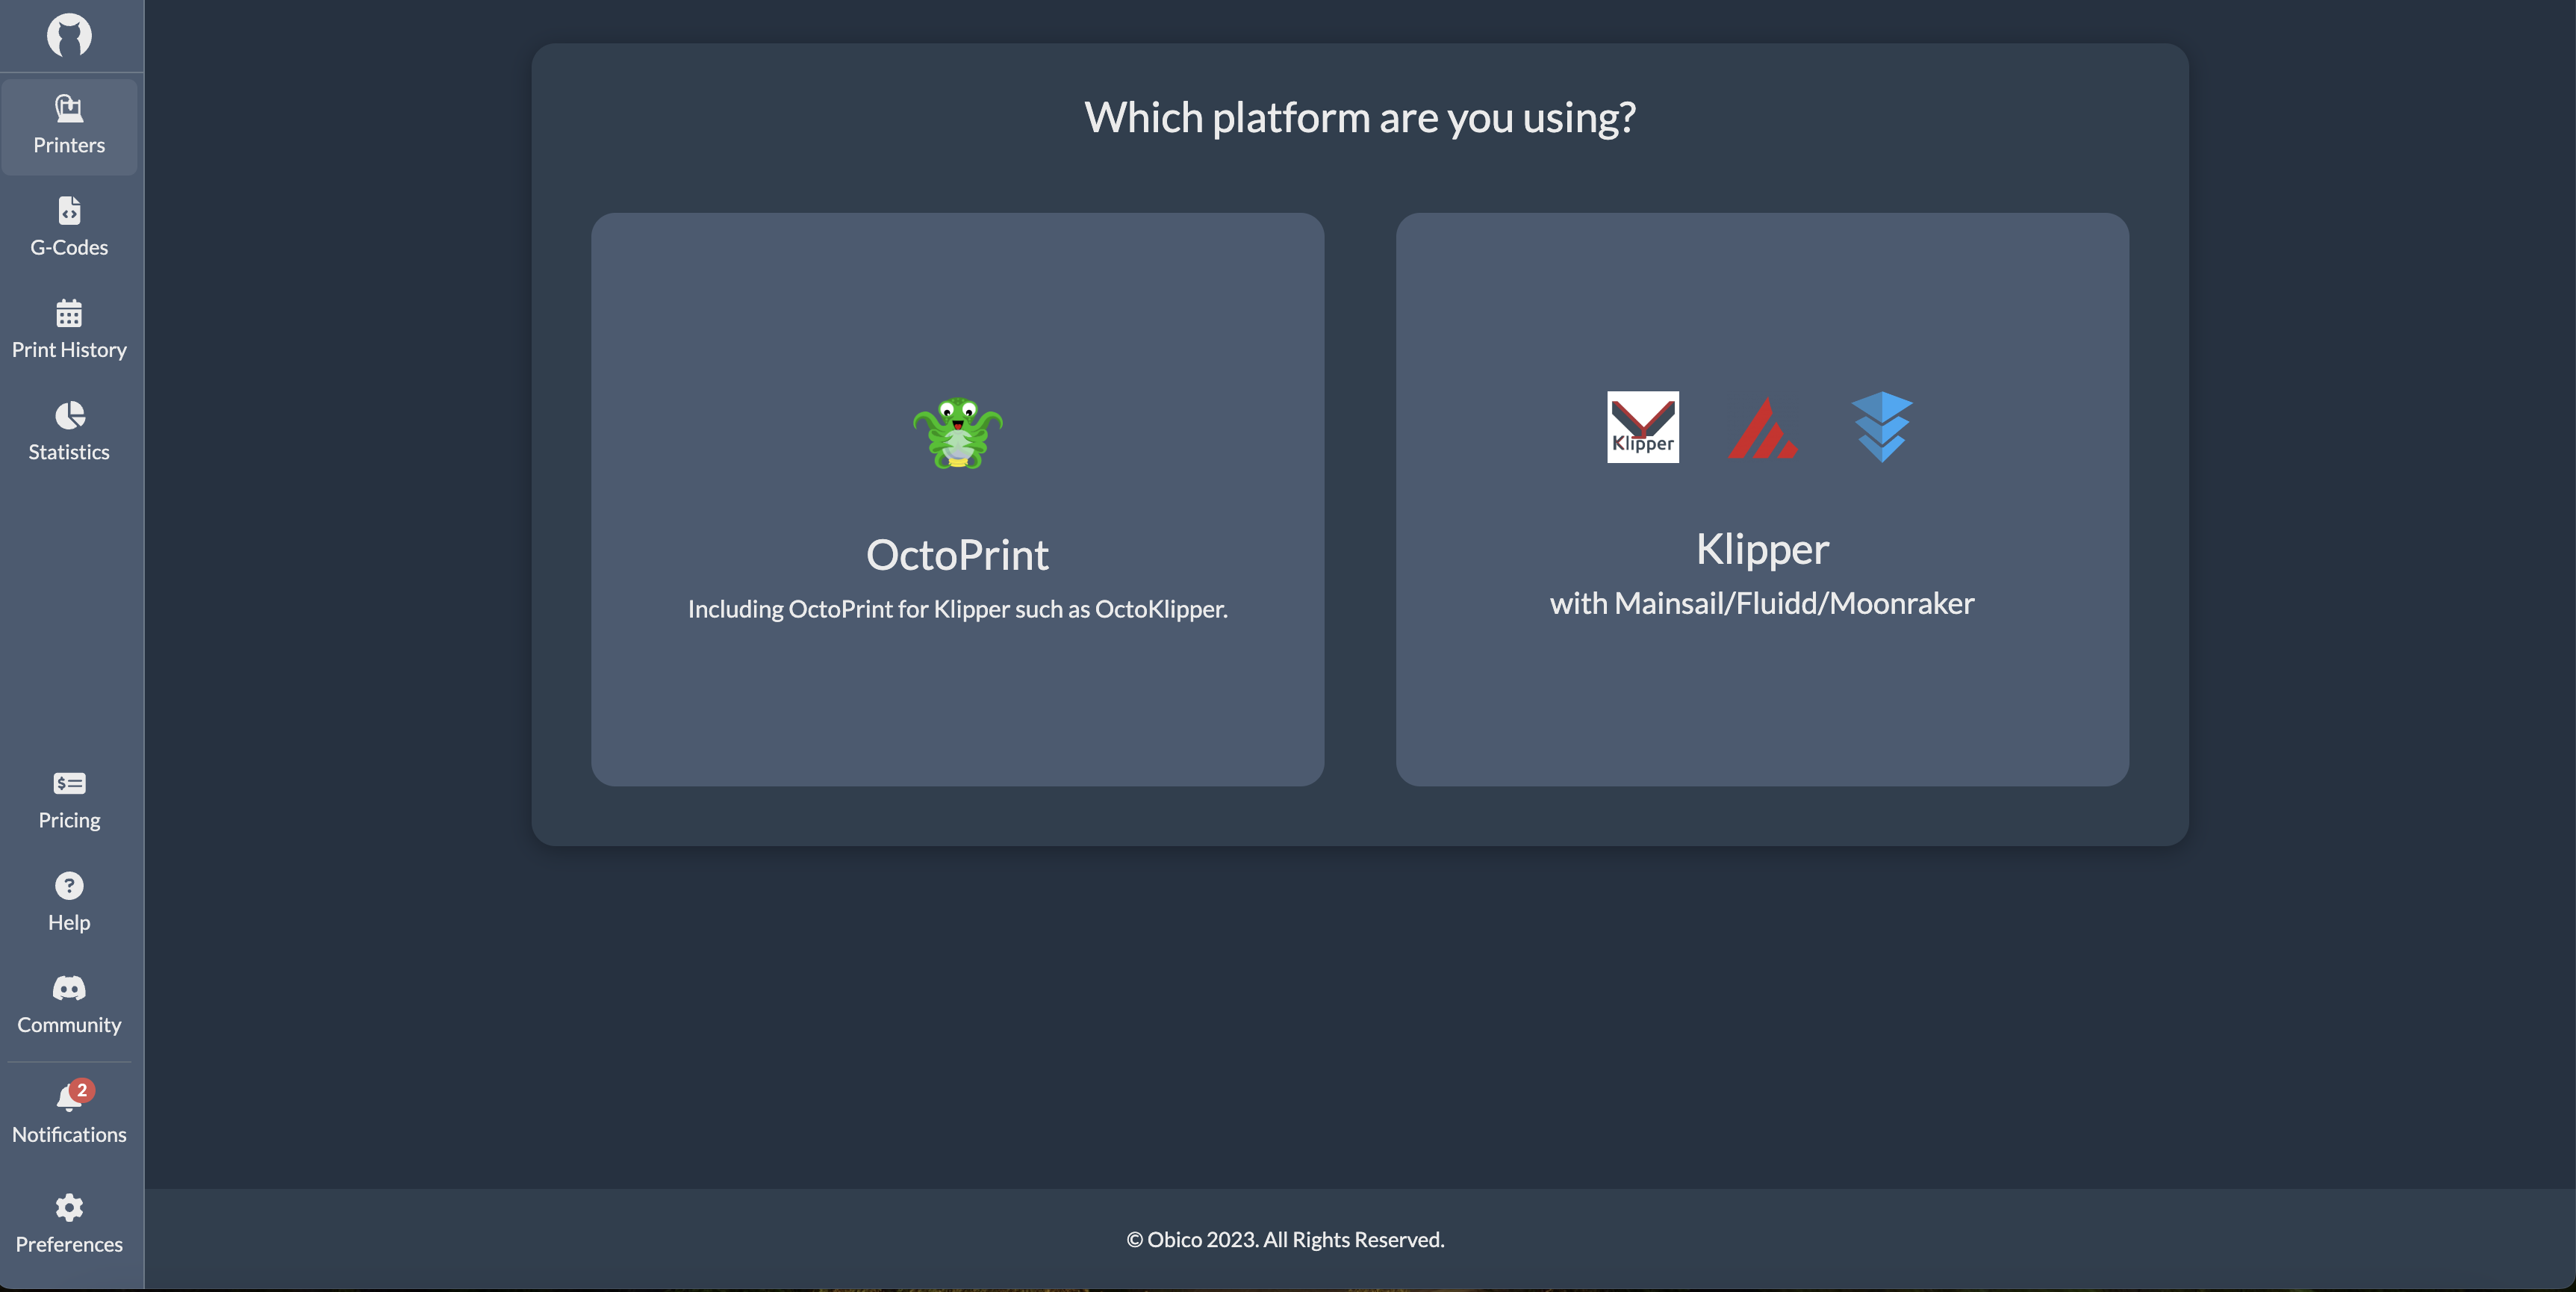
1. Select "Klipper": Click "Link New Printer," and when prompted to choose your printer platform, select "Klipper" and then click “next”.
2. Automatic Recognition: At this point, the Obico app should automatically detect your printer if it's on the same local network. If it is recognized, you can simply click the "Link" button in the Obico app to establish the connection between Obico and your printer.
Step 4: Give Your Printer a Custom Name (Optional)
You have the option to provide a custom name for your 3D printer if you prefer.
Step 5: Explore Your Printer Feed
With the setup complete, you can now enjoy the benefits of real-time monitoring, failure detection, and remote control of your 3D printer through the Obico platform.
By following these steps, you'll have successfully set up Obico for Klipper on your Makerbase-based 3D printer, granting you remote access and AI-powered features to enhance your 3D printing experience.
Note: In case your printer isn't automatically recognized on the Obico website, you can manually link it by following these steps:
- Enter Manual Linking Mode: Return to your terminal and enter 'y' to activate manual linking mode.
- Switch to Manual Setup: Within the Obico app, select "Switch to manual setup instead."
- Retrieve a Six-Digit Code: You will be provided with a six-digit code.
- Paste the Code: Paste the code into the terminal to manually link your printer.
These steps ensure that, even if auto-discovery doesn't work, you can still establish the connection between Obico and your Makerbase-based 3D printer.
The Need for Remote Access in 3D Printing
Remote access in 3D printing is becoming increasingly important for a variety of reasons. This technology allows users to control and monitor their 3D printers from a distance, which offers several advantages:
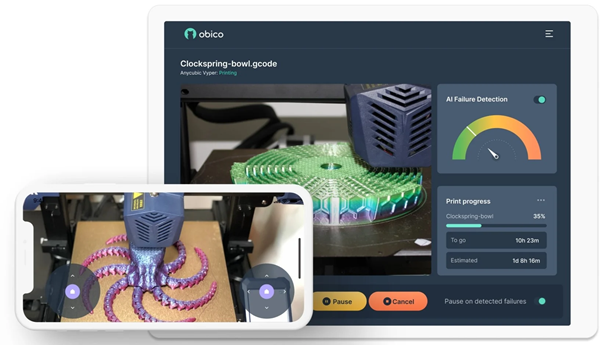
- Flexibility: Remote access allows users to operate and monitor their 3D printers from anywhere with an internet connection. This can be especially useful for professionals and businesses that operate in multiple locations.
- Real-time Monitoring: With remote access, users can view the progress of their prints in real-time, check for errors, and make adjustments as needed without being physically present.
- Easy Sharing and Collaboration: Remote access capabilities can make it easier for teams to collaborate. Designers and engineers can share access to the printer, send designs to be printed, and monitor the progress without needing to be in the same physical location.
- Efficiency and Time Savings: By having the ability to remotely start, stop, or adjust a print job, users can maximize the efficiency of their 3D printing operations. This can lead to reduced downtime and more effective use of the printer.
- Notifications: Many remote access systems can send notifications to users about the status of their print jobs. This can include alerts for when a print is finished, if there's an error, or if materials are running low.
Exploring the Offerings of Obico for Klipper
Let's delve into the extensive range of features and advantages that Obico for Klipper brings to the forefront, enhancing your 3D printing adventure.
-
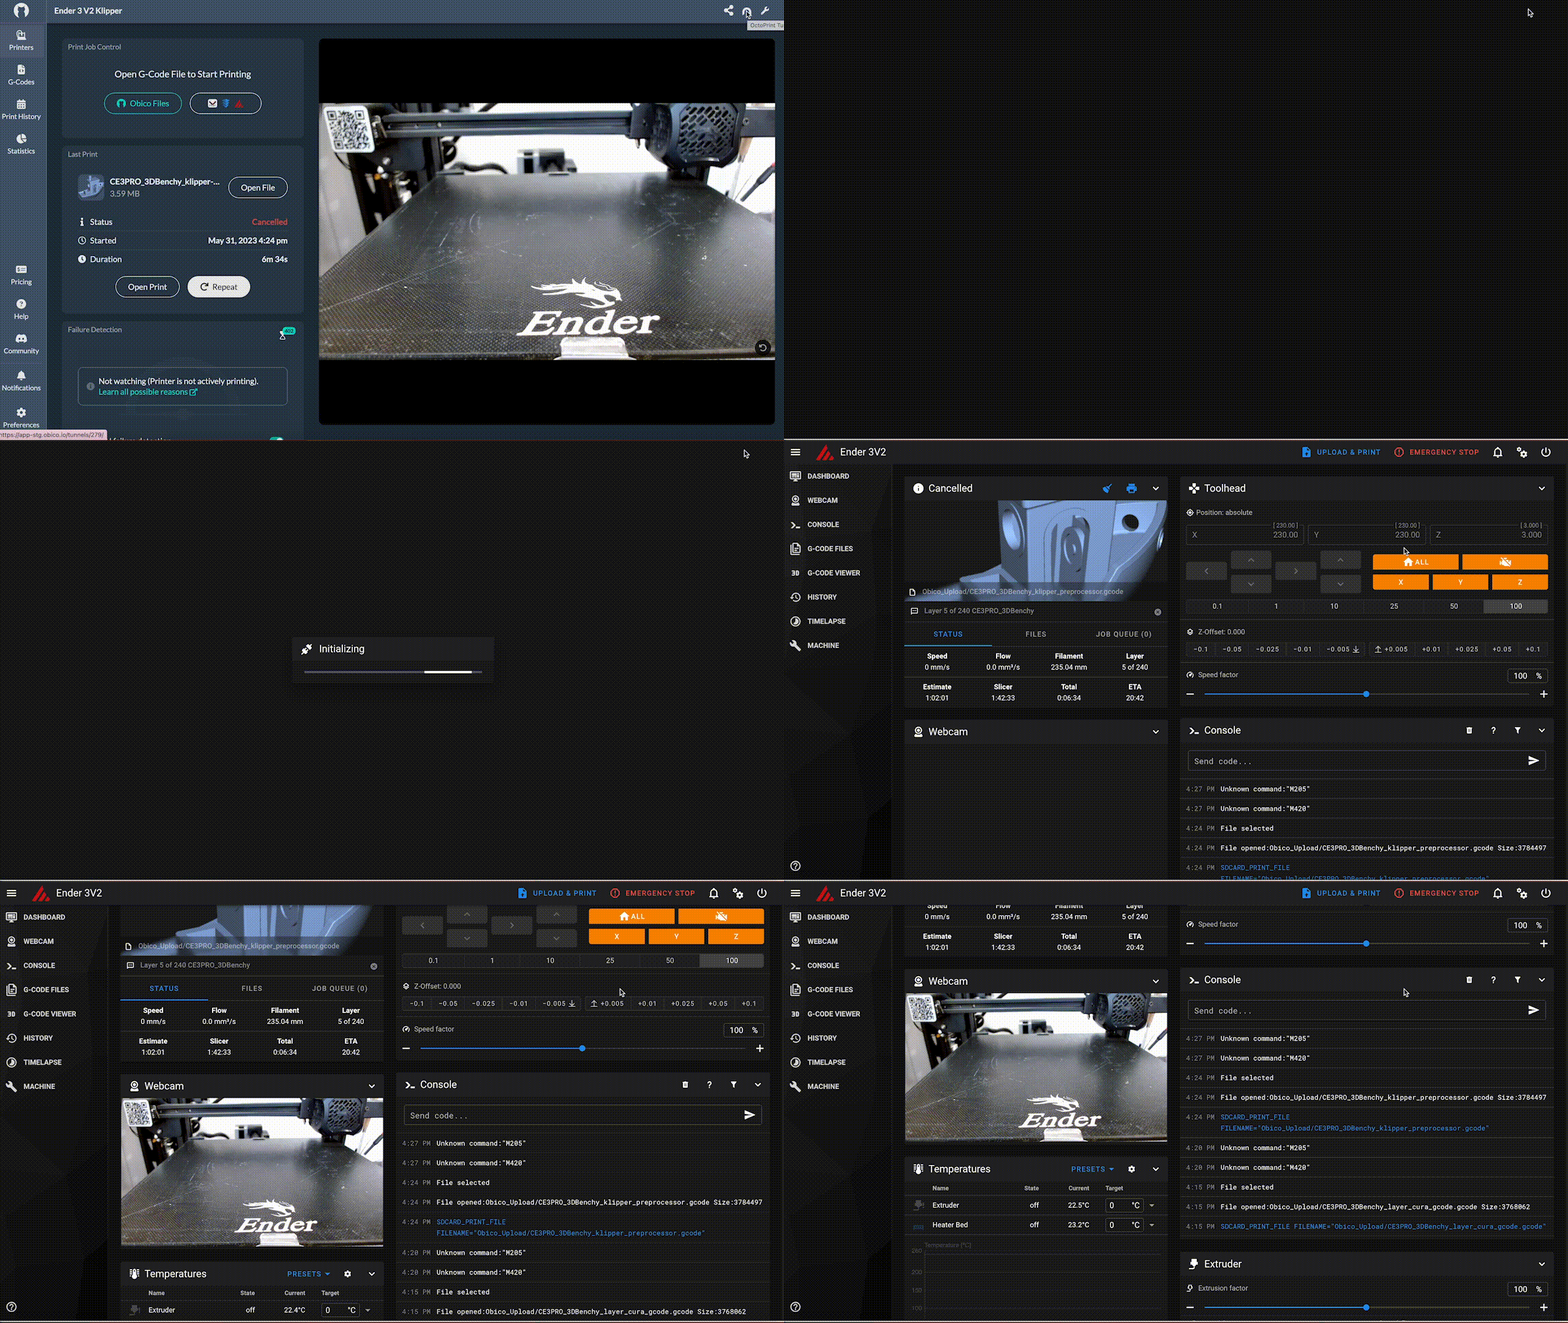
Complete Mainsail/Fluidd Remote Control
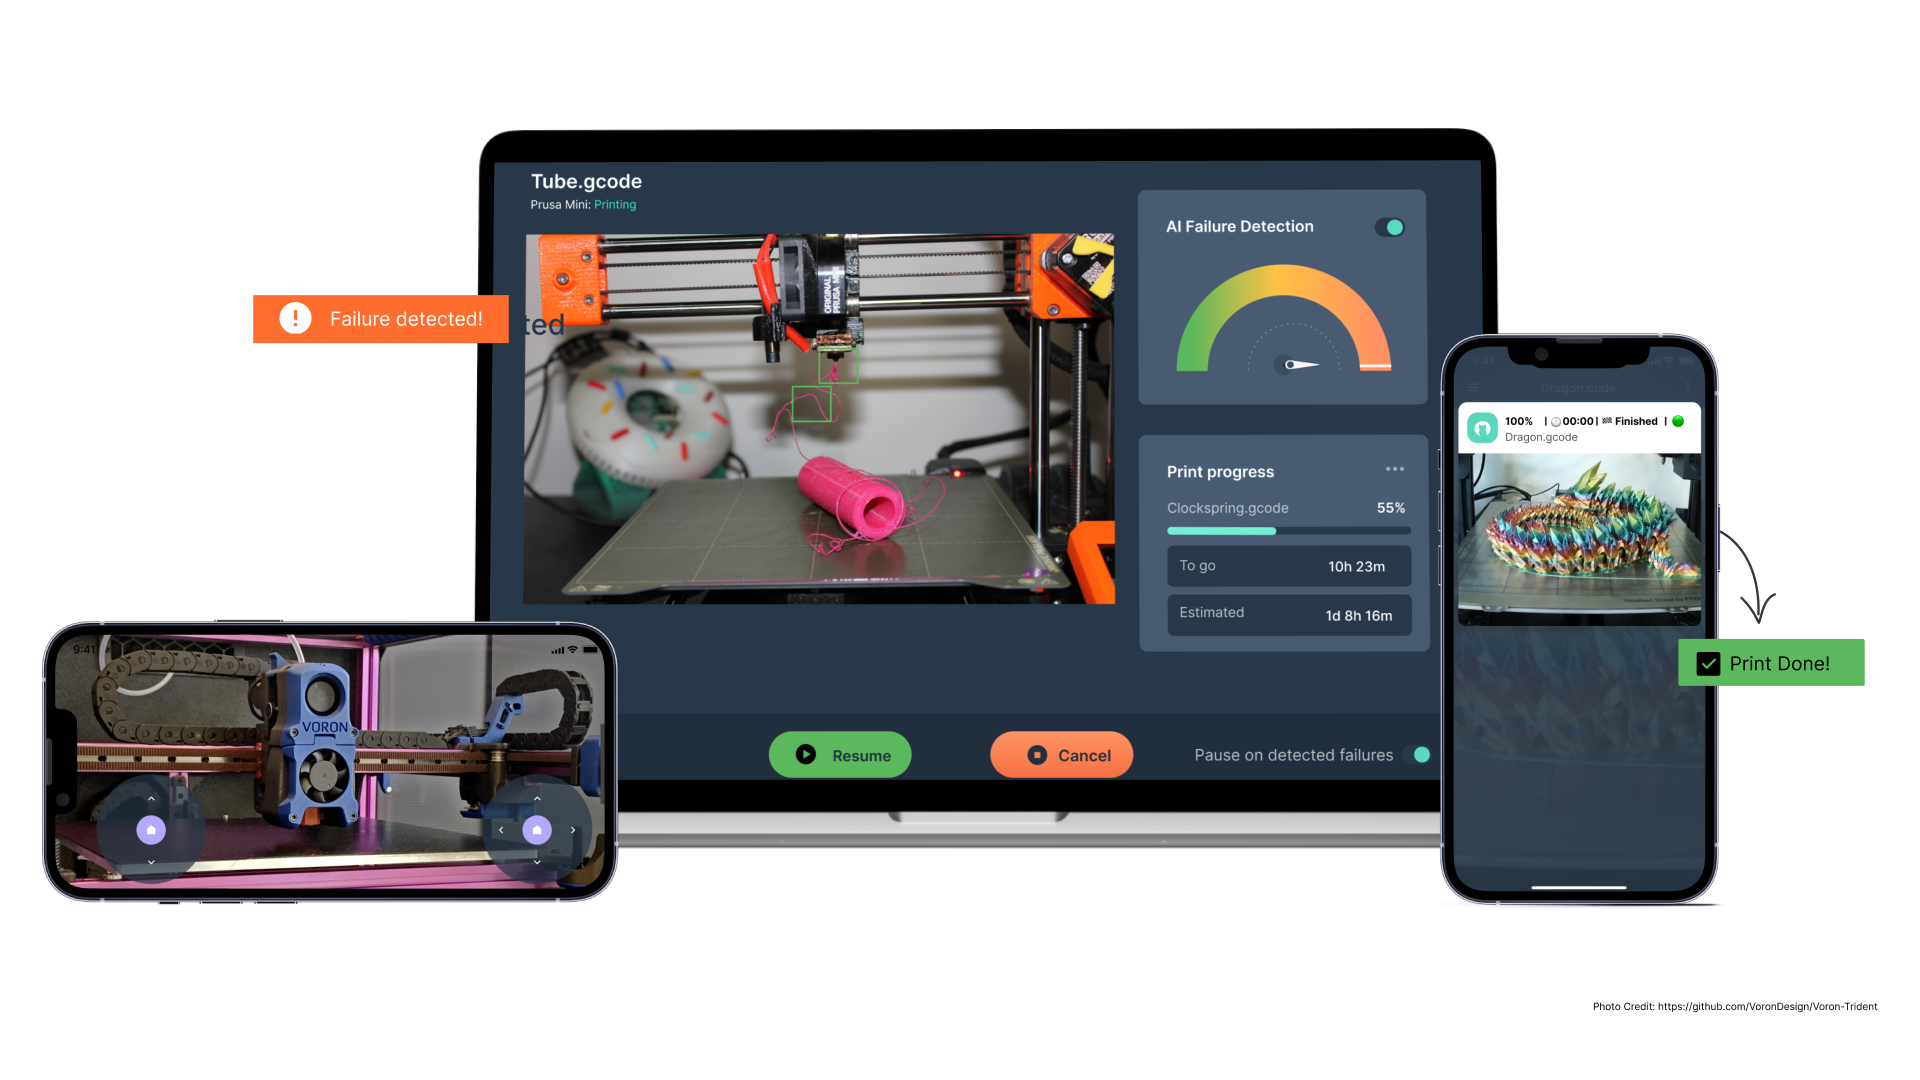
Obico for Klipper offers you full-fledged remote control over your 3D printer through the intuitive Mainsail or Fluidd interface. Whether you're in the same room or miles away, you can effortlessly manage and monitor your printer's operations.
-
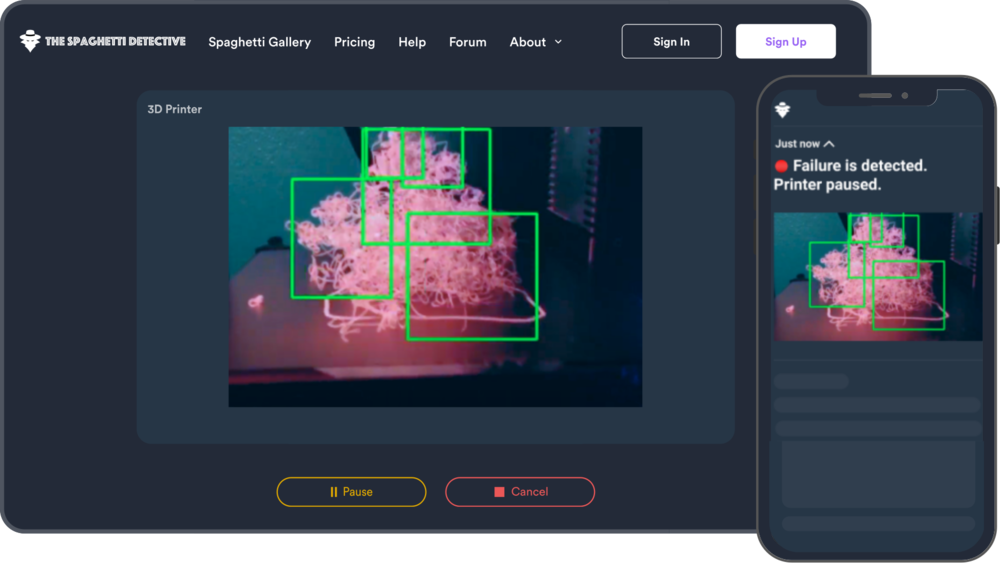
AI-Powered Fault Detection
Harness the power of artificial intelligence at your fingertips. Obico's AI system actively oversees your 3D printing process, promptly identifying potential issues and failures in real-time. It's akin to having a vigilant assistant that ensures your prints emerge flawlessly.
-
Mobile Application for iOS and Android
Obico presents a user-friendly mobile application compatible with both iOS and Android devices. This means you can conveniently oversee and stay informed about your printer using your smartphone or tablet, granting 3D printing a newfound level of accessibility and adaptability.
-
Comprehensive 3D Printer Status Alerts
Stay well-informed regarding the progress of your print jobs and the condition of your printer. Obico provides intricate status alerts, guaranteeing that you're always in the loop concerning your 3D printing endeavors.
-
Push Notifications
Receive prompt push notifications directly to your mobile device. Obico ensures that you stay updated on any alterations or significant events related to your prints, keeping you informed and engaged.
-
Email Notifications
For those who prefer email-based updates, Obico has your preferences covered. Obtain vital notifications and alerts delivered directly to your email inbox, ensuring that you never miss a beat when it comes to your 3D printing tasks.
-
Discord Integration
Obico seamlessly integrates with Discord, a widely used communication platform. This integration facilitates the reception of notifications and updates about your prints through your Discord server, ensuring that your 3D printing community remains well-informed and connected.
Troubleshooting "Buster-backports Release no longer has a Release file" Error
Continue to this part if you only face this error in the image below when you run the ./install.sh command to install Obico in your Makerbase 3D printer.
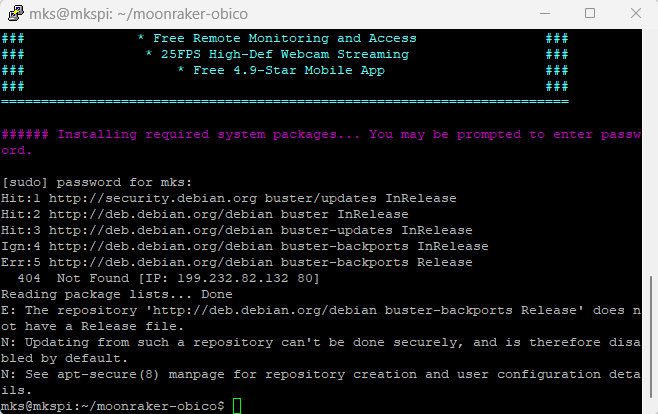
###### Installing required system packages... You may be prompted to enter password.
[sudo] password for mks:
Hit:1 http://security.debian.org buster/updates InRelease
Hit:2 http://deb.debian.org/debian buster InRelease
Hit:3 http://deb.debian.org/debian buster-updates InRelease
Ign:4 http://deb.debian.org/debian buster-backports InRelease
Err:5 http://deb.debian.org/debian buster-backports Release
404 Not Found [IP: 199.232.82.132 80]
Reading package lists... Done
E: The repository 'http://deb.debian.org/debian buster-backports Release' does not have a Release file.
N: Updating from such a repository can't be done securely, and is therefore disabled by default.
N: See apt-secure(8) manpage for repository creation and user configuration details.
mks@mkspi:~/moonraker-obico$
Just follow our easy step-by-step guide for simply solving this error so that you can continue your installing process just click here!
Conclusion
In conclusion, if you're seeking to enhance your 3D printing experience with remote access and AI-powered monitoring for your Makerbase all-in-one motherboard, you're in luck. This guide has provided you with a straightforward process for installing Obico for Klipper, enabling you to enjoy these advanced capabilities. With Obico for Klipper, you'll have the tools to make your 3D printing adventures more accessible and enjoyable.
