Passa al contenuto principale

JusPrin 1.0

The First GenAI 3D Printing Experience Now Available!

JusPrin Logo

6 post etichettati con "filament"

Guarda tutte le etichette

In the 3D printing world, the initial setup of your print is just as important as the model you’re trying to bring to life. One of the most critical and often overlooked components of this setup is the Start G-code, a set of instructions that prepares your 3D printer for the actual print. Whether you use Orca Slicer, a feature-rich slicing software that is based on Bambu Studio and PrusaSlicer, or another slicer, understanding and customizing the Start G-code can be the key to better prints and a smoother workflow.
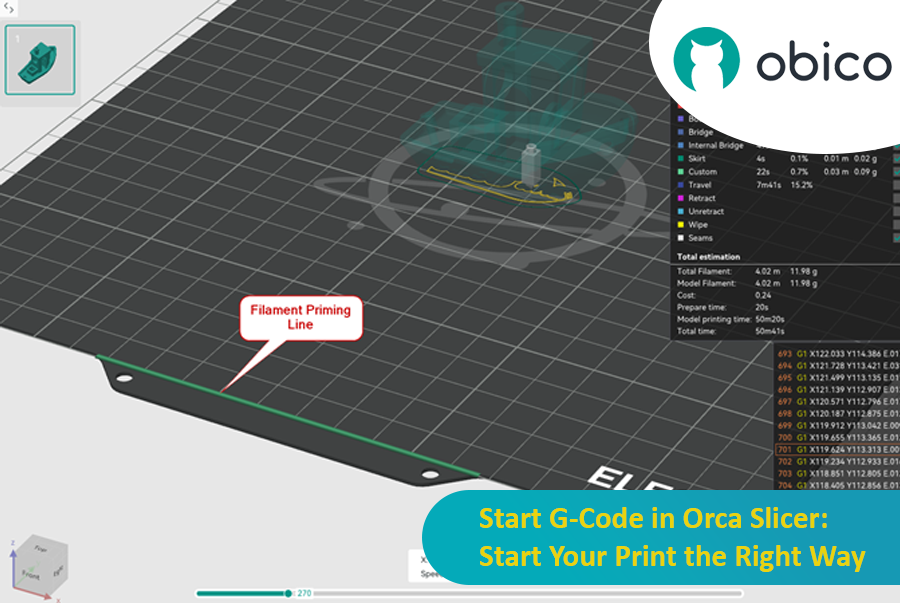
Start G-Code in Orca Slicer: Start Your Print the Right Way

In this article, we will go deep into what is Start G-code, why it’s important for perfect prints, how to edit it in Orca Slicer, and how to customize it for any 3D printer. We will also explain the Start G-code in the well-known Elegoo Neptune 4 Pro in Orca Slicer as an example for better understanding.

By the end of this article, you will know how Start G-code works, how to tweak it for best results, and how to use advanced techniques like Klipper macros to make your G-code simpler more readable and easier to update.

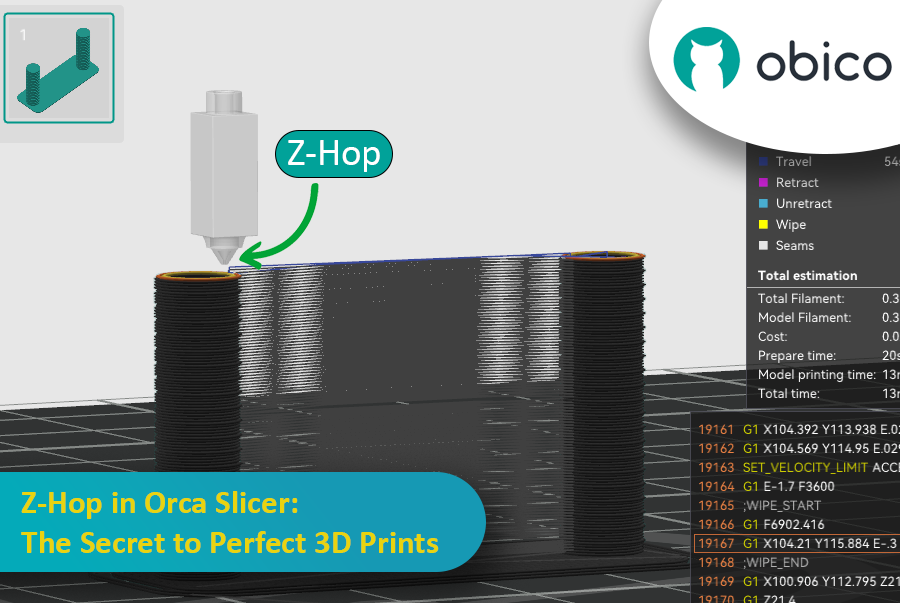
Ever seen those little strings hanging off your 3D print like tiny spider webs? Or the nozzle scratching over a beautiful layer? If you’ve experienced these issues, you’re not alone—and there’s a fix. Enter Z-Hop, a feature in Orca Slicer that will take your 3D prints from good to great.

Z-Hop in Orca Slicer: The Secret to Perfect 3D Prints

Whether you’re new to 3D printing or a hobbyist, getting the settings right makes a huge difference. In this guide, we’ll be exploring Z-Hop—what it is, how to use it, and why it’s a game changer.

Let’s get started!

Introduction

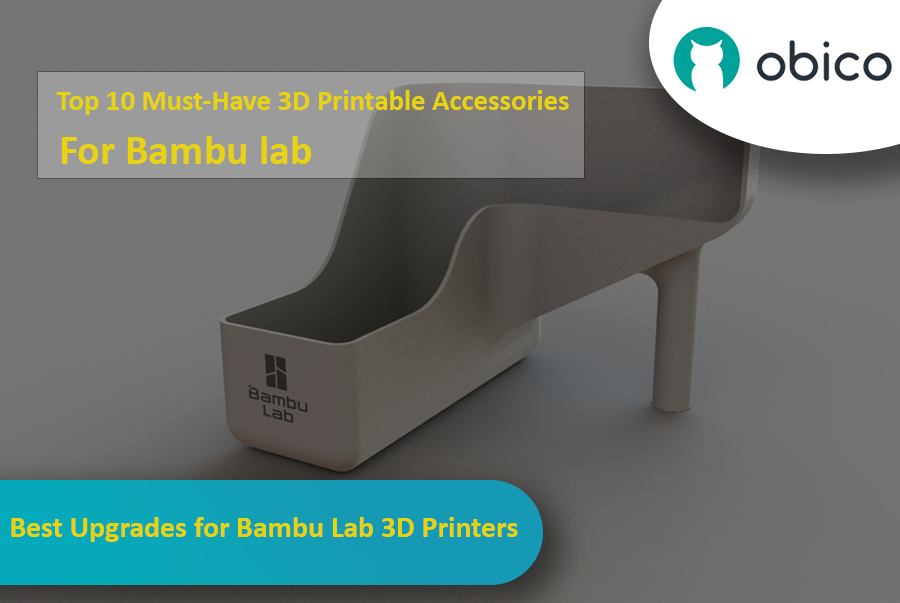
If you have a Bambu Lab 3D printer, you’ve already opened the door to a world of creativity, precision, and innovation. Bambu Lab printers are known for being reliable and high quality, so they’re a favorite among users all around the world.

But even great printers can be made better with a bit of customization. With the right printable accessories, you can make your Bambu Lab printer even more efficient, more versatile, and more fun to use. In this guide, we’ll take a look at some of the best 3D printable accessories to get the most out of your Bambu Lab 3D printer.

Best Upgrades for Bambu Lab 3D Printers

Whether you want to reduce vibrations, manage your filament better, or tweak your AMS system, these upgrades offer practical and easy-to-print solutions that you can print directly with your Bambu Lab printer.

Let’s get started and see how these upgrades can improve your 3D printing experience.

suggerimento

Try JusPrin, the first GenAI 3D printing tool built on OrcaSlicer.

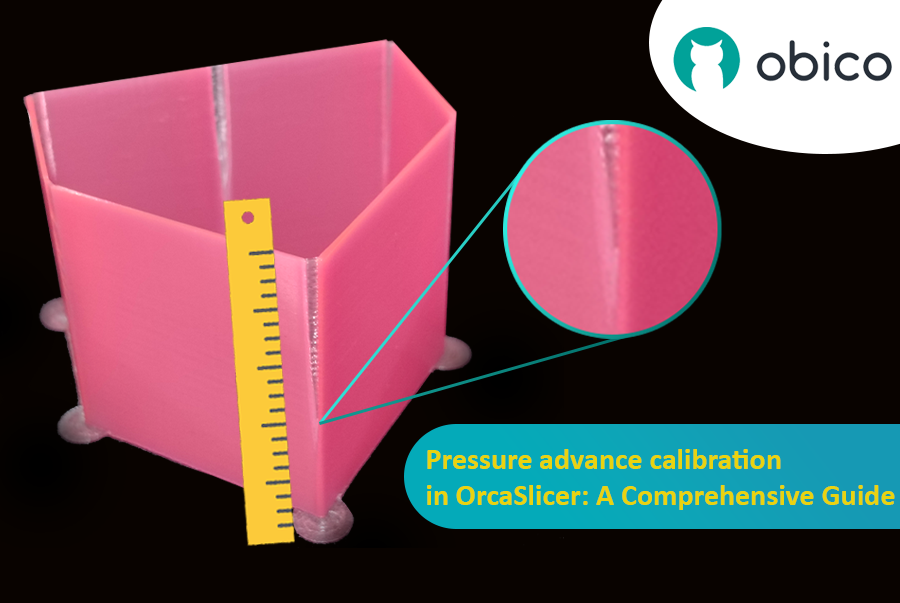
Panoramica di Pressure Advance

Immagina di disegnare con una penna che a volte perde troppo inchiostro e altre volte pochissimo. Nella stampa 3D, qualcosa di simile potrebbe accadere quando la stampante si muove velocemente e cambia la sua velocità: può compromettere la quantità di plastica estratta.

Calibrazione dell'anticipo di pressione in OrcaSlicer: una guida completa

Ma perché a volte la stampante non calcola correttamente la quantità di plastica che esce?

In una stampante 3D, il filamento fuoriesce in base alla pressione presente all'interno dell'ugello. È come un tubo da giardino: serve una pressione idrica sufficiente prima che l'acqua fuoriesca. Quando la stampante accelera o rallenta, ad esempio in curva, ci vuole un po' prima che la pressione dell'ugello si adatti. Se la stampante si muove troppo velocemente e troppo presto, non esce abbastanza filamento. E se rallenta troppo velocemente, ne esce troppo. Questo può rendere gli angoli della stampa un po' disordinati perché la stampante non ha regolato correttamente il flusso del filamento in base alle variazioni di velocità.

Ed è qui che entra in gioco Pressure Advance. È una funzione intelligente che compensa queste variazioni, garantendo che venga estrusa la giusta quantità di filamento quando la stampante accelera o rallenta. Con Pressure Advance, la stampante può gestire meglio le transizioni di velocità, ottenendo stampe più fluide e nitide, soprattutto negli angoli più difficili.

suggerimento

Try JusPrin, the first GenAI 3D printing tool built on OrcaSlicer.

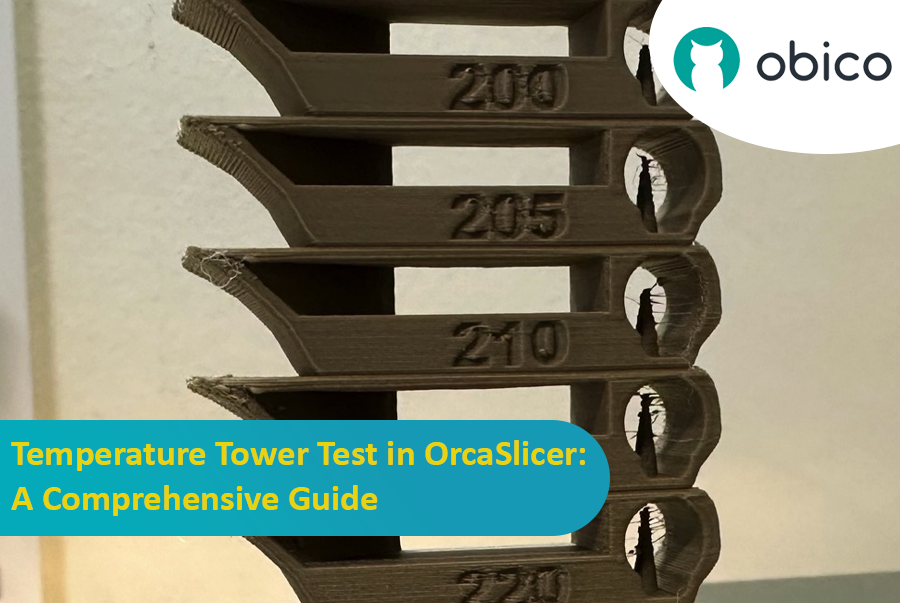
Introduzione al test della torre di temperatura con OrcaSlicer

La stampa 3D è una tecnologia affascinante che permette di creare oggetti fisici a partire da modelli digitali. Tuttavia, per ottenere i migliori risultati, è necessario ottimizzare le impostazioni della stampante e i parametri del filamento. Uno dei fattori più importanti che influenzano la qualità delle stampe è la temperatura.

La temperatura influisce sulla fusione, la fluidità e l'adesione del filamento agli strati precedenti. Se la temperatura è troppo bassa, il filamento potrebbe non essere estruso correttamente, causando sottoestrusione, scarsa adesione e parti deboli. Se la temperatura è troppo alta, il filamento potrebbe trasudare, formare filamenti o deformarsi, causando sovraestrusione, formazione di grumi e deformazioni.

Test della torre di temperatura in OrcaSlicer: una guida completa

Per individuare la temperatura ottimale per il filamento, è necessario eseguire un test della torre di temperatura.

Introduction

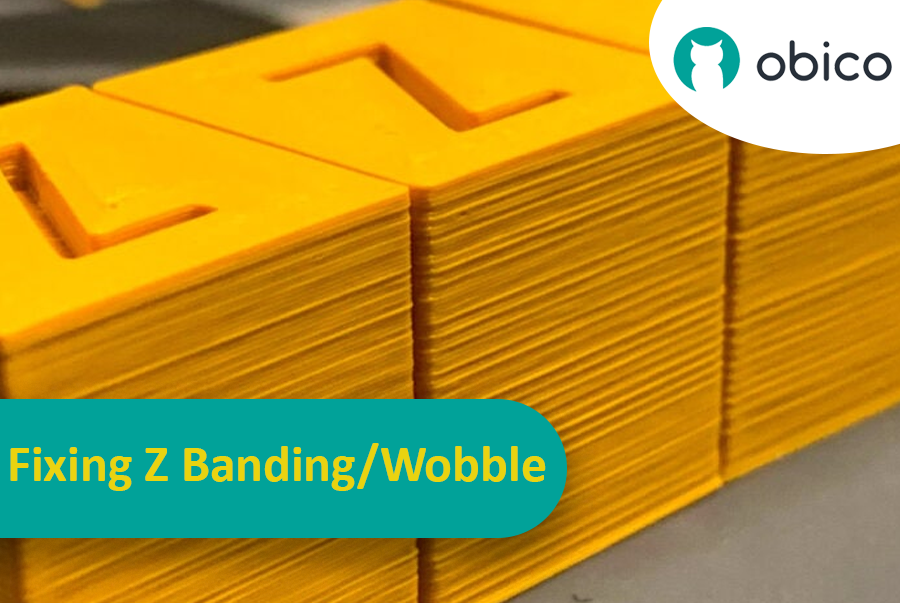
Imagine you've spent hours waiting for a 3D print to finish, only to find it has these unexpected and unwanted stripes or lines across it. This issue, known as Z banding, is a common headache in 3D printing. It's like when you're drawing a straight line but your ruler keeps slipping, leaving you with a jagged line instead of a smooth one. Z banding can make your 3D printed objects look striped instead of having a smooth, even surface.

Fixing Z Banding/Wobble: A Comprehensive Guide

But why should we care about fixing this? Well, these lines are not just a cosmetic problem. They can make your 3D printed items weaker and less functional. Think of it like building a tower with blocks; if the blocks aren't lined up properly, the tower won't be as strong. That's why it's important for anyone using a 3D printer, whether you're a hobbyist or a professional, to understand how to tackle this issue. This guide is here to help you do just that, turning those frustrating lines into a thing of the past and helping you get the best results from your 3D printing projects.