Aller au contenu principal

JusPrin 1.0

The First GenAI 3D Printing Experience Now Available!

JusPrin Logo

6 articles tagués avec « filament »

Voir tous les tags

In the 3D printing world, the initial setup of your print is just as important as the model you’re trying to bring to life. One of the most critical and often overlooked components of this setup is the Start G-code, a set of instructions that prepares your 3D printer for the actual print. Whether you use Orca Slicer, a feature-rich slicing software that is based on Bambu Studio and PrusaSlicer, or another slicer, understanding and customizing the Start G-code can be the key to better prints and a smoother workflow.
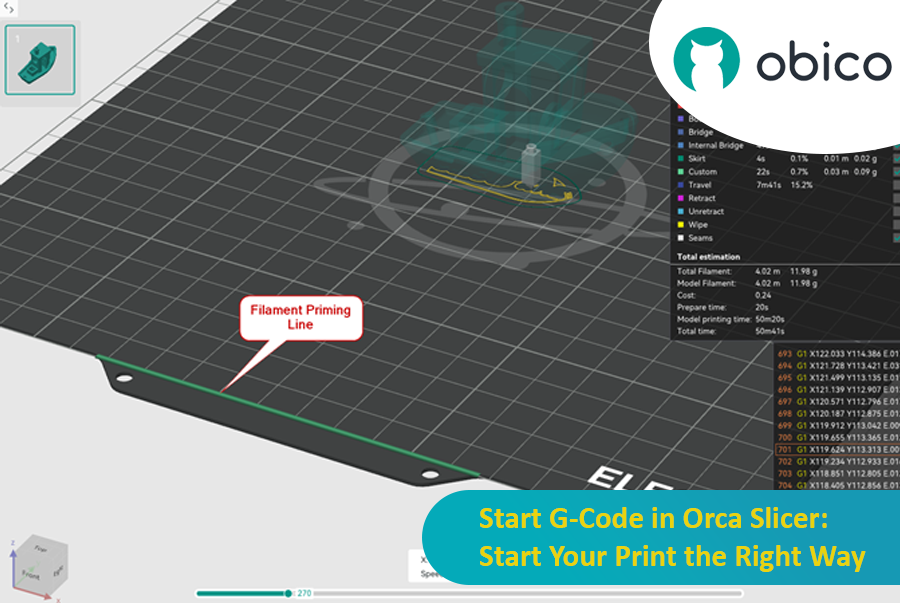
Start G-Code in Orca Slicer: Start Your Print the Right Way

In this article, we will go deep into what is Start G-code, why it’s important for perfect prints, how to edit it in Orca Slicer, and how to customize it for any 3D printer. We will also explain the Start G-code in the well-known Elegoo Neptune 4 Pro in Orca Slicer as an example for better understanding.

By the end of this article, you will know how Start G-code works, how to tweak it for best results, and how to use advanced techniques like Klipper macros to make your G-code simpler more readable and easier to update.

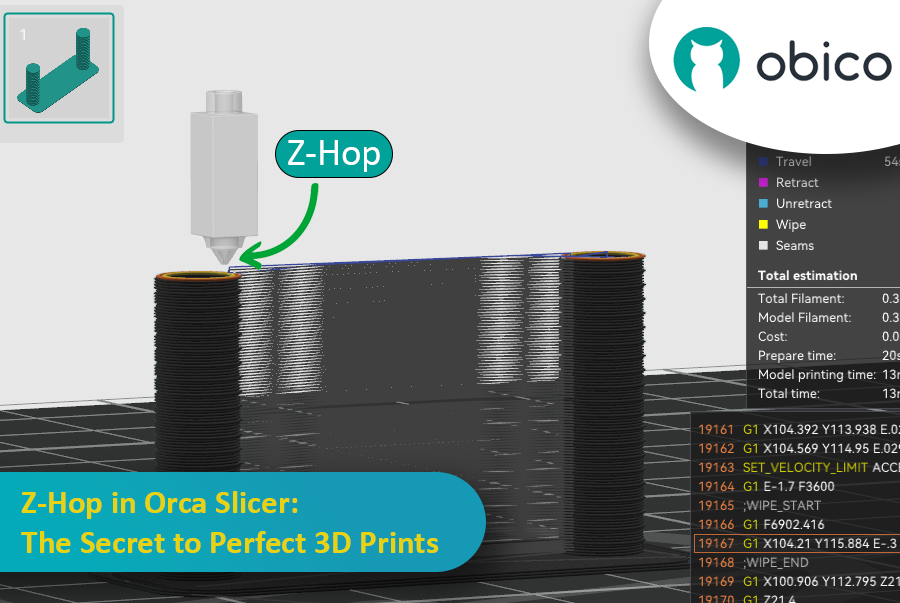
Ever seen those little strings hanging off your 3D print like tiny spider webs? Or the nozzle scratching over a beautiful layer? If you’ve experienced these issues, you’re not alone—and there’s a fix. Enter Z-Hop, a feature in Orca Slicer that will take your 3D prints from good to great.

Z-Hop in Orca Slicer: The Secret to Perfect 3D Prints

Whether you’re new to 3D printing or a hobbyist, getting the settings right makes a huge difference. In this guide, we’ll be exploring Z-Hop—what it is, how to use it, and why it’s a game changer.

Let’s get started!

Introduction

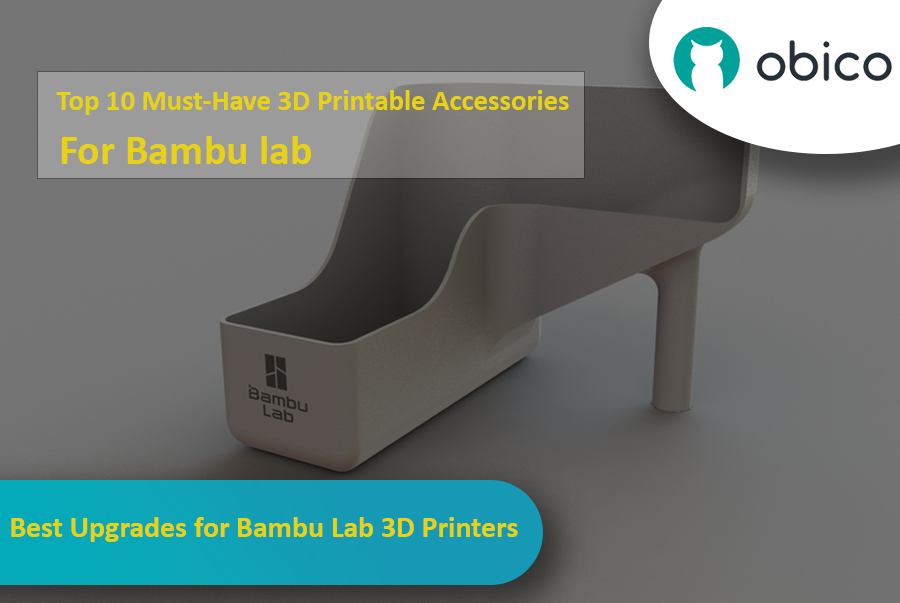
If you have a Bambu Lab 3D printer, you’ve already opened the door to a world of creativity, precision, and innovation. Bambu Lab printers are known for being reliable and high quality, so they’re a favorite among users all around the world.

But even great printers can be made better with a bit of customization. With the right printable accessories, you can make your Bambu Lab printer even more efficient, more versatile, and more fun to use. In this guide, we’ll take a look at some of the best 3D printable accessories to get the most out of your Bambu Lab 3D printer.

Best Upgrades for Bambu Lab 3D Printers

Whether you want to reduce vibrations, manage your filament better, or tweak your AMS system, these upgrades offer practical and easy-to-print solutions that you can print directly with your Bambu Lab printer.

Let’s get started and see how these upgrades can improve your 3D printing experience.

astuce

Try JusPrin, the first GenAI 3D printing tool built on OrcaSlicer.

Présentation de Pressure Advance

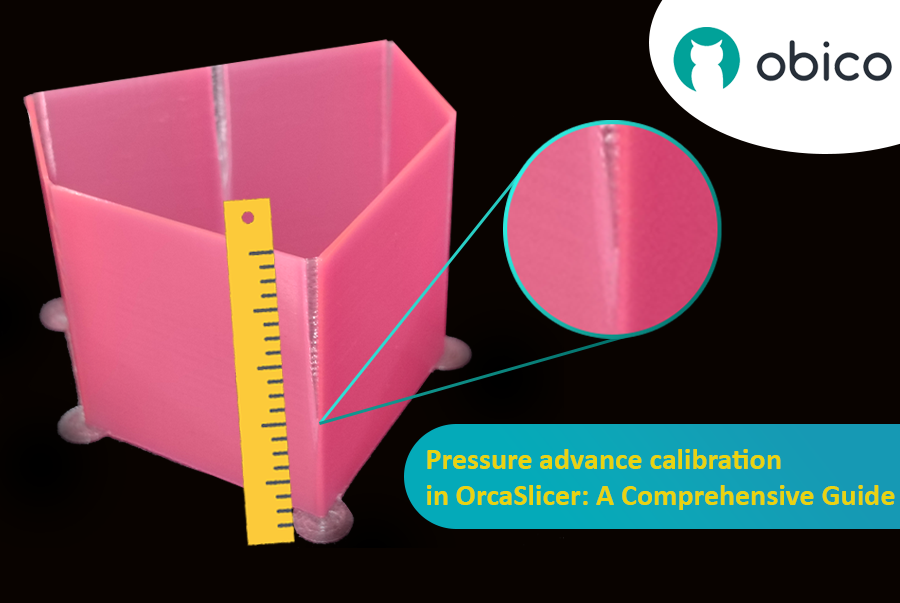
Imaginez que vous dessinez avec un stylo qui renverse parfois trop d'encre, parfois très peu. En impression 3D, un phénomène similaire peut se produire lorsque votre imprimante se déplace rapidement et modifie sa vitesse : cela peut perturber la quantité de plastique produite.

Calibrage de l'avance de pression dans OrcaSlicer : un guide complet

Mais pourquoi votre imprimante perturbe-t-elle parfois la quantité de plastique qui sort ?

Dans une imprimante 3D, la sortie du filament dépend de la pression à l'intérieur de la buse. C'est comme un tuyau d'arrosage : il faut une pression d'eau suffisante pour que l'eau jaillisse. Lorsque l'imprimante accélère ou ralentit, par exemple dans les virages, la pression de la buse met un certain temps à rattraper son retard. Si l'imprimante avance trop vite, trop tôt, la quantité de filament sortant est insuffisante. Et si elle ralentit trop vite, la quantité de filament sortant est trop importante. Cela peut rendre les coins de votre impression un peu désordonnés, car l'imprimante n'a pas correctement ajusté le flux de filament aux changements de vitesse.

C'est là qu'intervient Pressure Advance. Cette fonctionnalité intelligente compense ces variations et garantit l'extrusion de la quantité de filament adéquate lorsque l'imprimante accélère ou ralentit. Grâce à cette fonction, votre imprimante gère mieux les transitions de vitesse, pour des impressions plus fluides et plus nettes, notamment dans les angles difficiles.

astuce

Try JusPrin, the first GenAI 3D printing tool built on OrcaSlicer.

Introduction au test de la tour de température avec OrcaSlicer

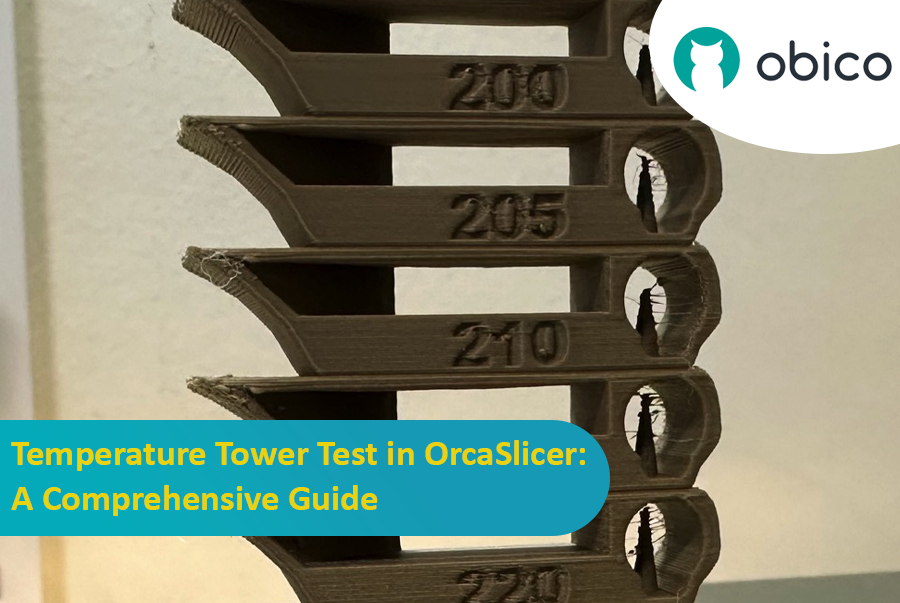
L'impression 3D est une technologie fascinante qui permet de créer des objets physiques à partir de modèles numériques. Cependant, pour obtenir les meilleurs résultats, vous devez affiner les paramètres de votre imprimante et optimiser les paramètres de vos filaments. L'un des facteurs les plus importants pour la qualité de vos impressions est la température.

La température affecte la fusion, l'écoulement et la liaison du filament aux couches précédentes. Une température trop basse peut entraîner une extrusion incorrecte du filament, ce qui peut entraîner une sous-extrusion, une mauvaise adhérence et des pièces fragiles. Une température trop élevée peut provoquer un suintement, des fils ou des déformations du filament, entraînant une surextrusion, des boursouflures et des déformations.

Test de la tour de température dans OrcaSlicer : guide complet

Pour trouver la température optimale pour votre filament, vous devez effectuer un test de tour de température.

Introduction

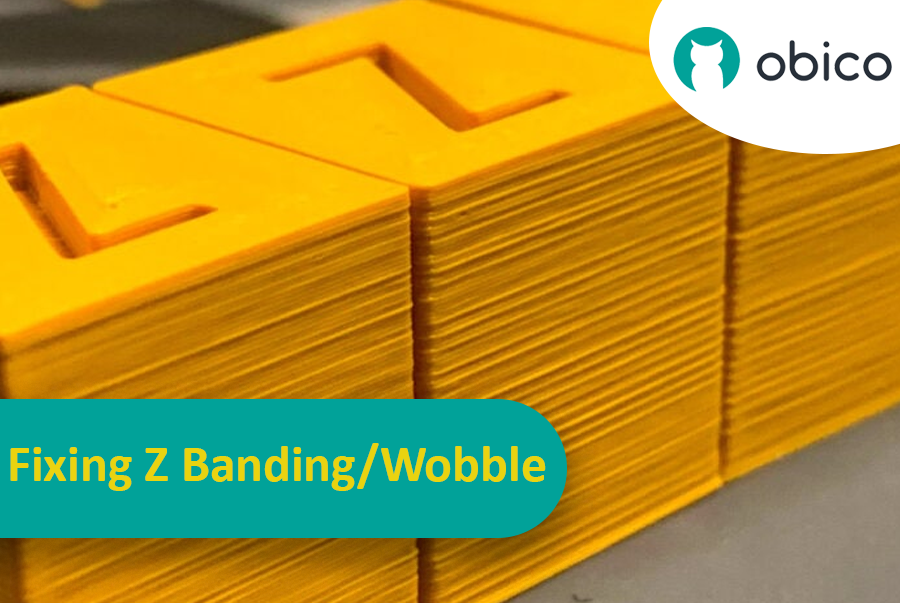
Imagine you've spent hours waiting for a 3D print to finish, only to find it has these unexpected and unwanted stripes or lines across it. This issue, known as Z banding, is a common headache in 3D printing. It's like when you're drawing a straight line but your ruler keeps slipping, leaving you with a jagged line instead of a smooth one. Z banding can make your 3D printed objects look striped instead of having a smooth, even surface.

Fixing Z Banding/Wobble: A Comprehensive Guide

But why should we care about fixing this? Well, these lines are not just a cosmetic problem. They can make your 3D printed items weaker and less functional. Think of it like building a tower with blocks; if the blocks aren't lined up properly, the tower won't be as strong. That's why it's important for anyone using a 3D printer, whether you're a hobbyist or a professional, to understand how to tackle this issue. This guide is here to help you do just that, turning those frustrating lines into a thing of the past and helping you get the best results from your 3D printing projects.