Klipper Ender 3 S1 - Installation and Setup Guide

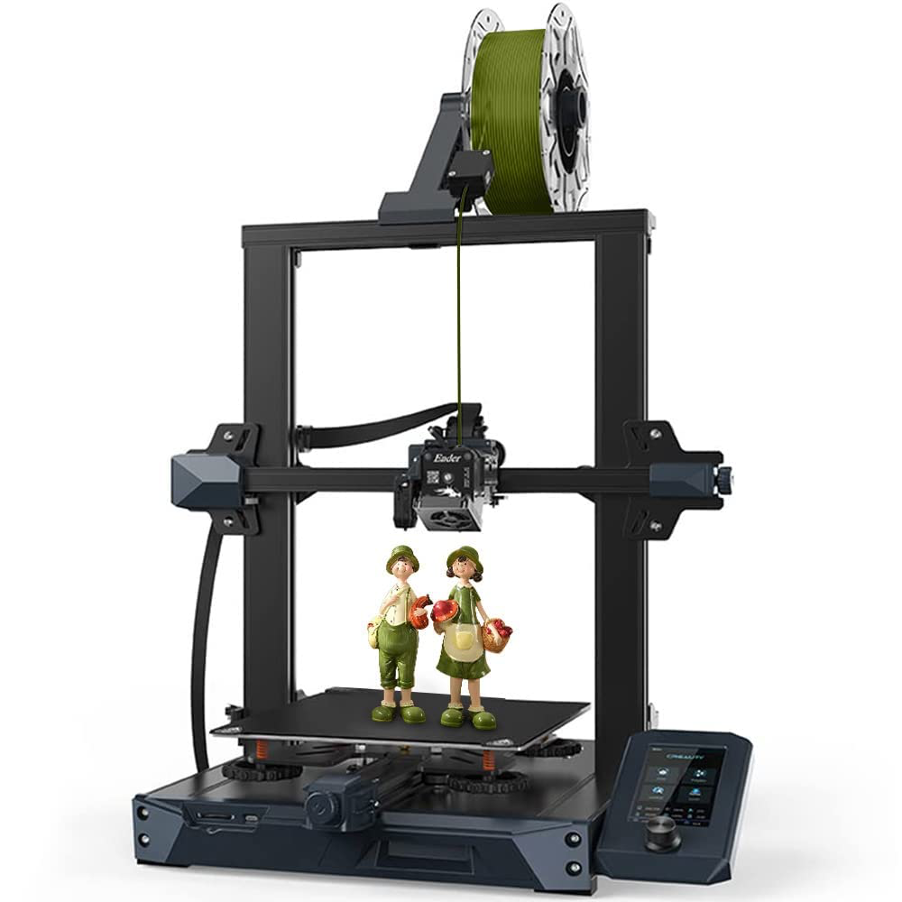
Creality Ender 3 S1 3D printer/Courtesy: Creality
Almost every 3D printer user wants to improve and enhance the performance of their machine. This desire to get better actually stems from a simple thought – to excel in the world of 3D printing. And one new solution to this urge is to install Klipper firmware on your 3D printer. But this is not as easy as it sounds. The effort to install Klipper on Ender 3 S1 is complicated and not for complete beginners.
Klipper, a cutting-edge firmware, is well-known for significantly increasing printing performance. The ability to offload complex calculations from the printer's limited microcontroller to a more powerful external computer, typically a Raspberry Pi, is its main strength. This results in faster print speeds, higher print quality, and greater precision, making it a popular upgrade among 3D printing enthusiasts.
Klipper's advanced features can benefit the Ender 3 S1, which is known for its sturdy construction and dependable printing. This includes improved model handling and the ability to fine-tune print settings in real-time. Users can unlock the Ender 3 S1's full potential by installing Klipper, pushing the boundaries of what is possible in desktop 3D printing.
The purpose of this guide is to demystify the installation process by providing a step-by-step approach to outfitting your Ender 3 S1 with the powerful Klipper firmware.