Saltar al contenido principal

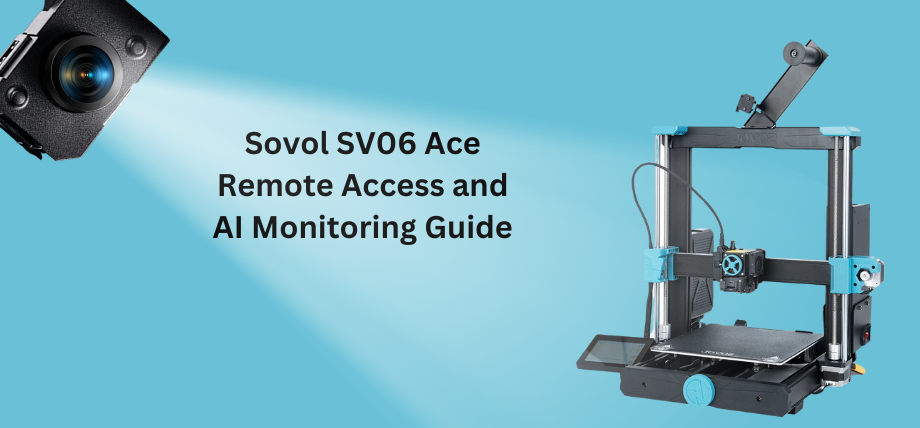
Sovol SV06 ACE - Klipper Remote Access and AI

· 10 min de lectura

If you've been using 3D printers for a while, you'll know there's a way to remotely control prints, check on progress, and perhaps even optimize your printer's movement for smoother running.

But how exactly can you do that?

It's impossible without getting slightly technical, but it's all worth the faster print times and advanced motion control. The quickest answer is–Klipper firmware.

Klipper is an open-source firmware based on Python developed to handle the advanced changes in 3D printing hardware. Normally, 3D printers come with a standard firmware hardcoded onto the on-board memory and any configuration change requires firmware installation, like solving a labyrinth. Instead, Klipper firmware can be edited, and modified and a simple device restart applies the changes.

It's compatible with many 3D printers and you can check the complete list here. Klipper pairs with these common printers:

  • Creality

  • Sovol

  • Pursa

  • Anycubic

    You have set up Klipper and the Moonraker API correctly, and it is connected to your printer. An interface such as Mainsail/Fluidd is highly recommended.

Sovol SV06 Ace - Klipper remote control and AI

What Is Remote Access Using Klipper?

Remote access or remote controlling your 3D printer allows you to monitor (in real-time), control, manage print files, and receive updates about your print from a distance. Remote access using Klipper works through a web-based interface requiring your phone or computer and a 3D printer connected to the internet.

That's slightly unsecure, but there are other ways like port forwarding and bots and then there's Obico.

Obico offers everything that comes with remote access plus, smart monitoring, AI error detection, print optimization, file management, and cloud-based storage. It's entirely open-source and you can even set up your own local server and have hybrid access or a fall-back option.

SOVOL SV06 ACE Klipper Integration

Previous Sovol printers like the SV06 are based on a Marlin control board which runs entirely on the printer's micro-controller. Marlin is the old architecture for 3D printers and faces performance issues because Marlin firmware does not meet the advanced hardware capabilities of printers.

There are ways to upgrade to a Klipper firmware which involves using a Raspberry Pi controller, or a tablet. However, now you can also use Klipper touchscreens such as the one provided by Sovol which simplifies the upgrade.

Sovol SV06 ACE comes with pre-installed Klipper integration, so you don't have to go through the Raspberry Pi guides found on the internet for your Sovol printer.

Klipper Integration

Download, Install, and Setup Bambu Studio – Step-by-Step Guide

· 6 min de lectura

What is Bambu Studio?

If you’re into 3D printing, or just dipping your toes into it, you’ve probably come across Bambu Studio.

But what is it, exactly?

In simple terms, Bambu Studio is a 3D printing slicer software that acts as the bridge between your creative ideas and your printer.

It’s designed to be user-friendly, so you don’t need anything like a PhD in 3D printing to get started. Yet, it’s packed with advanced features (like multi-material support) that will help you handle complex projects very easily. And its slicing engine? It’s not just fast, it’s also smart and is designed to ensure your prints come out just the way you envisioned them.

It’s also compatible with a variety of 3D printers, such as Bambu Lab’s X1 series and P1P, along with other popular models from brands like Creality and Prusa.

Let’s dive into how to get it up and running!

Instalar Bambu Studio en Linux

· 9 min de lectura
tip

Try JusPrin, the first GenAI 3D printing tool built on OrcaSlicer.

Bambu Studio, lanzado en 2022 junto con la impresora 3D Bambu Labs X1, es un software de corte de código abierto basado en PrusaSlicer (que, a su vez, se basaba en Slic3r).

Naturalmente, es el arma preferida por las impresoras 3D de Bambu Labs en todo el mundo, debido a su perfecta integración con toda la gama de máquinas de Bambu Labs.

Cuando se lanzó, estaba disponible exclusivamente para ordenadores con sistemas operativos Mac OS y Windows. Si querías ejecutarlo en Linux, prácticamente tenías que intentar ejecutarlo en una capa de compatibilidad (como WINE) o en una máquina virtual (como VMware o VirtualBox).

La buena noticia para algunos usuarios de Linux es que, desde marzo de 2023, Bambu Studio está disponible específicamente para Ubuntu y Fedora. Así que, si eres usuario de Fedora o Ubuntu y quieres instalar Bambu Studio en tu sistema Linux, sigue leyendo para saber dónde obtenerlo y cómo instalarlo.

Hay dos formas de instalar Bambu Studio en Linux:

  • Instalación de Bambu Studio con Flatpak
  • Instalación de Bambu Studio en Ubuntu/Fedora desde una AppImage

Instalando Bambu Studio con Flatpak

Primero, empecemos con la opción fácil: instalar con Flatpak. Flatpak es ideal para quienes no desean instalar un montón de dependencias ni compilar el software ellos mismos. Esta podría ser la mejor opción para la mayoría, ya que, según diversos foros (GitHub y Reddit), instalar las dependencias y compilar puede producir resultados algo dispares.

nota

Important Note for Users of Ubuntu 23.10 and Upwards

With the release of Ubuntu 23.10 (and newer versions), the default app store is App Center, which does not support installing Flatpak apps. Installing the Flatpak plugin will automatically install the deb-based GNOME Software app as your new software center, which will enable you to use both Flatpak and traditional deb packages. The step to achieve this is described in the process below.

Los siguientes pasos son los que debe seguir para instalar Bambu Studio en Ubuntu/Fedora con FlatPak. Tenga en cuenta que Flatpak ya está instalado en Fedora, por lo que puede pasar directamente al paso 6. Los usuarios de Ubuntu deben comenzar desde el paso 1 si Flatpak aún no está instalado.

1) Instalar Flatpak

Primero, necesitas instalar FlatPak. Simplemente abre la aplicación Terminal y ejecuta:

sudo apt install flatpak

2) Instalar el complemento Flatpak del software GNOME

La instalación del complemento Flatpak de GNOME Software le permitirá instalar aplicaciones Flatpak a través de una GUI.

Ejecute el siguiente comando para instalar el complemento:

sudo apt install gnome-software-plugin-flatpak

3) Agregar el repositorio de Flathub

Ahora que su distribución de Linux puede instalarse con Flatpak, necesitará un repositorio para encontrar sus aplicaciones Flatpak. Flathub es el más común.

Para habilitarlo, ejecute:

flatpak remote-add --if-not-exists flathub https://dl.flathub.org/repo/flathub.flatpakrepo

Este comando agrega Flathub como un control remoto Flatpak, lo que le permite acceder a miles de aplicaciones.

4) Reinicie su sistema

Para que los cambios surtan efecto, se recomienda reiniciar el sistema:

sudo reboot

5) Verificar la instalación de Flatpak

Para garantizar que Flatpak esté instalado y funcionando correctamente, ejecute el siguiente comando:

flatpak --version

Debería ver el número de versión de Flatpak mostrado en la terminal.

6) Instalar Bambu Studio

Ahora que se han instalado los requisitos previos, puedes continuar y acceder a Bambu Studio a través de Flathub:

flatpak install flathub org.bambu.BambuStudio

7) Ejecutar Bambu Studio

Después de esperar a que se instale Bambu Studio, ahora puedes ejecutarlo escribiendo lo siguiente:

flatpak run org.bambu.BambuStudio

Así que aquí está la forma más sencilla y efectiva de instalar Bambu Studio en equipos Linux. Por supuesto, una ventaja de usar la versión FlatPak es que también es relativamente fácil de actualizar.

Aquí te explicamos cómo puedes asegurarte de que tu versión Flatpak de Bambu Studio esté actualizada.

Simplemente actualice todas sus aplicaciones Flatpak con este comando:

flatpak update

O, si desea actualizar Bambu Studio por sí solo, escriba lo siguiente:

flatpak update com.bambulab.BambuStudio

Método alternativo de descarga de Bambu Studio

También puedes descargar Bambu Studio desde Directorio de Flathub.

Otra forma de instalar el programa de corte Bambu Lab es usando los archivos de instalación oficiales en Flathub. Comprueba la insignia de verificación junto al usuario que subió el archivo y haz clic en Instalar.

Después de descargar los archivos de instalación de Bambu Studio, copie el nombre del archivo de instalación y use este comando en la terminal de la ubicación de descarga.

BLOQUE DE CÓDIGO_9 !ENLACE_4

Instalación de Bambu Studio en Ubuntu/Fedora desde una AppImage

Su otra opción (más complicada) para instalar Bambu Studio en los sistemas operativos Ubuntu y Fedora es utilizar AppImage, de Github.

Hay muchos informes en varios foros sobre este método que a veces ofrece resultados poco deseables, por lo que le recomendamos que opte por la versión Flatpak.

Tenga en cuenta que el proceso es el mismo para Fedora y Ubuntu, pero es posible que deba deshabilitar SELinux en Fedora, ya que a veces puede interferir con las instalaciones de AppImage.

1) Obtener la imagen de la aplicación

Primero, deberá descargar la AppImage desde el GitHub de Bambu Labs aquí.

Aquí encontrarás varias versiones de Bambu Studio. También puedes encontrar versiones anteriores de las AppImages de Bambu Studio y actualizar a una versión anterior. En este recurso, encontrarás archivos para Mac, Windows y Linux. Según tu distribución, puedes seleccionar la AppImage de Ubuntu o Fedora.

2) Mueva AppImage a una carpeta adecuada

A continuación, deberá colocar su AppImage en algún lugar conveniente (como su carpeta ~/Aplicaciones).

mkdir -p ~/Applications
mv ~/Downloads/BambuStudio-*.AppImage ~/Applications/

3) Hacer que AppImage sea ejecutable

Hay un par de formas de hacer que su AppImage sea ejecutable.

Primero, localiza tu AppImage en la carpeta donde la acabas de mover. Haz clic derecho en ella y selecciona "Properties" en el menú emergente.

Luego, vaya a la pestaña "Permissions" en la ventana Propiedades y marque la casilla "Allow executing file as a program". Cierre la ventana Propiedades y continúe con el siguiente paso.

El segundo método es utilizar la Terminal para apuntar a la carpeta Aplicaciones y luego hacerla ejecutable.

cd ~/Applications
chmod +x BambuStudio-*.AppImage

4) Ejecute la AppImage ejecutable

Ahora que tu AppImage es ejecutable, puedes simplemente hacer doble clic en ella para instalarla, o puedes usar la terminal escribiendo la siguiente línea:

./BambuStudio-*.AppImage

Eso es todo. Con suerte, tu AppImage de Bambu Studio debería funcionar. Si no funciona, es posible que a tu sistema le falten algunas dependencias. En ese caso, deberías recibir un mensaje de error indicando qué falta y deberías instalar las dependencias que faltan.

Pasos adicionales

Corrección de compatibilidad para Ubuntu 24.x

Al ejecutar Bambu Studio AppImage, es posible que falten bibliotecas. Bambu Studio requiere libwebkit2gtk, que podría estar reemplazada por otras versiones o no estar disponible en su equipo.

Para resolver esto, puede crear enlaces simbólicos para estas bibliotecas específicas usando este comando en la terminal.

sudo ln -sf /usr/lib/x86_64-linux-gnu/libwebkit2gtk-4.1.so.0   /usr/lib/x86_64-linux-gnu/libwebkit2gtk-4.0.so.37
sudo ln -sf /usr/lib/x86_64-linux-gnu/libjavascriptcoregtk-4.1.so.0 /usr/lib/x86_64-linux-gnu/libjavascriptcoregtk-4.0.so.18

Dado que el cortador de impresora 3D busca libwebkit2gtk, ahora se redirigirá a la versión más nueva de la misma biblioteca disponible en Ubuntu 24.x

Configuración de Bambu Studio

Después de ejecutar con éxito Bambu Studio, aún deberá conectar su impresora 3D, instalar complementos de red e iniciar sesión en su cuenta.

Seleccione su impresora 3D

Bambu Studio ofrece una gama de impresoras 3D compatibles con esta cortadora, pero funciona mejor con las impresoras Bambu Lab. En esta etapa, puede seleccionar la impresora y las boquillas que desee.

Selección de filamento

Dependiendo de su impresora, puede seleccionar todas o algunas de las opciones de filamento. Si tiene la capacidad de imprimir con carbono, como la Bambu Lab X1 Carbon, también puede seleccionar carbono junto con las opciones PLA, Mate y Seda.

Completar la configuración

Tras completar las opciones iniciales, su Bambu Studio debería verse así. Para terminar de configurar la impresora, vaya a la pestaña "Preparar".

También puede seleccionar su tipo de PLA desde la barra lateral y crear un ajuste preestablecido personalizado que puede guardar para impresiones repetidas más adelante.

Calibración de la impresora

Las impresoras Bambu Lab funcionan de maravilla desde el primer momento, pero generalmente es recomendable calibrarlas antes de imprimir la primera pieza. Puedes seguir esta guía para calibrarlas. Abarca la nivelación de la cama, la calibración del caudal y muchos otros consejos básicos.

Preguntas frecuentes

¿Bambu Studio es gratuito?

Bambu Studio es un software de corte gratuito como Cura y ofrece perfiles personalizables y gestión de impresión 3D.

¿Cómo descargo una versión anterior de Bambu Studio?

Para descargar una versión anterior de Bambu Studio, puedes consultar el repositorio de GitHub y encontrar el título de la versión anterior que buscas. Puedes descargar el archivo ejecutable y realizar una nueva instalación.

¿Existe una aplicación de Bambu Lab?

Bambu Lab cuenta con una aplicación móvil, diferente de Bambu Studio, que permite ajustar el caudal, recibir notificaciones e iniciar y pausar impresiones. Bambu Studio es compatible con otras impresoras 3D, pero la aplicación móvil es específica para las impresoras Bambu Lab.

¿Qué tipos de archivos admite Bambu Studio?

Bambu Studio admite archivos G-code estándar, como .bambu y .3mf. El rebanador puede trabajar con una gran variedad de archivos de piezas 3D, como STL, OBJ, FPP y AMF.

Observaciones finales

Algunas funciones de Bambu Studio requieren componentes nativos de Windows para funcionar (como la Reparación de Malla). Al reparar archivos STL en Bambu Studio en un equipo Windows, se utiliza el software Windows 3D Builder para detectar errores y repararlos. Esta función se perderá en un sistema Linux.

Es posible que también falten otras funciones, pero si te sirve de consuelo, los usuarios de Mac también echan en falta algunas de estas funciones.

Si desea compilar Bambu Studio desde cero, hay una guía útil en este enlace, pero recomendamos usar el método Flatpak: es más fácil de instalar y también de actualizar.

Lamentablemente, Bambu Labs no ha publicado una guía extensa para la instalación en máquinas basadas en Linux, pero esperamos que nuestra pequeña guía le ayude a comenzar.

¡Buena suerte y diviértete con tu nuevo segmentador de datos en Linux!


Also available in: Deutsch | English | Français | Italiano | Nederlands | Polski | Português | Русский

Input Shaping: What it is and How to Use it

· 5 min de lectura

Over the past decade, the hobbyist 3D printing community has seen several technological advances that have increased the quality and speed of hobby-level printing by leaps and bounds. One of these advances has been input shaping. Input shaping has the ability to make your 3D printer faster and more accurate, and the best part of all is that it’s incredibly cheap and easy to implement! In this article we’ll discuss what input shaping is, as well as how to use it.

A photo showing two 3DBenchys

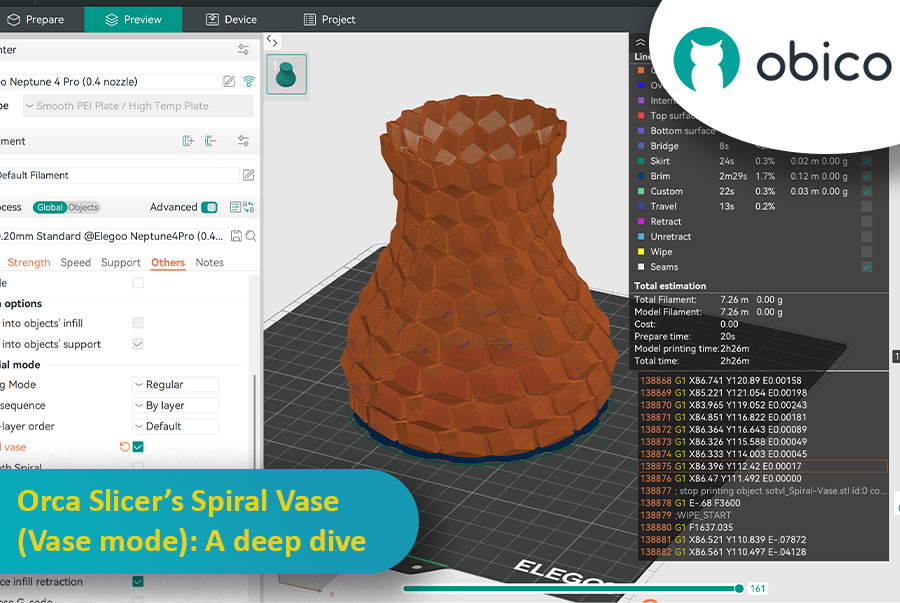
Orca Slicer’s Spiral Vase (Vase Mode): A Deep Dive

· 17 min de lectura

Introduction

If you’ve ever wondered how people create those gorgeously smooth, hollow prints that look like ceramic vases straight from an artisan’s studio, you’re about to discover their secret. It’s called Spiral Vase Mode, and it can turn your 3D printer into a wizard of single-wall printing. Picture your extruder gliding in one continuous loop around a shape, steadily building a spiral from the bottom up. Gone are the days of multiple perimeters, infill grids, and cluttered top layers. In their place, you’ll find a single, graceful helix of filament that forms a delicate but surprisingly impressive object.

Orca Slicer’s Spiral Vase (Vase Mode): A Deep Dive

For many 3D printing enthusiasts, vase-mode prints represent a sweet spot between practicality and artistry. They can be quick to produce, visually striking, and mesmerizingly smooth on the surface. In short, they’re different from your average print. And thanks to Orca Slicer—a slicer admired for its user-friendly design and flexible feature set—accessing Spiral Vase Mode has never been simpler.

This guide will walk you through everything you need to know about Spiral Vase Mode in Orca Slicer. We’ll talk about what it is, why it’s so popular, and how to set it up. We’ll also cover vital details about nozzles, layer heights, water-tightness, tricky designs, and the all-important calibration steps. By the end, you’ll be ready to bring your own vase-mode dreams to life. Whether that’s a lamp, a prototype shell, a decorative piece, or an actual vase you can put flowers in, is entirely up to you.

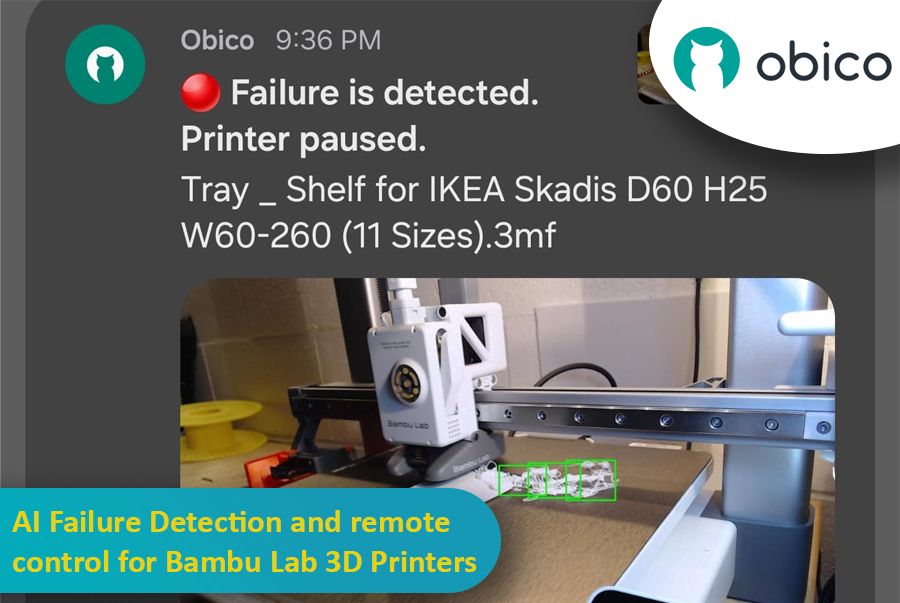
AI Failure Detection and Remote Control for Bambu Lab 3D Printers

· 17 min de lectura

So, you’ve got a Bambu Lab 3D printer—maybe a fancy X1 Carbon, or maybe a more modest A1 or P1P—and you’re absolutely in love with how quickly and smoothly it prints. These machines are kind of like the Ferraris of the consumer 3D printing world, right? Super-fast, often come with neat features like built-in cameras, enclosed builds, multi-color printing capabilities, and even some AI-based magic that tries to detect when your print turns into the dreaded “spaghetti monster.” You know what I’m talking about: that moment when your once-promising print becomes a pile of tangled filament resembling something you’d serve with meatballs.

 AI Failure Detection and Remote Control for Bambu Lab 3D Printers

But here’s the catch: Not all Bambu Lab printers have the same level of AI detection built in. Models like the Bambu X1 Carbon are decked out with advanced AI spaghetti detection and even LiDAR to inspect that first layer. Meanwhile, other models—like the Bambu A1 series or the P1P—lack AI features altogether. Maybe you went from a Creality printer that you’d meticulously set up with OctoPrint and had all sorts of plugins running, including advanced failure detection. Then you jumped ship to a Bambu Lab machine and realized you miss that robust ecosystem. Or maybe you just love tinkering and want to integrate Obico’s AI-based spaghetti detection and remote monitoring into your Bambu workflow.

Well, good news: With a bit of creativity, a spare single-board computer (like a Raspberry Pi or Orange Pi), a camera (such as a trusty old Logitech C920), and some software tweaking, you can get AI failure detection working via Obico on your Bambu printer—no matter which model you have. This can transform your Bambu printer setup into something that feels both luxurious and smart, catching failures before they waste days of print time and tons of filament.

In this “case study” or super-long how-to, I’ll walk you through a scenario: Let’s imagine you have a Bambu A1 printer. You love it, but you want AI failure detection similar to what you might have had with other printers integrated with Obico. We’ll talk about using OctoPrint as a virtual “bridge,” installing plugins, setting up a camera, and linking everything to Obico’s cloud so you can watch your prints from anywhere, get notifications if something goes wrong, and even pause or stop the printer remotely. And if you’re on a higher-tier Bambu like the X1 Carbon, you might not need this as much—but it’s still super cool to have another layer of AI detection from Obico’s machine-learning setup.

I’ll also share some links to relevant GitHub repos, documentation pages, and other helpful guides.

QIDI Plus4 - Klipper Remote Access and AI

· 15 min de lectura

The QIDI Plus4 is not just a 3D printer; it’s a game changer for those who want precision, reliability, and advanced features. Whether you are a hobbyist or a professional, the QIDI Plus4 has features that will take your entire printing experience to the next level. Pre-installed with Klipper firmware, equipped with a heated chamber, and packed with intelligent monitoring capabilities, this amazing 3D printer ensures that your prints are accurate, consistent, and efficient.

QIDI Plus4 3D printer in action with remote and AI capabilities

In this article, we will go in-depth on the QIDI Plus4 features and guide you through setting up remote access and AI monitoring with Obico.

Introducing the New Prusa CORE One: A Revolutionary 3D Printer

· 12 min de lectura

The 3D printing world has just got a new game changer: the Prusa Core One. This is not just a new printer; it’s a leap forward in design, functionality, and performance. The new CORE One printer offers a CoreXY design, active chamber temperature control, and a host of user-focused innovations. It combines speed, precision, and versatility in a sleek, compact package.

Prusa Core One: The Revolutionary 3D Printer

Whether you are a hobbyist looking to expand your creative possibilities, a professional engineer in need of reliable prototypes, or a teacher exploring 3D printing, the Prusa CORE One has something for everyone.

Let’s take a closer look together at what makes this new printer a true standout.

Orca Slicer Filament Profiles and How to Make Your Own

· 15 min de lectura

3D printing is more than a hobby; it’s a tool for innovation, design, and creativity. As technology gets better, the tools we use to optimize the print process get better. Orca Slicer is one of the best slicing software options out there for users who want precision, efficiency, and customization. One of its many features is the ability to create and manage your own filament profiles, and that’s a game changer for getting great results every time.

Orca Slicer Filament Profiles and How to Make Your Own

In this article we’ll go deep into filament profiles in Orca Slicer, what they are, why they matter, and how you can create, fine-tune, and optimize your own custom profiles for your material.

JusPrin - The first GenAI 3D printing app

· 3 min de lectura

Back in 2019, I built The Spaghetti Detective. It was the first AI tool made specifically for the 3D printing community. Fast forward a few years, and we’re in the GenAI era. But there have been no GenAI apps for the 3D printing.

Well, that’s about to change. Meet JusPrin, the first GenAI app for 3D printing. No slicing. Just print.