Setup Obico on BTT Pi 2

This guide will show you how to link Obico on your BigTreeTech Pi 2. Thanks to the collaboration between BTT and Obico, Obico's software is pre-installed on the BTT Pi 2 giving all users access to AI failure detection and remote 3d printer access.
Link your printer to get access to webcam streaming, print status and failure notifications, 3D printer monitoring/control and more all from your phone.
If you prefer the video format over a text-based guide, we have also prepared this video tutorial.
Step 1: Sign up for an Obico account
Follow instructions in the "📱 Mobile App" tab if you are using the Obico mobile app, or the "🌐 Web App" tab if you are using the web app.
Your Obico account is the same for the mobile app and the web app. If you sign up for an account using the mobile app, you can sign in to the web app later with the same email and password. And vice versa.
All functions are available equally in the mobile and the web app. However, with the mobile app, you can receive push notifications on your phone to easily track the print progress, and get alerted in case a failure is detected.
- 📱 Mobile App
- 🌐 Web App
- Download the Obico app from the Apple App Store or Google Play Store.
- Open the mobile app. Click through the first time tour and then tap “Let’s Go!”.
- Simply tap "YES!" on the "Hardware Required" screen.
- Tap "Sign Up/Sign In" button to proceed to the sign up/sign in screen.
- Sign up with your email, Google or Facebook account. If you have already registered, click the "Sign In" button and sign in to your account.
If you are connecting to a self-hosted Obico Server, press the wrench icon (🔧) on the top-left corner of the sign-up screen to change the server address.
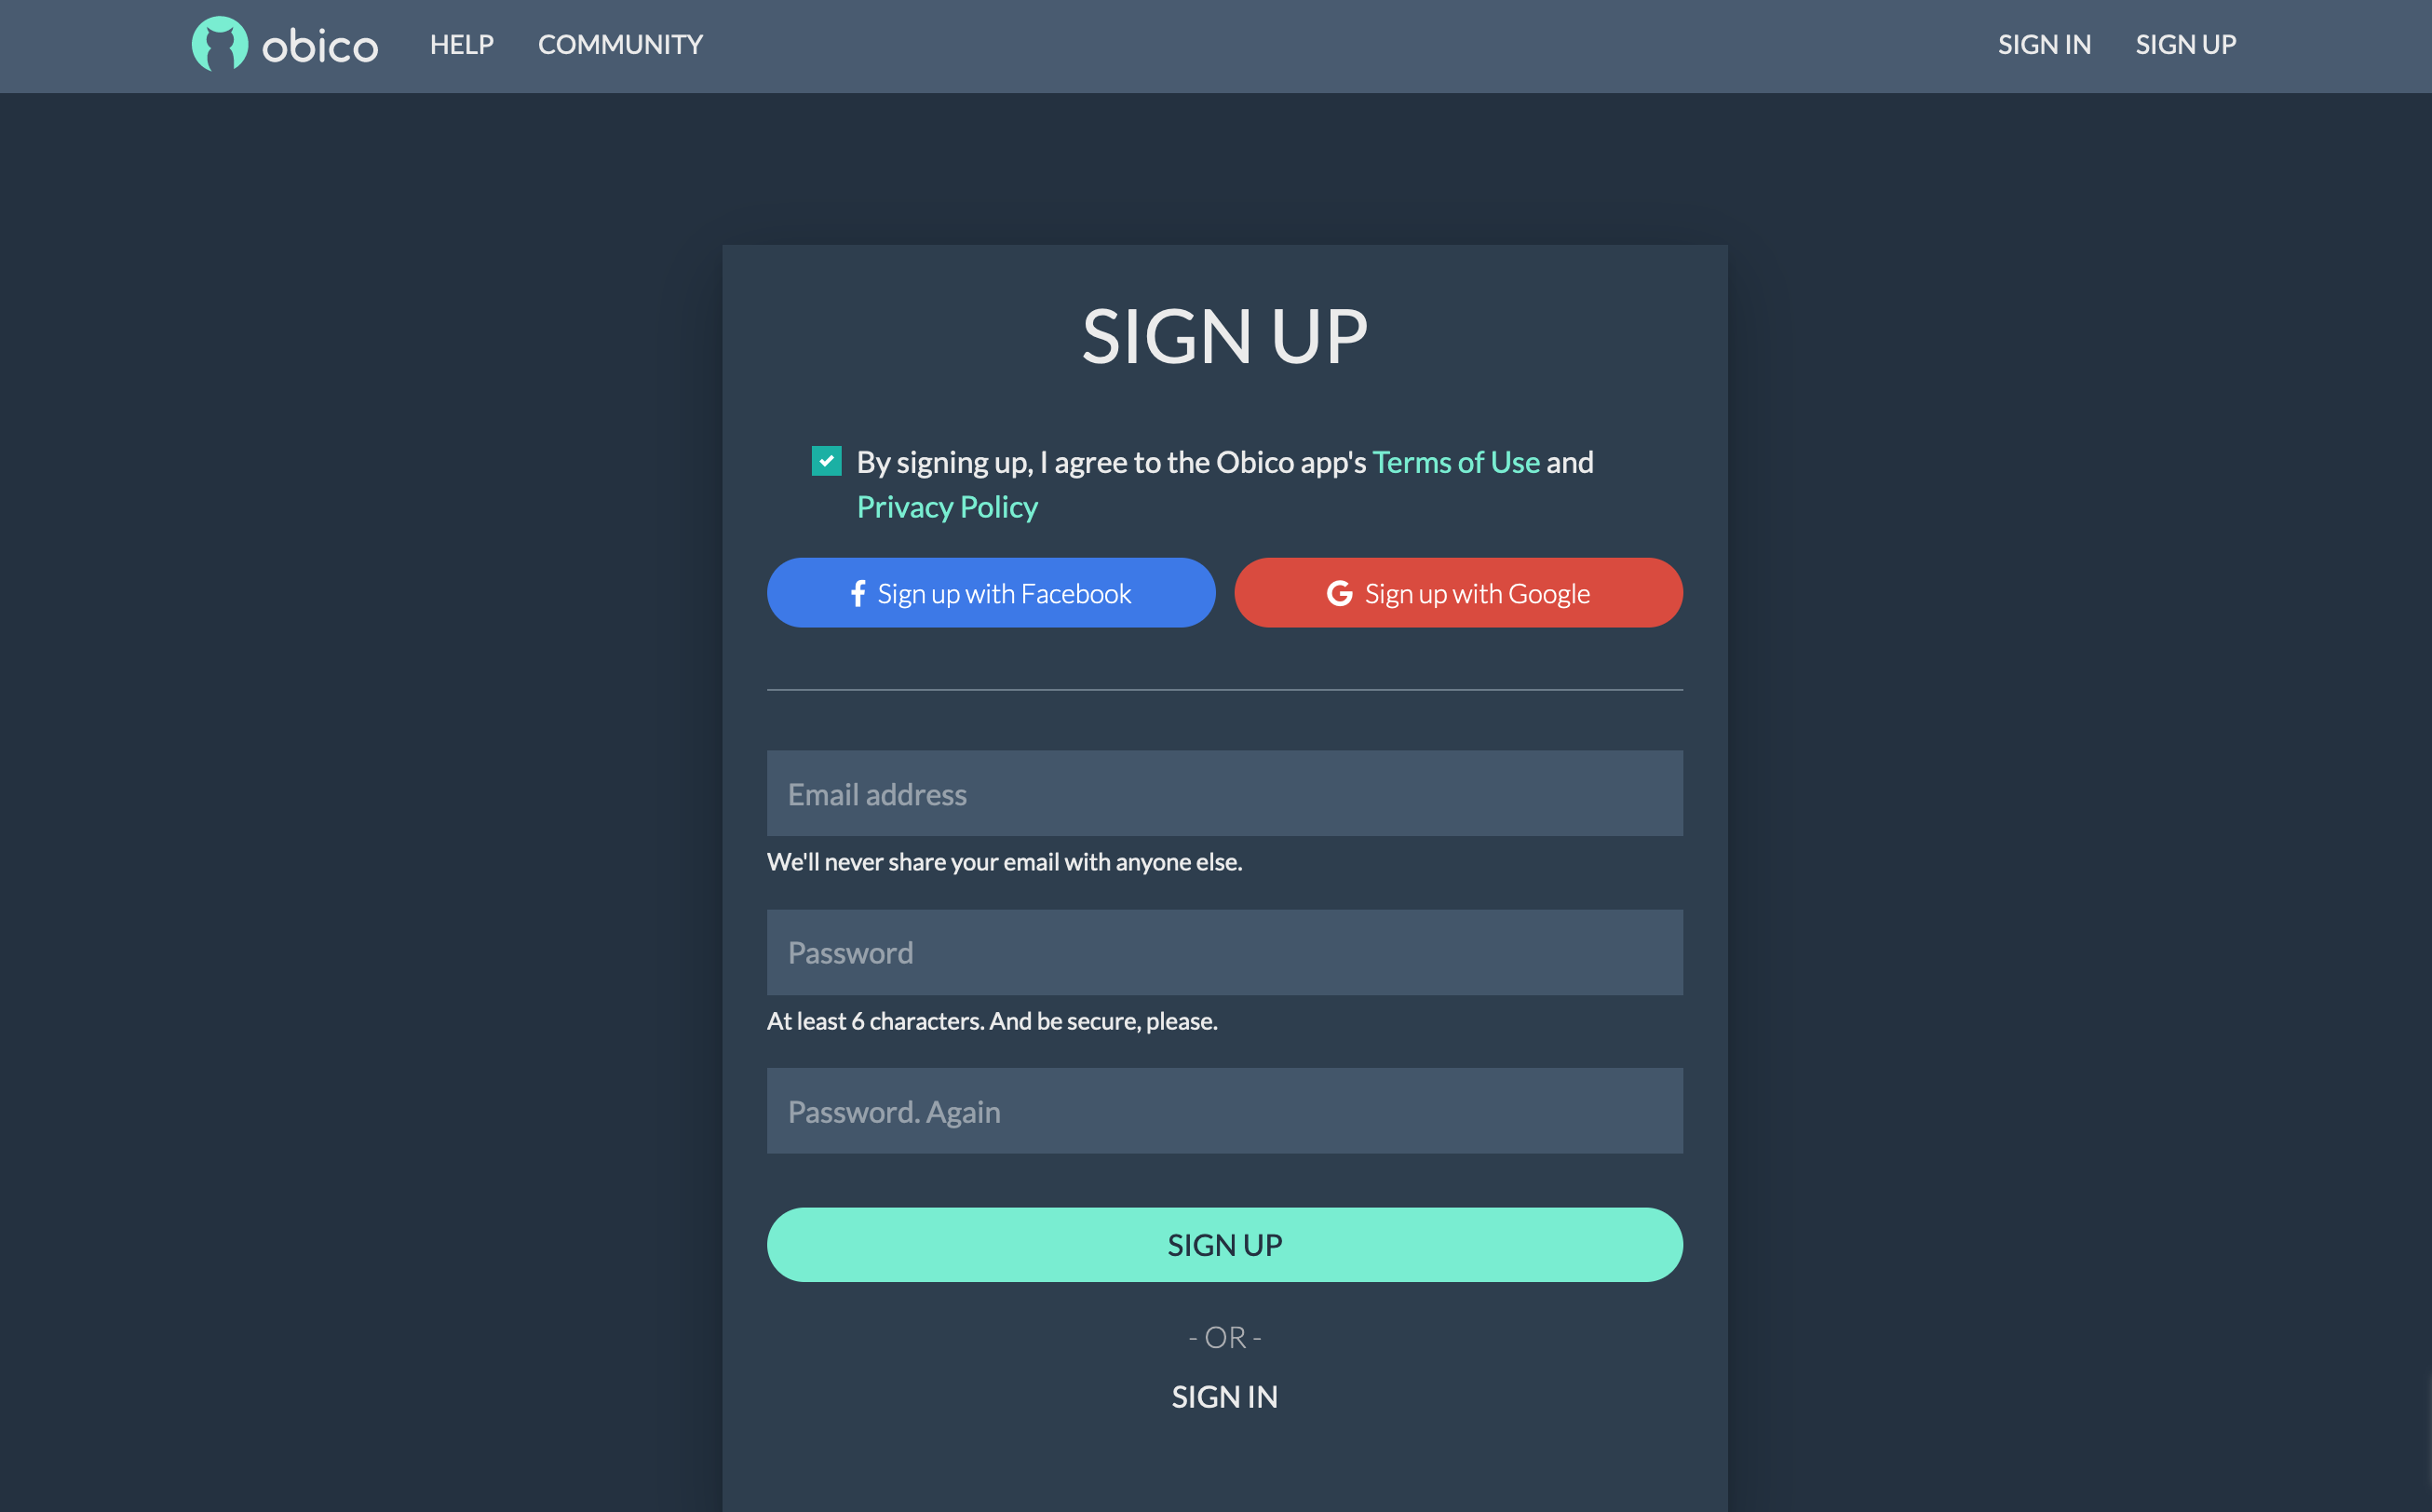
- Open the Obico Server sign up page in a new browser tab.
- Sign up with your email, Google or Facebook account. If you have already registered, click the "Sign In" button and sign in to your account.
Step 3: Launch the "Link Printer" wizard in the Obico app
If your phone or computer is one the the same local network as your Klipper is, the Obico app can find your Klipper machine automatically. This is the easiest way to link your printer to your Obico account.
- 📱 Mobile App
- 🌐 Web App
- Press "Link Printer" button on the welcome screen. If you don't see that screen, tap the menu icon (☰) on the top-left corner, and select "Link New Printer".
- Choose “BTT Pi 2” on the next screen.
- Click "Next"
- The app will start scanning for the Klipper printer connected to the same local network.
- If a printer is found, simply click the "Link" button and the app will do the rest for you.
If, however, the app can't find your Klipper printer after 1 minute of scanning, you need to follow the Manual Setup Guide to link your printer using a one-time passcode.
- Optionally, you can now give your printer a name. If you skip this step, your printer will have the default name "My Awesome Cloud Printer".
- On the welcome page, click the "Link Printer" button.
- Click "Generic Klipper" on the page that asks you to select a platform
- Click "Next"
- The app will start scanning for your Klipper connected to the same local network.
- If your Klipper printer is found, simply click the "Link" button and the app will do the rest for you.
If, however, the app can't find your Klipper printer after 1 minute of scanning, you need to follow the Manual Setup Guide to link your printer using a one-time passcode.
- Optionally, you can now give your printer a name. If you skip this step, your printer will have the default name "My Awesome Cloud Printer".
Step 4: Restart the BTT Pi.
Once the BTT Pi has booted up, you should be able to see your printer and the webcam stream in the Obico app.
What's next?
Check out your printer feed!
Press "Go Check Out Printer Feed!" to see everything you care about your printer: the webcam feed, heater temperature, time remaining on the print job, and more! Remember, you can see your printer feed anywhere you go, as long as you have an internet connection on your phone!
Test the magical failure detection!
The Detective sounds too magical to be true? See The Detective in action for yourself.
Change printer settings.
The default settings for your printer in The Spaghetti Detective are the ones that most users find the most reasonable. But feel free to tweak them to your liking:
- Change notification settings (mobile app only). By default you receive push notifications when The Detective finds something fishy, and for the status of whatever your printer is printing. But you can choose to receive a lot more.
- Change printer settings, such as if The Detective should pause your printer when a failure is detected.
Link Your Printer Manually With One-Time Passcode - Mobile and Web
Only follow this section if linking your printer automatically in step 3 did not work.
Link Your Printer Manually Using KlipperScreen
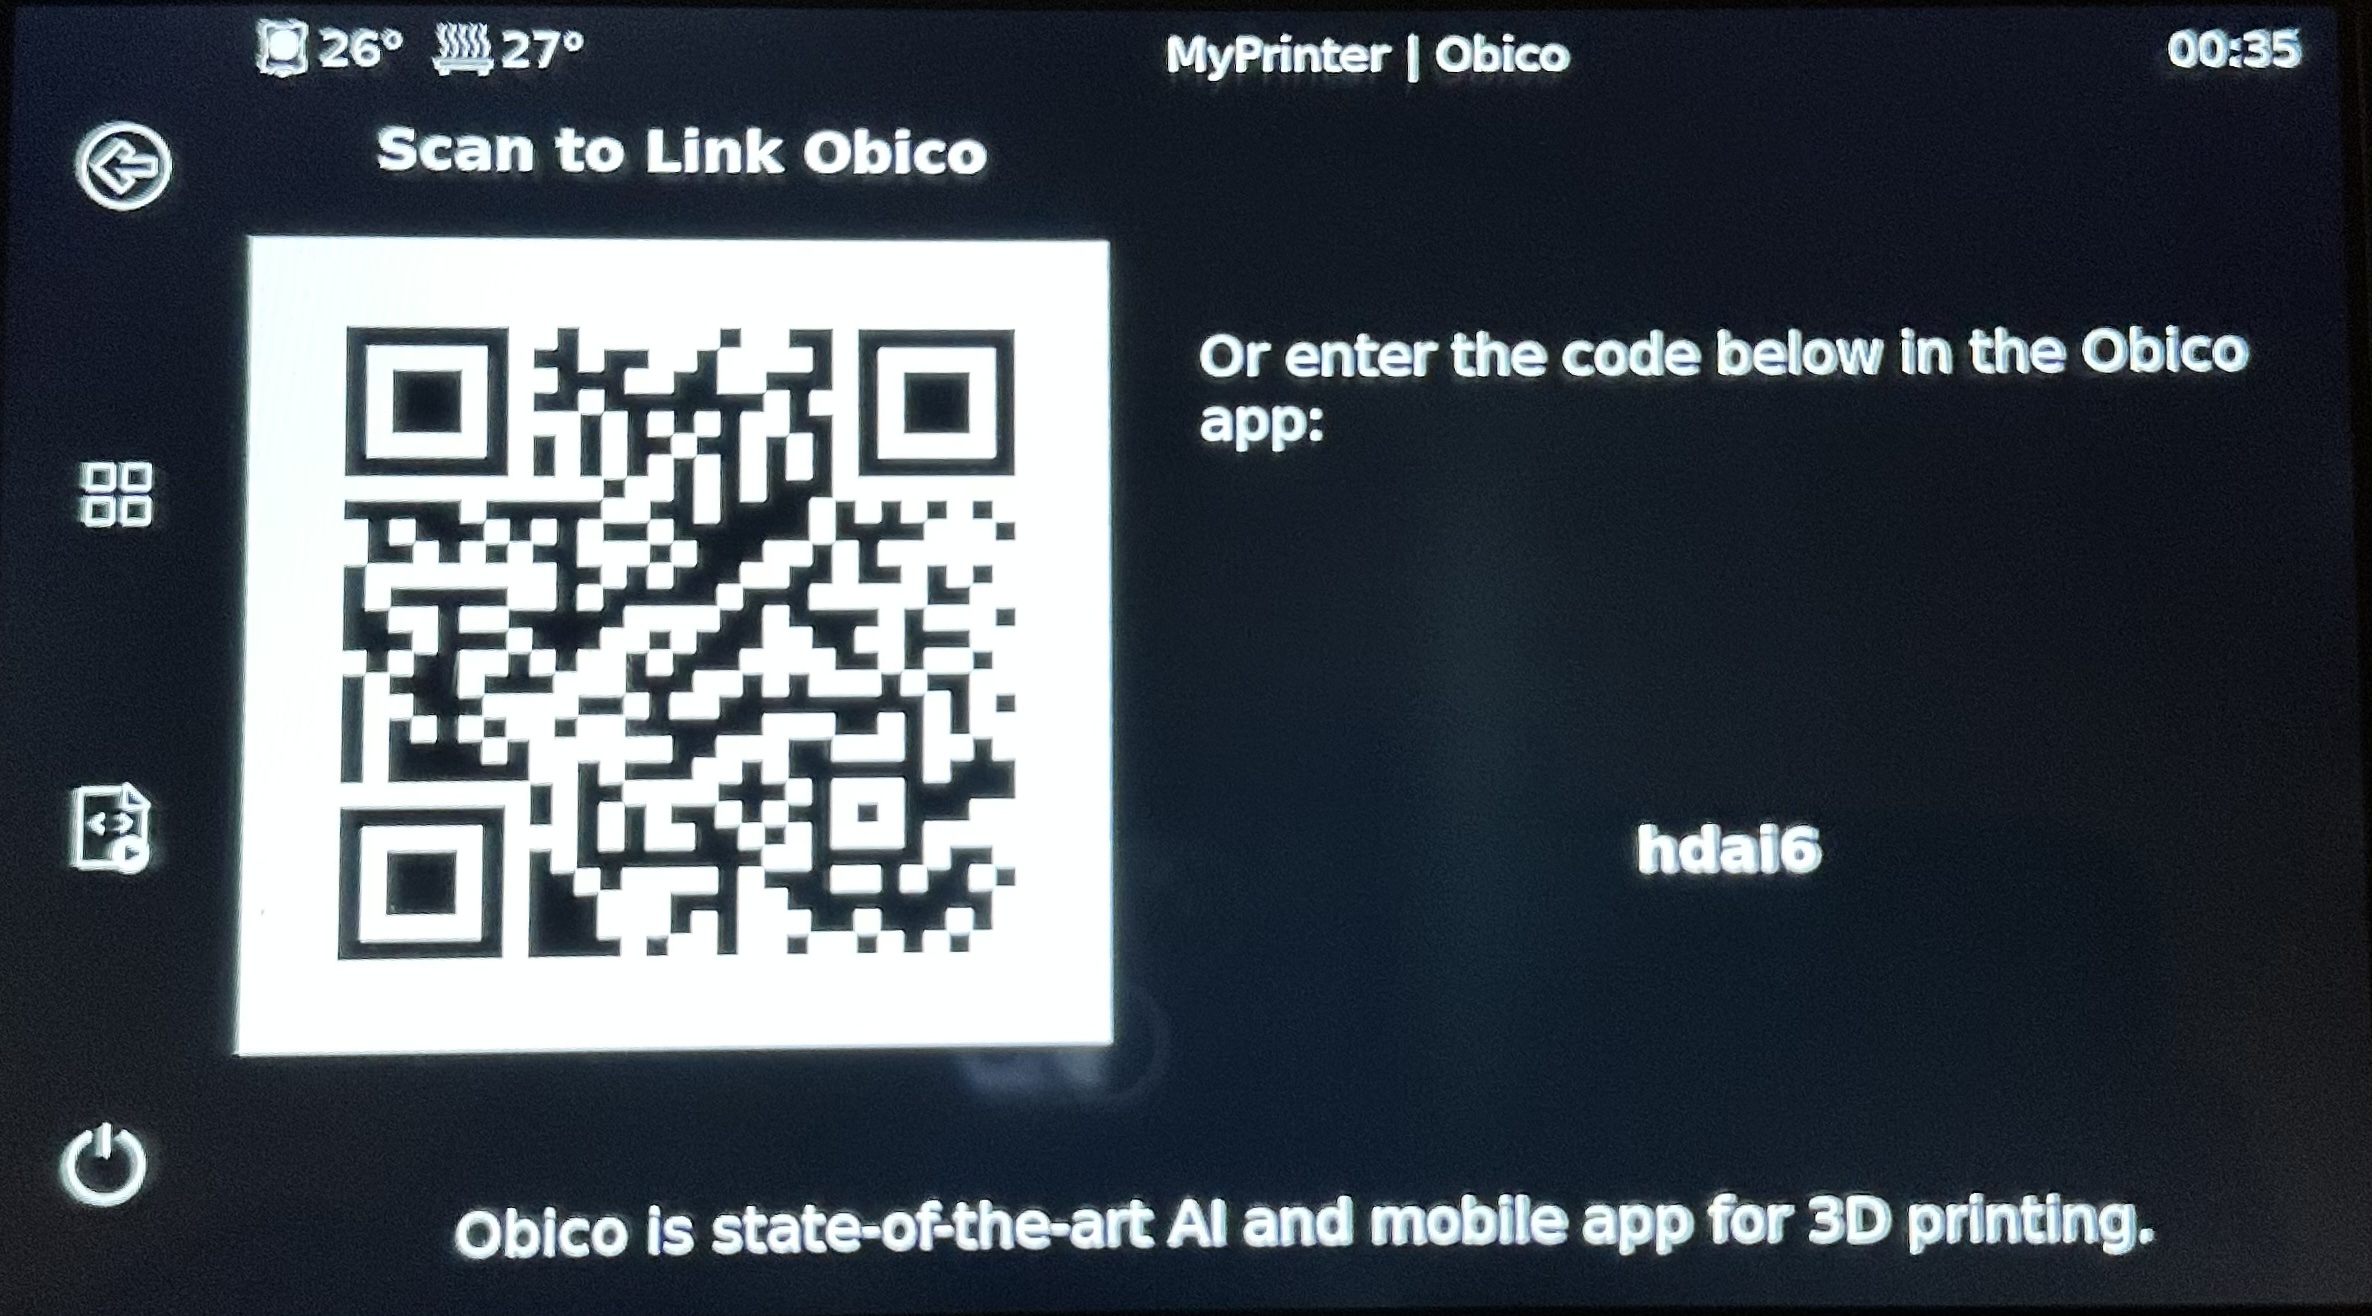
If you have KlipperScreen installed using the firmware provided by BigTreeTech, you can link your printer to Obico by scanning a QR code on your KlipperScreen.
- From the main printer dashboard in KlipperScreen, tap "More".
- Tap "Obico" Now you will see a screen with a QR Code.
- Go back to the printer scanning screen in the mobile app (from Step 3), tap "switch to manual linking".
- Tap "Touch Screen"
- Click "Allow" to give permission to allow the Obico app to access your camera.
- Aim the camera at the QR code on your KlipperScreen to link your printer.
- Go to step 4 of the setup guide to complete the installation.
Link Your Printer Manually Without KlipperScreen
If you are not using a screen or you are using the web app, you can get the one-time passcode to link your printer through SSH.
- Use a terminal to ssh to your BTT Pi 2
Username: Biqu
Password: Biqu
- Run the following commands
cd moonraker-obico
./install.sh
-
Follow the instructions given in the terminal
-
Go back to the printer scanning screen in the mobile app (from Step 3), tap "switch to manual linking".
-
Tap "KIAUH or ./install.sh"
-
Enter the one-time passcode shown on the terminal screen into the Obico app.
-
Go to step 4 of the setup guide to complete the installation.