Optimal camera and lighting setup for the best results
An optimal camera and lighting setup not only means you can see your prints clearly in the webcam feed, it also means The Detective can see prints clearly and detect print failures faster and more accurately.
What contribute to an optimal camera setup boil down to 3 things:
Let's go through them one by one.
Good Angle
A good angle for your camera means:
- the camera view covers most of the print volume of your printer;
- the extruder is not too close to the camera (otherwise it'll block a big chunk of the print volume);
- the camera view does not include too much background, especially if there are things in the background that can cause confusion to The Detective, such as loose wire, or scrap filaments.
Let's look at some good examples. Click on the images to view them in full size.
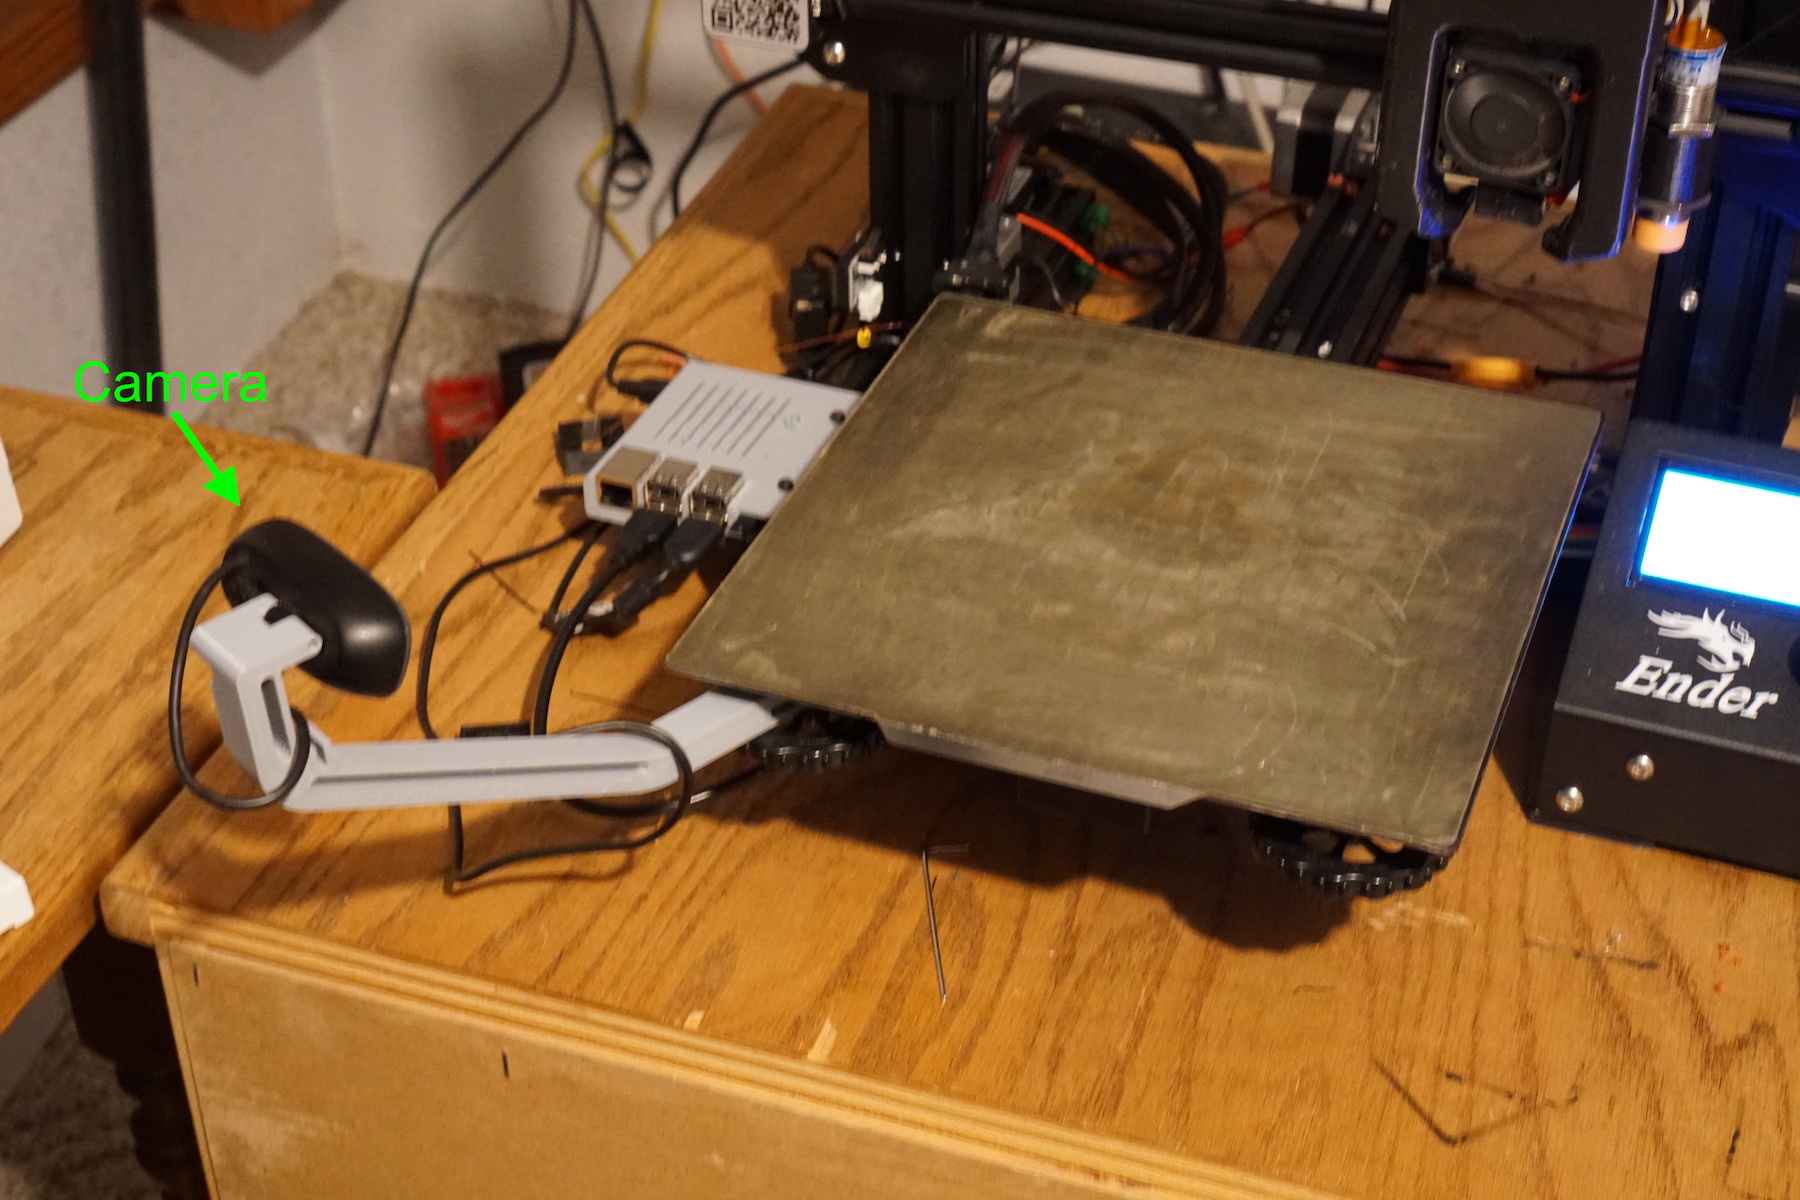
Good example: bed-mounted Logitech C270
A bed mounted camera (C270) to get a view of the bed. This is particularly nice as it always follows the bed around and keeps the same perspective no matter where the bed moves.
Get STL file for this camera mount – now with light clip!
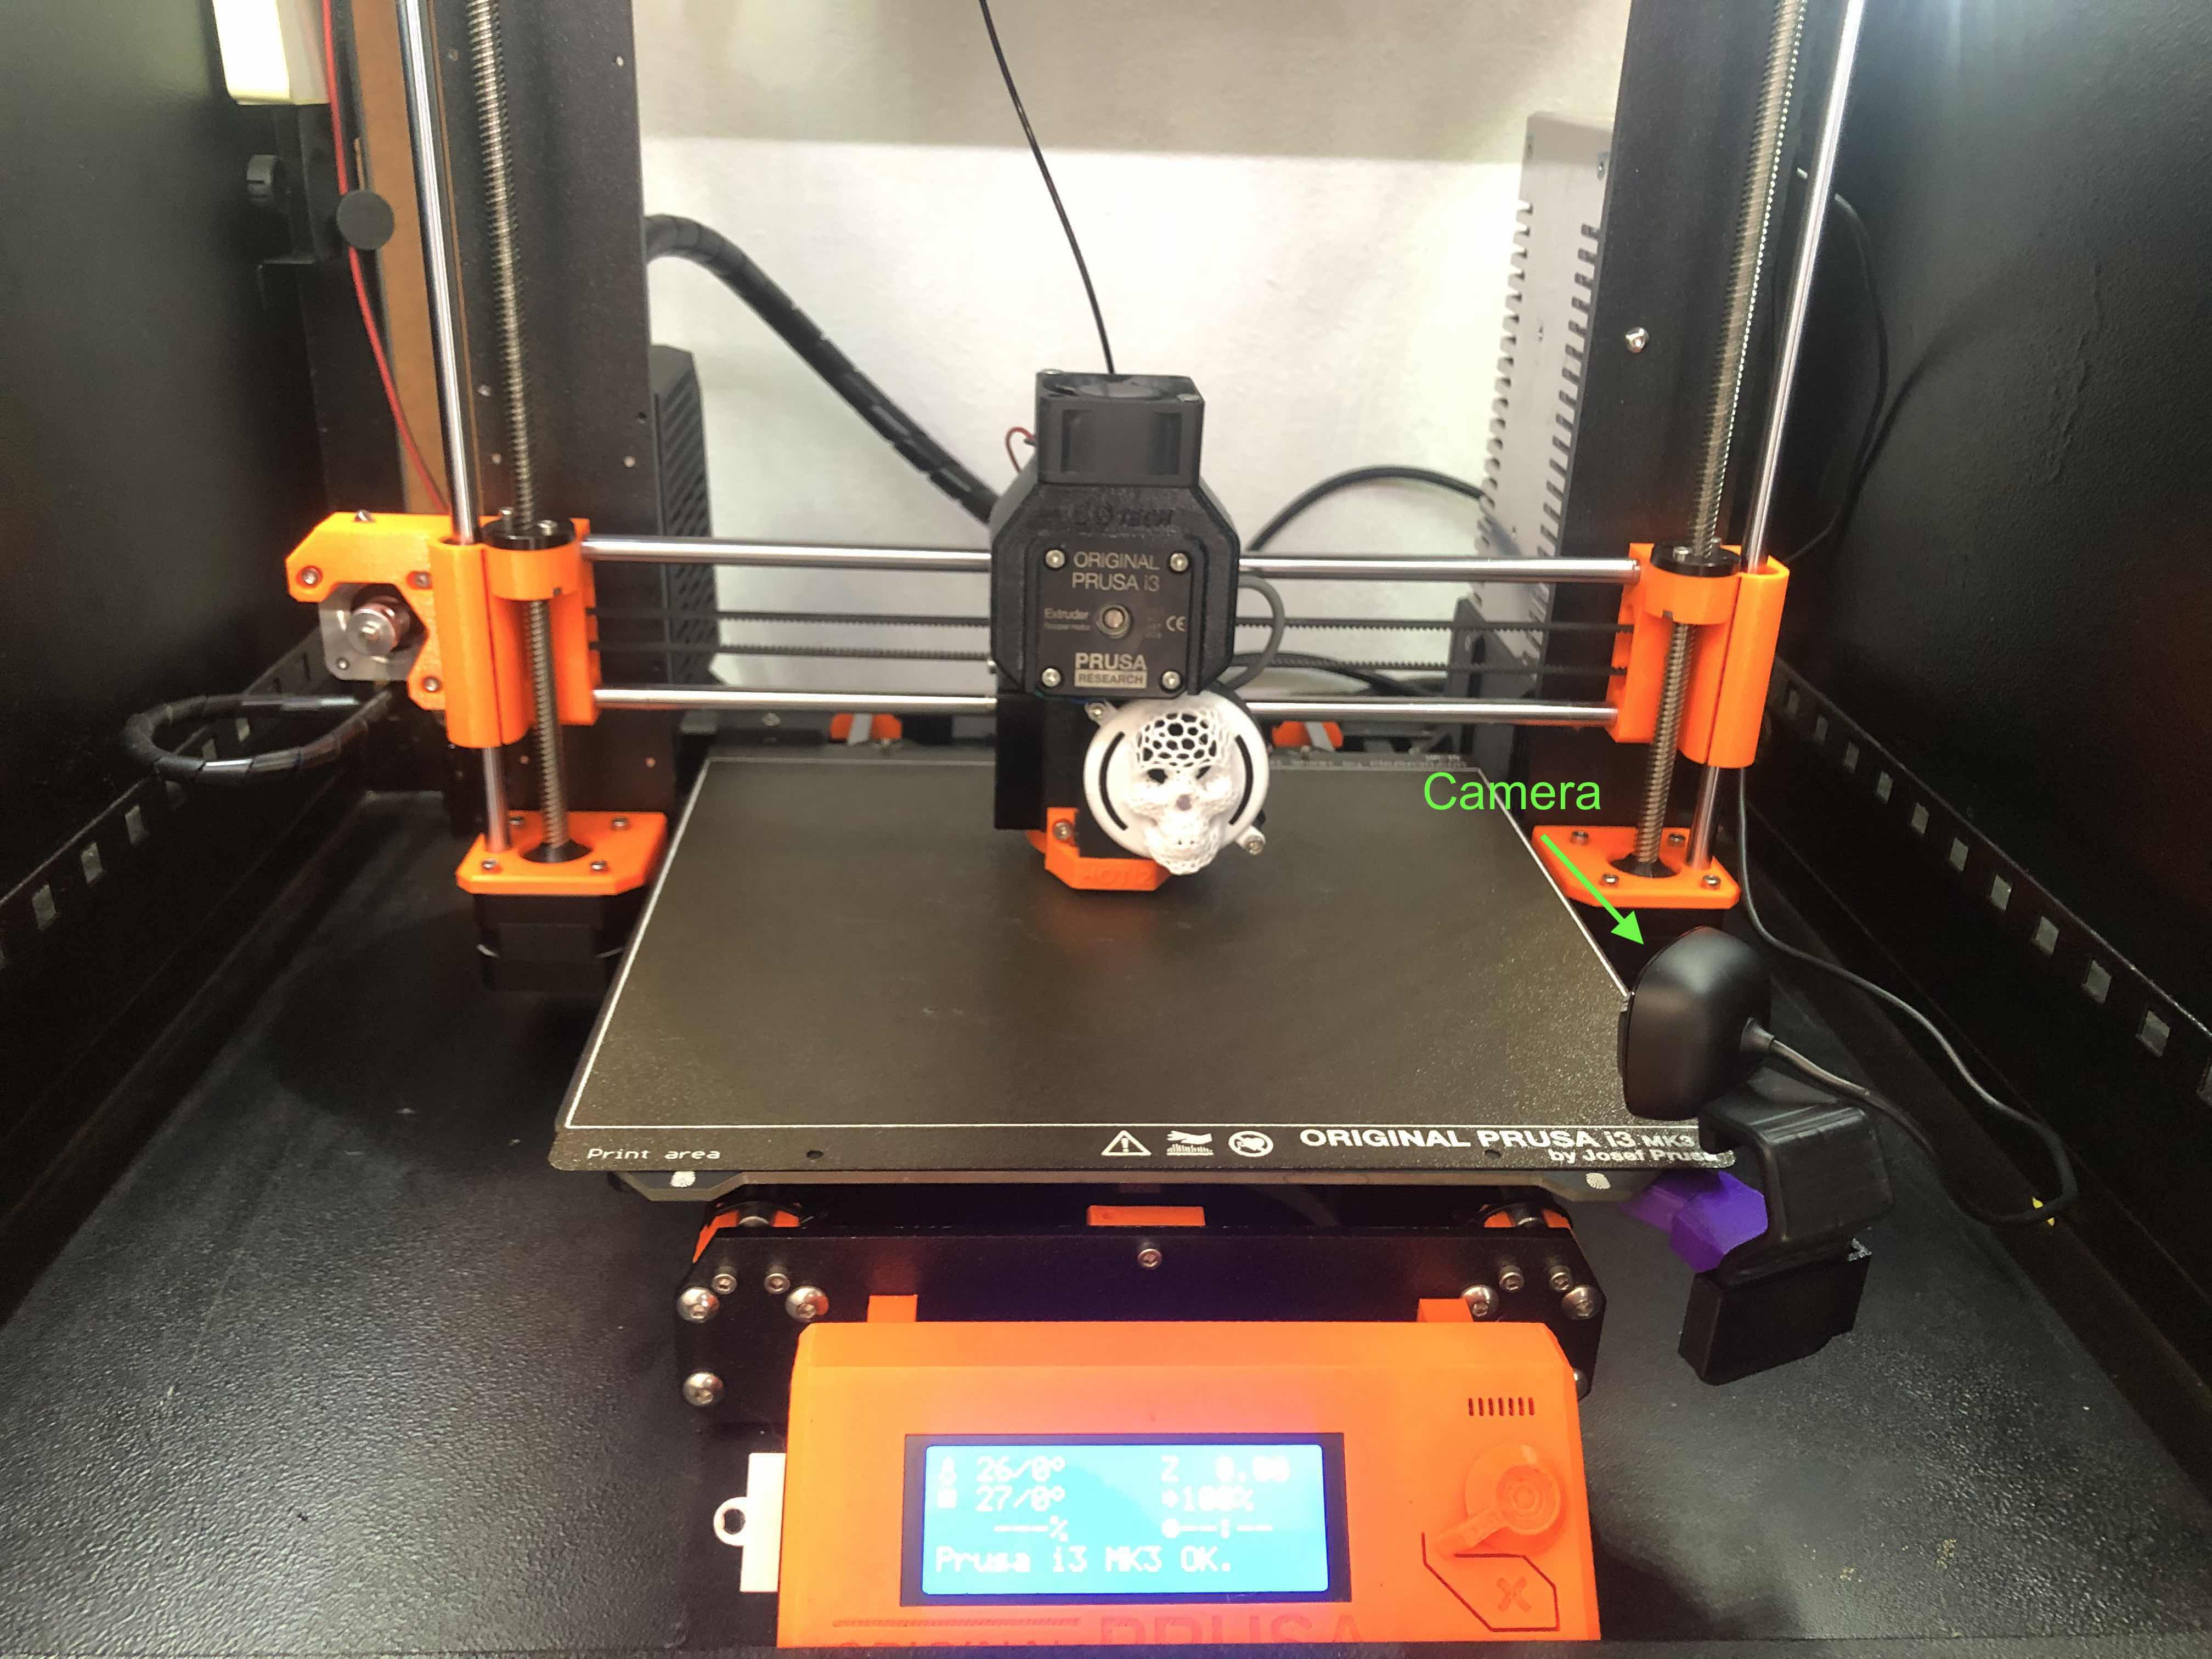
Good example: Logitech C270 attached to the corner of printer frame
This works well for printers with a rigid box frame around the print volume.
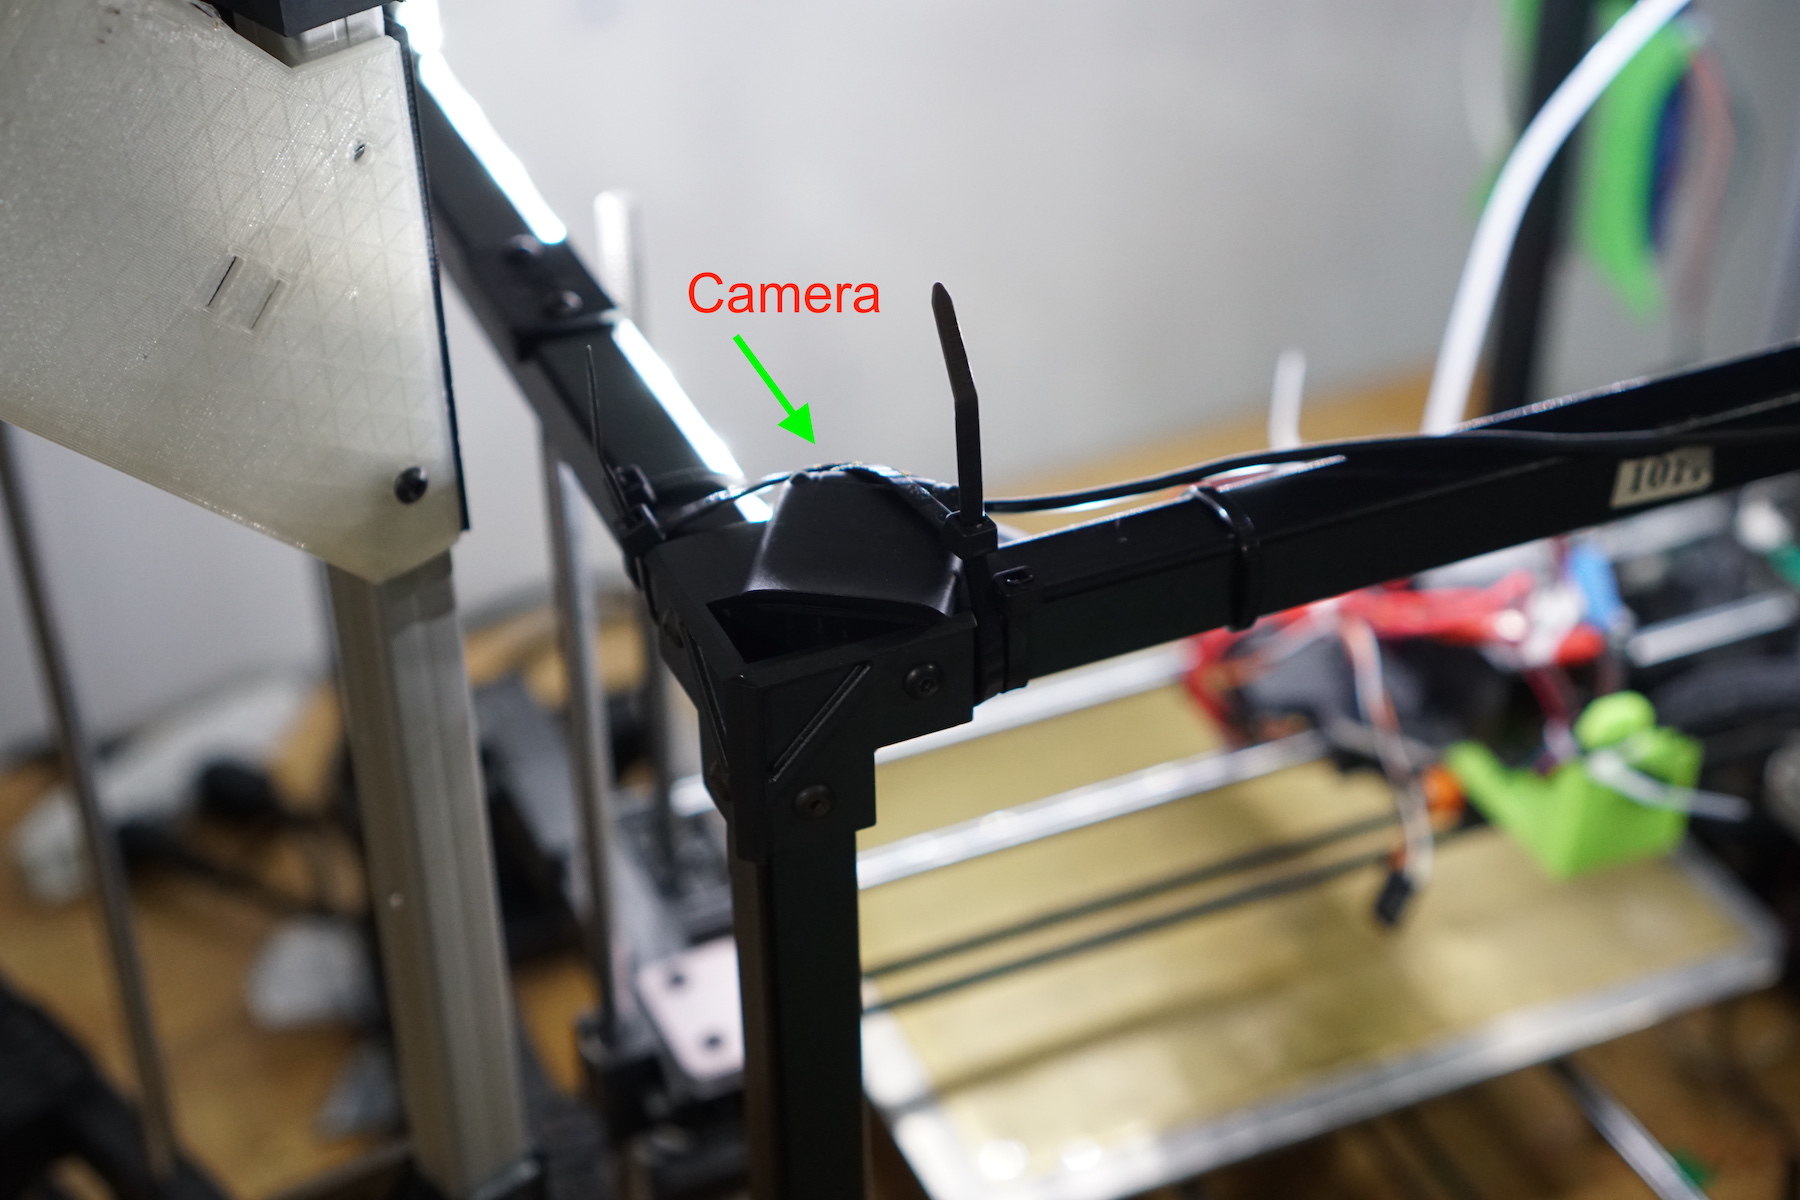

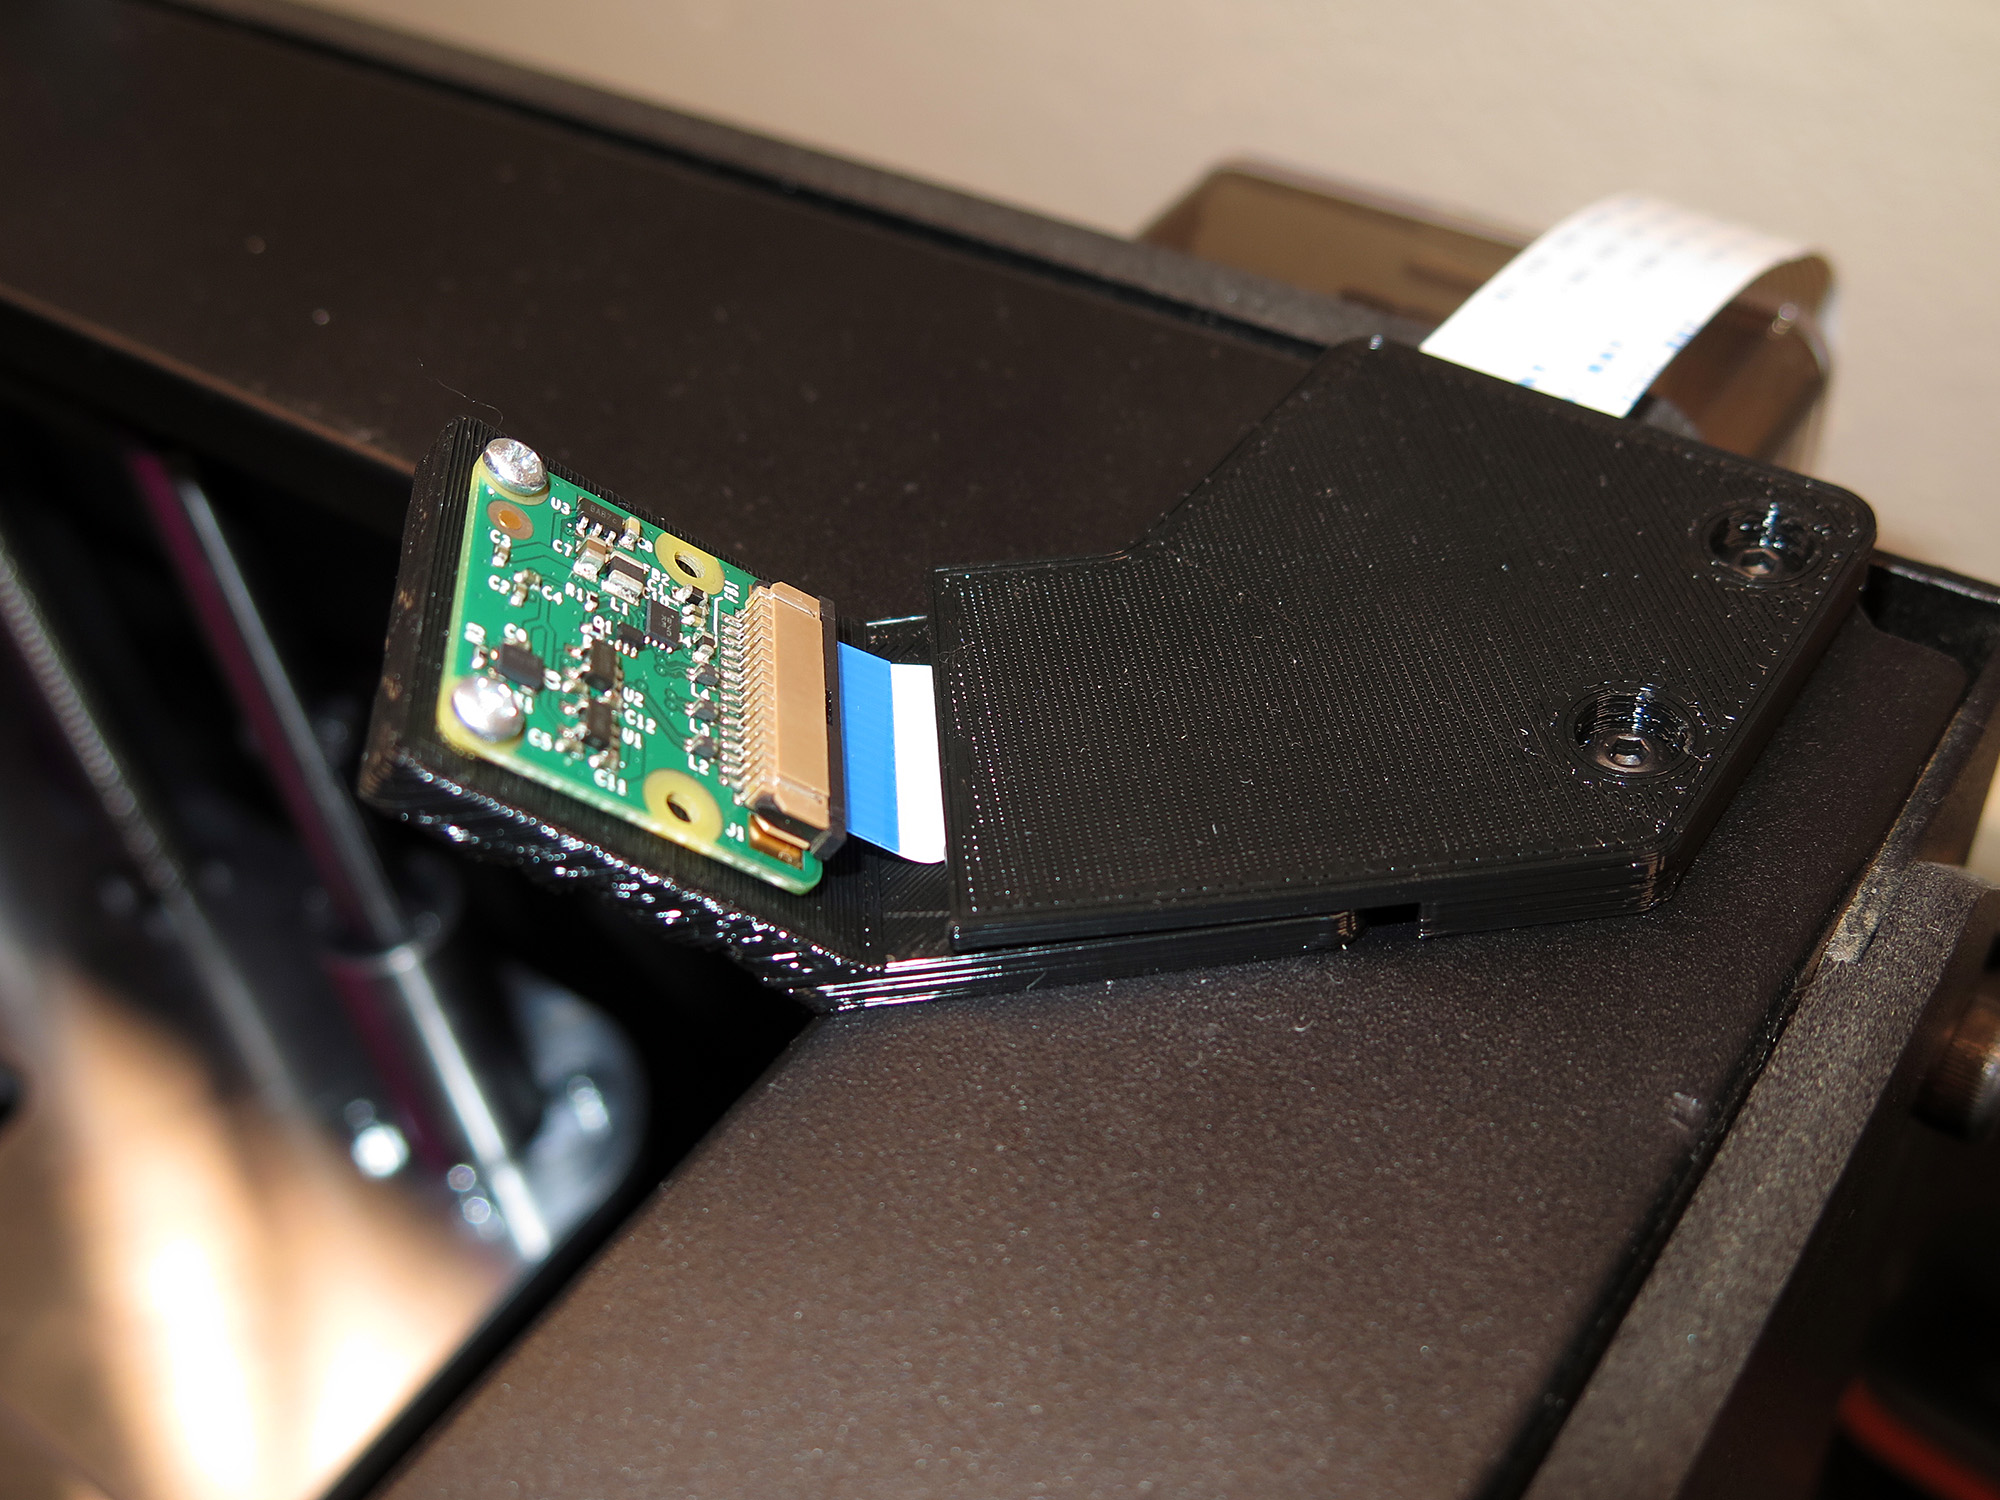
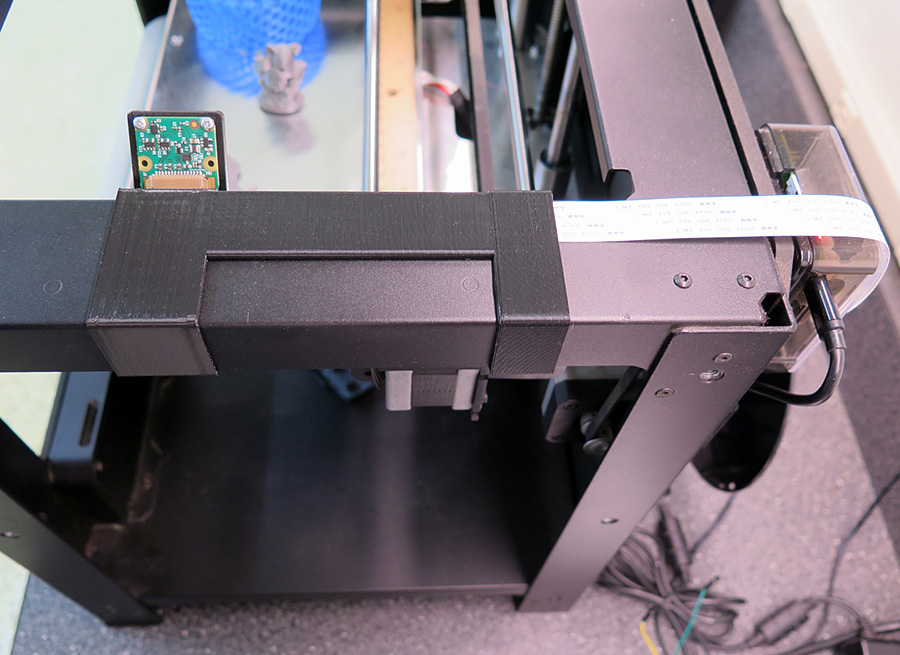
Good example: Pi Camera attached to the corner of printer frame��
The camera mount also functions as a wire duct for the brittle ribbon cable.
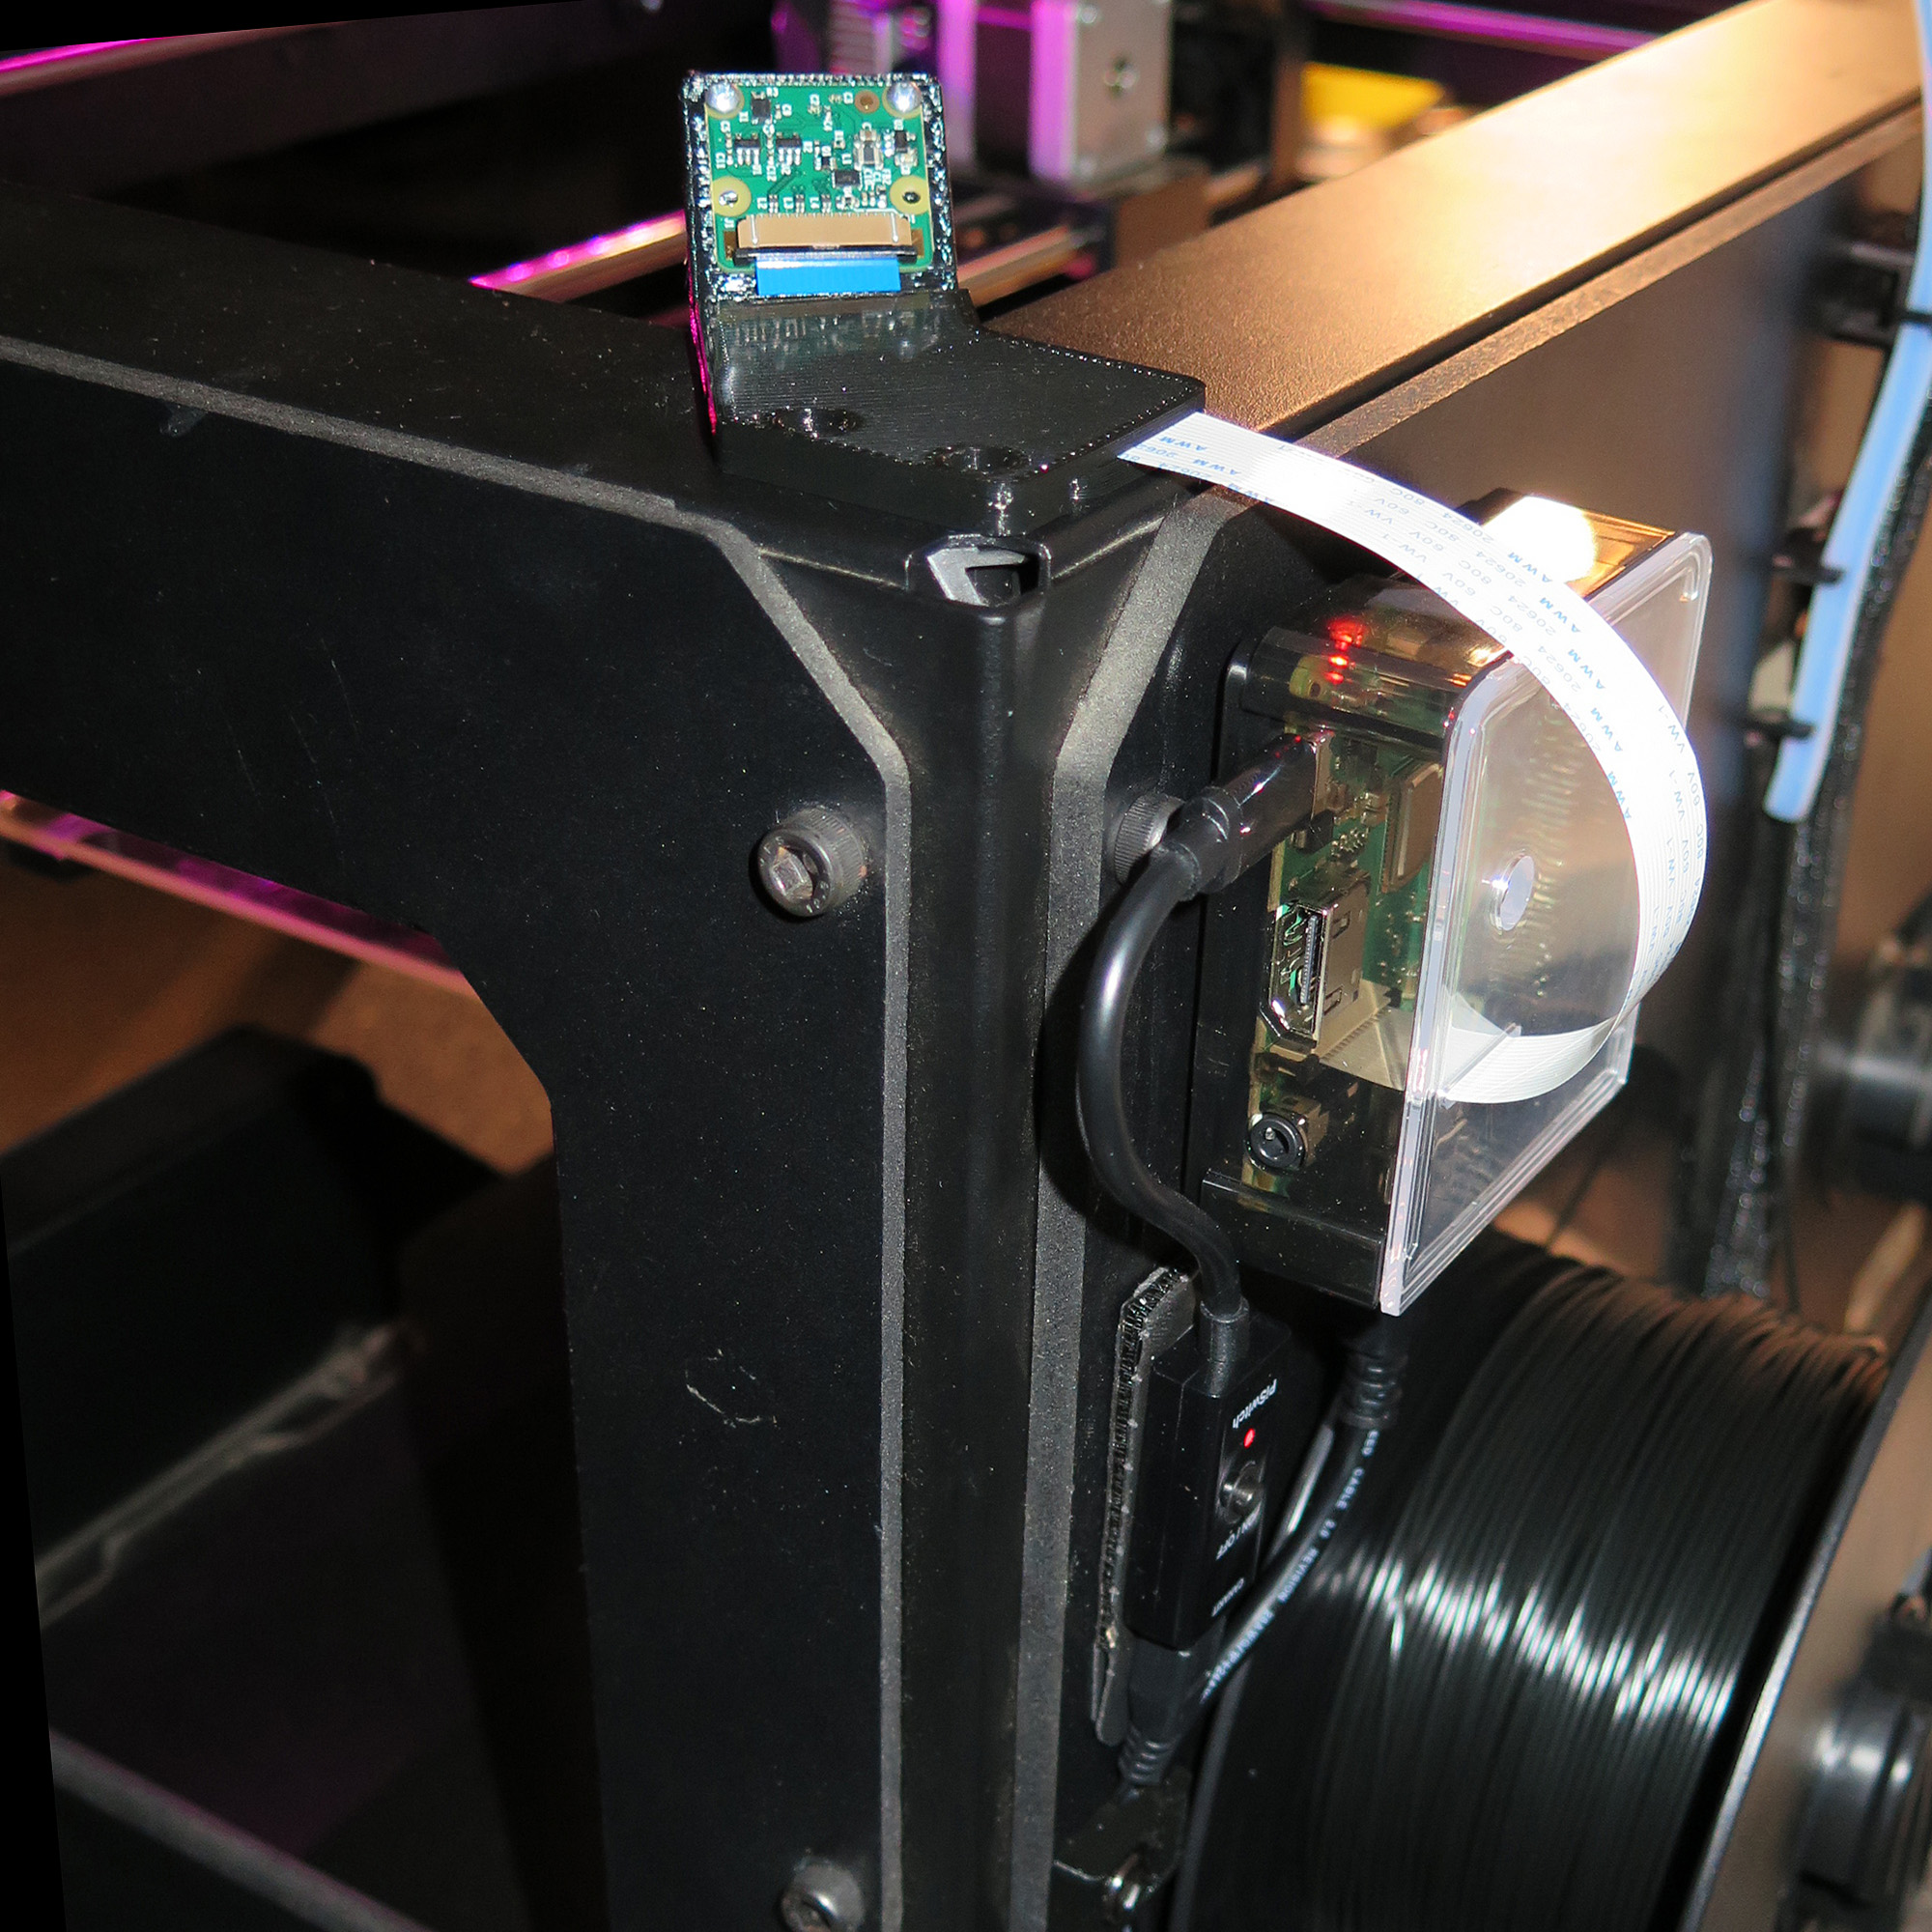
Good example: Pi Camera attached to the side
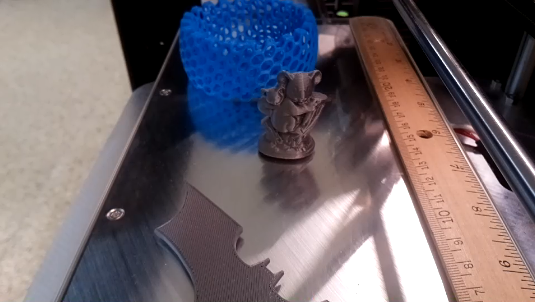
A slight variation of the previous setup. Camera is moved from the corner to the side to miss the gantry. The camera view (2nd picture) shows that it has an un-obstructed view of the print bed.
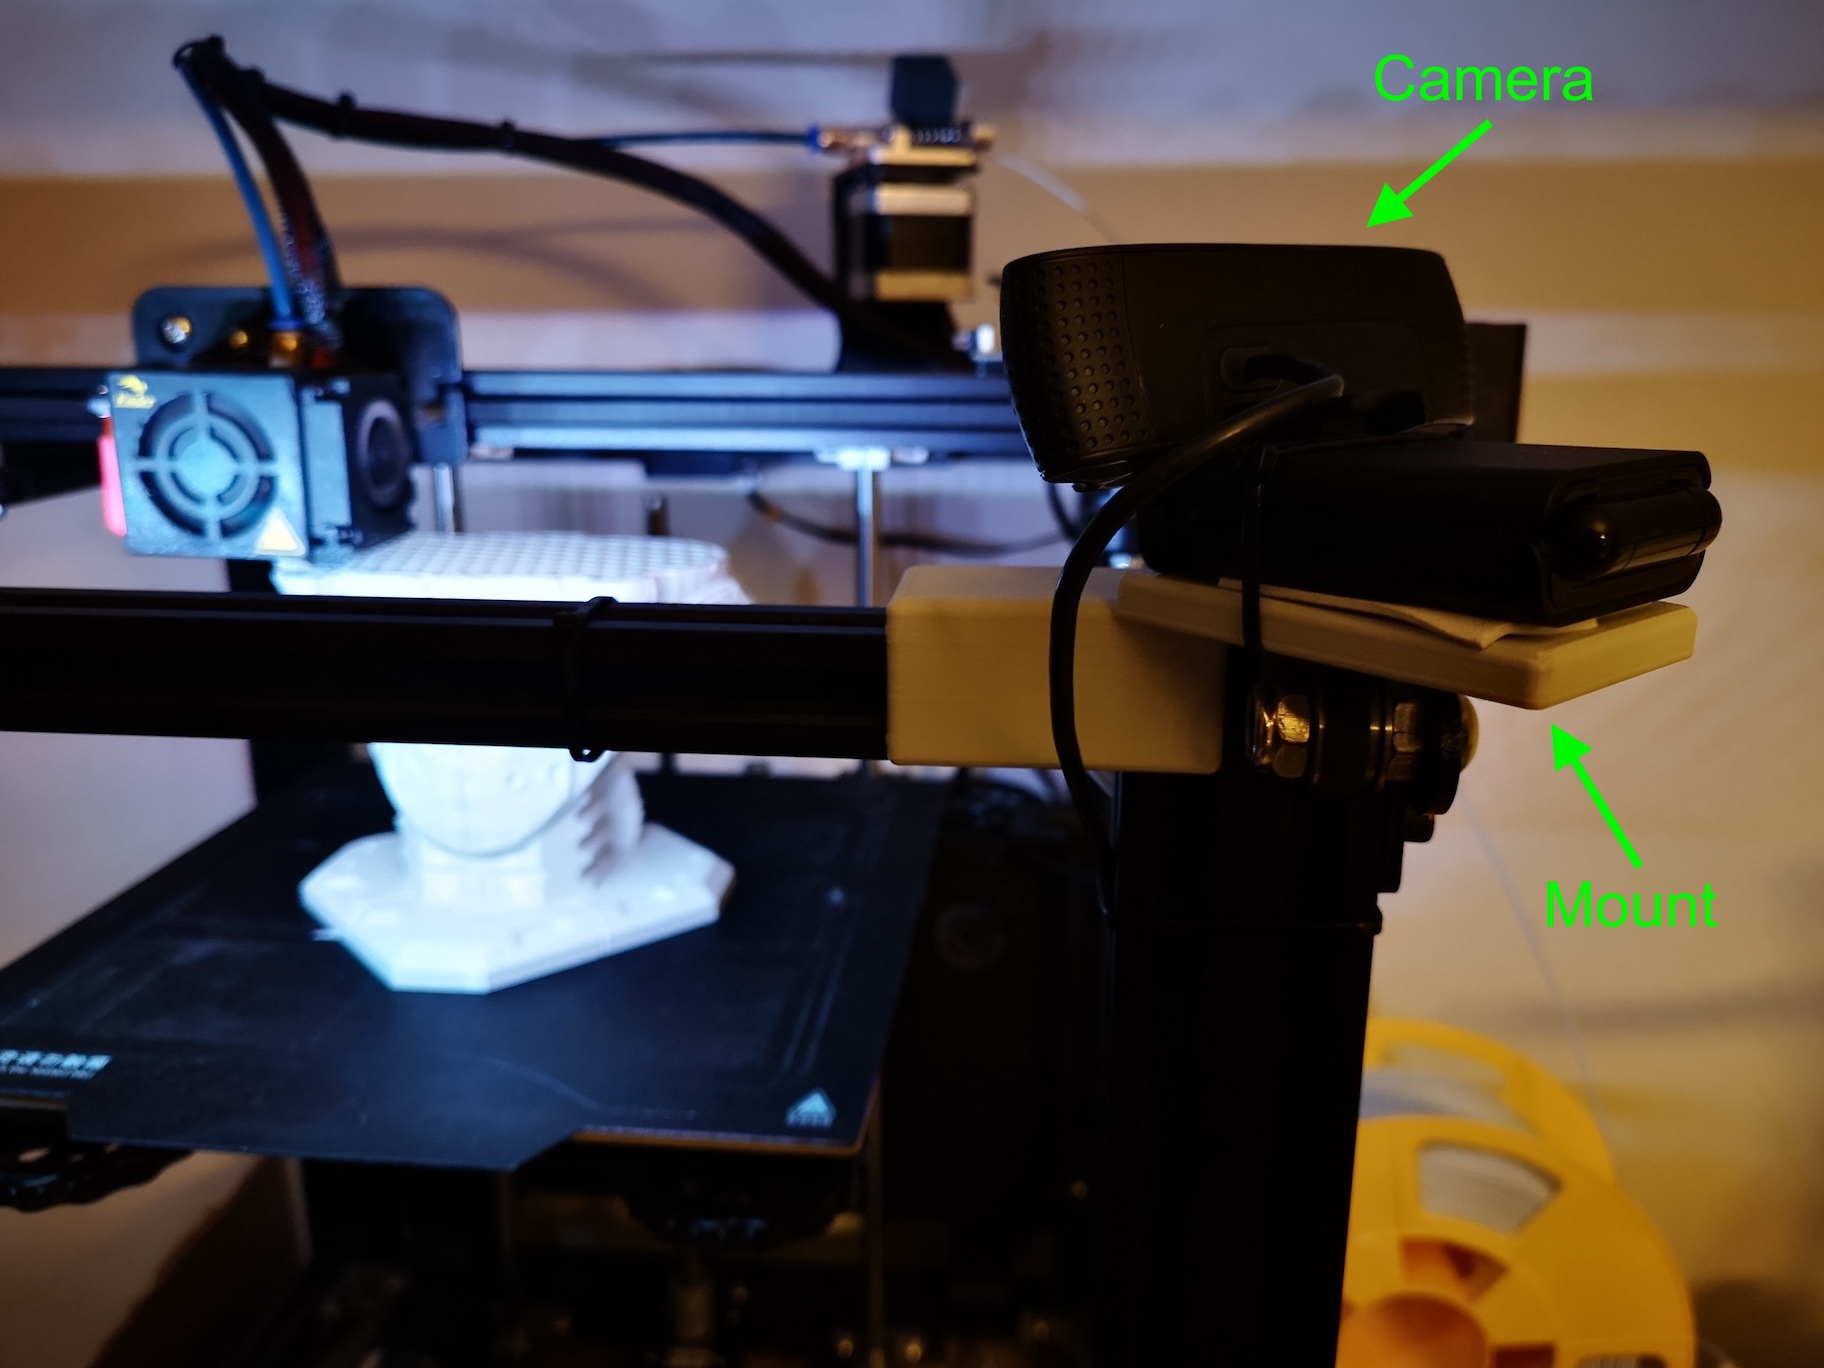
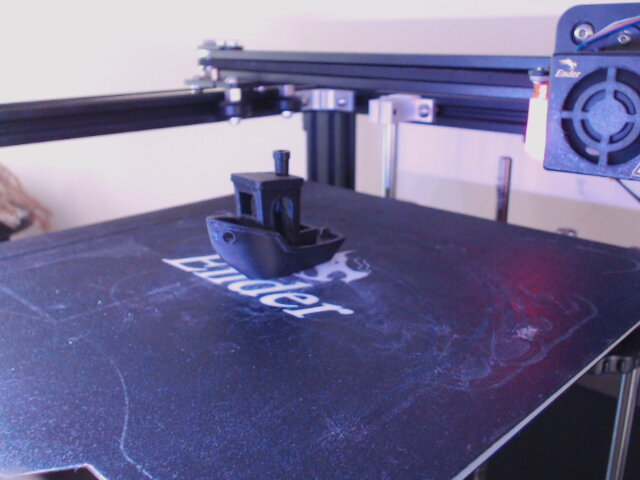
Good example: Logitech C920 attached to the corner of printer frame
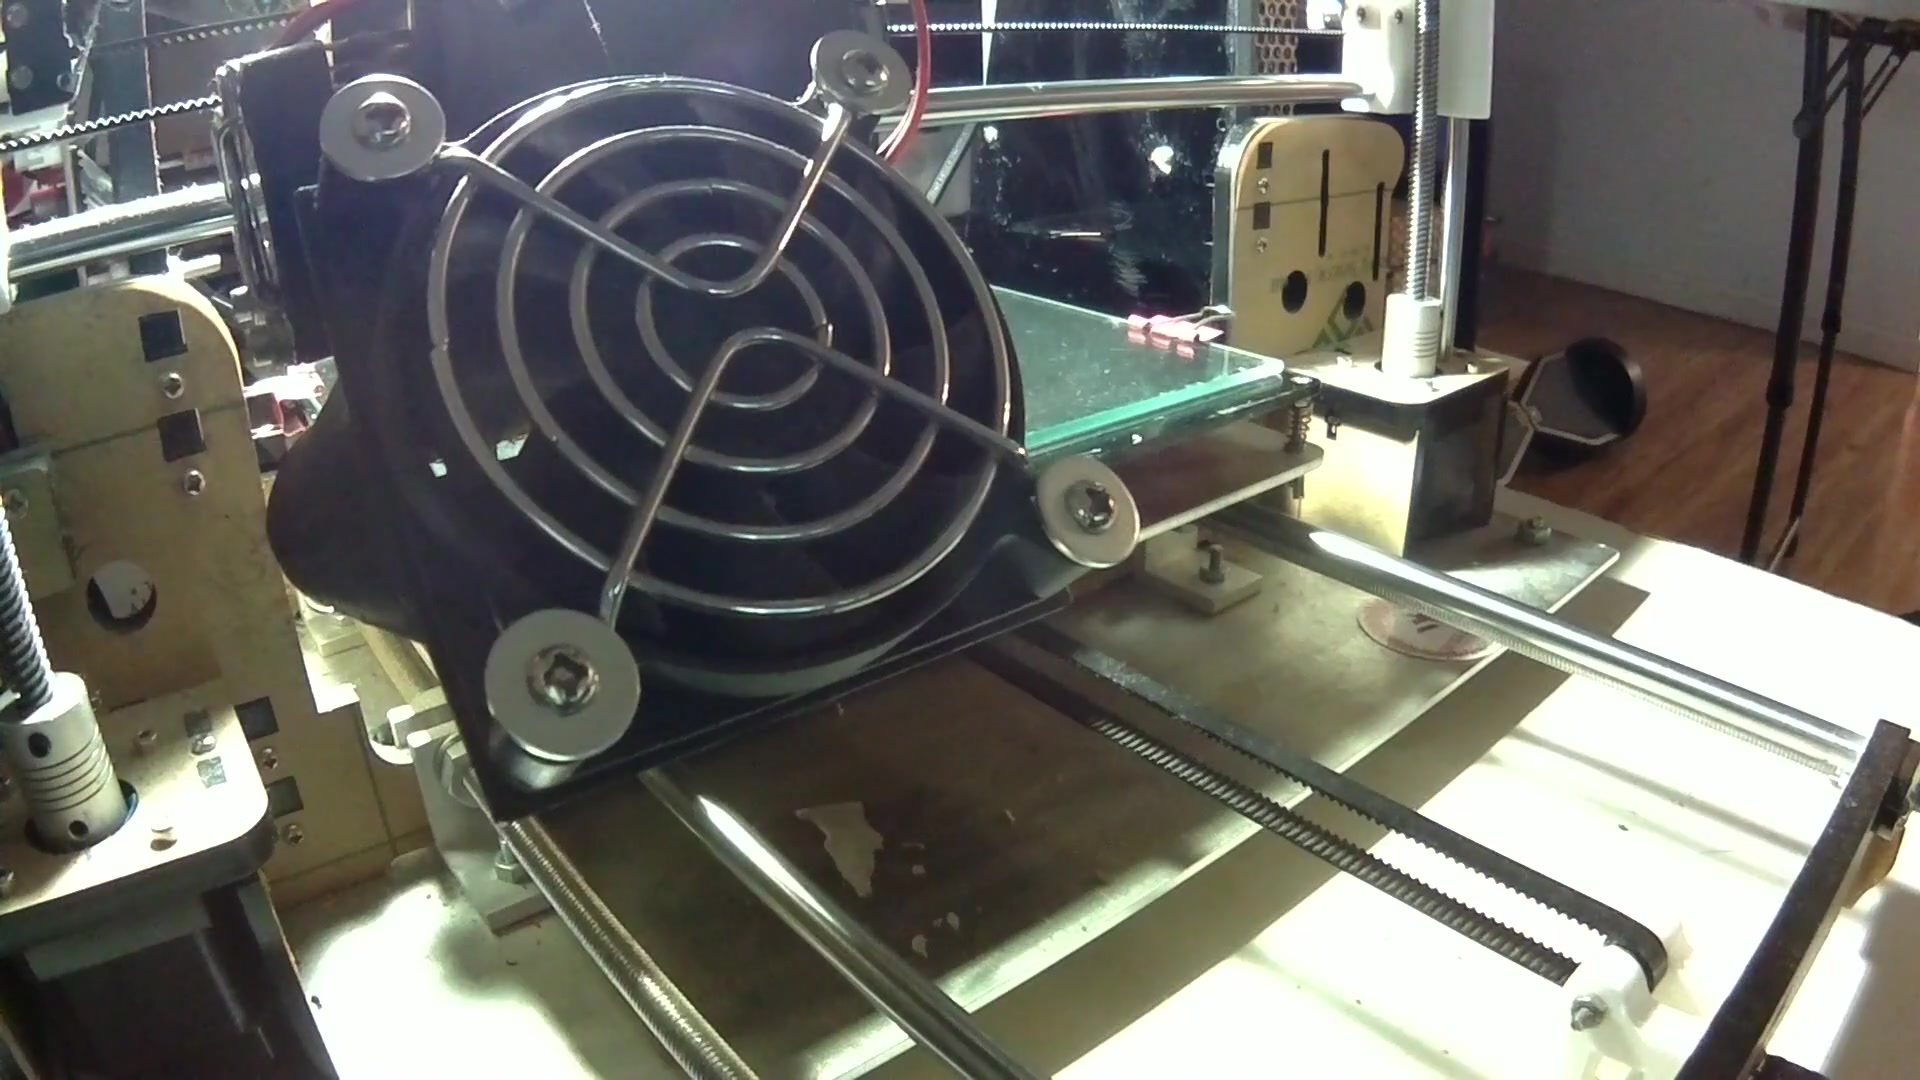
Bad example: Extruder blocking the camera from seeing most part of the print volume
Good example: bed-mounted Logitech C270
This mount is close to print bed so may not cover the whole print volume. But it's good enough. Plus it takes smaller desktop space.
Good example: Extruder not blocking the camera
- This camera view includes most, but not all of the print volume. This is okay.
- The background is very clean. There are very few things in the background that could confuse The Detective.
Frequently-Asked-Questions about camera angle
Can The Detective work with the camera at the top and looking straight down?
Yes. The Detective can work with almost any camera angle, because she has seen all kinds of different camera setup from thousands of the users.
Having said that, The Detective does a slightly better job at detecting failures when the camera is mounted on the side, slightly looking down about 15 degrees angle.
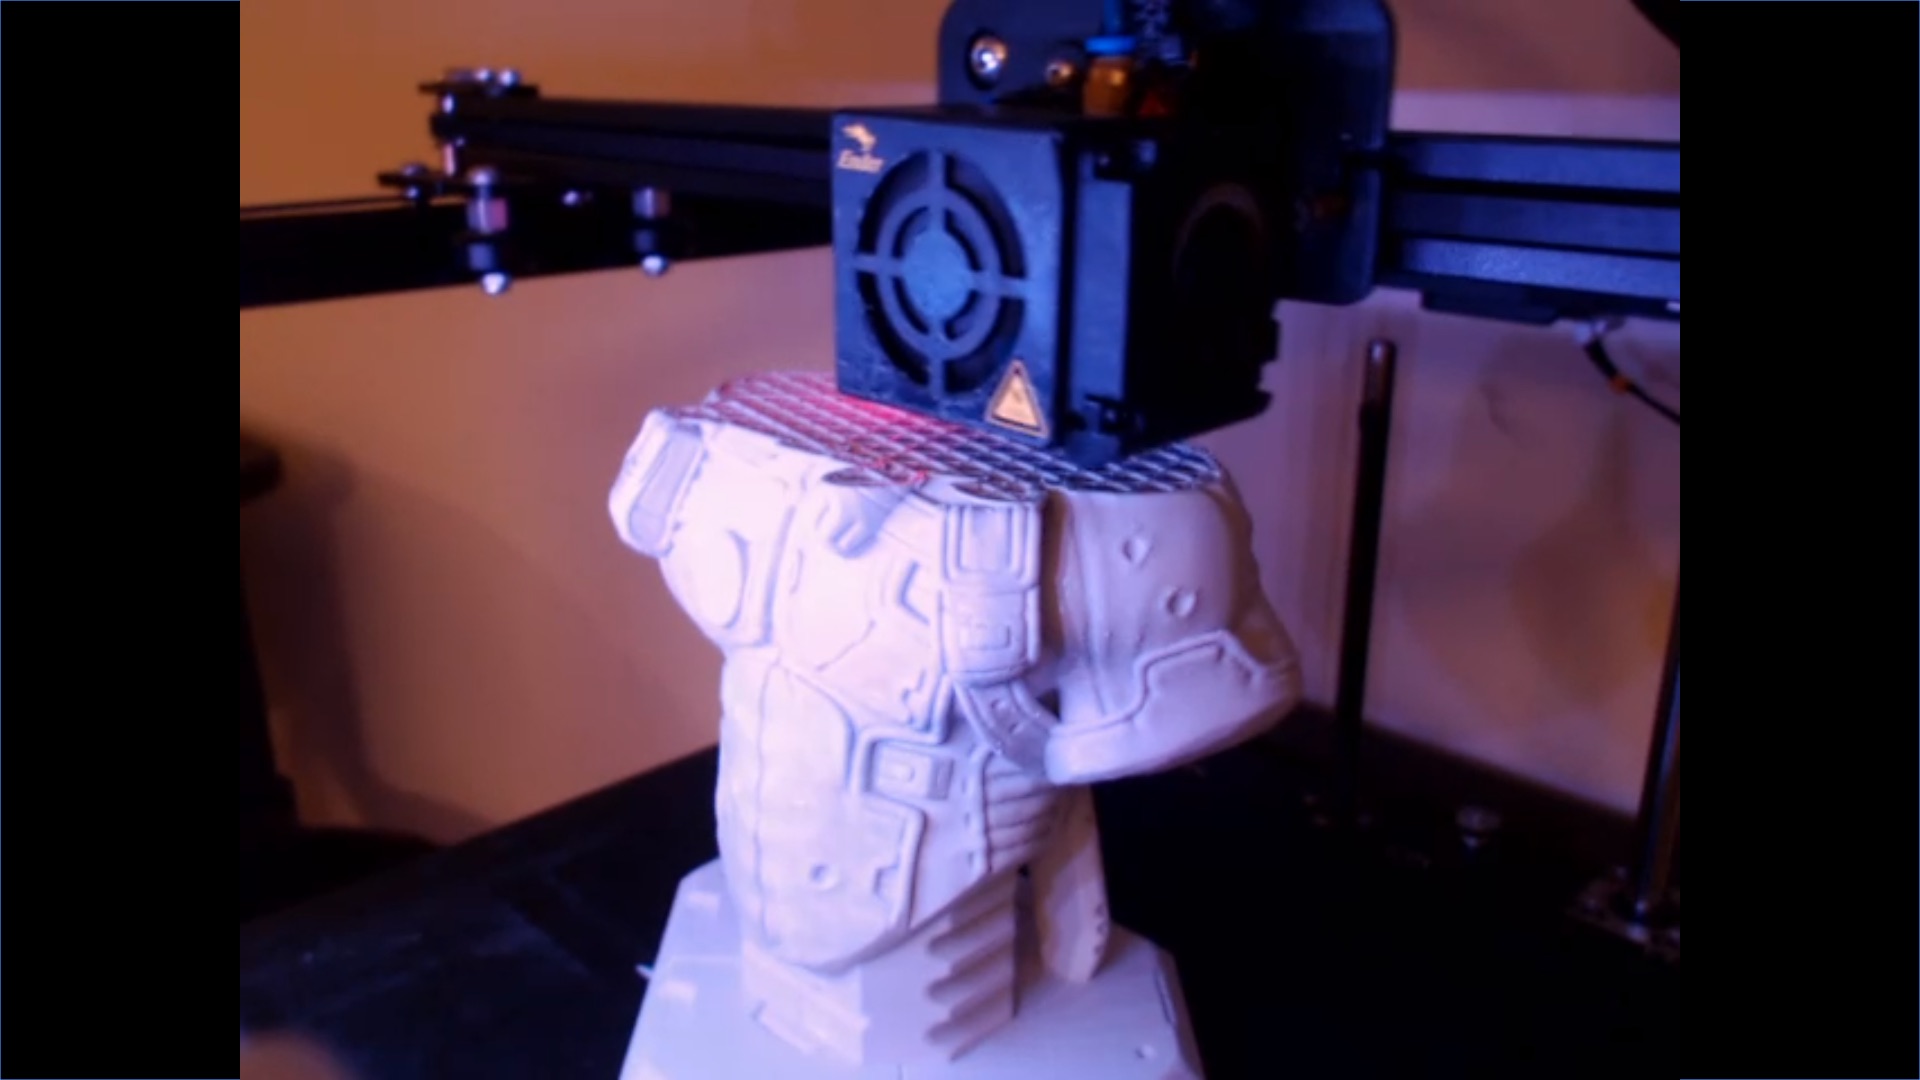
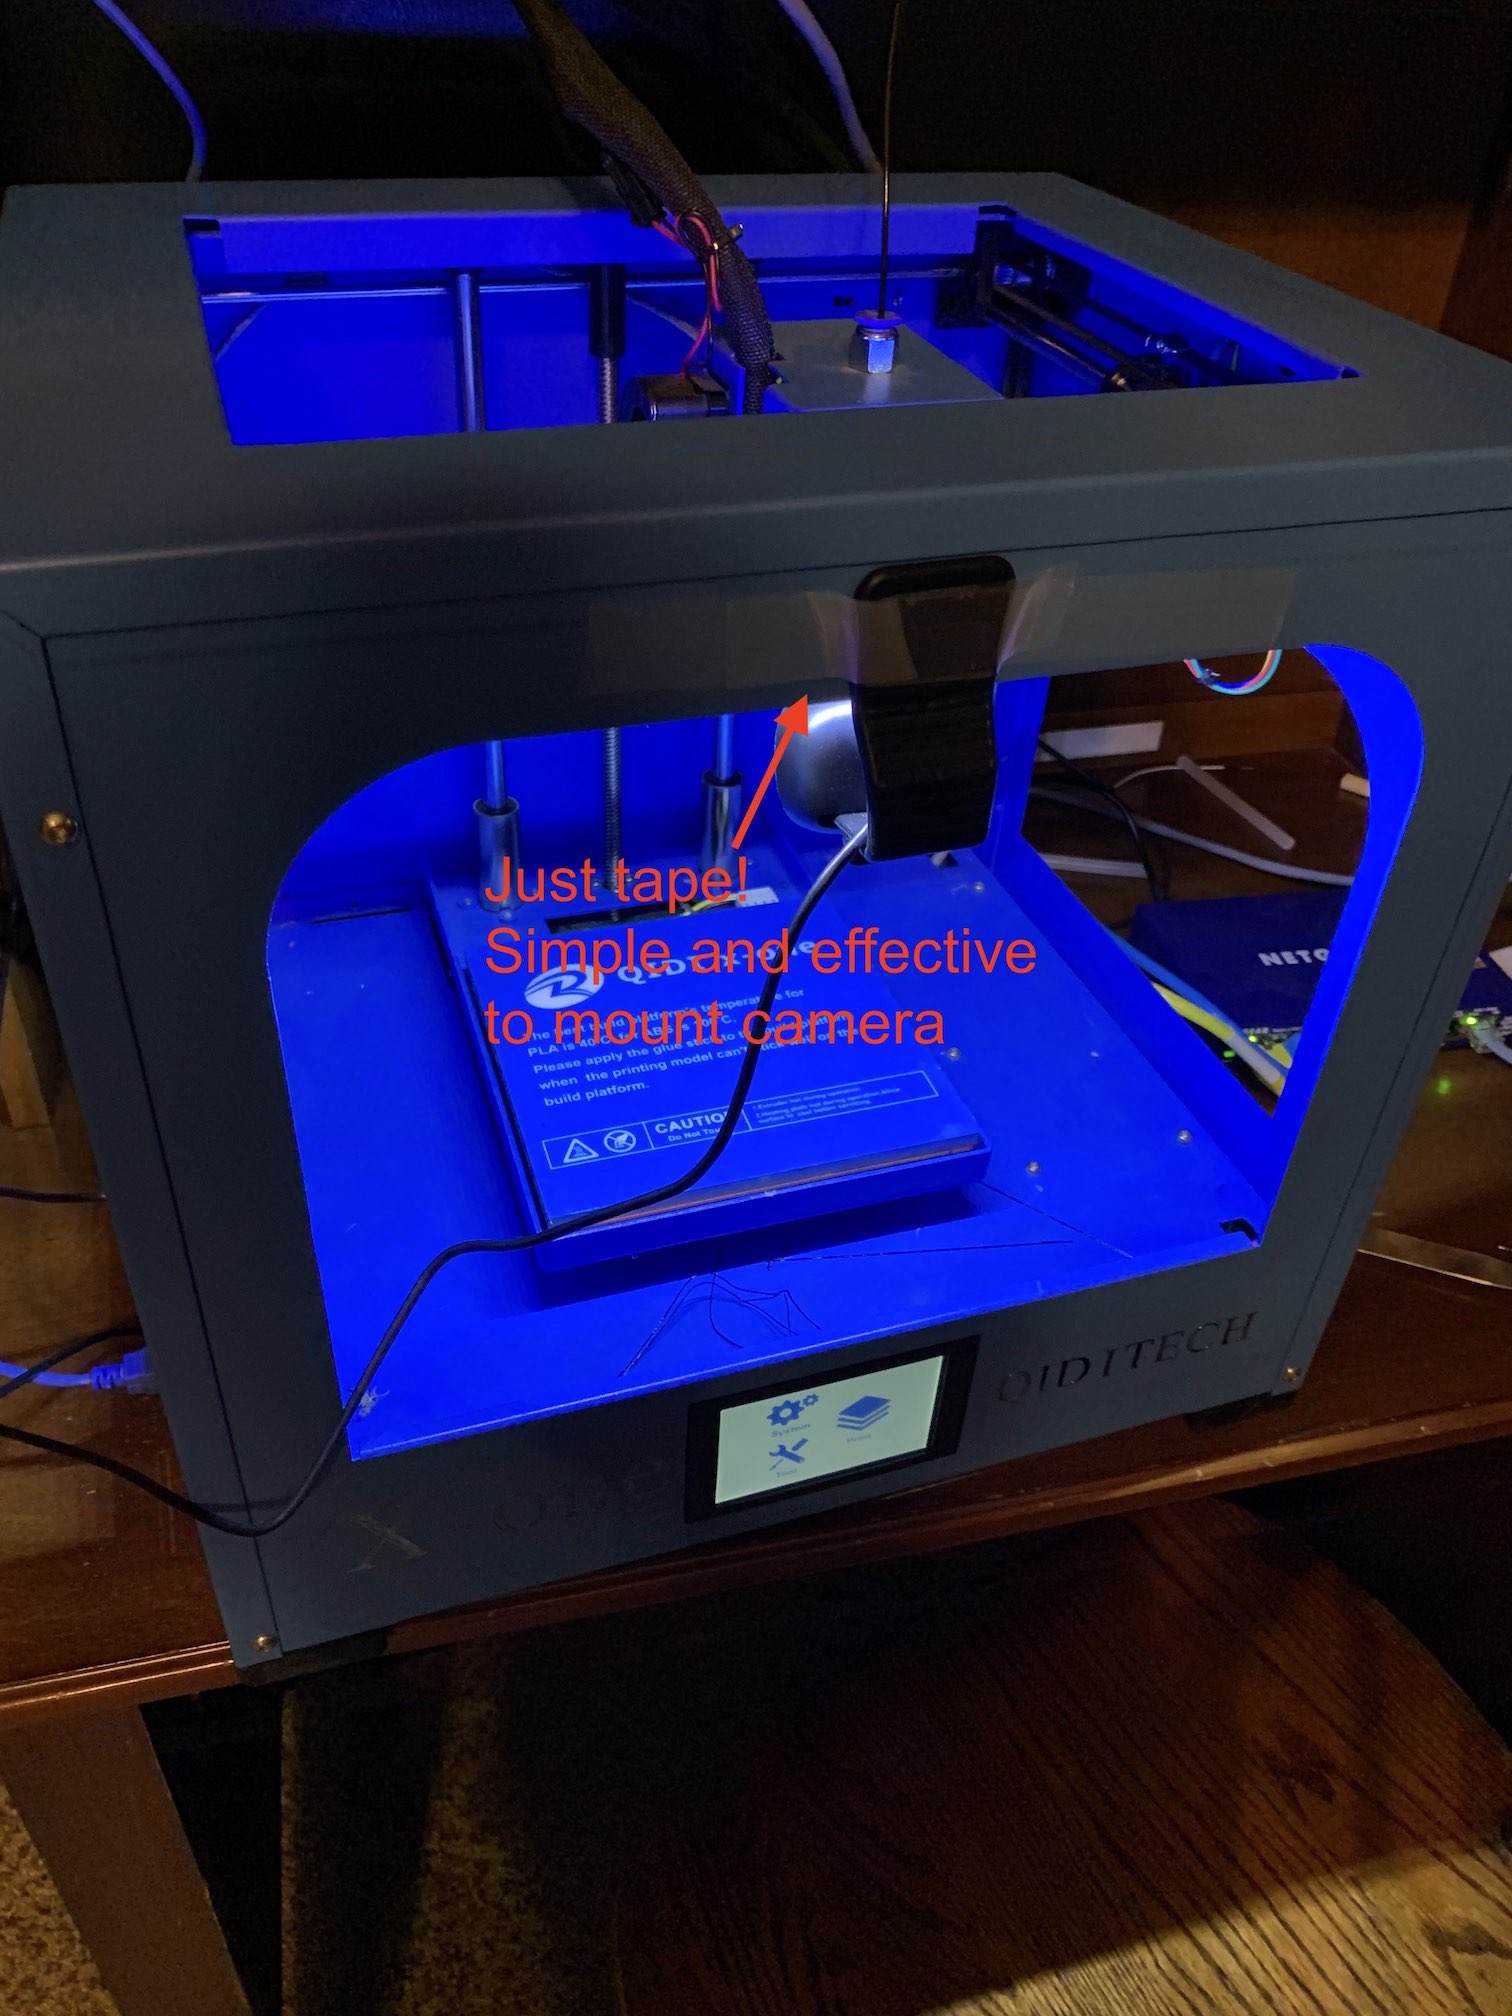
Can The Detective work with extruder-mounted camera?
Barely. Users have reported some success stories in which The Detective did a decent job with extruder cameras. But it's a little hit or miss. Avoid extruder-mounted camera if you have a choice.
Good Lighting
Even if you are not a top photographer, you can get an optimal lighting condition by following a few simple rules:
- Make sure it is well lit. If the main light source will be turned off at nights, consider using a small lamp.
- Eliminate backlight. Backlight is arguably the most common adverse lighting problem for The Detective (and for human eyes too). We will talk about overcoming backlight later.
- Minimize shadows. It's very hard to completely eliminate shadows from the entire print volume. But try your best to minimize them. Again doing so will help your own eyes see the prints better on the webcam feed.
Let's talk about backlight.
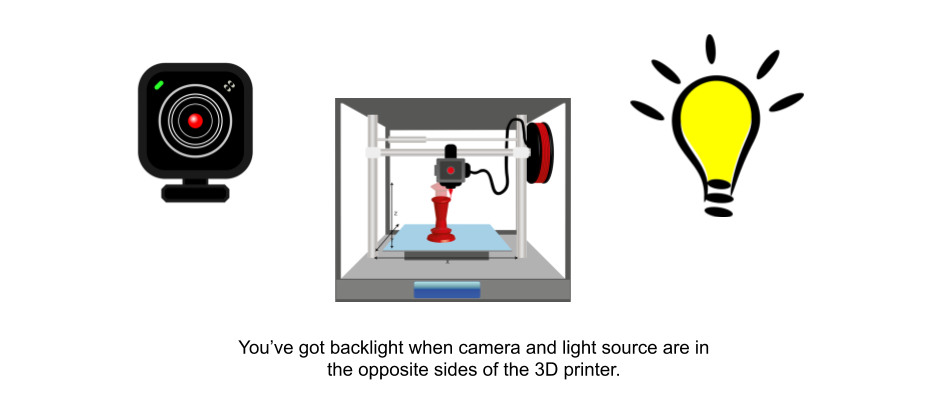
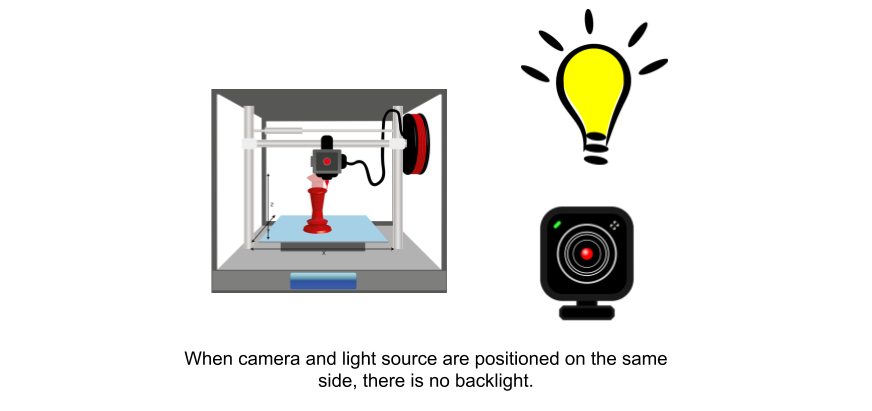
Backlight happens when the camera and light source are positioned on the opposite sides of the printer.
The solution is simple - move them to the same side!
Ok I lied. Sometimes situations are not as simple. Light sources are not necessarily just lamps. The brightest light source is often the sunshine coming through the window! There are situations when the best place for your 3D printer is against a window, you may not have a lot of options. In that case, just be a bit creative and do your best. For instance, position your camera in a 90 degree direction with the light source is leaps and bounds better than have it at 180 degree (direct opposite).
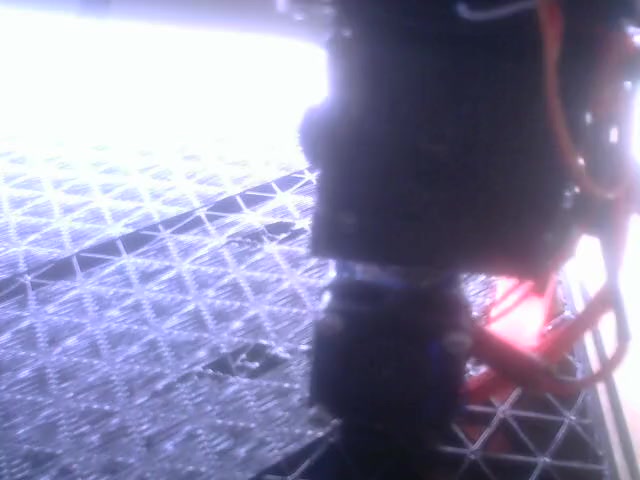
Here are a few examples of backlight. As you can see, backlight creates a "black and white" image, with details completely overwhelmed by the contrast. Also the images are more blurry in a backlight condition. None of these helps The Detective, or yourself, see better.
Again we want to use some examples to explain these rules.
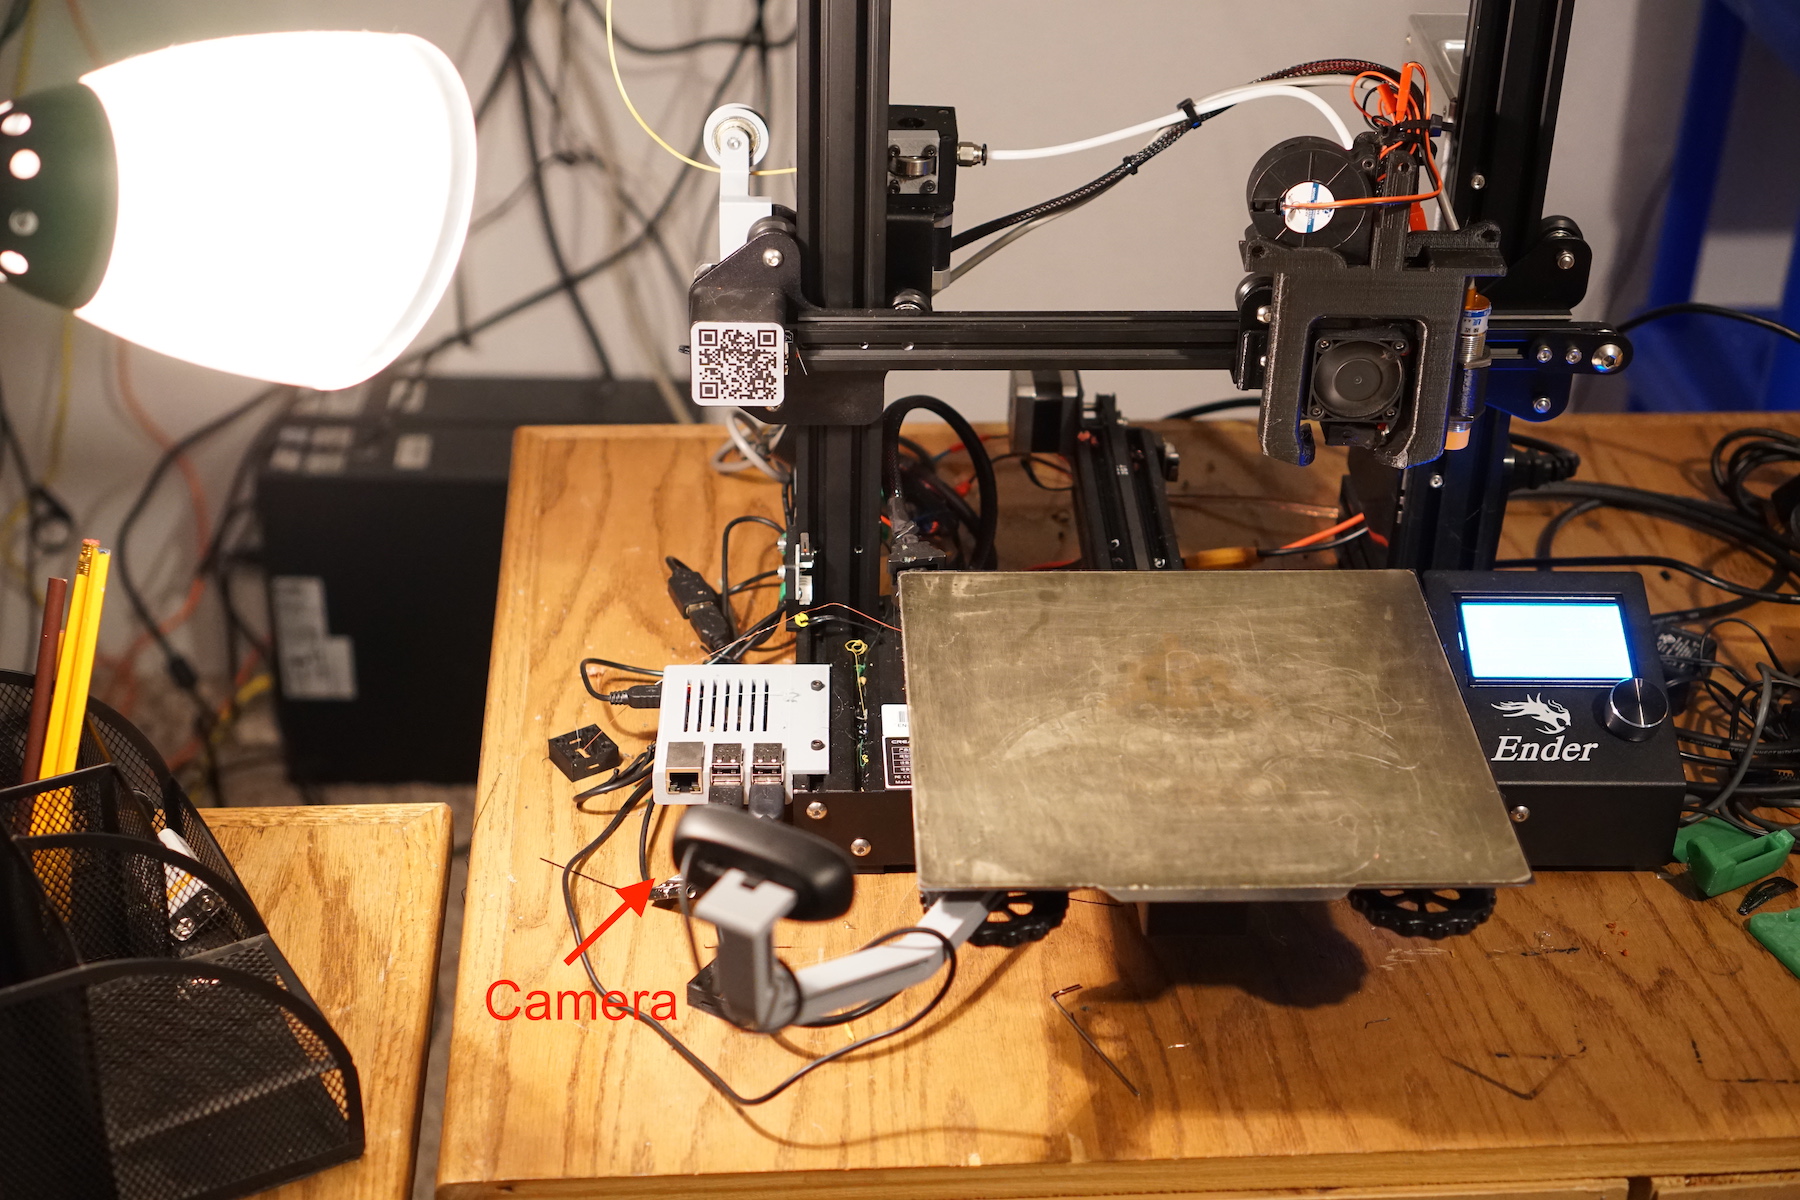
Good example: Just a lamp. Simple and effective
- A small lamp makes big difference. Notice how well-lit the entire print volume is.
- A good lighting solution doesn't have to be complicated or expensive. This solution will probably cost you $10 and 10 minutes.
- Notice how the lamp and the camera sit on the same side of the 3D printer. There is no backlight with this simple setup.
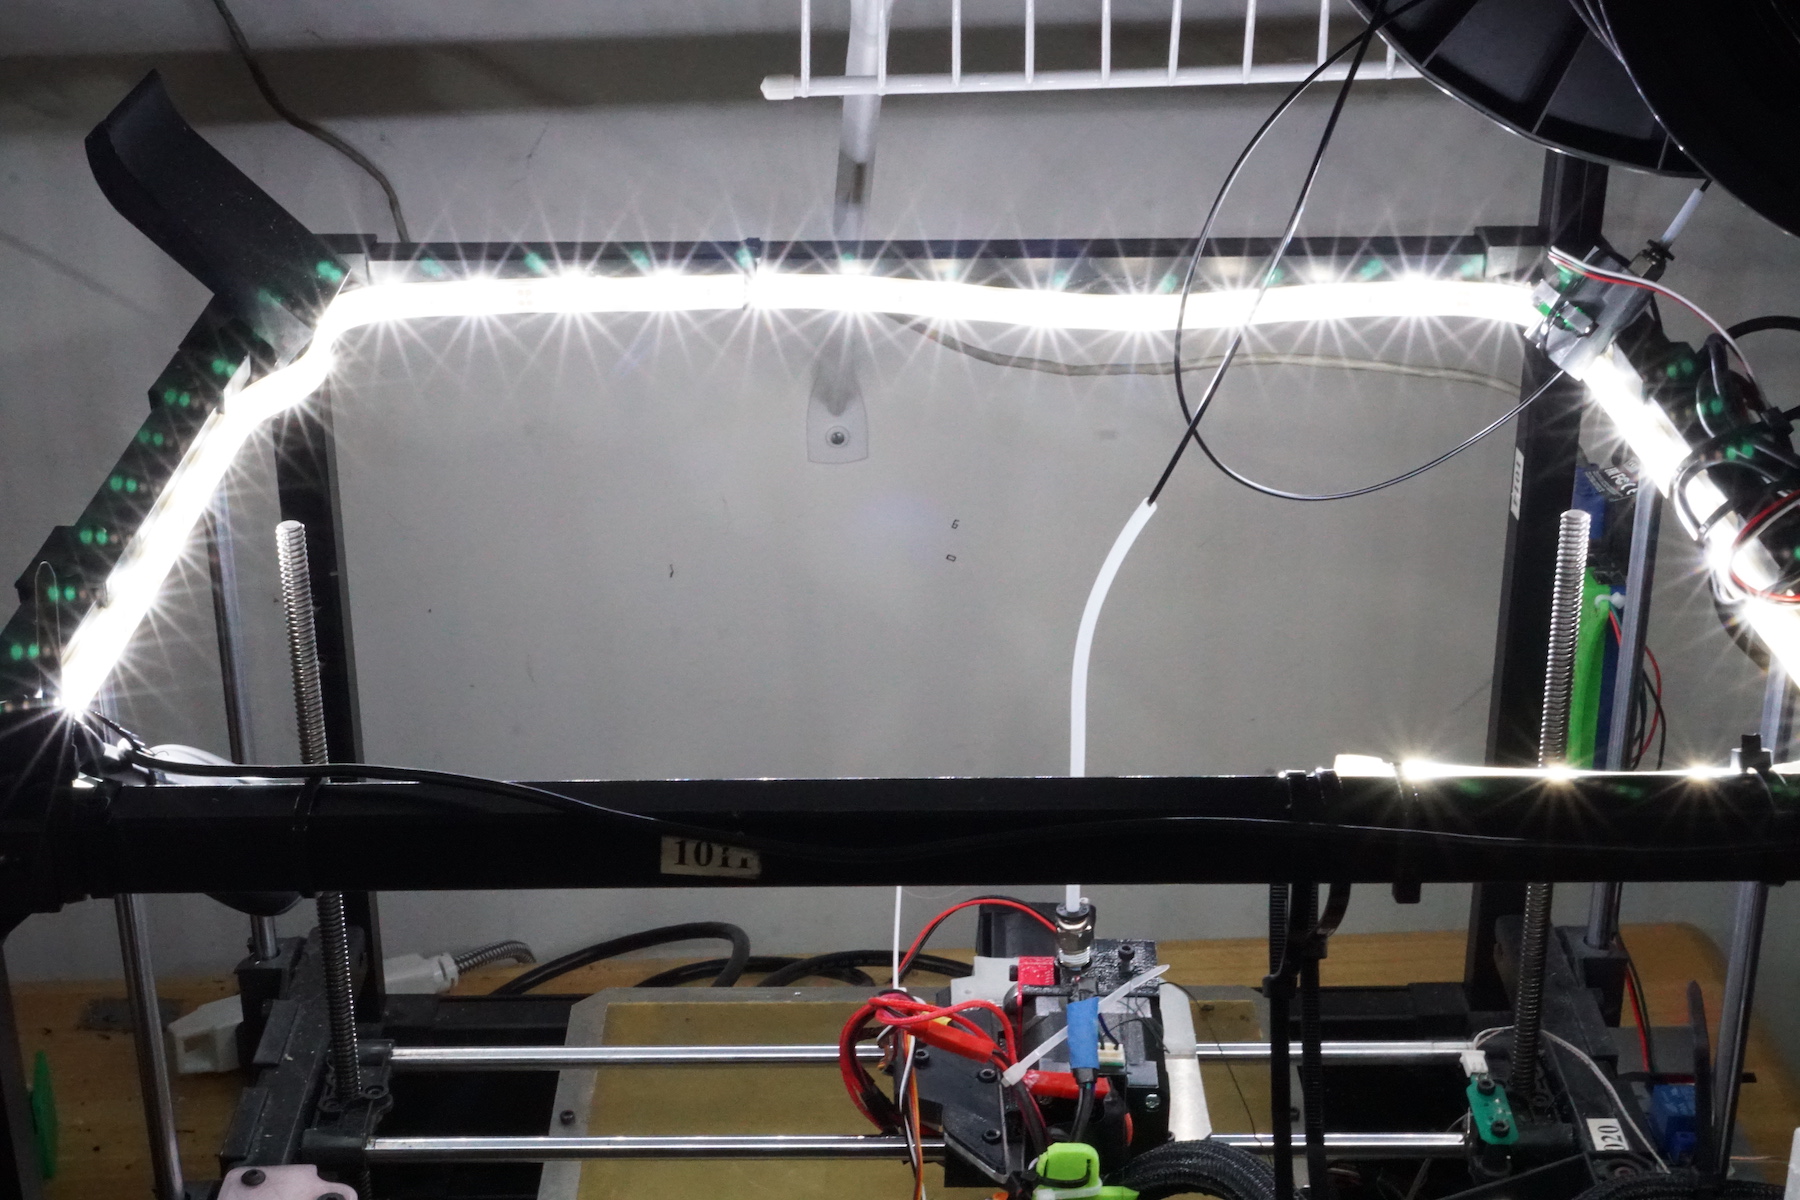
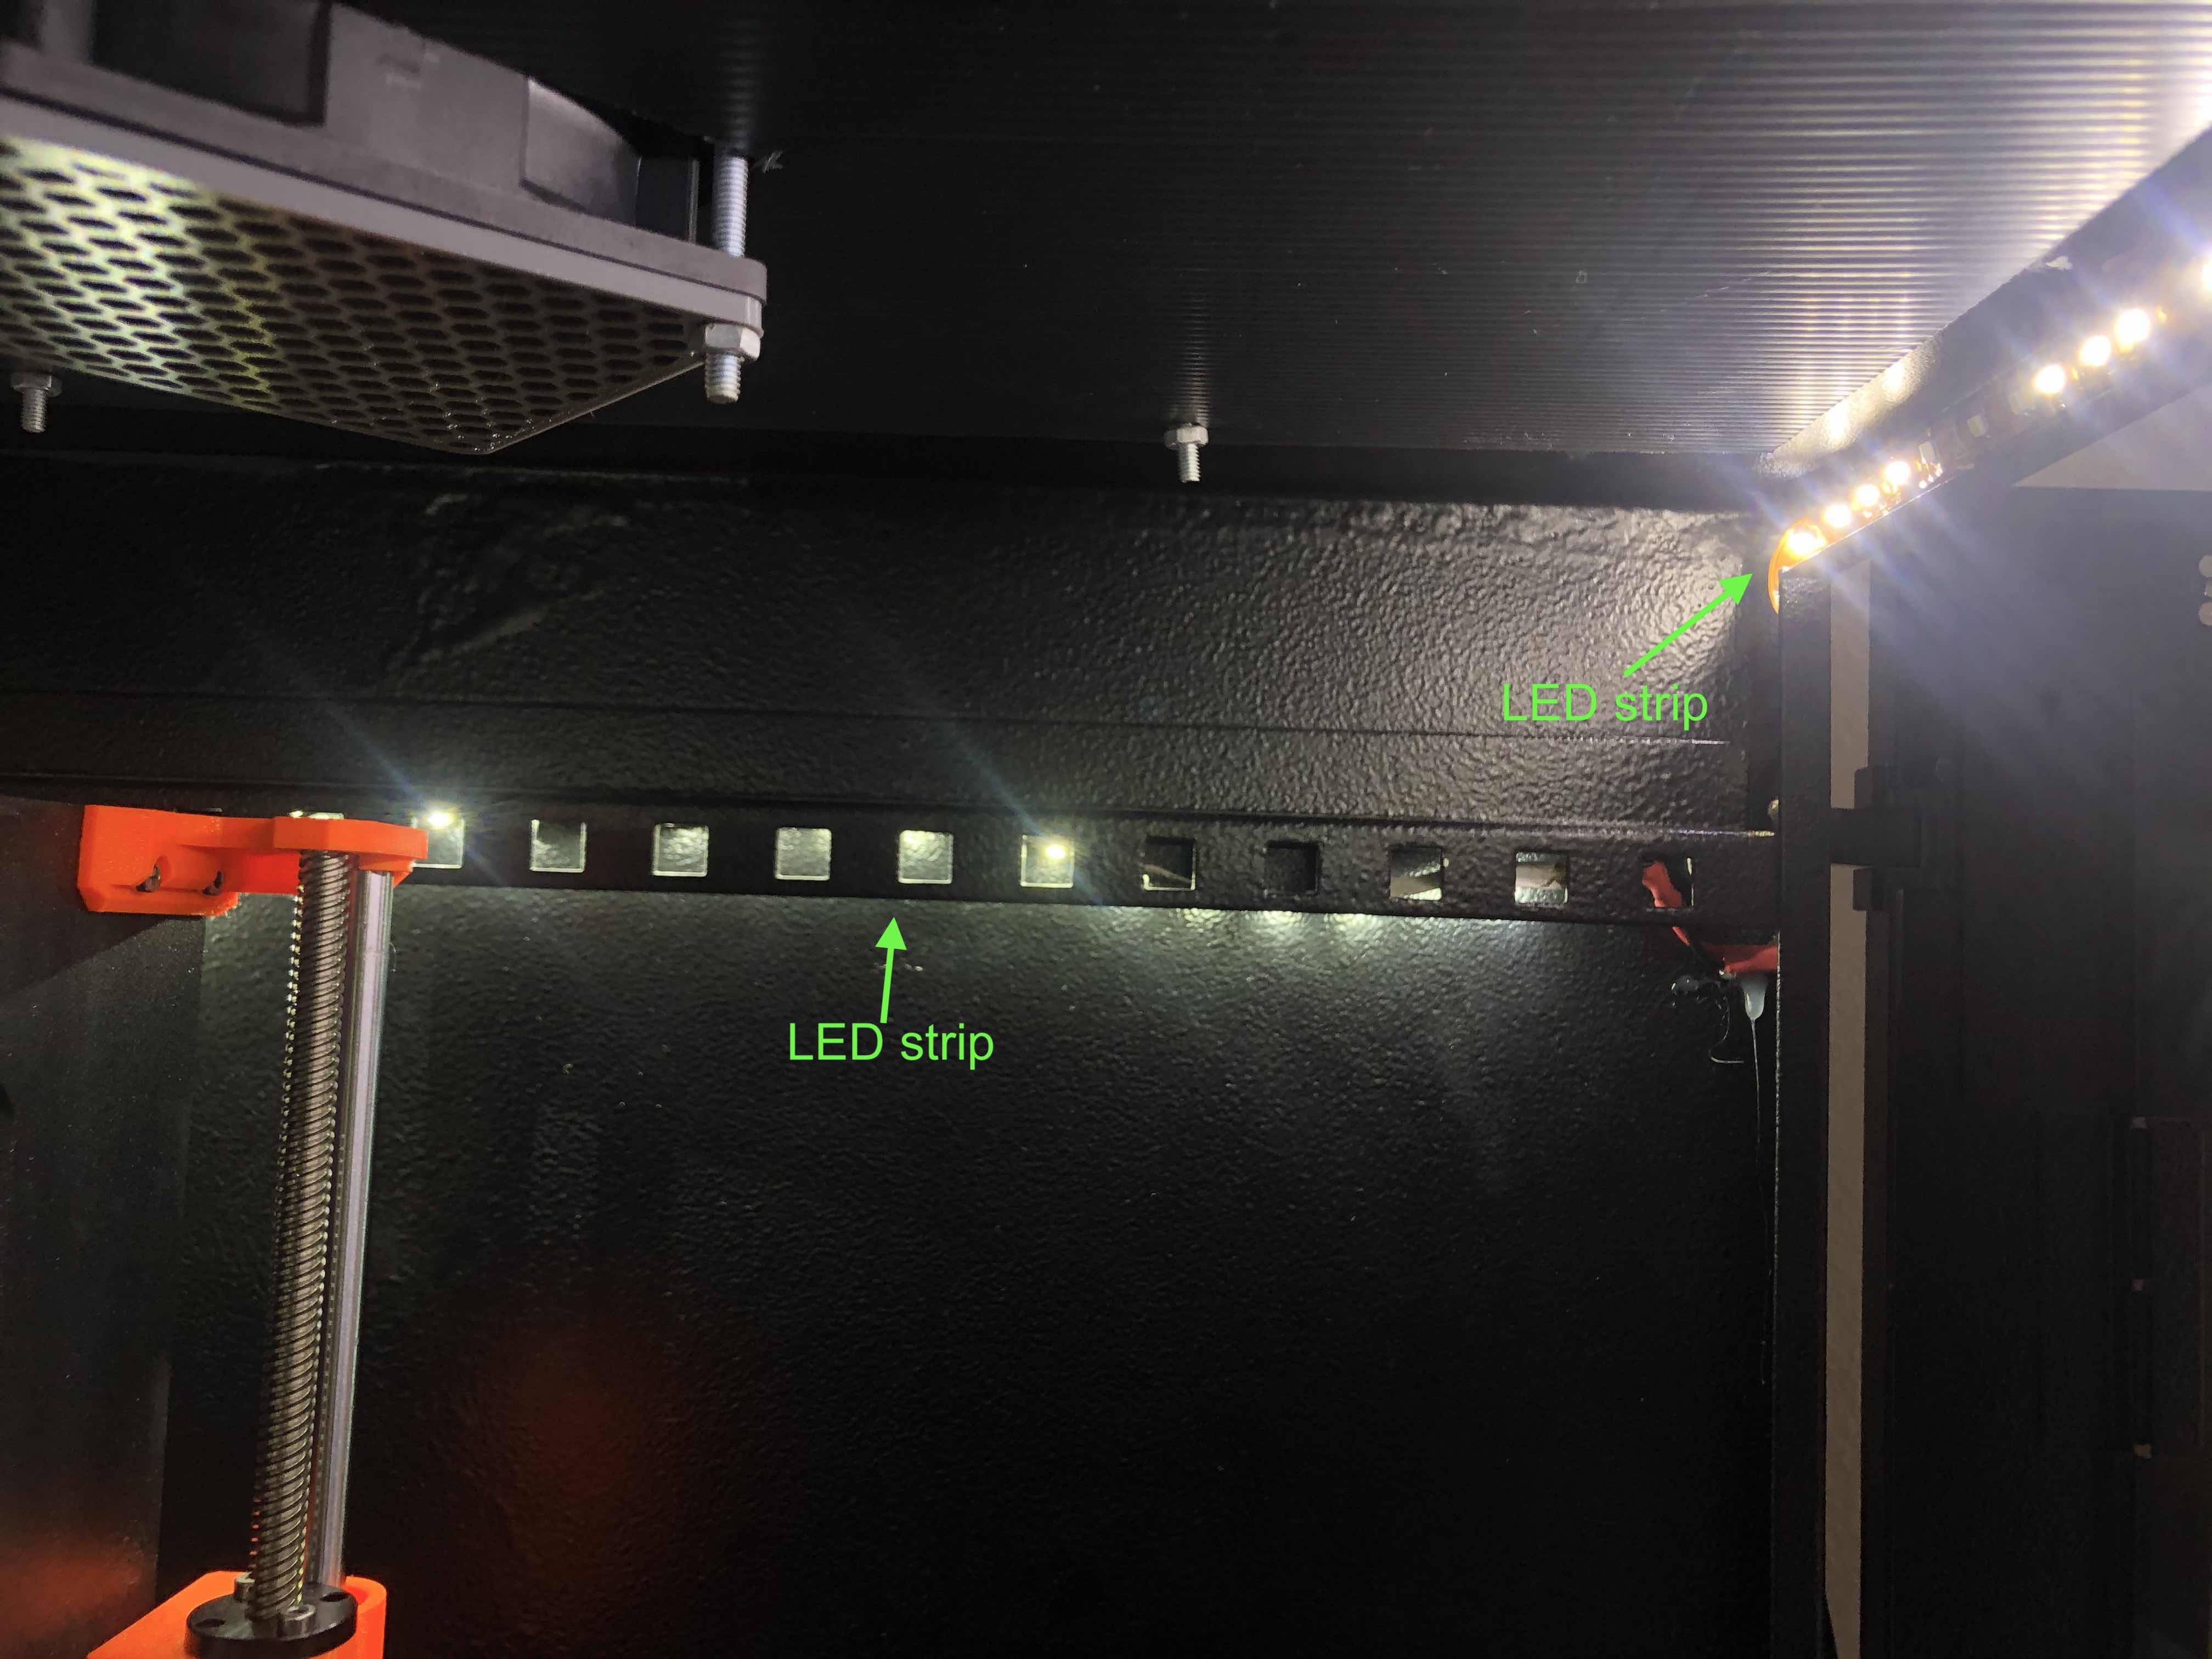
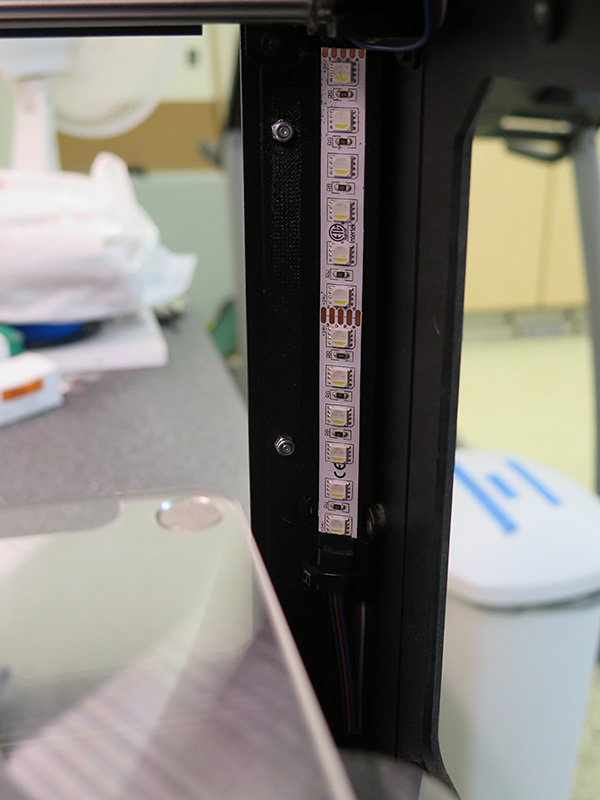
Good example: LED strip around the box frame
LED strip is an ideal choice of lighting because:
- It almost guarantees no backlight. Since the LED strip can be, and usually is, mounted all around the printer, it creates a light source that comes from all directions, and by definitely, creates no backlight.
- It minimizes shadows. Look at the 2nd picture above. There are no big dark shadowy area on the print bed. Although it doesn't completely eliminate shadows (which, as mentioned above, is very hard), it is almost as good as you can get.
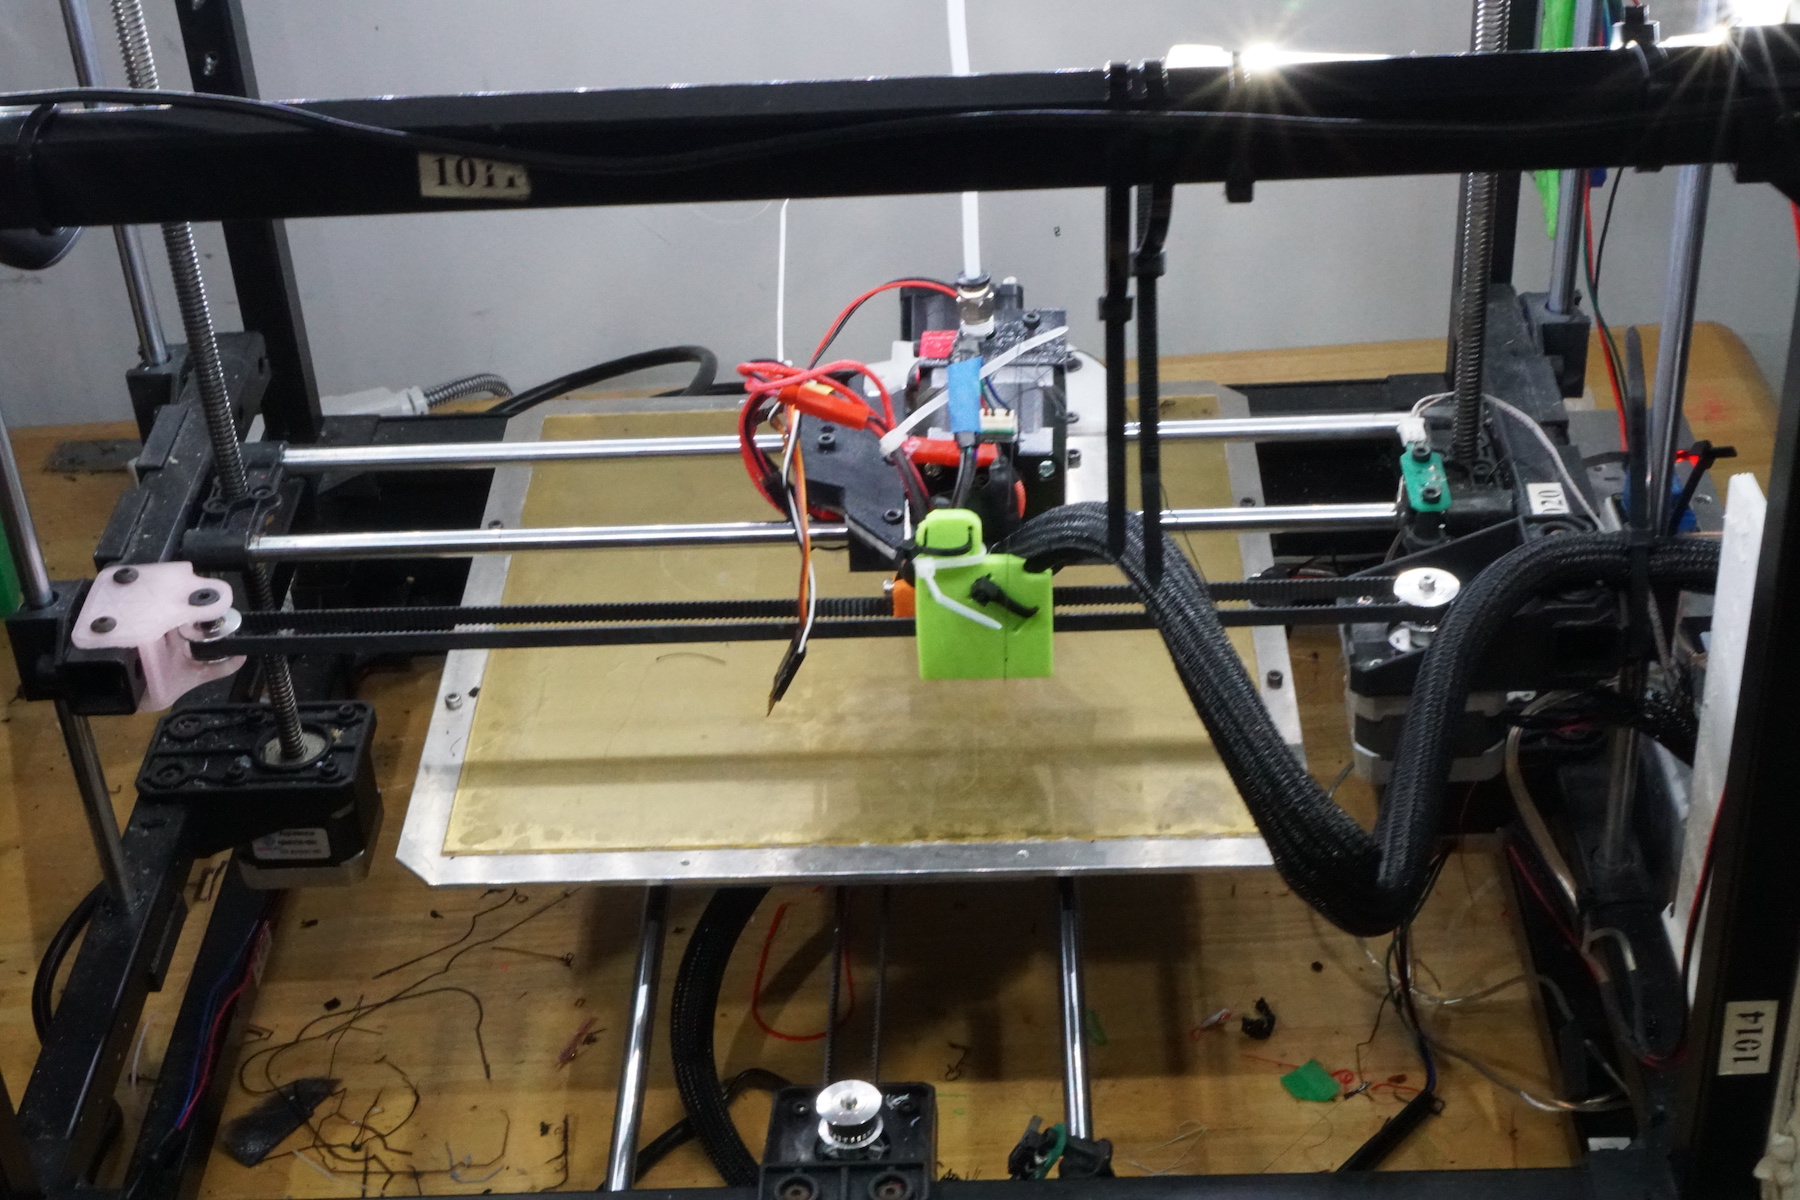
Good example: LED strip around the box frame
- LED strip all around the frame to create even light from all directions.
- LED strip hidden behind the rail that helps diffuse the light and reduce glaring.
- Notice there is very little shadow on the print bed, even under the print head, thanks to this optimal setup.
Good example: LED strip on only one side
Notice that the LED strip is positioned on the same side as the camera. This eliminates backlight.

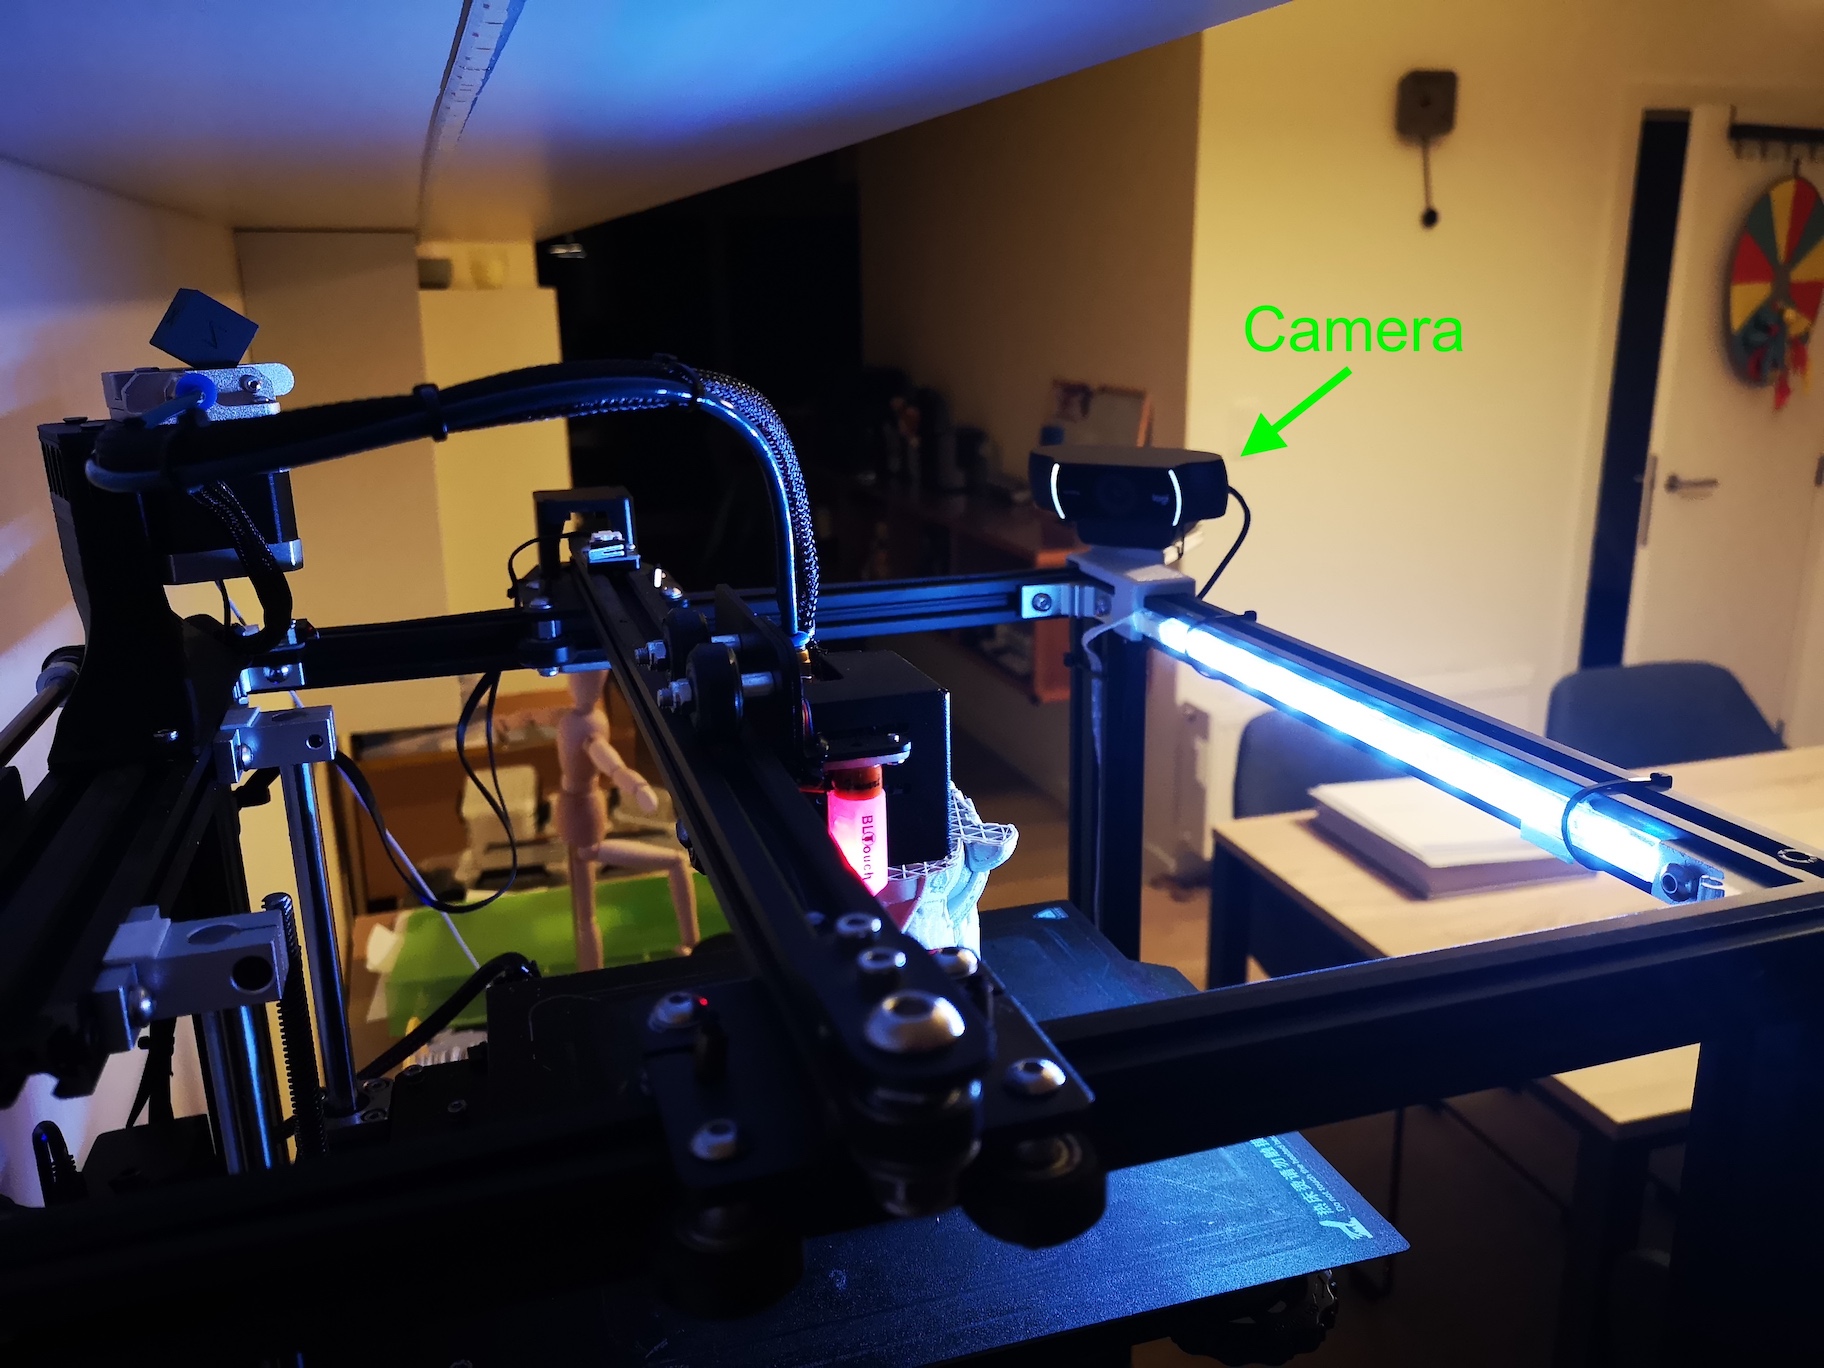
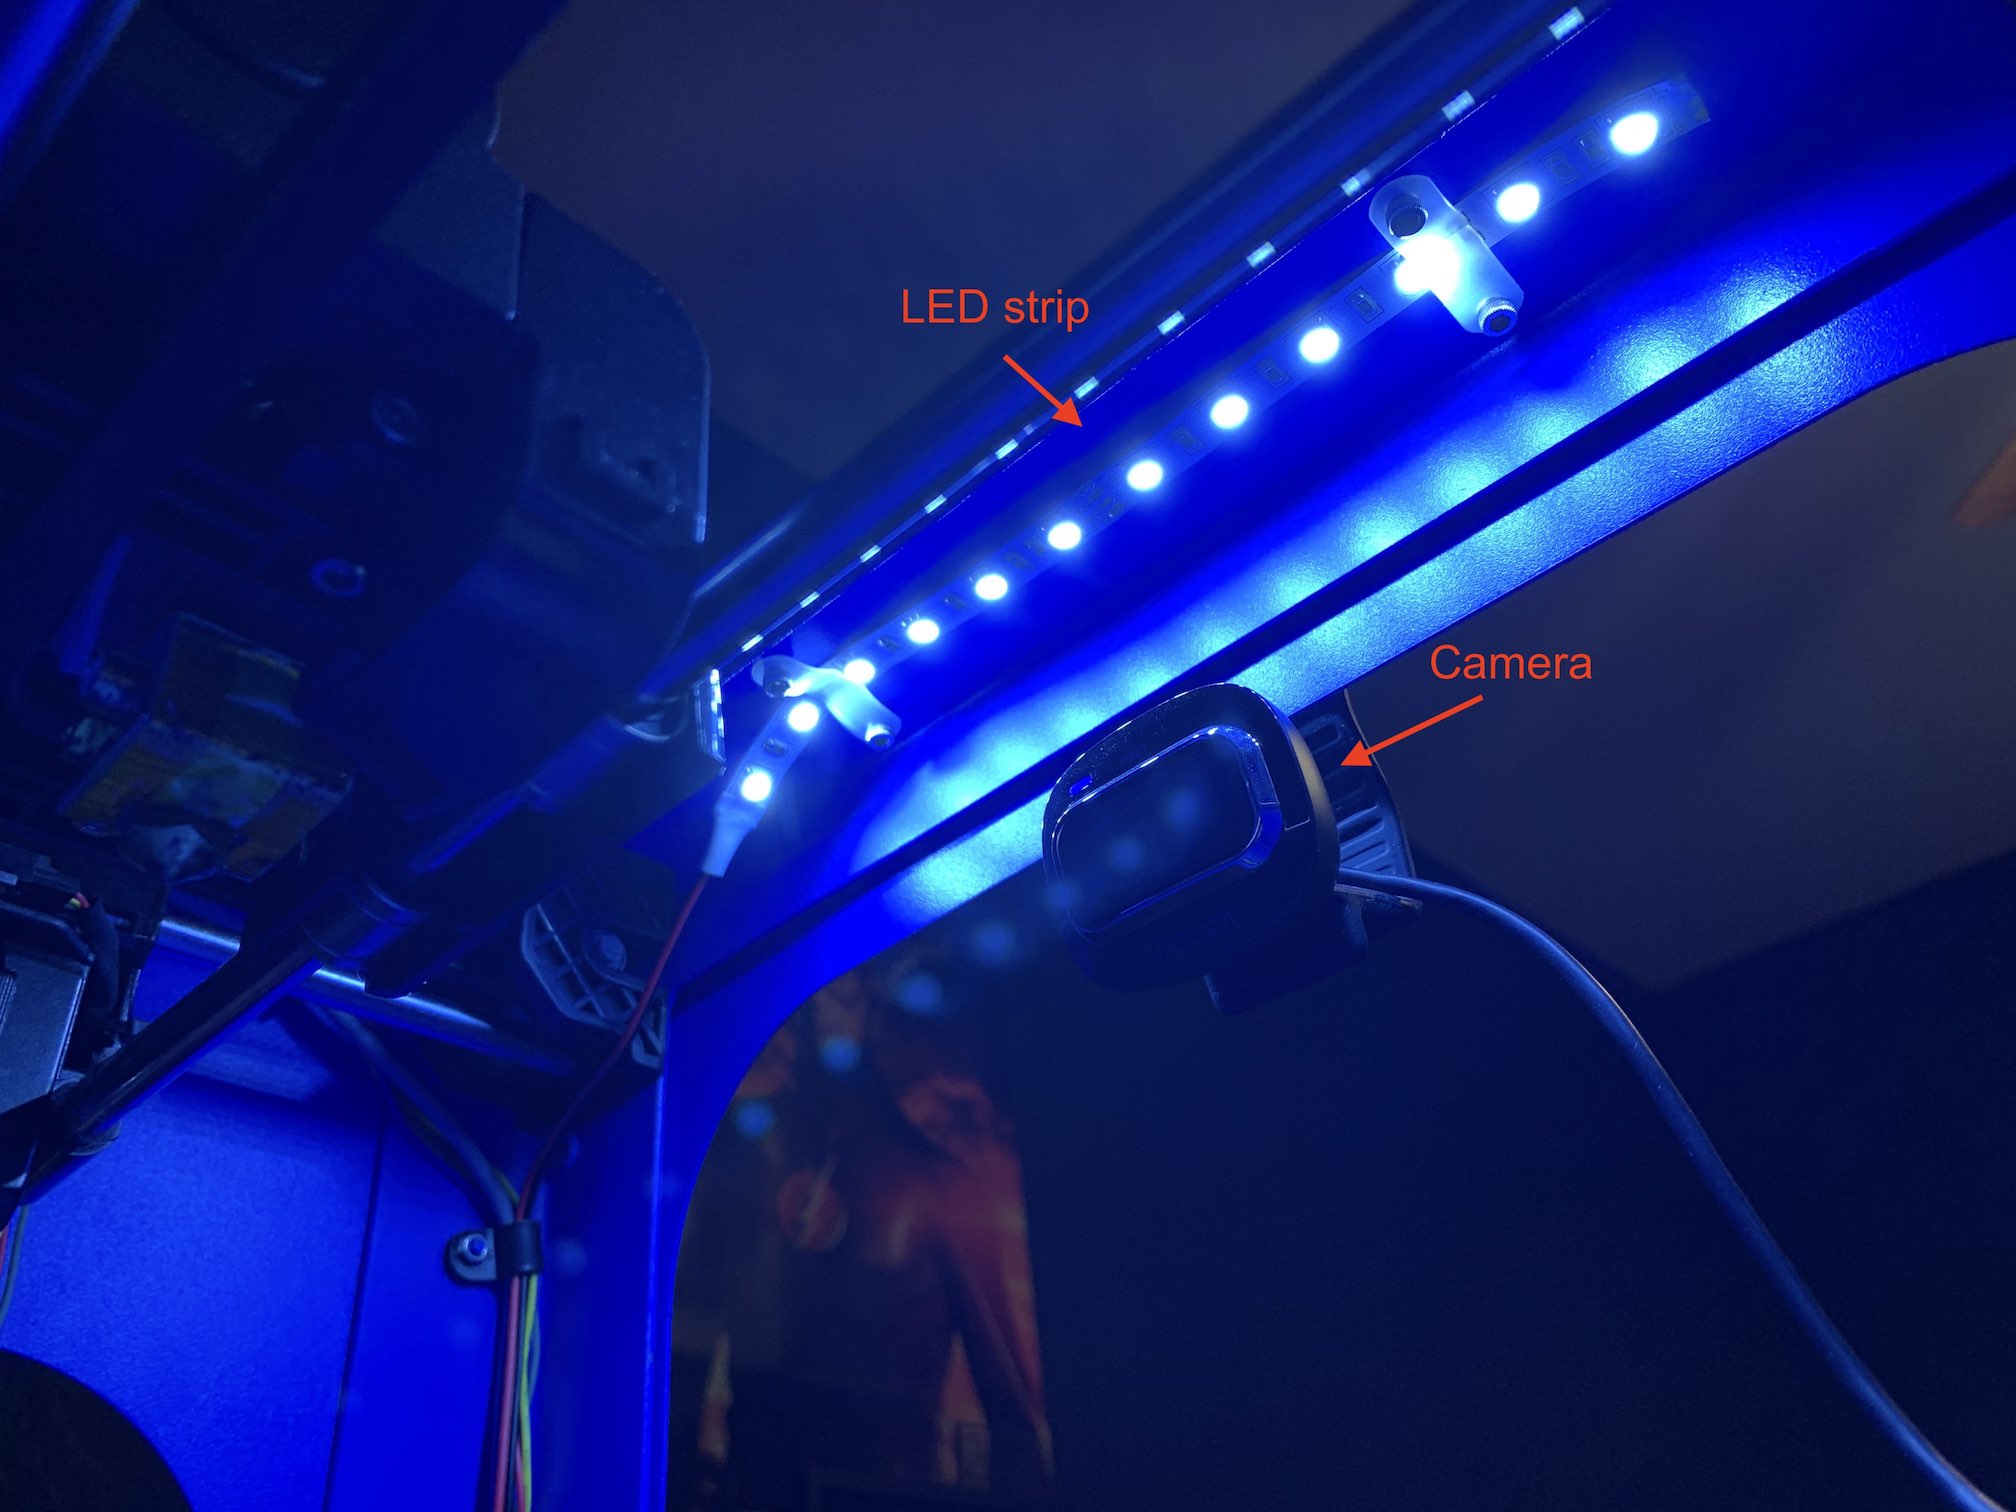
Good example: LED strip right next to the camera

Good example: Camera at the front. LED strip next to it, hidden inside the frame
Good example: LED strip attached vertically to the frame.
Good Focus
The Detective has 20/20 eyesight. But it doesn't help when she is presented with a blurry image to begin with.
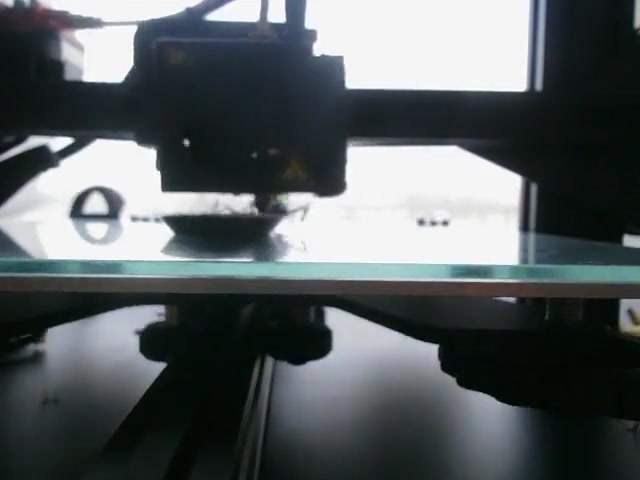
Keeping the camera focused is an important task that often gets overlooked. Contrast these 2 pictures:
Obviously, The Detective can't do a good job if she sees the 1st picture. And your own human eyes will thank you if you get the camera laser-focused as the 2nd one.
For most cameras that can't auto-focus, adjusting focus takes a bit of trial-and-error and patience. But the benefit far outstretches the required effort, making it the most rewarding adjustment you can do to your camera.
Here are a few links to the tutorials on adjusting focus for the most popular cameras:
- Pi Camera
- Logitech C270
- Logitech C920 (if auto-focus doesn't work well)