Pular para o conteúdo principal

JusPrin 1.0

The First GenAI 3D Printing Experience Now Available!

JusPrin Logo

5 postagens marcadas com "Slicer Software"

Ver todas os Marcadores

3D printing is more than a hobby; it’s a tool for innovation, design, and creativity. As technology gets better, the tools we use to optimize the print process get better. Orca Slicer is one of the best slicing software options out there for users who want precision, efficiency, and customization. One of its many features is the ability to create and manage your own filament profiles, and that’s a game changer for getting great results every time.

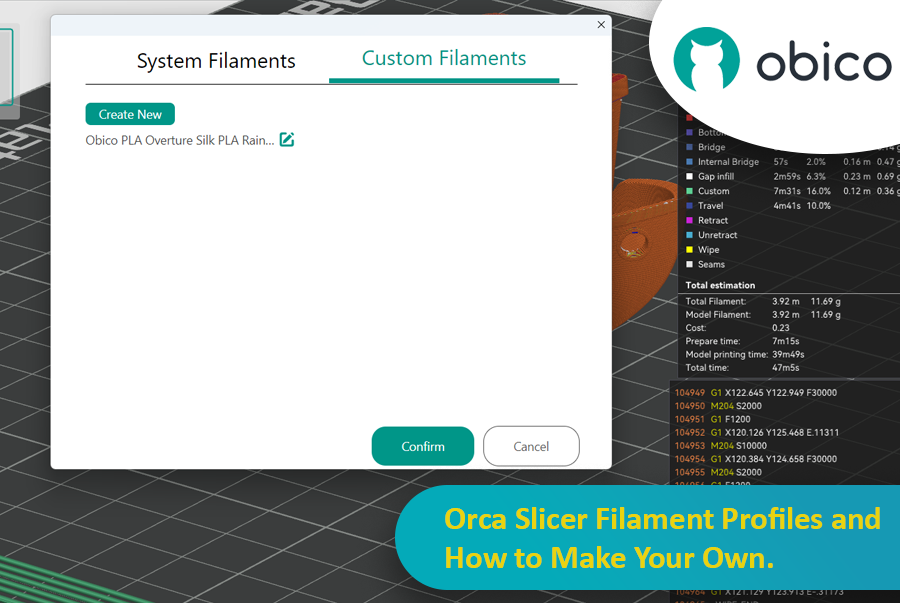
Orca Slicer Filament Profiles and How to Make Your Own

In this article we’ll go deep into filament profiles in Orca Slicer, what they are, why they matter, and how you can create, fine-tune, and optimize your own custom profiles for your material.

dica

Try JusPrin, the first GenAI 3D printing tool built on OrcaSlicer.

Se você trabalha com impressão 3D, provavelmente já usou o Cura ou o PrusaSlicer para fatiar seus modelos. Essas ferramentas são necessárias para converter qualquer modelo 3D em código G, que contém instruções que sua máquina pode executar para imprimir o modelo. No entanto, sempre há espaço para novos softwares que ofereçam recursos e opções diferentes.

Fatiador de Orcas

O Orca Slicer é o que você precisa. É gratuito e desenvolvido em Estúdio Bambu. Ele oferece mais maneiras de personalizar, controlar e obter resultados precisos para suas impressões. Seja você um iniciante em busca de perfis prontos ou um usuário experiente em busca de configurações avançadas, o Orca Slicer tem tudo o que você precisa.

O Orca Slicer começou como um fork do Estúdio Bambu, que por sua vez é baseado no PrusaSlicer, um dos softwares de fatiamento de código aberto mais utilizados. Foi desenvolvido pelo Febre suave. Ganhou força rapidamente devido ao aumento do número de perfis de impressora e às opções de calibração de impressão mais avançadas. É particularmente útil se você deseja mais controle e detalhes sobre o resultado dos seus modelos 3D.

Introdução

No mundo da impressão 3D, o software de fatiamento que você escolher pode impactar significativamente a qualidade, a velocidade e a eficiência das suas impressões. Dois fatiadores populares que estão fazendo sucesso na comunidade são o Orca Slicer e o Bambu Studio. Ambos oferecem um conjunto robusto de recursos adaptados a diferentes usuários, mas qual é o ideal para você?

Orca Slicer vs. Bambu Studio: Análise detalhada e recursos

Neste guia, compararemos os dois segmentadores, abordando instalação, interface do usuário, recursos de destaque, suporte da comunidade e muito mais.

Não importa se você é iniciante ou experiente em impressão 3D, isso ajudará você a escolher o fatiador certo para suas necessidades.

Introduction

3D printing has revolutionized the way creators, engineers, and hobbyists bring their ideas to life. However, the transition from a digital model to a tangible object isn’t always straightforward. One key challenge is ensuring parts fit together seamlessly. In this comprehensive guide, we’ll delve into the world of tolerance testing using OrcaSlicer, a valuable tool for 3D printing. We will understand together how to know the right tolerances value to design successful prints which fit together well.
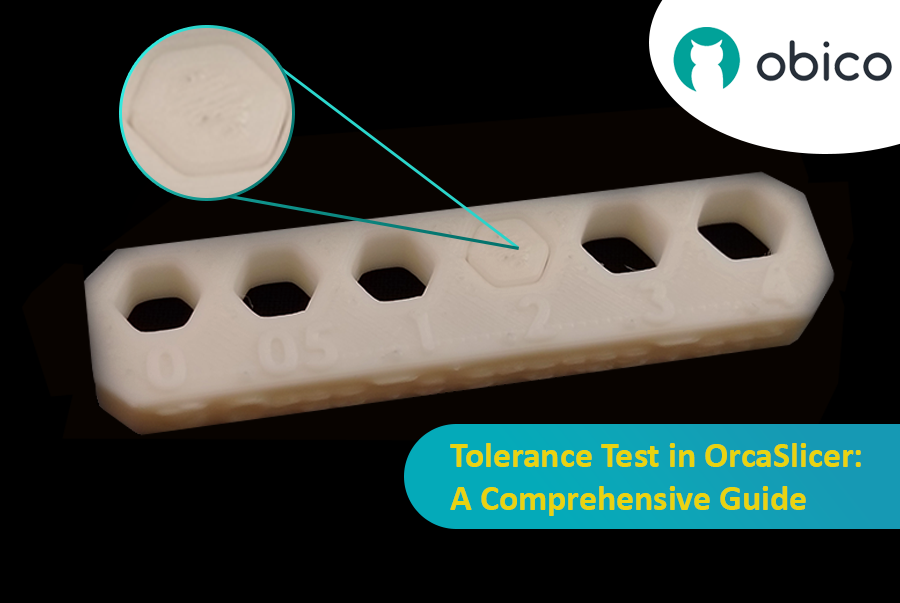
Tolerance Test in OrcaSlicer: A Comprehensive Guide

But before we get started testing our 3D printer, let’s understand some important related topics.

The Importance of Tolerance in 3D Printing

In the world of 3D printing, tolerance is all about precision. It's the measure of how accurately a 3D printer can replicate the dimensions specified in your digital design. Imagine you're creating a puzzle; if the pieces are too big or too small, they won't fit together. Similarly, for 3D printed parts to function and fit together as intended, the printer must be able to accurately produce parts within very tight dimensional limits. Good tolerance affects everything from how smoothly moving parts interact to the overall look and strength of the finished product.

But why do you need to make the tolerance test?

Well, in 3D printing things do not always go right. Every filament type has its own shrinkage coefficient and this affects how your print turns out. Different printers, with their unique mechanics and settings, can also produce varied results. That's why testing for tolerance is crucial - it helps you understand how your specific printer and chosen filament behave together, allowing you to adjust the tolerances in your design for the perfect print.
Introduction

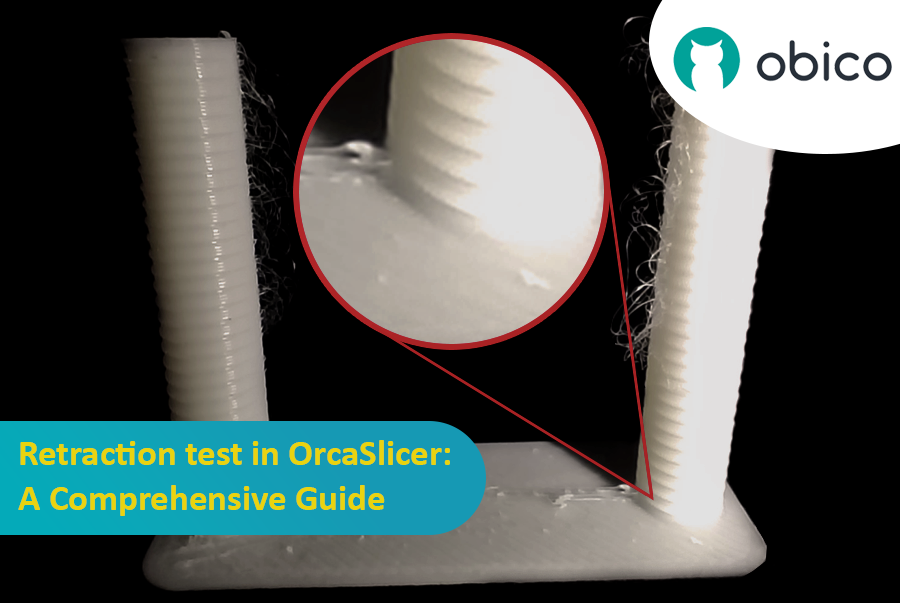
3D printing is a fascinating technology that allows you to create almost anything you can imagine. However, it also comes with some challenges and limitations, such as the quality of the printed parts. One of the most common issues that affect the appearance and functionality of 3D prints is the presence of unwanted material residues, such as strings, blobs, and zits.

Retraction test in OrcaSlicer: A Comprehensive Guide

Fortunately, there is a way to reduce or eliminate these artifacts by using a feature called retraction. But what does retraction mean?

Let’s break it down:

What is the retraction and the retraction test?

The retraction test is a calibration procedure that aims to reduce or eliminate the stringing and oozing problems that may occur during 3D printing. Stringing and oozing are caused by the excess material that leaks out of the nozzle when the hotend moves from one part of the model to another without extruding. This results in unwanted strands or blobs of filament on the surface or between the parts of the model, affecting the quality and appearance of the print.