Pular para o conteúdo principal

JusPrin 1.0

The First GenAI 3D Printing Experience Now Available!

JusPrin Logo

45 postagens marcadas com "3D Printing"

Ver todas os Marcadores

Introduction

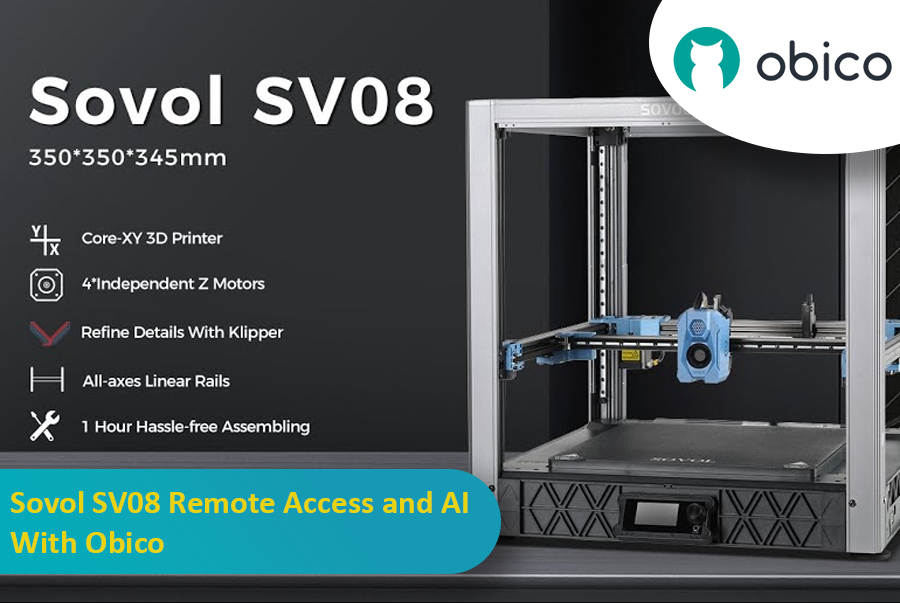
The Sovol SV08 is a standout 3D printer in the current market, offering a mix of advanced features, precision, and versatility that caters to both beginners and experienced makers. By integrating it with the Obico platform, an AI-powered, open-source system, users can significantly enhance their 3D printing experience through remote monitoring, control, and AI failure detection.

Sovol SV08 Remote Access and AI With Obico

This guide will take you through setting up your Sovol SV08 with Obico, including firmware updates, WiFi connections, and integrating the Obico system. We will also look at some advanced features provided by Obico, like Nozzle Ninja AI, which takes first-layer monitoring to another level, as well as the new built-in online slicer.

Introduction

3D printing is a fast-moving field, with new developments constantly pushing the boundaries of what is possible. One such development is the partnership between Obico and BigTreeTech (BTT), which brings Obico's advanced AI capabilities within reach of 3D printer enthusiasts through the BTT Pi 2.

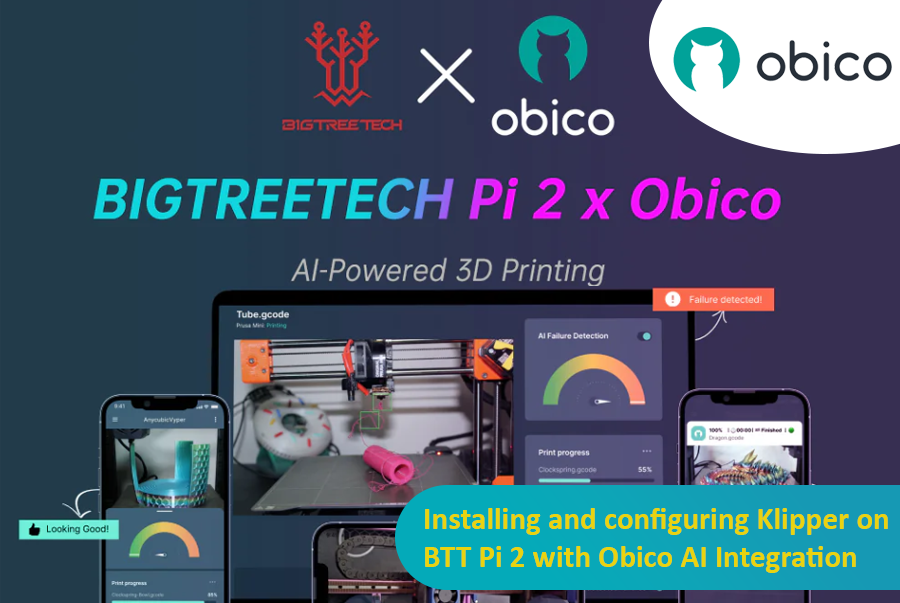
Installing and configuring Klipper on BTT Pi 2 with Obico AI Integration

This guide gives complete step-by-step instructions on how to install Klipper onto your BTT Pi 2 and then integrate Obico AI onto it. It includes detailed instructions for setting up an Ender 3 V2 3D printer as an example. Additionally, we will provide guidance on configuring other printer models to ensure all users can benefit from this setup. Whether you're a novice or an experienced user, this guide aims to simplify the process and enhance your 3D printing experience.

Introduction

3D printing is a great technology that turns designs into real objects, but figuring out the best print speed can be tricky. If you go too fast, quality may be lost; if you go too slow, it takes forever.

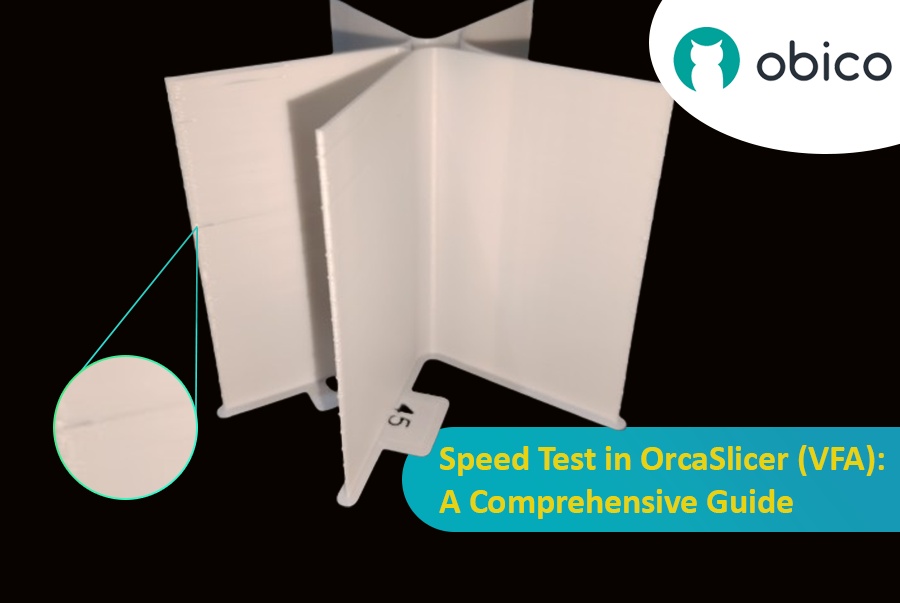
Speed Test in OrcaSlicer (VFA): A Comprehensive Guide

In this guide, we will show you how to use OrcaSlicer to determine the perfect print speed for your 3D printer. By the end of it, you will know how to get great prints quickly while maintaining good quality.

Let’s get started!

Hello there! Welcome to our easy-to-understand guide on how to control the OrcaSlicer maximum volumetric speed test for 3D printing enthusiasts. If you’re looking forward to enhancing print quality and efficiency, then this is the best place for you. This tutorial will help you optimize your printer’s volumetric speed that determines at what speed you can print without compromising on quality.

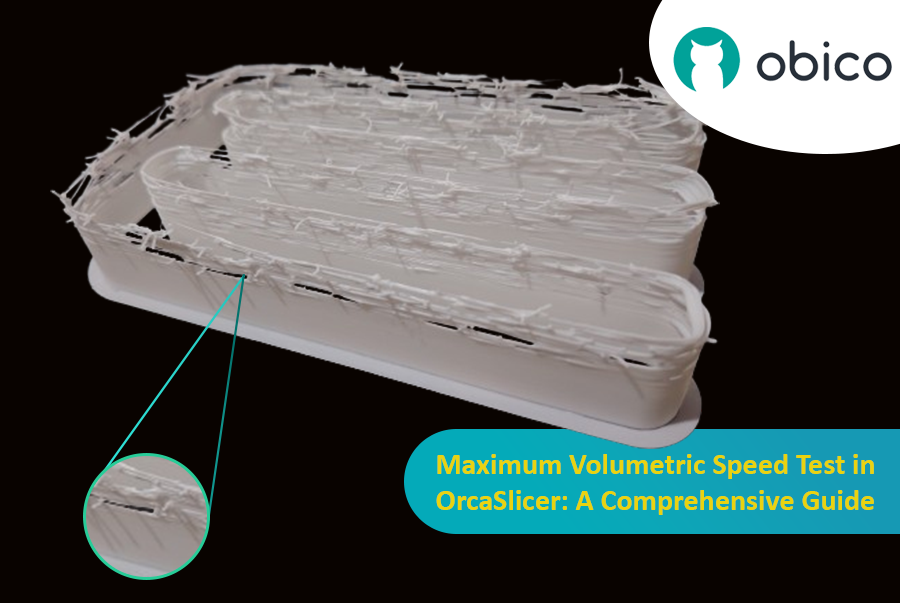
Maximum Volumetric Speed Test in OrcaSlicer: A Comprehensive Guide

Volumetric speed knowledge is crucial in 3D printing because it enables one understand how fast a printer can produce objects with accuracy. If this speed is tested and adjusted, under extrusion among other common problems while printing can be avoided thus ensuring that all your prints are good-looking even at higher speeds.

Introduction

3D printing has revolutionized the way creators, engineers, and hobbyists bring their ideas to life. However, the transition from a digital model to a tangible object isn’t always straightforward. One key challenge is ensuring parts fit together seamlessly. In this comprehensive guide, we’ll delve into the world of tolerance testing using OrcaSlicer, a valuable tool for 3D printing. We will understand together how to know the right tolerances value to design successful prints which fit together well.
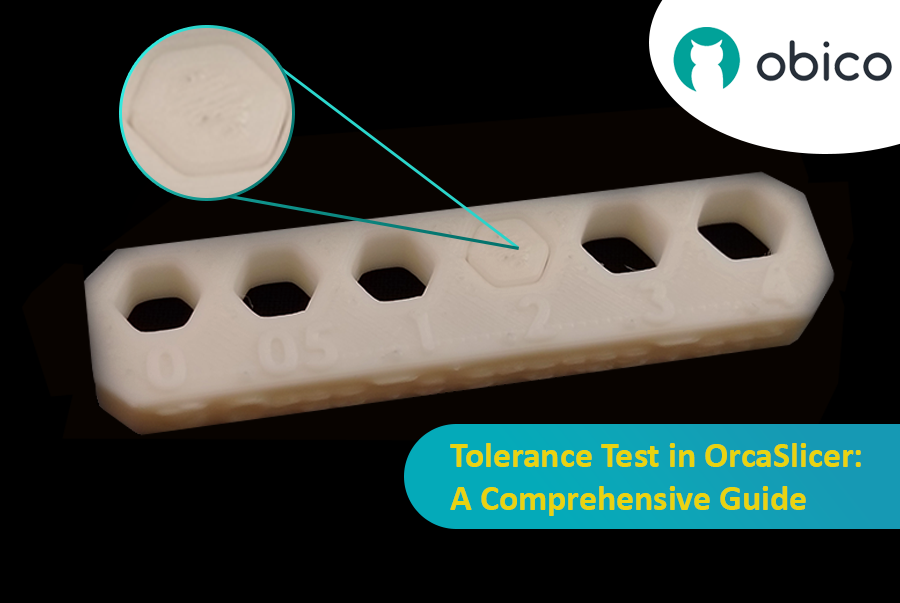
Tolerance Test in OrcaSlicer: A Comprehensive Guide

But before we get started testing our 3D printer, let’s understand some important related topics.

The Importance of Tolerance in 3D Printing

In the world of 3D printing, tolerance is all about precision. It's the measure of how accurately a 3D printer can replicate the dimensions specified in your digital design. Imagine you're creating a puzzle; if the pieces are too big or too small, they won't fit together. Similarly, for 3D printed parts to function and fit together as intended, the printer must be able to accurately produce parts within very tight dimensional limits. Good tolerance affects everything from how smoothly moving parts interact to the overall look and strength of the finished product.

But why do you need to make the tolerance test?

Well, in 3D printing things do not always go right. Every filament type has its own shrinkage coefficient and this affects how your print turns out. Different printers, with their unique mechanics and settings, can also produce varied results. That's why testing for tolerance is crucial - it helps you understand how your specific printer and chosen filament behave together, allowing you to adjust the tolerances in your design for the perfect print.
dica

Try JusPrin, the first GenAI 3D printing tool built on OrcaSlicer.

Visão geral do avanço de pressão

Imagine que você está desenhando com uma caneta que às vezes derrama muita tinta e outras vezes quase nada. Na impressão 3D, algo semelhante pode acontecer quando a impressora se move rapidamente e muda de velocidade – isso pode afetar a quantidade de plástico que sai.

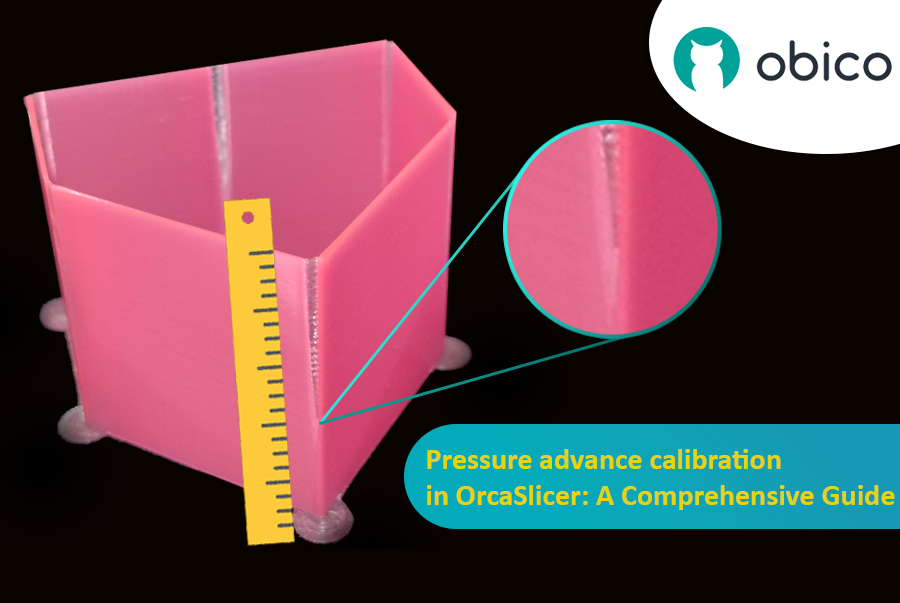
Calibração de avanço de pressão no OrcaSlicer: um guia completo

Mas por que sua impressora às vezes erra na quantidade de plástico que sai?

Em uma impressora 3D, o filamento sai com base na pressão exercida dentro do bico. É como uma mangueira de jardim: você precisa de pressão de água suficiente antes que ela esguiche. Quando a impressora acelera ou desacelera, como ao fazer curvas, demora um pouco para que a pressão do bico se ajuste. Se a impressora se mover muito rápido e muito cedo, não sai filamento suficiente. E se ela desacelerar muito rápido, sai filamento demais. Isso pode fazer com que os cantos da sua impressão pareçam um pouco bagunçados, porque a impressora não ajustou o fluxo do filamento corretamente para as mudanças de velocidade.

E é aqui que o Avanço de Pressão entra em ação. É um recurso inteligente que compensa essas mudanças, garantindo que a quantidade certa de filamento seja extrudada conforme a impressora acelera ou desacelera. Com o Avanço de Pressão, sua impressora lida melhor com as transições de velocidade, resultando em impressões mais suaves e nítidas, especialmente nos cantos mais difíceis.

Introduction

3D printing is a fascinating technology that allows you to create almost anything you can imagine. However, it also comes with some challenges and limitations, such as the quality of the printed parts. One of the most common issues that affect the appearance and functionality of 3D prints is the presence of unwanted material residues, such as strings, blobs, and zits.

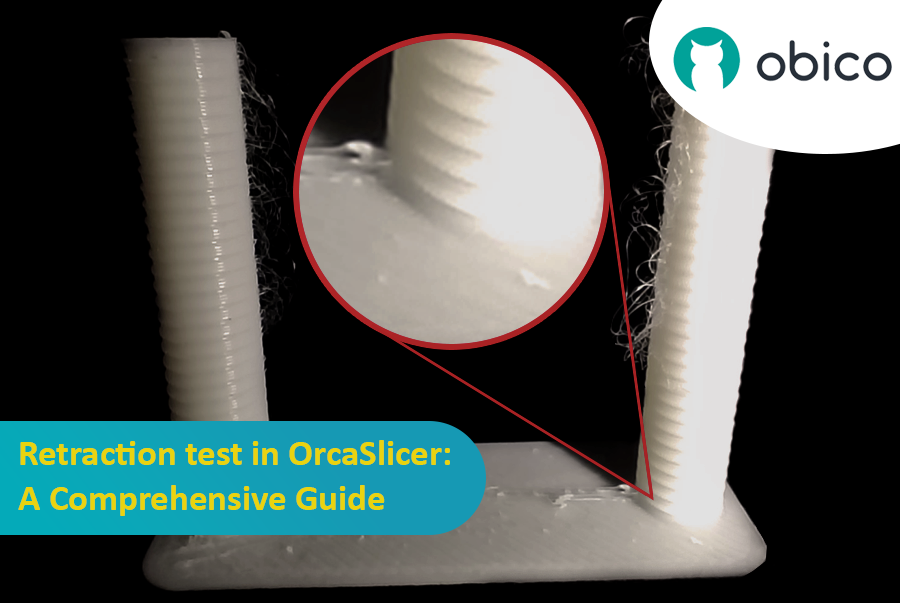
Retraction test in OrcaSlicer: A Comprehensive Guide

Fortunately, there is a way to reduce or eliminate these artifacts by using a feature called retraction. But what does retraction mean?

Let’s break it down:

What is the retraction and the retraction test?

The retraction test is a calibration procedure that aims to reduce or eliminate the stringing and oozing problems that may occur during 3D printing. Stringing and oozing are caused by the excess material that leaks out of the nozzle when the hotend moves from one part of the model to another without extruding. This results in unwanted strands or blobs of filament on the surface or between the parts of the model, affecting the quality and appearance of the print.

dica

Try JusPrin, the first GenAI 3D printing tool built on OrcaSlicer.

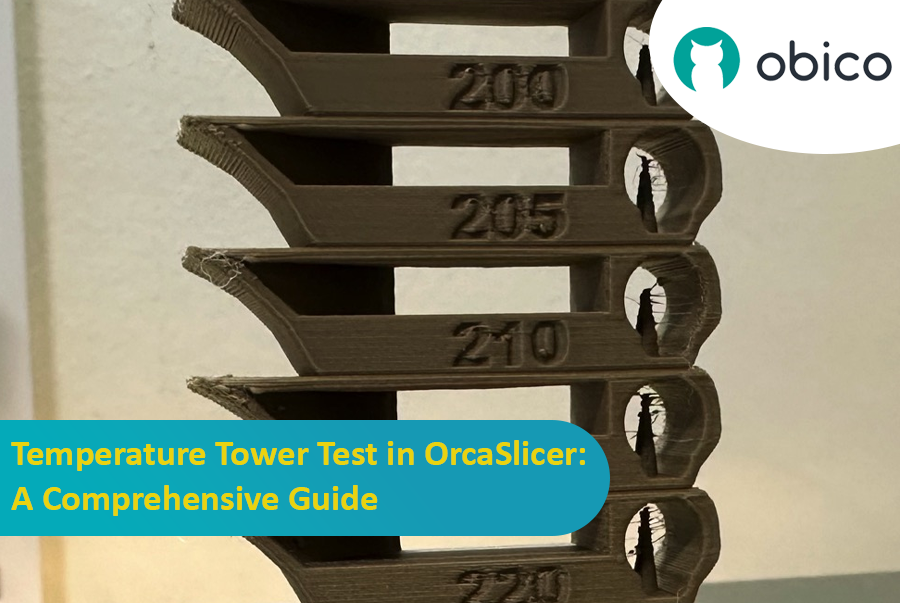
Introdução ao teste de torre de temperatura com OrcaSlicer

A impressão 3D é uma tecnologia fascinante que permite criar objetos físicos a partir de modelos digitais. No entanto, para obter os melhores resultados, você precisa ajustar as configurações da sua impressora e otimizar os parâmetros do filamento. Um dos fatores mais importantes que afetam a qualidade das suas impressões é a temperatura.

A temperatura afeta a qualidade da fusão, do fluxo e da ligação do filamento com as camadas anteriores. Se a temperatura for muito baixa, o filamento pode não ser extrudado corretamente, resultando em subextrusão, má adesão e peças fracas. Se a temperatura for muito alta, o filamento pode vazar, enroscar ou deformar, resultando em superextrusão, bolhas e deformações.

Teste de torre de temperatura no OrcaSlicer: um guia completo

Para encontrar a temperatura ideal para seu filamento, você precisa realizar um teste de torre de temperatura.

dica

Try JusPrin, the first GenAI 3D printing tool built on OrcaSlicer.

Introdução

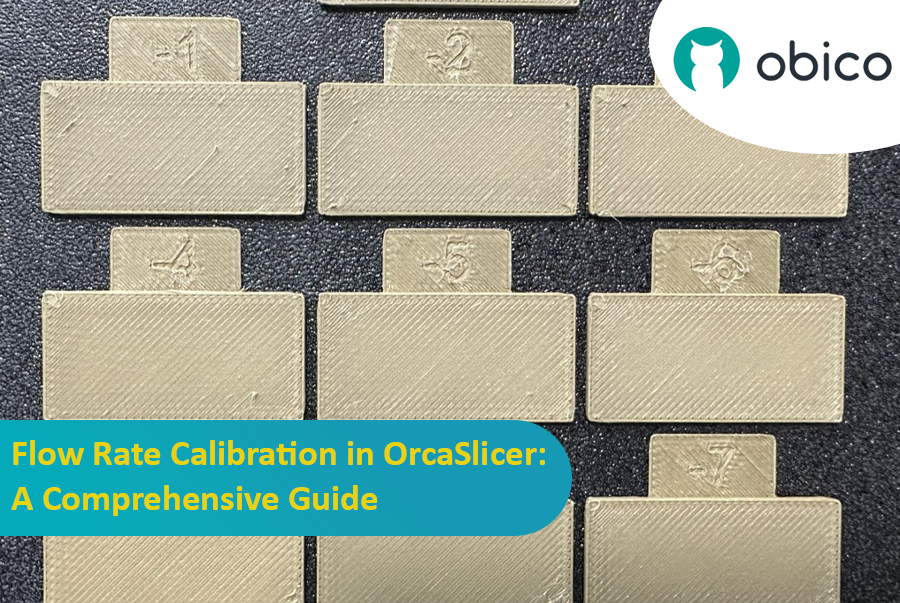
A calibração da vazão é uma etapa crucial para obter impressões 3D de alta qualidade. A vazão adequada garante uma deposição consistente de camadas, superfícies mais lisas e melhores detalhes. Neste artigo, que faz parte de uma série de artigos sobre calibração do OrcaSlicer, exploraremos o processo de calibração da vazão usando o OrcaSlicer, um software fatiador de código aberto desenvolvido para impressoras 3D de Modelagem por Deposição Fundida (FDM).

Calibração de vazão no OrcaSlicer: um guia completo

Antes de nos aprofundarmos no processo de calibração de vazão no OrcaSlicer, vamos fazer uma breve pausa para entender o que ele é e seus principais recursos.

OrcaSlicer: Uma opção poderosa e flexível para fatiamento por impressão 3D

O OrcaSlicer é um software de fatiamento de impressão 3D de código aberto para impressoras FDM. Ele foi projetado principalmente para impressoras compatíveis com os firmwares Marlin, Klipper e Bambu Lab. Ele suporta vários modelos populares de marcas como Creality, Prusa, Elegoo e até mesmo a Voron de código aberto.

Árvore genealógica da família OrcaSlicer:

O OrcaSlicer é baseado no Bambu Studio, que por sua vez é derivado do PrusaSlicer. O PrusaSlicer, por sua vez, é baseado na solução de código aberto Slic3r.

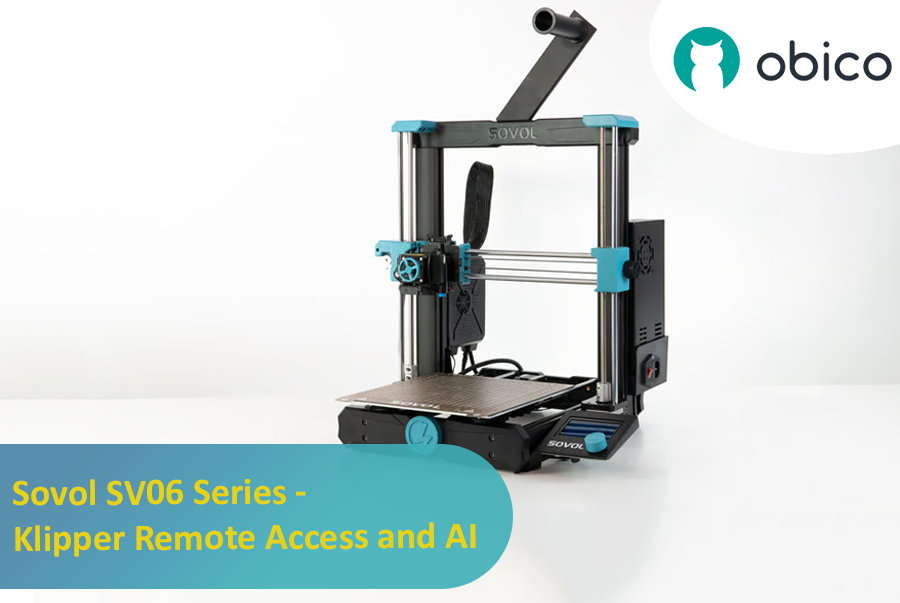
Introduction: Welcoming You to the Sovol SV06 Series

Hey there! Let's jump into the world of the Sovol SV06. This printer is getting a lot of buzz for being budget-friendly while still offering some pretty cool features. If you're thinking about getting into 3D printing without spending a ton, the Sovol SV06 is a solid choice. It gives you a lot for its price, similar to more expensive printers like the Prusa MK3S+, but at a fraction of the cost. With neat features like dual Z-axis motors, automatic bed leveling, and the ability to reach up to 300 °C, it really stands out in the budget printer crowd.

Introduction: Welcoming You to the Sovol SV06 Series