Ga naar hoofdinhoud

JusPrin 1.0

The First GenAI 3D Printing Experience Now Available!

JusPrin Logo

5 berichten getagd met "Slicer Software"

Laat alle tags zien

3D printing is more than a hobby; it’s a tool for innovation, design, and creativity. As technology gets better, the tools we use to optimize the print process get better. Orca Slicer is one of the best slicing software options out there for users who want precision, efficiency, and customization. One of its many features is the ability to create and manage your own filament profiles, and that’s a game changer for getting great results every time.

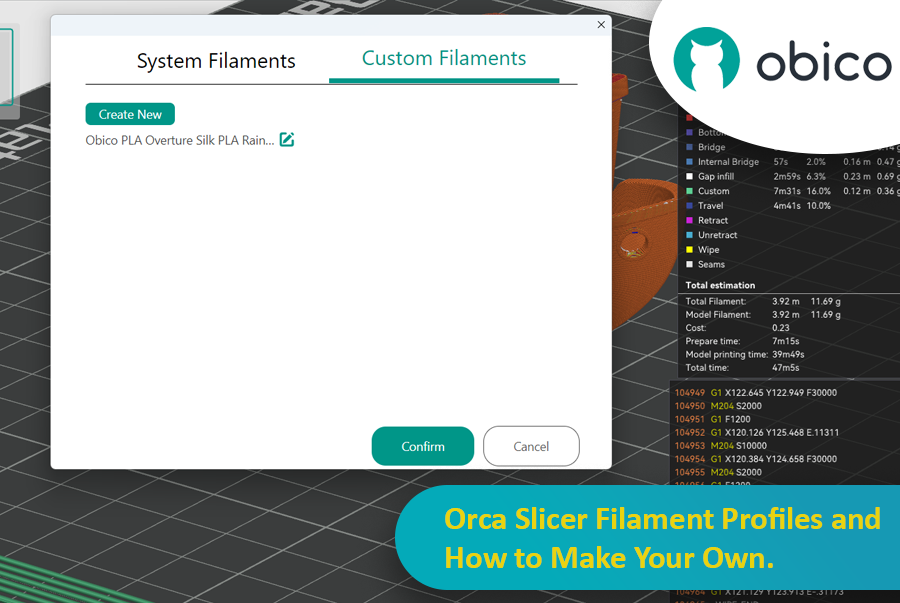
Orca Slicer Filament Profiles and How to Make Your Own

In this article we’ll go deep into filament profiles in Orca Slicer, what they are, why they matter, and how you can create, fine-tune, and optimize your own custom profiles for your material.

tip

Try JusPrin, the first GenAI 3D printing tool built on OrcaSlicer.

Als je van 3D-printen houdt, heb je vast al eens Cura of PrusaSlicer gebruikt om je modellen te slicen. Deze tools zijn nodig om elk 3D-model om te zetten naar G-code, een code die instructies bevat die je machine kan uitvoeren om je model daadwerkelijk te printen. Er is echter altijd ruimte voor nieuwe software met andere functies en opties.

Orka Slicer

Orca Slicer is wat je nodig hebt. Het is gratis en gebaseerd op Bamboe Studio. Het biedt je meer mogelijkheden om je prints aan te passen, te beheren en nauwkeurige resultaten te behalen. Of je nu een beginner bent die op zoek is naar kant-en-klare profielen of een ervaren gebruiker die op zoek is naar geavanceerde instellingen, Orca Slicer is de oplossing.

Orca Slicer begon als een afsplitsing van Bamboe Studio, dat op zijn beurt gebaseerd is op PrusaSlicer, een van de meest gebruikte open-source slicingsoftware. Het werd ontwikkeld door Zachte koorts. Het won snel aan populariteit dankzij het toegenomen aantal printerprofielen en geavanceerdere opties voor printkalibratie. Het is vooral handig als je meer controle en detail wilt over het eindresultaat van je 3D-modellen.

Inleiding

In de wereld van 3D-printen kan de slicersoftware die je kiest een aanzienlijke impact hebben op de kwaliteit, snelheid en efficiëntie van je prints. Twee populaire slicers die furore maken in de community zijn Orca Slicer en Bambu Studio. Beide slicers bieden een robuuste set functies, afgestemd op verschillende gebruikers, maar welke is geschikt voor jou?

Orca Slicer vs. Bambu Studio: Gedetailleerde review en functies

In deze gids vergelijken we beide slicers, waarbij we ingaan op de installatie, gebruikersinterface, belangrijkste functies, community-ondersteuning en meer.

Het maakt niet uit of u nieuw bent in 3D-printen of al ervaring hebt: met deze tool kiest u de juiste slicer voor uw behoeften.

Introduction

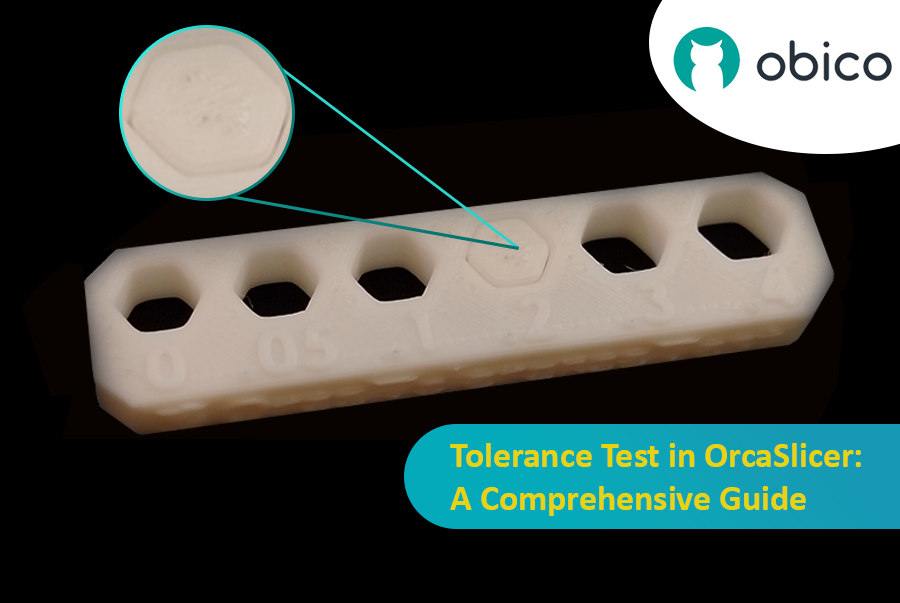
3D printing has revolutionized the way creators, engineers, and hobbyists bring their ideas to life. However, the transition from a digital model to a tangible object isn’t always straightforward. One key challenge is ensuring parts fit together seamlessly. In this comprehensive guide, we’ll delve into the world of tolerance testing using OrcaSlicer, a valuable tool for 3D printing. We will understand together how to know the right tolerances value to design successful prints which fit together well.
Tolerance Test in OrcaSlicer: A Comprehensive Guide

But before we get started testing our 3D printer, let’s understand some important related topics.

The Importance of Tolerance in 3D Printing

In the world of 3D printing, tolerance is all about precision. It's the measure of how accurately a 3D printer can replicate the dimensions specified in your digital design. Imagine you're creating a puzzle; if the pieces are too big or too small, they won't fit together. Similarly, for 3D printed parts to function and fit together as intended, the printer must be able to accurately produce parts within very tight dimensional limits. Good tolerance affects everything from how smoothly moving parts interact to the overall look and strength of the finished product.

But why do you need to make the tolerance test?

Well, in 3D printing things do not always go right. Every filament type has its own shrinkage coefficient and this affects how your print turns out. Different printers, with their unique mechanics and settings, can also produce varied results. That's why testing for tolerance is crucial - it helps you understand how your specific printer and chosen filament behave together, allowing you to adjust the tolerances in your design for the perfect print.

Introduction

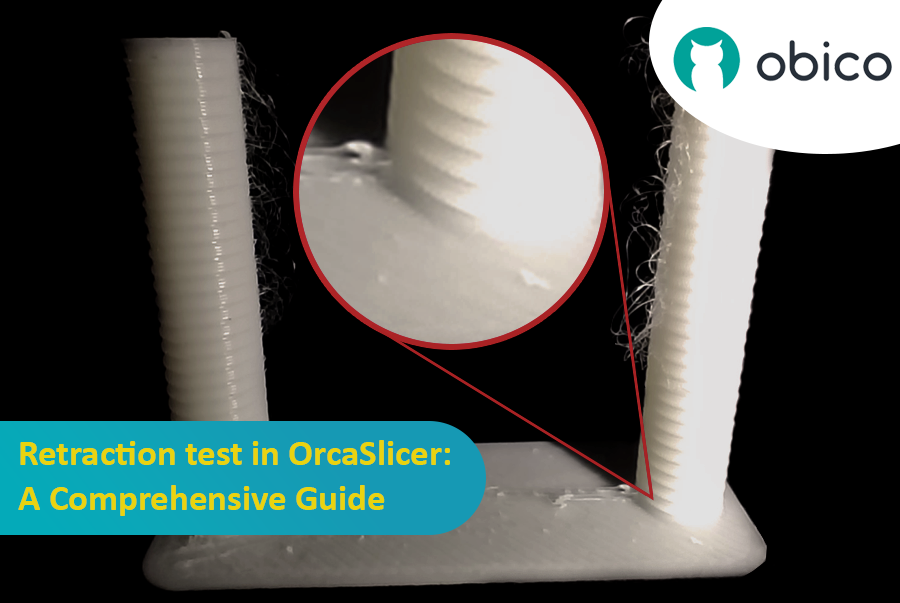
3D printing is a fascinating technology that allows you to create almost anything you can imagine. However, it also comes with some challenges and limitations, such as the quality of the printed parts. One of the most common issues that affect the appearance and functionality of 3D prints is the presence of unwanted material residues, such as strings, blobs, and zits.

Retraction test in OrcaSlicer: A Comprehensive Guide

Fortunately, there is a way to reduce or eliminate these artifacts by using a feature called retraction. But what does retraction mean?

Let’s break it down:

What is the retraction and the retraction test?

The retraction test is a calibration procedure that aims to reduce or eliminate the stringing and oozing problems that may occur during 3D printing. Stringing and oozing are caused by the excess material that leaks out of the nozzle when the hotend moves from one part of the model to another without extruding. This results in unwanted strands or blobs of filament on the surface or between the parts of the model, affecting the quality and appearance of the print.