Aller au contenu principal

JusPrin 1.0

The First GenAI 3D Printing Experience Now Available!

JusPrin Logo

5 articles tagués avec « Slicer Software »

Voir tous les tags

3D printing is more than a hobby; it’s a tool for innovation, design, and creativity. As technology gets better, the tools we use to optimize the print process get better. Orca Slicer is one of the best slicing software options out there for users who want precision, efficiency, and customization. One of its many features is the ability to create and manage your own filament profiles, and that’s a game changer for getting great results every time.

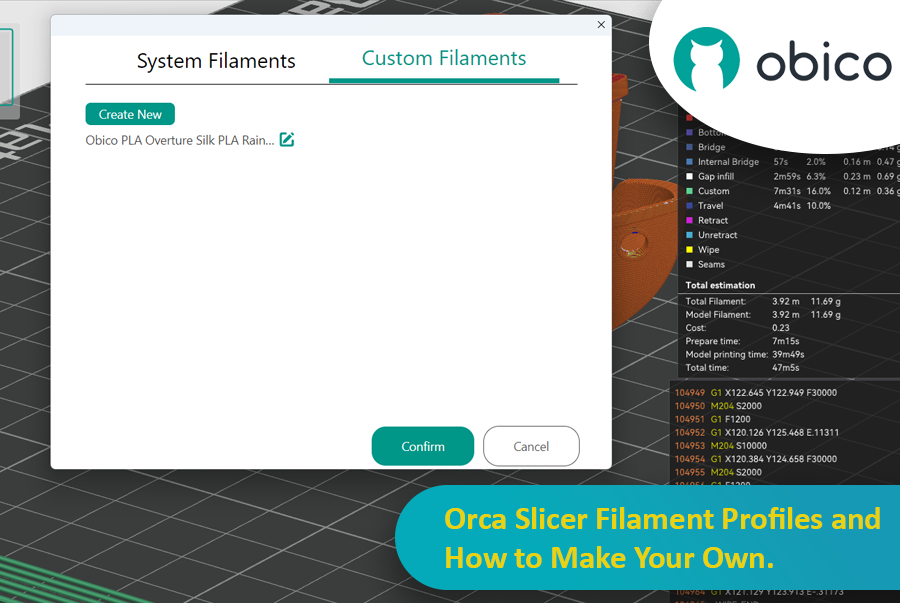
Orca Slicer Filament Profiles and How to Make Your Own

In this article we’ll go deep into filament profiles in Orca Slicer, what they are, why they matter, and how you can create, fine-tune, and optimize your own custom profiles for your material.

astuce

Try JusPrin, the first GenAI 3D printing tool built on OrcaSlicer.

Si vous êtes passionné d'impression 3D, vous avez certainement déjà utilisé Cura ou PrusaSlicer pour découper vos modèles. Ces outils sont indispensables pour convertir n'importe quel modèle 3D en G-code, qui contient les instructions que votre machine peut exécuter pour imprimer votre modèle. Cependant, de nouveaux logiciels offrant des fonctionnalités et des options différentes sont toujours disponibles.

Trancheuse Orca

Orca Slicer est la solution qu'il vous faut. Gratuit et basé sur Bambu Studio, il vous offre davantage de possibilités de personnalisation, de contrôle et d'obtention de résultats précis pour vos impressions. Que vous soyez débutant à la recherche de profils prêts à l'emploi ou utilisateur expérimenté à la recherche de paramètres avancés, Orca Slicer est fait pour vous.

Orca Slicer est né d'un fork de Bambu Studio, lui-même basé sur PrusaSlicer, l'un des logiciels de découpage open source les plus utilisés. Développé par SoftFever, il a rapidement gagné en popularité grâce à la multiplication des profils d'imprimante et à des options de calibrage d'impression plus avancées. Il est particulièrement utile si vous souhaitez plus de contrôle et de détails sur le rendu de vos modèles 3D.

Introduction

Dans le monde de l'impression 3D, le logiciel de slicer que vous choisissez peut avoir un impact significatif sur la qualité, la vitesse et l'efficacité de vos impressions. Orca Slicer et Bambu Studio sont deux slicers populaires qui font fureur au sein de la communauté. Ces deux logiciels offrent un ensemble complet de fonctionnalités adaptées à différents utilisateurs, mais lequel vous convient le mieux ?

Orca Slicer vs. Bambu Studio : analyse détaillée et fonctionnalités

Dans ce guide, nous comparerons les deux slicers, en couvrant l’installation, l’interface utilisateur, les fonctionnalités remarquables, le support communautaire et bien plus encore.

Que vous soyez novice ou expérimenté en impression 3D, cela vous aidera à choisir le slicer adapté à vos besoins.

Introduction

3D printing has revolutionized the way creators, engineers, and hobbyists bring their ideas to life. However, the transition from a digital model to a tangible object isn’t always straightforward. One key challenge is ensuring parts fit together seamlessly. In this comprehensive guide, we’ll delve into the world of tolerance testing using OrcaSlicer, a valuable tool for 3D printing. We will understand together how to know the right tolerances value to design successful prints which fit together well.
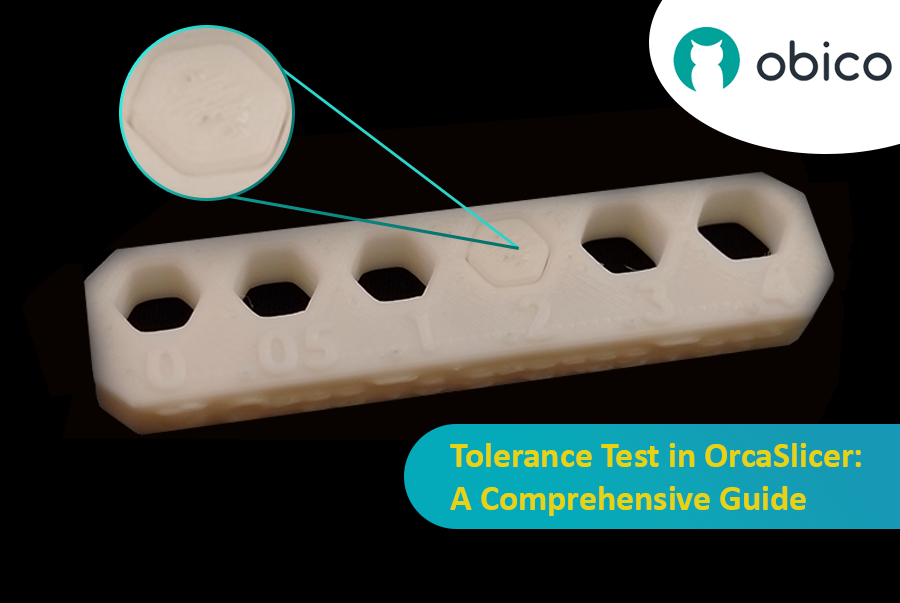
Tolerance Test in OrcaSlicer: A Comprehensive Guide

But before we get started testing our 3D printer, let’s understand some important related topics.

The Importance of Tolerance in 3D Printing

In the world of 3D printing, tolerance is all about precision. It's the measure of how accurately a 3D printer can replicate the dimensions specified in your digital design. Imagine you're creating a puzzle; if the pieces are too big or too small, they won't fit together. Similarly, for 3D printed parts to function and fit together as intended, the printer must be able to accurately produce parts within very tight dimensional limits. Good tolerance affects everything from how smoothly moving parts interact to the overall look and strength of the finished product.

But why do you need to make the tolerance test?

Well, in 3D printing things do not always go right. Every filament type has its own shrinkage coefficient and this affects how your print turns out. Different printers, with their unique mechanics and settings, can also produce varied results. That's why testing for tolerance is crucial - it helps you understand how your specific printer and chosen filament behave together, allowing you to adjust the tolerances in your design for the perfect print.
Introduction

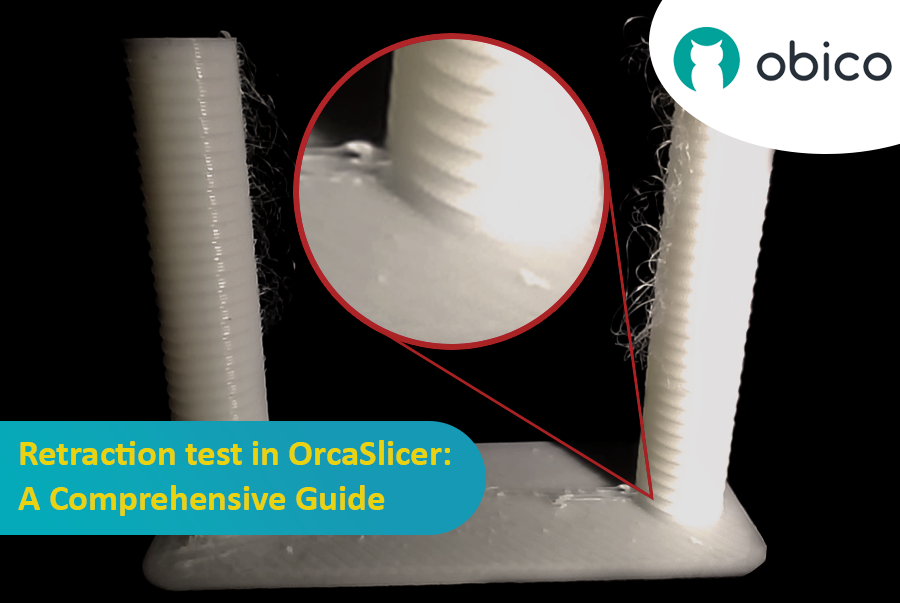
3D printing is a fascinating technology that allows you to create almost anything you can imagine. However, it also comes with some challenges and limitations, such as the quality of the printed parts. One of the most common issues that affect the appearance and functionality of 3D prints is the presence of unwanted material residues, such as strings, blobs, and zits.

Retraction test in OrcaSlicer: A Comprehensive Guide

Fortunately, there is a way to reduce or eliminate these artifacts by using a feature called retraction. But what does retraction mean?

Let’s break it down:

What is the retraction and the retraction test?

The retraction test is a calibration procedure that aims to reduce or eliminate the stringing and oozing problems that may occur during 3D printing. Stringing and oozing are caused by the excess material that leaks out of the nozzle when the hotend moves from one part of the model to another without extruding. This results in unwanted strands or blobs of filament on the surface or between the parts of the model, affecting the quality and appearance of the print.