Aller au contenu principal

JusPrin 1.0

The First GenAI 3D Printing Experience Now Available!

JusPrin Logo

45 articles tagués avec « 3D Printing »

Voir tous les tags

Introduction

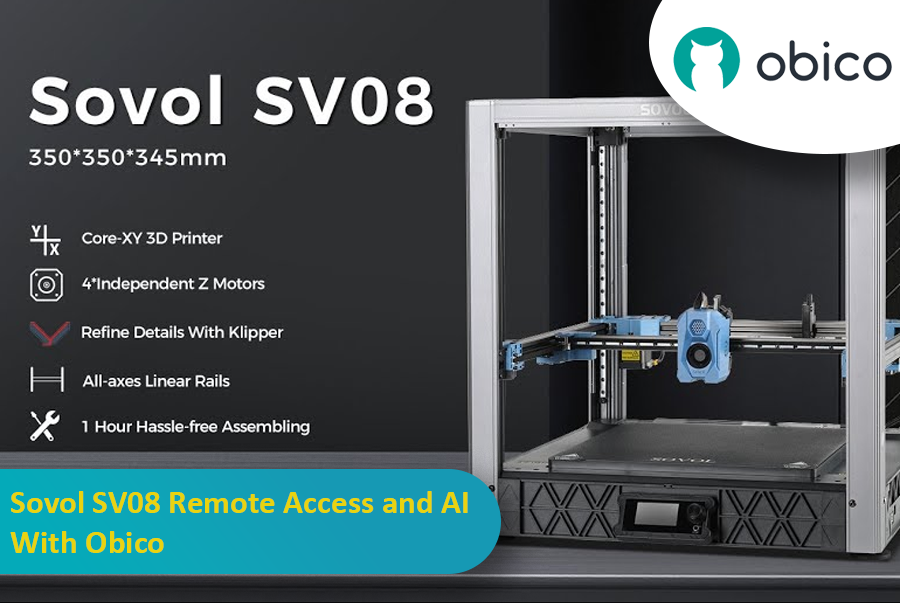
The Sovol SV08 is a standout 3D printer in the current market, offering a mix of advanced features, precision, and versatility that caters to both beginners and experienced makers. By integrating it with the Obico platform, an AI-powered, open-source system, users can significantly enhance their 3D printing experience through remote monitoring, control, and AI failure detection.

Sovol SV08 Remote Access and AI With Obico

This guide will take you through setting up your Sovol SV08 with Obico, including firmware updates, WiFi connections, and integrating the Obico system. We will also look at some advanced features provided by Obico, like Nozzle Ninja AI, which takes first-layer monitoring to another level, as well as the new built-in online slicer.

Introduction

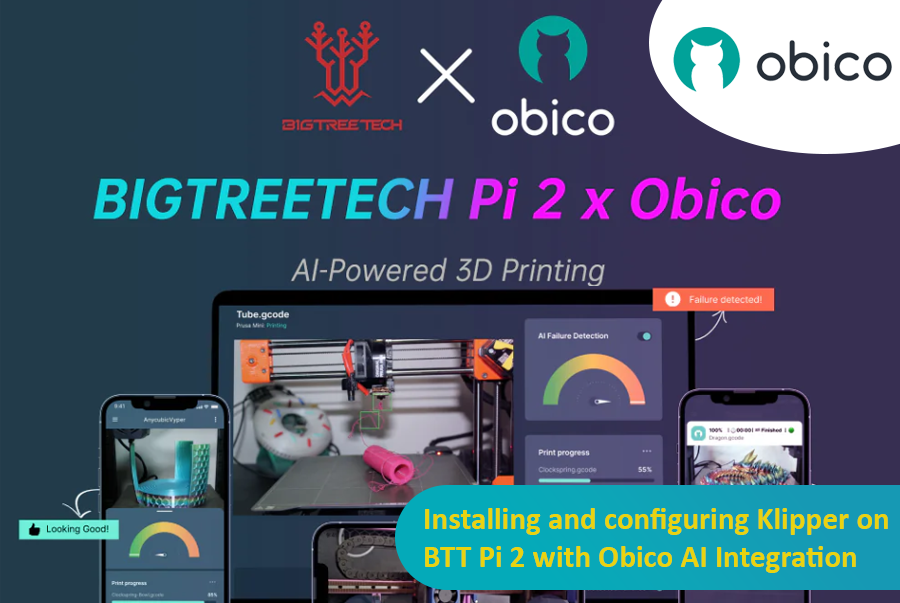
3D printing is a fast-moving field, with new developments constantly pushing the boundaries of what is possible. One such development is the partnership between Obico and BigTreeTech (BTT), which brings Obico's advanced AI capabilities within reach of 3D printer enthusiasts through the BTT Pi 2.

Installing and configuring Klipper on BTT Pi 2 with Obico AI Integration

This guide gives complete step-by-step instructions on how to install Klipper onto your BTT Pi 2 and then integrate Obico AI onto it. It includes detailed instructions for setting up an Ender 3 V2 3D printer as an example. Additionally, we will provide guidance on configuring other printer models to ensure all users can benefit from this setup. Whether you're a novice or an experienced user, this guide aims to simplify the process and enhance your 3D printing experience.

Introduction

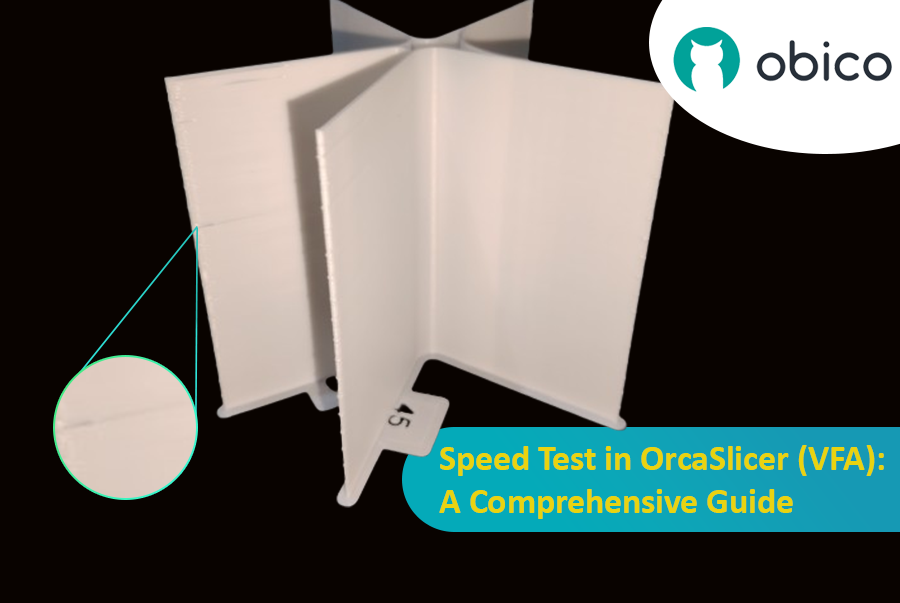
3D printing is a great technology that turns designs into real objects, but figuring out the best print speed can be tricky. If you go too fast, quality may be lost; if you go too slow, it takes forever.

Speed Test in OrcaSlicer (VFA): A Comprehensive Guide

In this guide, we will show you how to use OrcaSlicer to determine the perfect print speed for your 3D printer. By the end of it, you will know how to get great prints quickly while maintaining good quality.

Let’s get started!

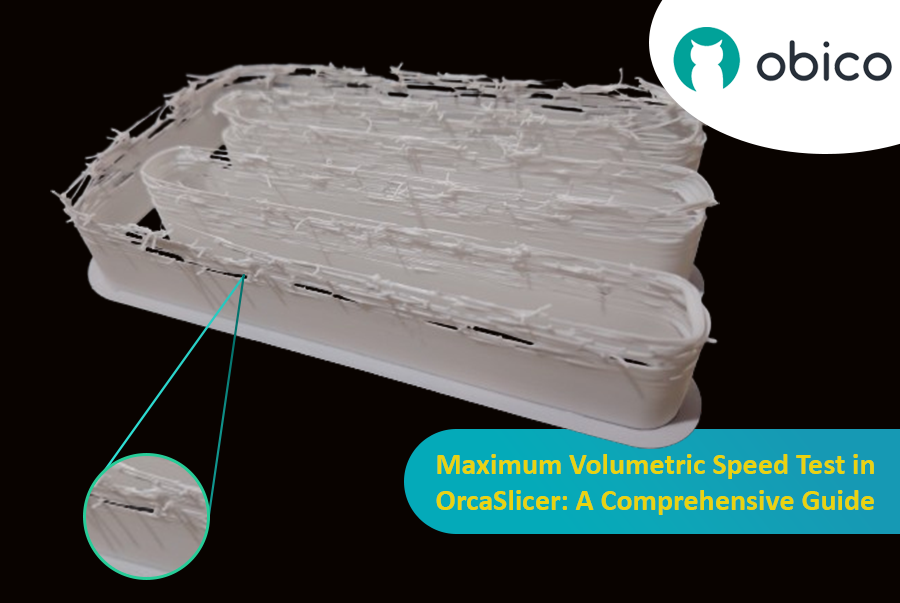
Hello there! Welcome to our easy-to-understand guide on how to control the OrcaSlicer maximum volumetric speed test for 3D printing enthusiasts. If you’re looking forward to enhancing print quality and efficiency, then this is the best place for you. This tutorial will help you optimize your printer’s volumetric speed that determines at what speed you can print without compromising on quality.

Maximum Volumetric Speed Test in OrcaSlicer: A Comprehensive Guide

Volumetric speed knowledge is crucial in 3D printing because it enables one understand how fast a printer can produce objects with accuracy. If this speed is tested and adjusted, under extrusion among other common problems while printing can be avoided thus ensuring that all your prints are good-looking even at higher speeds.

Introduction

3D printing has revolutionized the way creators, engineers, and hobbyists bring their ideas to life. However, the transition from a digital model to a tangible object isn’t always straightforward. One key challenge is ensuring parts fit together seamlessly. In this comprehensive guide, we’ll delve into the world of tolerance testing using OrcaSlicer, a valuable tool for 3D printing. We will understand together how to know the right tolerances value to design successful prints which fit together well.
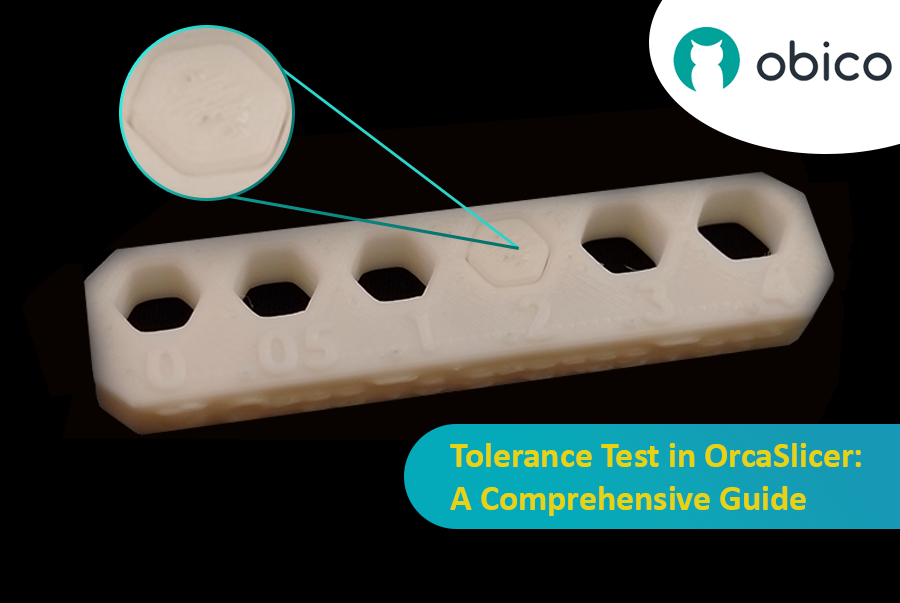
Tolerance Test in OrcaSlicer: A Comprehensive Guide

But before we get started testing our 3D printer, let’s understand some important related topics.

The Importance of Tolerance in 3D Printing

In the world of 3D printing, tolerance is all about precision. It's the measure of how accurately a 3D printer can replicate the dimensions specified in your digital design. Imagine you're creating a puzzle; if the pieces are too big or too small, they won't fit together. Similarly, for 3D printed parts to function and fit together as intended, the printer must be able to accurately produce parts within very tight dimensional limits. Good tolerance affects everything from how smoothly moving parts interact to the overall look and strength of the finished product.

But why do you need to make the tolerance test?

Well, in 3D printing things do not always go right. Every filament type has its own shrinkage coefficient and this affects how your print turns out. Different printers, with their unique mechanics and settings, can also produce varied results. That's why testing for tolerance is crucial - it helps you understand how your specific printer and chosen filament behave together, allowing you to adjust the tolerances in your design for the perfect print.
astuce

Try JusPrin, the first GenAI 3D printing tool built on OrcaSlicer.

Présentation de Pressure Advance

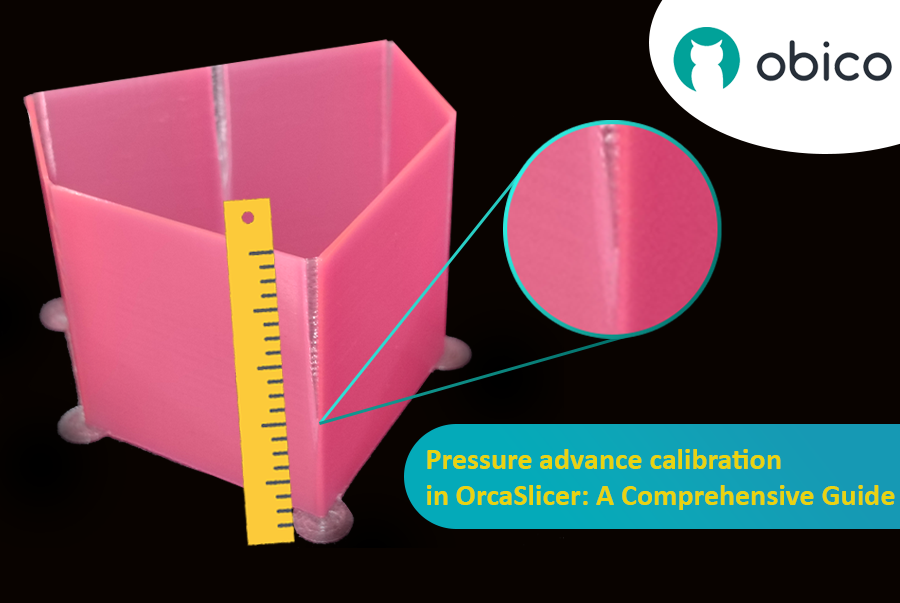
Imaginez que vous dessinez avec un stylo qui renverse parfois trop d'encre, parfois très peu. En impression 3D, un phénomène similaire peut se produire lorsque votre imprimante se déplace rapidement et modifie sa vitesse : cela peut perturber la quantité de plastique produite.

Calibrage de l'avance de pression dans OrcaSlicer : un guide complet

Mais pourquoi votre imprimante perturbe-t-elle parfois la quantité de plastique qui sort ?

Dans une imprimante 3D, la sortie du filament dépend de la pression à l'intérieur de la buse. C'est comme un tuyau d'arrosage : il faut une pression d'eau suffisante pour que l'eau jaillisse. Lorsque l'imprimante accélère ou ralentit, par exemple dans les virages, la pression de la buse met un certain temps à rattraper son retard. Si l'imprimante avance trop vite et trop tôt, la quantité de filament sortant est insuffisante. Et si elle ralentit trop vite, la quantité de filament sortant est trop importante. Cela peut rendre les coins de votre impression un peu désordonnés, car l'imprimante n'a pas correctement ajusté le flux de filament aux changements de vitesse.

C'est là qu'intervient Pressure Advance. Cette fonctionnalité intelligente compense ces variations et garantit l'extrusion de la quantité de filament adéquate lorsque l'imprimante accélère ou ralentit. Grâce à cette fonction, votre imprimante gère mieux les transitions de vitesse, pour des impressions plus fluides et plus nettes, notamment dans les angles difficiles.

Introduction

3D printing is a fascinating technology that allows you to create almost anything you can imagine. However, it also comes with some challenges and limitations, such as the quality of the printed parts. One of the most common issues that affect the appearance and functionality of 3D prints is the presence of unwanted material residues, such as strings, blobs, and zits.

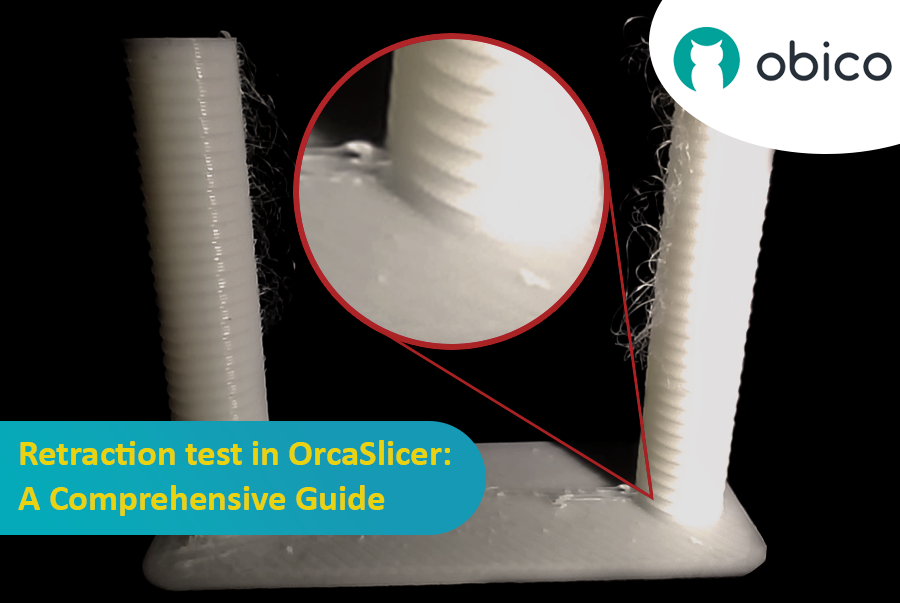
Retraction test in OrcaSlicer: A Comprehensive Guide

Fortunately, there is a way to reduce or eliminate these artifacts by using a feature called retraction. But what does retraction mean?

Let’s break it down:

What is the retraction and the retraction test?

The retraction test is a calibration procedure that aims to reduce or eliminate the stringing and oozing problems that may occur during 3D printing. Stringing and oozing are caused by the excess material that leaks out of the nozzle when the hotend moves from one part of the model to another without extruding. This results in unwanted strands or blobs of filament on the surface or between the parts of the model, affecting the quality and appearance of the print.

astuce

Try JusPrin, the first GenAI 3D printing tool built on OrcaSlicer.

Introduction au test de la tour de température avec OrcaSlicer

L'impression 3D est une technologie fascinante qui permet de créer des objets physiques à partir de modèles numériques. Cependant, pour obtenir les meilleurs résultats, vous devez affiner les paramètres de votre imprimante et optimiser les paramètres de vos filaments. L'un des facteurs les plus importants pour la qualité de vos impressions est la température.

La température affecte la fusion, l'écoulement et la liaison du filament aux couches précédentes. Une température trop basse peut entraîner une extrusion incorrecte du filament, ce qui peut entraîner une sous-extrusion, une mauvaise adhérence et des pièces fragiles. Une température trop élevée peut provoquer un suintement, des fils ou des déformations du filament, entraînant une surextrusion, des boursouflures et des déformations.

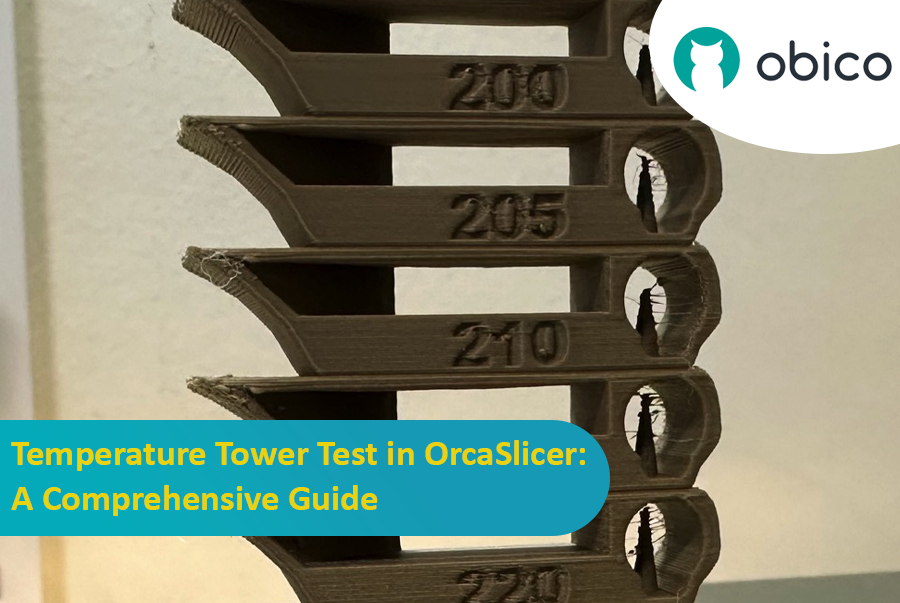
Test de la tour de température dans OrcaSlicer : guide complet

Pour trouver la température optimale pour votre filament, vous devez effectuer un test de tour de température.

astuce

Try JusPrin, the first GenAI 3D printing tool built on OrcaSlicer.

Introduction

L'étalonnage du débit est une étape cruciale pour obtenir des impressions 3D de haute qualité. Un débit adéquat garantit un dépôt de couche homogène, des surfaces plus lisses et des détails plus précis. Dans cet article, qui fait partie d'une série d'articles sur l'étalonnage d'OrcaSlicer, nous explorerons le processus d'étalonnage du débit avec OrcaSlicer, un logiciel de découpage open source conçu pour les imprimantes 3D FDM (Modélisation par dépôt de filament fondu).

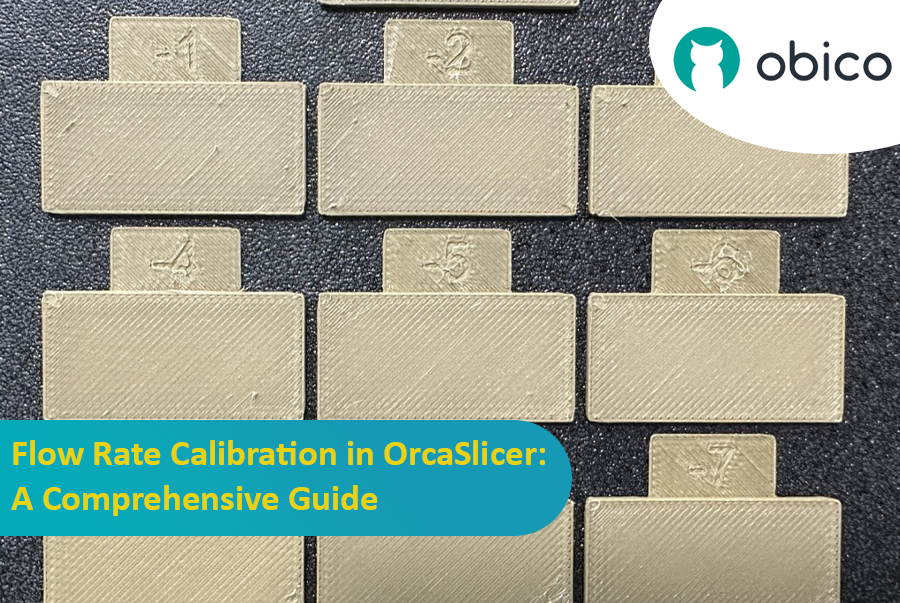
Étalonnage du débit dans OrcaSlicer : un guide complet

Avant de nous plonger dans le processus d'étalonnage du débit dans OrcaSlicer, arrêtons-nous brièvement pour comprendre ce que c'est et ses principales fonctionnalités.

OrcaSlicer : une option puissante et flexible pour le découpage d'impression 3D

OrcaSlicer est un logiciel de découpe d'impression 3D open source pour les imprimantes FDM**. Il est principalement conçu pour les imprimantes compatibles avec les firmwares Marlin, Klipper et Bambu Lab. Il prend en charge divers modèles populaires de marques telles que Creality, Prusa, Elegoo et même la Voron open source.

Arbre généalogique d'OrcaSlicer :

OrcaSlicer est basé sur Bambu Studio, lui-même dérivé de PrusaSlicer. PrusaSlicer, quant à lui, est basé sur la solution open source Slic3r.

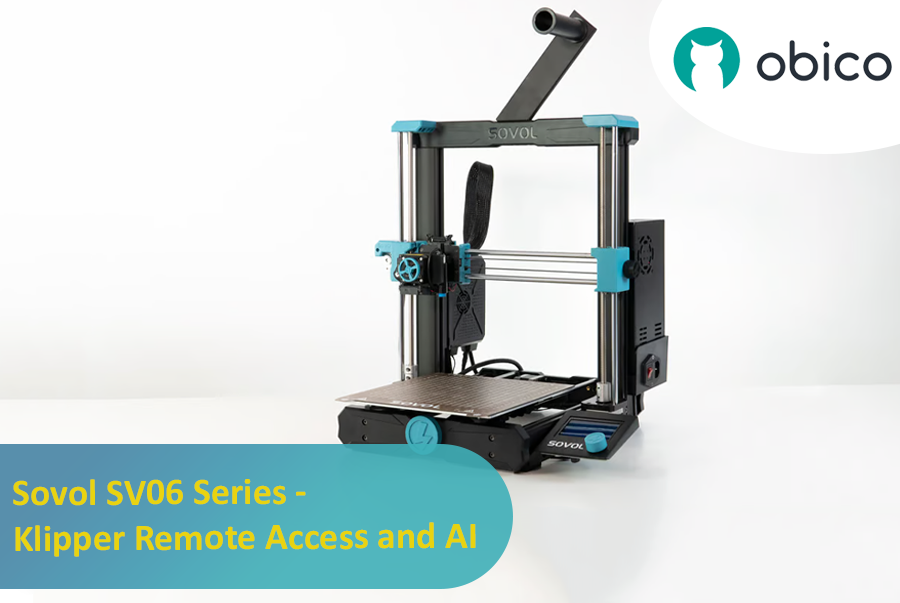
Introduction: Welcoming You to the Sovol SV06 Series

Hey there! Let's jump into the world of the Sovol SV06. This printer is getting a lot of buzz for being budget-friendly while still offering some pretty cool features. If you're thinking about getting into 3D printing without spending a ton, the Sovol SV06 is a solid choice. It gives you a lot for its price, similar to more expensive printers like the Prusa MK3S+, but at a fraction of the cost. With neat features like dual Z-axis motors, automatic bed leveling, and the ability to reach up to 300 °C, it really stands out in the budget printer crowd.

Introduction: Welcoming You to the Sovol SV06 Series