Saltar al contenido principal

JusPrin 1.0

The First GenAI 3D Printing Experience Now Available!

JusPrin Logo

5 publicaciones etiquetados con "Slicer Software"

Ver Todas las Etiquetas

3D printing is more than a hobby; it’s a tool for innovation, design, and creativity. As technology gets better, the tools we use to optimize the print process get better. Orca Slicer is one of the best slicing software options out there for users who want precision, efficiency, and customization. One of its many features is the ability to create and manage your own filament profiles, and that’s a game changer for getting great results every time.

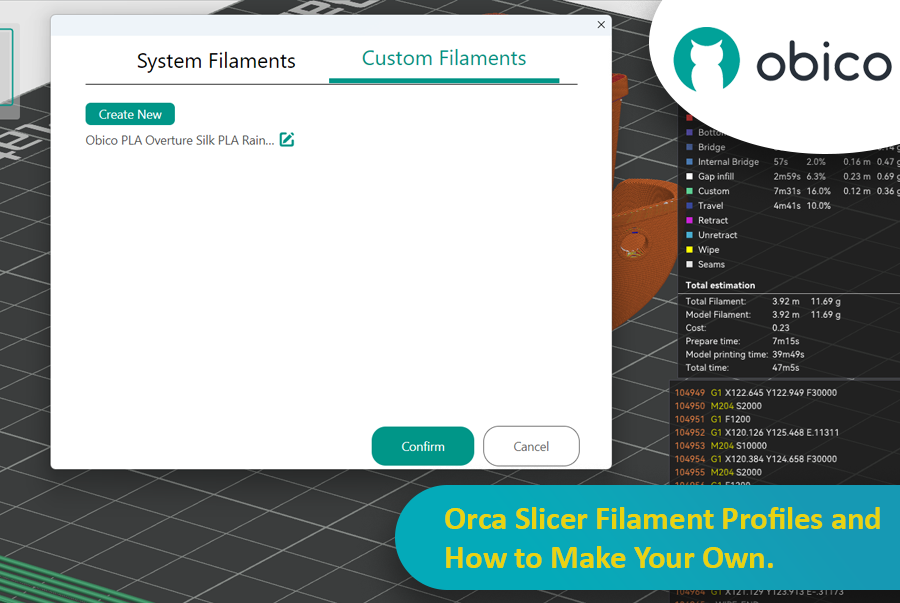
Orca Slicer Filament Profiles and How to Make Your Own

In this article we’ll go deep into filament profiles in Orca Slicer, what they are, why they matter, and how you can create, fine-tune, and optimize your own custom profiles for your material.

tip

Try JusPrin, the first GenAI 3D printing tool built on OrcaSlicer.

Si te gusta la impresión 3D, seguro que has usado Cura o PrusaSlicer para cortar tus modelos. Estas herramientas son necesarias para convertir cualquier modelo 3D en código G, que contiene instrucciones que tu máquina puede ejecutar para imprimirlo. Sin embargo, siempre hay espacio para nuevo software que ofrezca diferentes funciones y opciones.

Cortadora de orcas

Orca Slicer es justo lo que necesitas. Es gratuito y está basado en Estudio Bambú. Te ofrece más opciones para personalizar, controlar y obtener resultados precisos en tus impresiones. Si eres principiante y buscas perfiles predefinidos o un usuario experimentado que busca configuraciones avanzadas, Orca Slicer es la solución.

Orca Slicer surgió como una bifurcación de Estudio Bambú, que a su vez se basa en PrusaSlicer, uno de los programas de corte de código abierto más utilizados. Fue desarrollado por Fiebre suave. Ganó popularidad rápidamente gracias al mayor número de perfiles de impresora y a las opciones de calibración de impresión más avanzadas. Resulta especialmente útil si desea mayor control y detalle sobre el resultado de sus modelos 3D.

Introducción

En el mundo de la impresión 3D, el software de corte que elija puede influir significativamente en la calidad, la velocidad y la eficiencia de sus impresiones. Dos programas de corte populares que están causando sensación en la comunidad son Orca Slicer y Bambu Studio. Ambos ofrecen un conjunto completo de funciones adaptadas a diferentes usuarios, pero ¿cuál es el adecuado para usted?

Orca Slicer vs. Bambu Studio: Análisis detallado y características

En esta guía, compararemos ambas segmentaciones de datos, cubriendo la instalación, la interfaz de usuario, las características destacadas, el soporte de la comunidad y más.

Ya sea que sea nuevo en la impresión 3D o tenga experiencia, esto lo ayudará a elegir la cortadora adecuada para sus necesidades.

Introduction

3D printing has revolutionized the way creators, engineers, and hobbyists bring their ideas to life. However, the transition from a digital model to a tangible object isn’t always straightforward. One key challenge is ensuring parts fit together seamlessly. In this comprehensive guide, we’ll delve into the world of tolerance testing using OrcaSlicer, a valuable tool for 3D printing. We will understand together how to know the right tolerances value to design successful prints which fit together well.
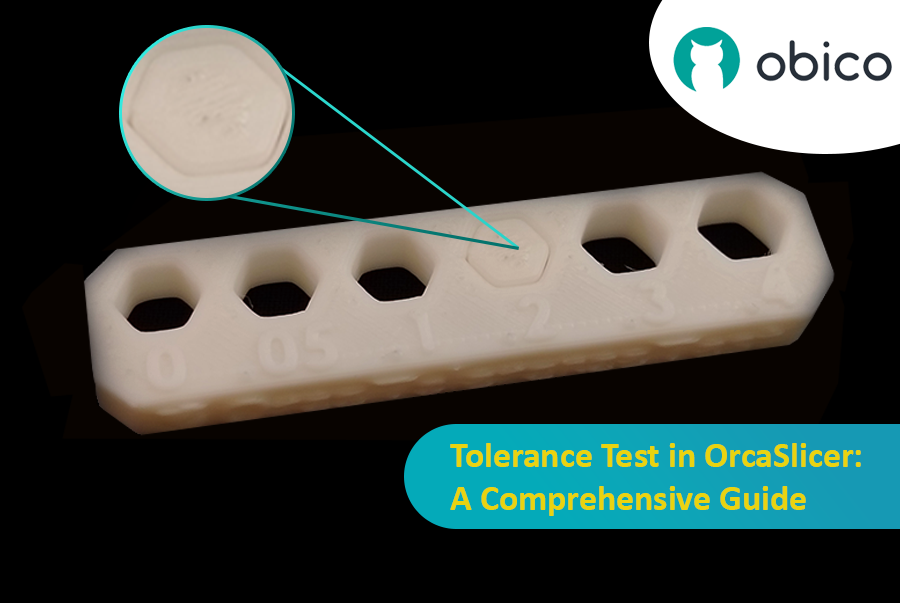
Tolerance Test in OrcaSlicer: A Comprehensive Guide

But before we get started testing our 3D printer, let’s understand some important related topics.

The Importance of Tolerance in 3D Printing

In the world of 3D printing, tolerance is all about precision. It's the measure of how accurately a 3D printer can replicate the dimensions specified in your digital design. Imagine you're creating a puzzle; if the pieces are too big or too small, they won't fit together. Similarly, for 3D printed parts to function and fit together as intended, the printer must be able to accurately produce parts within very tight dimensional limits. Good tolerance affects everything from how smoothly moving parts interact to the overall look and strength of the finished product.

But why do you need to make the tolerance test?

Well, in 3D printing things do not always go right. Every filament type has its own shrinkage coefficient and this affects how your print turns out. Different printers, with their unique mechanics and settings, can also produce varied results. That's why testing for tolerance is crucial - it helps you understand how your specific printer and chosen filament behave together, allowing you to adjust the tolerances in your design for the perfect print.

Introduction

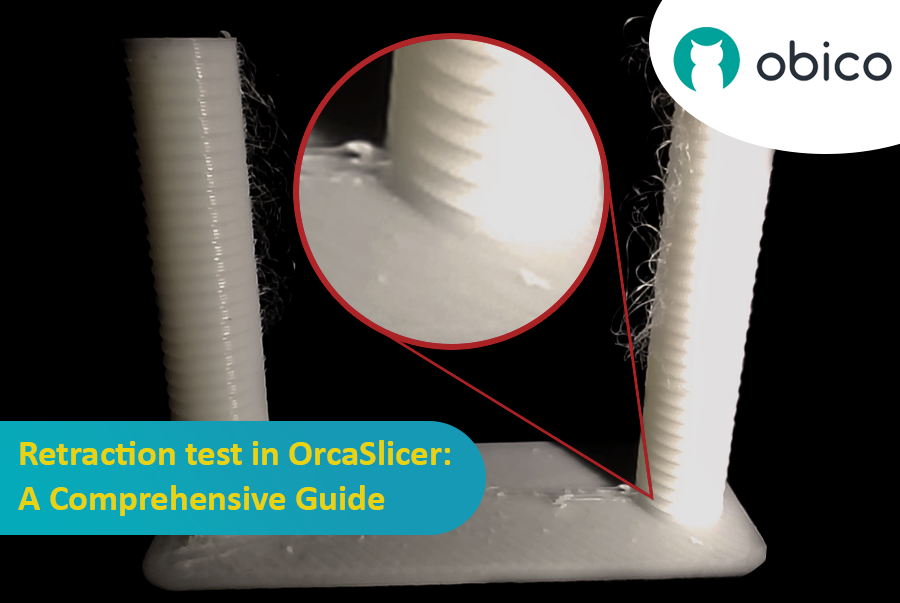
3D printing is a fascinating technology that allows you to create almost anything you can imagine. However, it also comes with some challenges and limitations, such as the quality of the printed parts. One of the most common issues that affect the appearance and functionality of 3D prints is the presence of unwanted material residues, such as strings, blobs, and zits.

Retraction test in OrcaSlicer: A Comprehensive Guide

Fortunately, there is a way to reduce or eliminate these artifacts by using a feature called retraction. But what does retraction mean?

Let’s break it down:

What is the retraction and the retraction test?

The retraction test is a calibration procedure that aims to reduce or eliminate the stringing and oozing problems that may occur during 3D printing. Stringing and oozing are caused by the excess material that leaks out of the nozzle when the hotend moves from one part of the model to another without extruding. This results in unwanted strands or blobs of filament on the surface or between the parts of the model, affecting the quality and appearance of the print.