Saltar al contenido principal

JusPrin 1.0

The First GenAI 3D Printing Experience Now Available!

JusPrin Logo

45 publicaciones etiquetados con "3D Printing"

Ver Todas las Etiquetas

Introduction

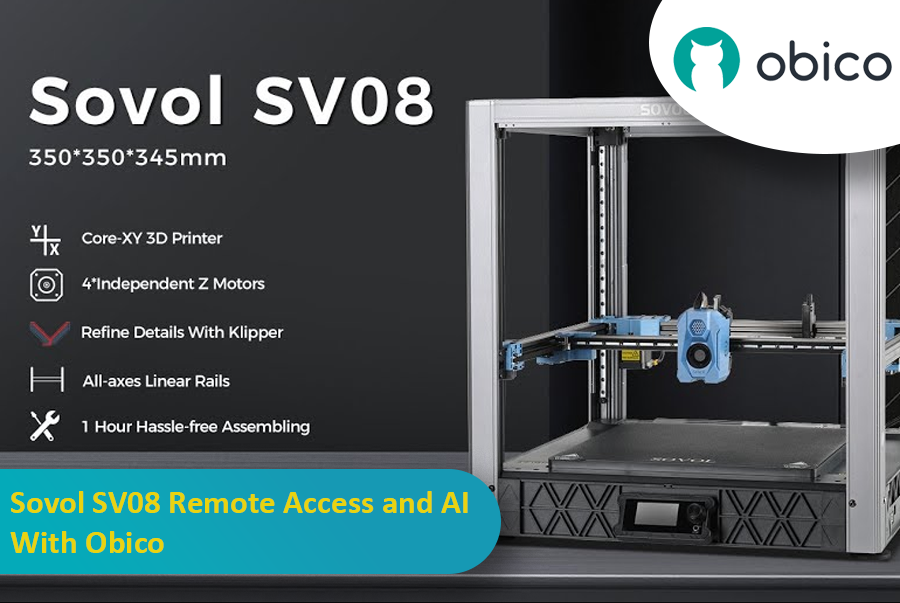
The Sovol SV08 is a standout 3D printer in the current market, offering a mix of advanced features, precision, and versatility that caters to both beginners and experienced makers. By integrating it with the Obico platform, an AI-powered, open-source system, users can significantly enhance their 3D printing experience through remote monitoring, control, and AI failure detection.

Sovol SV08 Remote Access and AI With Obico

This guide will take you through setting up your Sovol SV08 with Obico, including firmware updates, WiFi connections, and integrating the Obico system. We will also look at some advanced features provided by Obico, like Nozzle Ninja AI, which takes first-layer monitoring to another level, as well as the new built-in online slicer.

Introduction

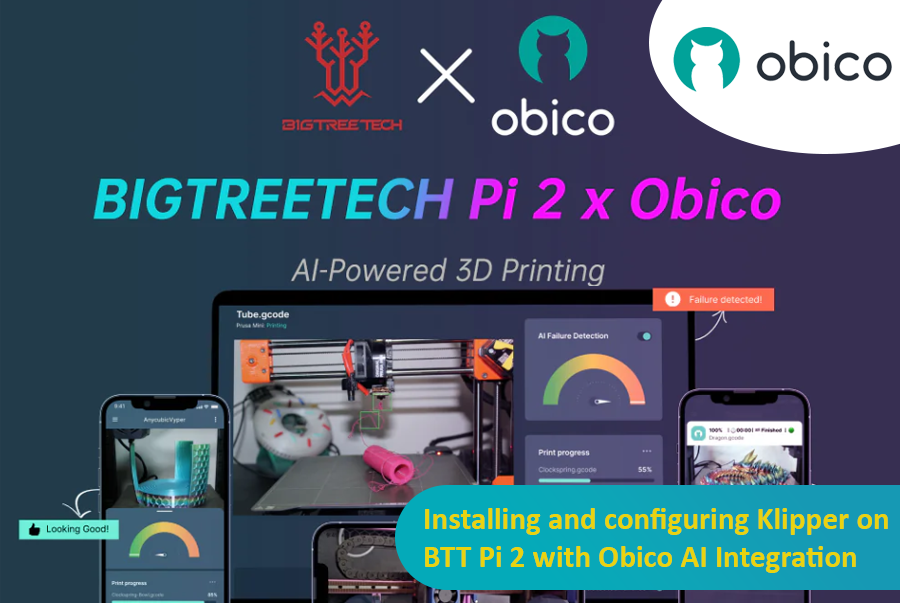
3D printing is a fast-moving field, with new developments constantly pushing the boundaries of what is possible. One such development is the partnership between Obico and BigTreeTech (BTT), which brings Obico's advanced AI capabilities within reach of 3D printer enthusiasts through the BTT Pi 2.

Installing and configuring Klipper on BTT Pi 2 with Obico AI Integration

This guide gives complete step-by-step instructions on how to install Klipper onto your BTT Pi 2 and then integrate Obico AI onto it. It includes detailed instructions for setting up an Ender 3 V2 3D printer as an example. Additionally, we will provide guidance on configuring other printer models to ensure all users can benefit from this setup. Whether you're a novice or an experienced user, this guide aims to simplify the process and enhance your 3D printing experience.

Introduction

3D printing is a great technology that turns designs into real objects, but figuring out the best print speed can be tricky. If you go too fast, quality may be lost; if you go too slow, it takes forever.

Speed Test in OrcaSlicer (VFA): A Comprehensive Guide

In this guide, we will show you how to use OrcaSlicer to determine the perfect print speed for your 3D printer. By the end of it, you will know how to get great prints quickly while maintaining good quality.

Let’s get started!

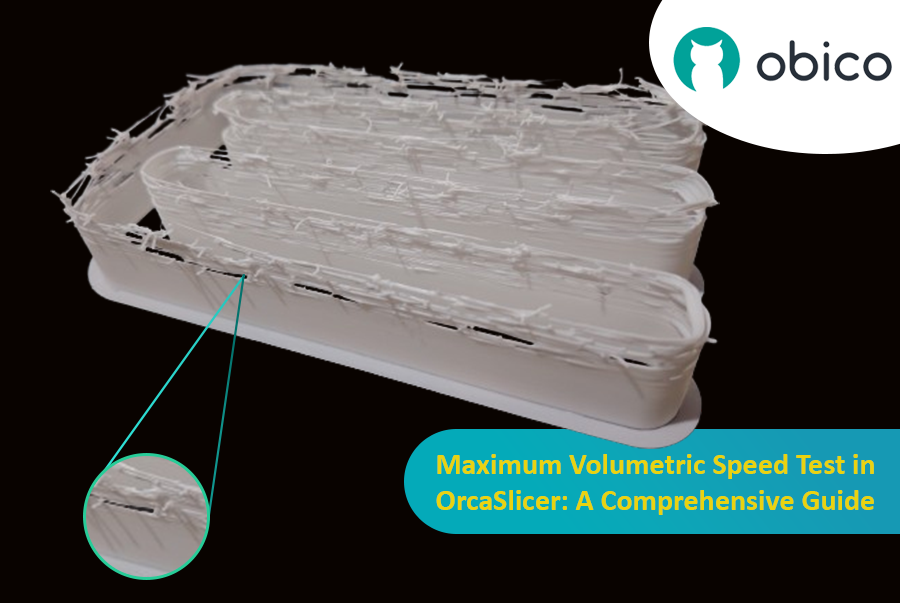
Hello there! Welcome to our easy-to-understand guide on how to control the OrcaSlicer maximum volumetric speed test for 3D printing enthusiasts. If you’re looking forward to enhancing print quality and efficiency, then this is the best place for you. This tutorial will help you optimize your printer’s volumetric speed that determines at what speed you can print without compromising on quality.

Maximum Volumetric Speed Test in OrcaSlicer: A Comprehensive Guide

Volumetric speed knowledge is crucial in 3D printing because it enables one understand how fast a printer can produce objects with accuracy. If this speed is tested and adjusted, under extrusion among other common problems while printing can be avoided thus ensuring that all your prints are good-looking even at higher speeds.

Introduction

3D printing has revolutionized the way creators, engineers, and hobbyists bring their ideas to life. However, the transition from a digital model to a tangible object isn’t always straightforward. One key challenge is ensuring parts fit together seamlessly. In this comprehensive guide, we’ll delve into the world of tolerance testing using OrcaSlicer, a valuable tool for 3D printing. We will understand together how to know the right tolerances value to design successful prints which fit together well.
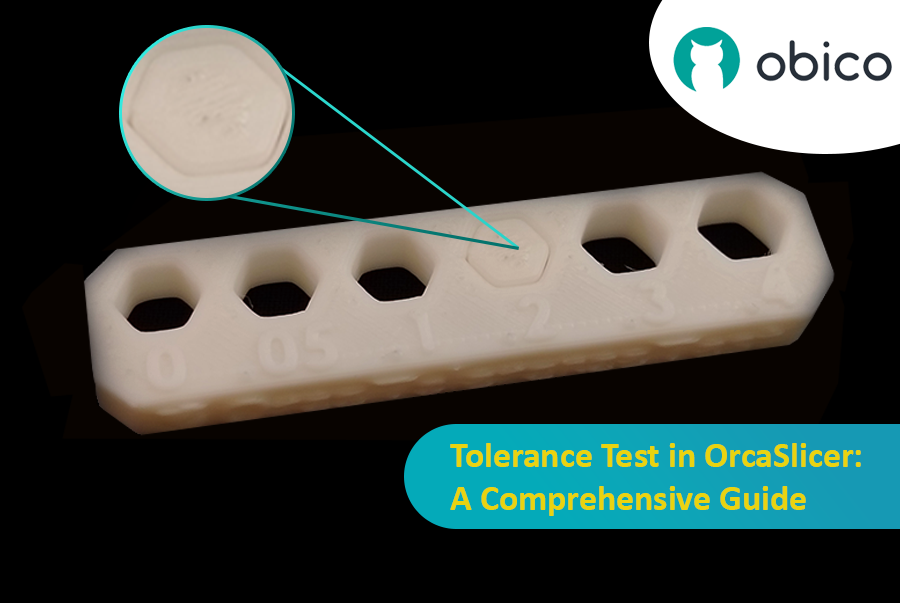
Tolerance Test in OrcaSlicer: A Comprehensive Guide

But before we get started testing our 3D printer, let’s understand some important related topics.

The Importance of Tolerance in 3D Printing

In the world of 3D printing, tolerance is all about precision. It's the measure of how accurately a 3D printer can replicate the dimensions specified in your digital design. Imagine you're creating a puzzle; if the pieces are too big or too small, they won't fit together. Similarly, for 3D printed parts to function and fit together as intended, the printer must be able to accurately produce parts within very tight dimensional limits. Good tolerance affects everything from how smoothly moving parts interact to the overall look and strength of the finished product.

But why do you need to make the tolerance test?

Well, in 3D printing things do not always go right. Every filament type has its own shrinkage coefficient and this affects how your print turns out. Different printers, with their unique mechanics and settings, can also produce varied results. That's why testing for tolerance is crucial - it helps you understand how your specific printer and chosen filament behave together, allowing you to adjust the tolerances in your design for the perfect print.
tip

Try JusPrin, the first GenAI 3D printing tool built on OrcaSlicer.

Descripción general del avance de presión

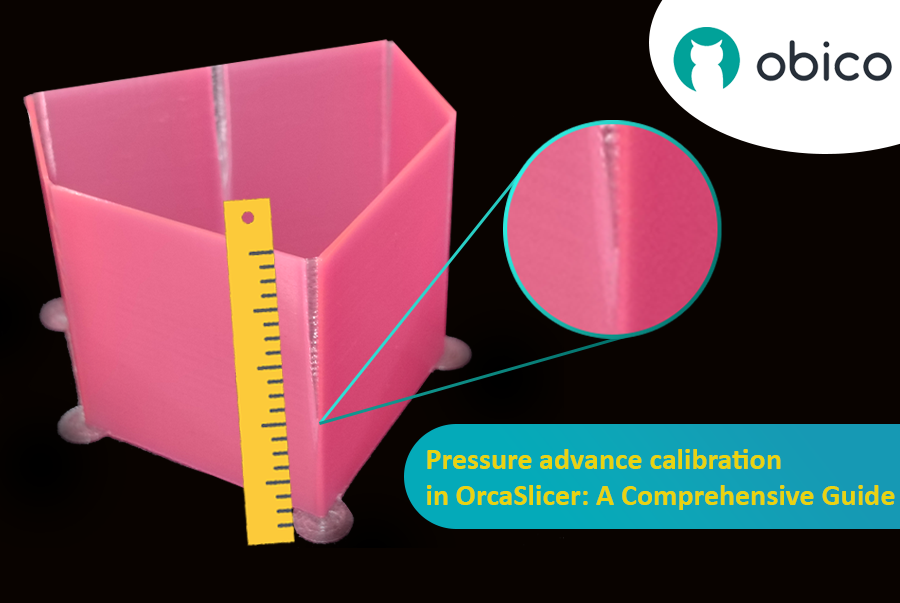
Imagina que dibujas con un bolígrafo que a veces derrama demasiada tinta y otras casi nada. En la impresión 3D, algo similar podría ocurrir cuando la impresora se mueve rápidamente y cambia de velocidad: puede afectar la cantidad de plástico que sale.

Calibración del avance de presión en OrcaSlicer: una guía completa

Pero, ¿por qué a veces tu impresora se equivoca con la cantidad de plástico que sale?

En una impresora 3D, el filamento sale según la presión dentro de la boquilla. Es como una manguera de jardín: se necesita suficiente presión de agua para que salga. Cuando la impresora acelera o desacelera, como al tomar una curva, la presión de la boquilla tarda un poco en compensarse. Si la impresora se mueve demasiado rápido y demasiado pronto, no sale suficiente filamento. Y si desacelera demasiado rápido, sale demasiado. Esto puede hacer que las esquinas de la impresión se vean un poco desordenadas porque la impresora no ajustó el flujo de filamento correctamente a los cambios de velocidad.

Y aquí es donde interviene el Avance de Presión. Es una función inteligente que compensa estos cambios, garantizando la extrusión de la cantidad correcta de filamento al aumentar o disminuir la velocidad de la impresora. Con el Avance de Presión, la impresora gestiona mejor las transiciones de velocidad, lo que resulta en impresiones más suaves y nítidas, especialmente en las esquinas más difíciles.

Introduction

3D printing is a fascinating technology that allows you to create almost anything you can imagine. However, it also comes with some challenges and limitations, such as the quality of the printed parts. One of the most common issues that affect the appearance and functionality of 3D prints is the presence of unwanted material residues, such as strings, blobs, and zits.

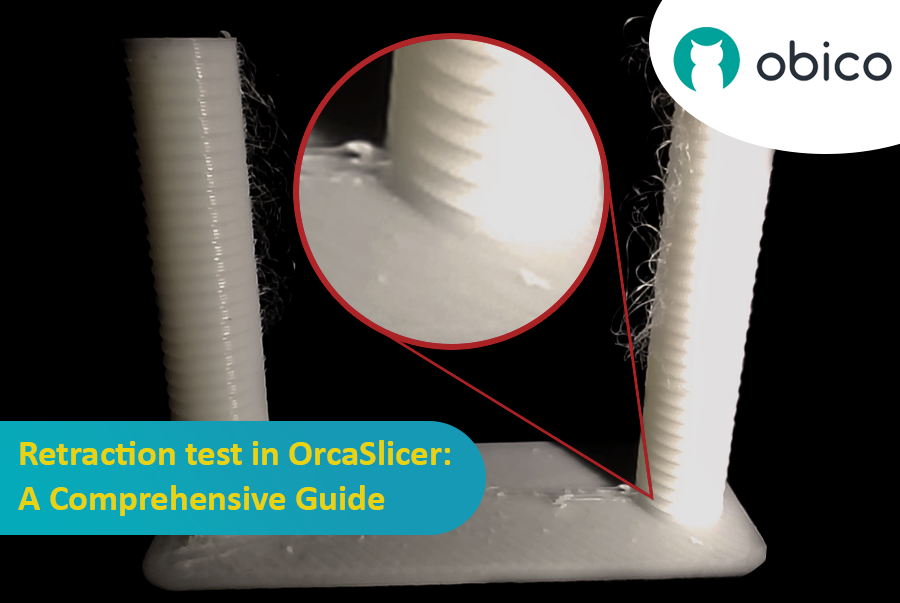
Retraction test in OrcaSlicer: A Comprehensive Guide

Fortunately, there is a way to reduce or eliminate these artifacts by using a feature called retraction. But what does retraction mean?

Let’s break it down:

What is the retraction and the retraction test?

The retraction test is a calibration procedure that aims to reduce or eliminate the stringing and oozing problems that may occur during 3D printing. Stringing and oozing are caused by the excess material that leaks out of the nozzle when the hotend moves from one part of the model to another without extruding. This results in unwanted strands or blobs of filament on the surface or between the parts of the model, affecting the quality and appearance of the print.

tip

Try JusPrin, the first GenAI 3D printing tool built on OrcaSlicer.

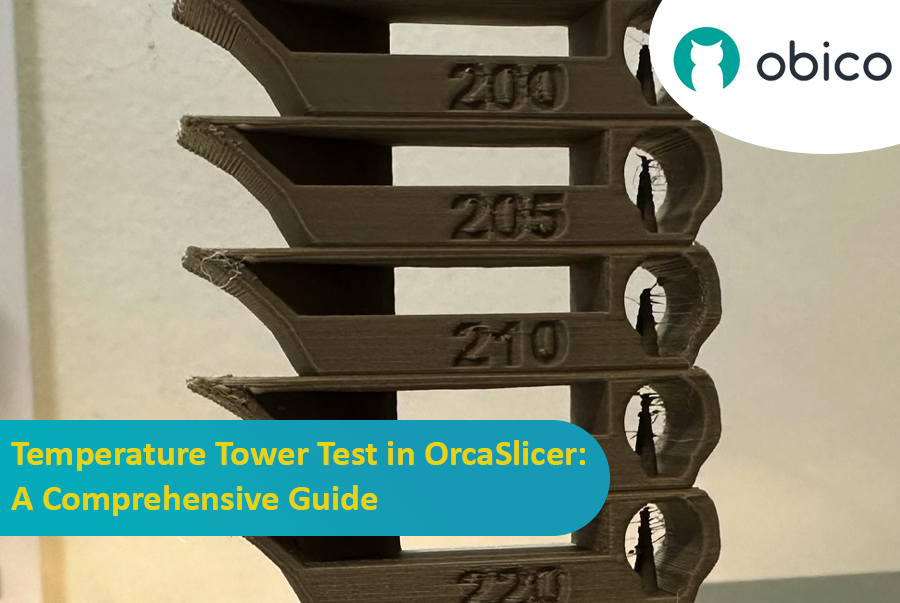
Introducción a la prueba de torre de temperatura con OrcaSlicer

La impresión 3D es una tecnología fascinante que permite crear objetos físicos a partir de modelos digitales. Sin embargo, para obtener los mejores resultados, es necesario ajustar la configuración de la impresora y optimizar los parámetros del filamento. Uno de los factores más importantes que afecta la calidad de las impresiones es la temperatura.

La temperatura afecta la fluidez, la fusión y la adhesión del filamento a las capas anteriores. Si la temperatura es demasiado baja, el filamento podría no extruirse correctamente, lo que resultaría en una extrusión insuficiente, mala adhesión y piezas débiles. Si la temperatura es demasiado alta, el filamento podría rezumar, formar hilos o deformarse, lo que provocaría una extrusión excesiva, manchas y deformaciones.

Prueba de la torre de temperatura en OrcaSlicer: una guía completa

Para encontrar la temperatura óptima para su filamento, debe realizar una prueba de torre de temperatura.

tip

Try JusPrin, the first GenAI 3D printing tool built on OrcaSlicer.

Introducción

La calibración del caudal es crucial para lograr impresiones 3D de alta calidad. Un caudal adecuado garantiza una deposición de capas uniforme, superficies más lisas y mejores detalles. En este artículo, que forma parte de una serie sobre la calibración de OrcaSlicer, exploraremos el proceso de calibración del caudal utilizando OrcaSlicer, un software de corte de código abierto diseñado para impresoras 3D de modelado por deposición fundida (FDM).

Calibración del caudal en OrcaSlicer: una guía completa

Antes de profundizar en el proceso de calibración del caudal en OrcaSlicer, hagamos una breve pausa para comprender qué es y sus características clave.

OrcaSlicer: una opción potente y flexible para el corte de impresión 3D

OrcaSlicer es un software de corte de impresión 3D de código abierto para impresoras FDM. Está diseñado principalmente para impresoras compatibles con el firmware Marlin, Klipper y Bambu Lab. Es compatible con varios modelos populares de marcas como Creality, Prusa, Elegoo e incluso la Voron de código abierto.

Árbol genealógico de OrcaSlicer:

OrcaSlicer se basa en Bambu Studio, que a su vez deriva de PrusaSlicer. PrusaSlicer, a su vez, se basa en la solución de código abierto Slic3r.

Introduction: Welcoming You to the Sovol SV06 Series

Hey there! Let's jump into the world of the Sovol SV06. This printer is getting a lot of buzz for being budget-friendly while still offering some pretty cool features. If you're thinking about getting into 3D printing without spending a ton, the Sovol SV06 is a solid choice. It gives you a lot for its price, similar to more expensive printers like the Prusa MK3S+, but at a fraction of the cost. With neat features like dual Z-axis motors, automatic bed leveling, and the ability to reach up to 300 °C, it really stands out in the budget printer crowd.

Introduction: Welcoming You to the Sovol SV06 Series